Alligator Birthday Cake Tutorial
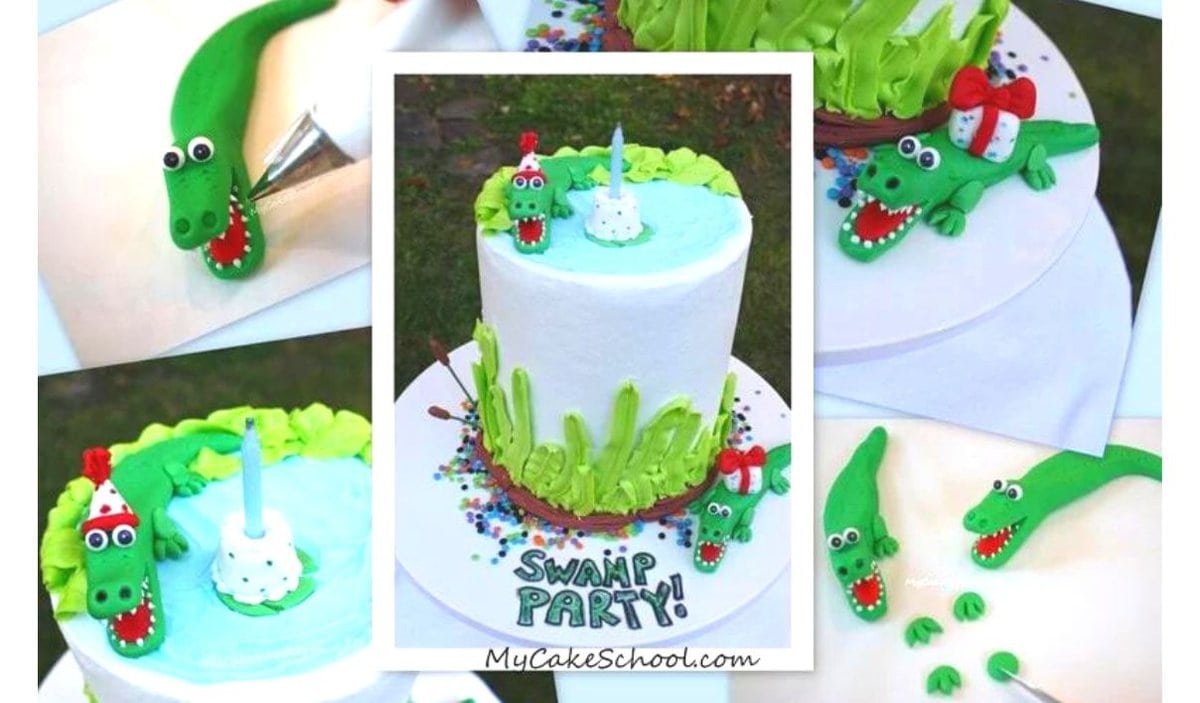
Today we're sharing how to make CUTE Alligator Cake Toppers from gum paste for your cakes!
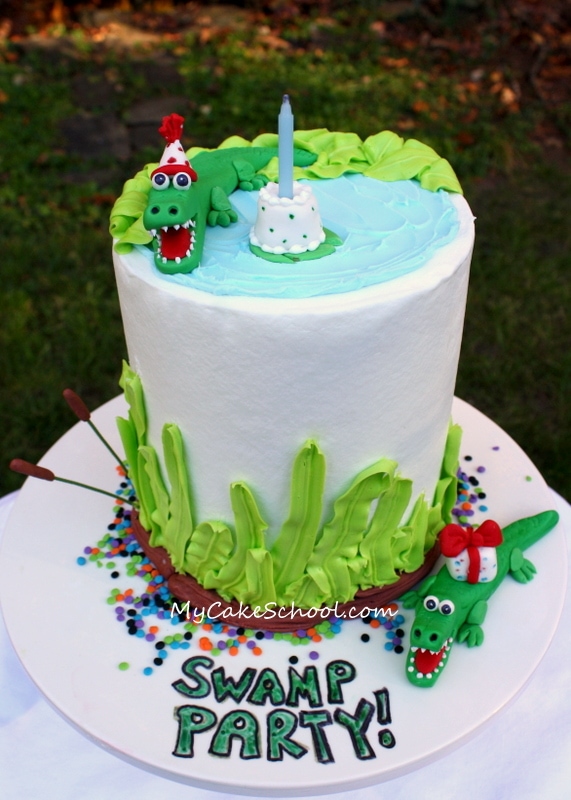
We going for an Alligator Birthday Cake-Swamp Party themed design- so fun!
If you've followed my blog, or if you are a member of our site, you know that things don't get too scary around here. My alligators tend to have more of a Muppet quality to them, ha!--But one thing is for sure, they will bring smiles!
How to Make Gum Paste Alligator Cake Toppers
Ready to learn? Here we go!
First, I started with a little log of gum paste tinted green (approx. 45g or 1 ⅝ oz). If you don't have gum paste, you could also use fondant with some tylose powder kneaded into it for strength and quick drying.
I tinted my gum paste with Americolor Leaf Green, but go with what you have! You can see in the background that I have already made one alligator. He was made the day before.
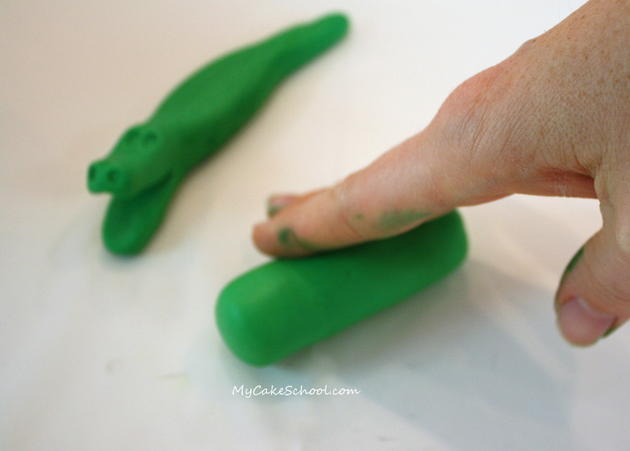
Here I am squeezing and shaping the gum paste to form the alligator's head. You don't need to get too detailed... but I do slightly flatten and elongate the mouth so that the eyes will be slightly higher. See that little slope I made towards the front?
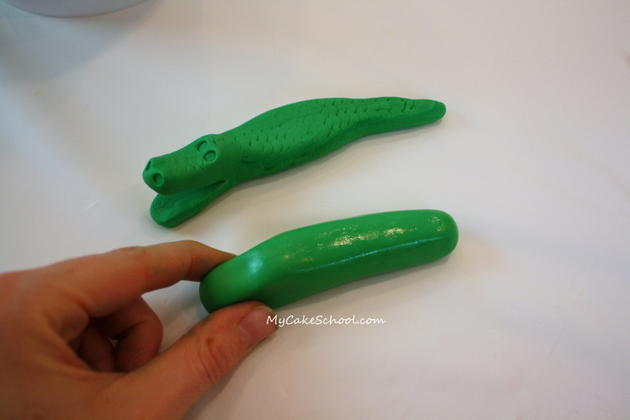
Next, I slightly flattened the middle of the alligator to create his back. Doing this makes it slightly wider than the head that we just formed.
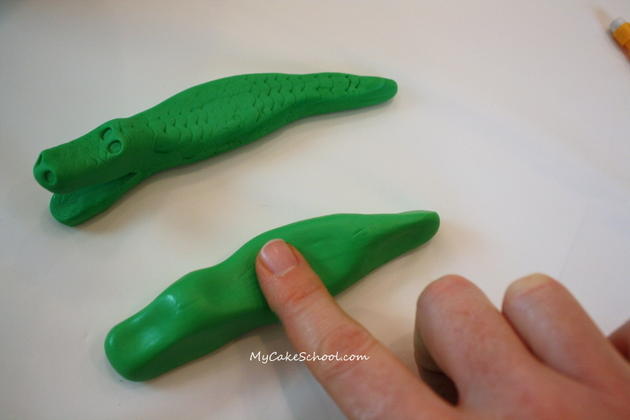
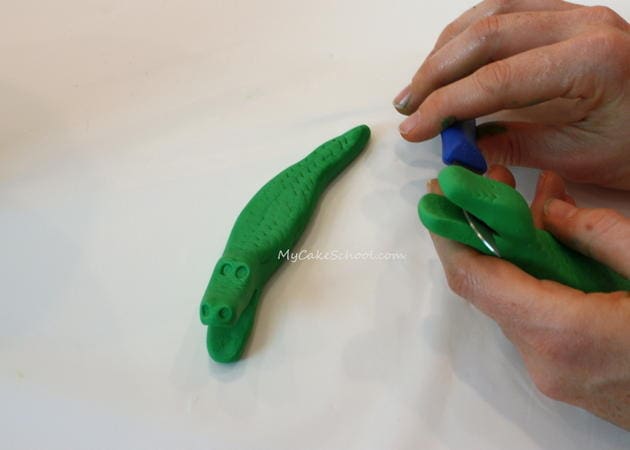
For texture, you can use a variety of tools. I happen to have a cake server that has a scalloped edge. This is what I used. But in the picture you can also see that our bread knife has a similar scallop. There are so many options that you could use for texture. You could make impressions with a toothpick , the crescent shape of a tip 81, or even a simple grid pattern of intersecting lines! Just get creative and give your guys some personality.
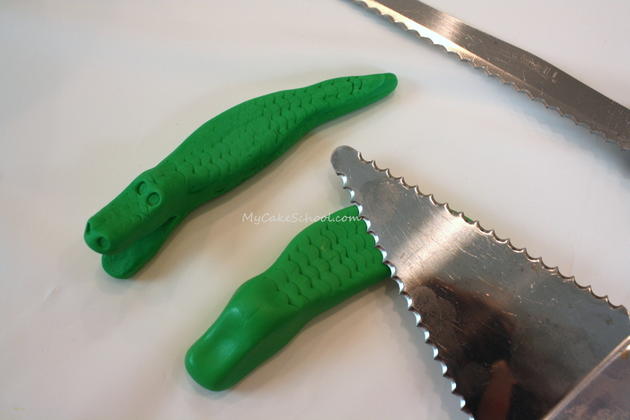
No alligators were harmed in the making of this tutorial. BUT, they do need mouths! I took a thin, sharp knife and gently sliced through the gum paste. Easy! If your alligator will have a closed mouth, just make an impression with a toothpick, scribing needle or knife.
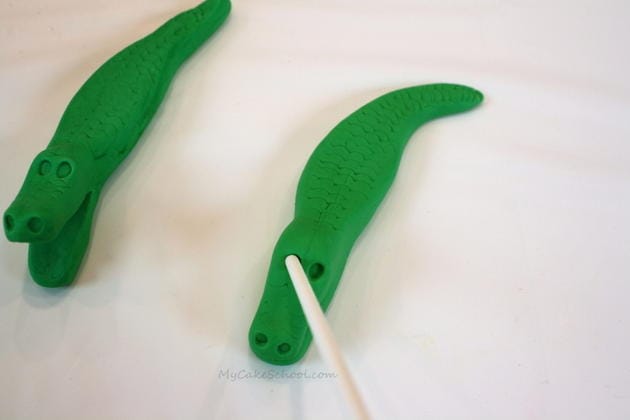
Next, I used a lollipop stick to create impressions for nostrils and eyes.
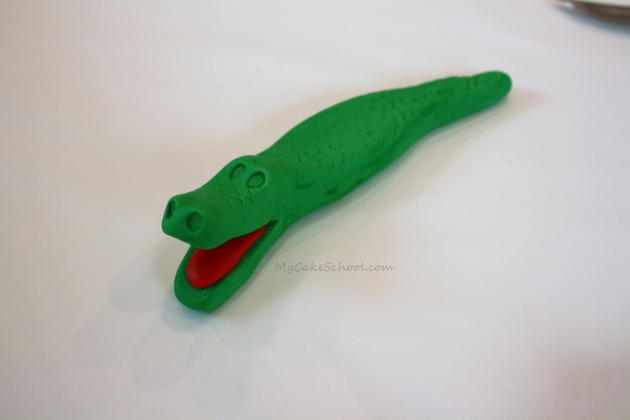
Then, I folded a piece of parchment paper and slid it into our alligator's mouth so that it could dry in the open position. If using gum paste, you should allow at least a day for this. If using fondant, your dry time may be closer to 2-3 days. If your alligator's mouth is closed, there are no worries because it could be applied to the cake even if still a little soft.
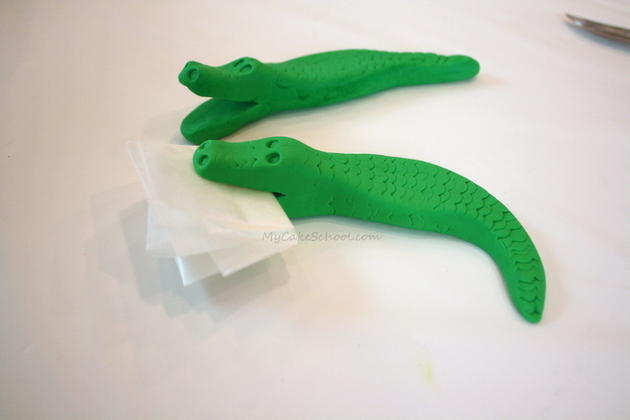
Here we are, the next day. Our alligator's mouth is dry, and opened nice and wide! The inside of the mouth will be red. I used a little pre-colored red fondant but use whatever you'd like!
I slightly dampened the fondant and placed into his mouth. Do alligators have bright red tongues? Probably not--but I love that extra bit of color!
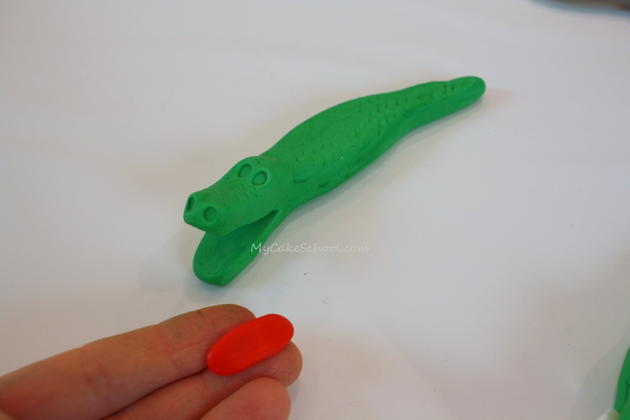
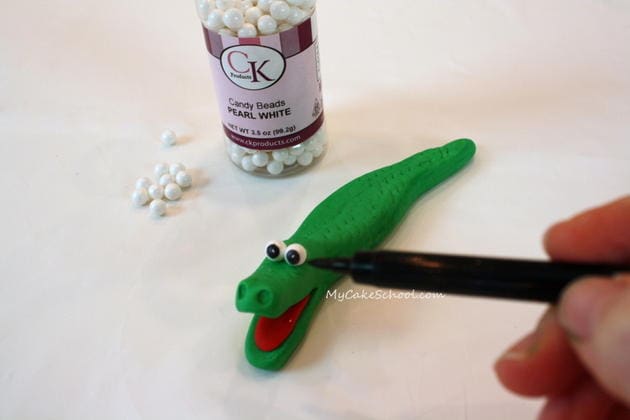
 Now things are starting to come together! I used sugar pearls for some quick and easy google eyes ;0) -- We just added a black iris with our food coloring pen and attached with a tiny dot of royal icing (piping gel or sugar glue would work well too!).
If you don't have sugar pearls, you could also make fondant eyes or more inset eyes by pressing a small ball of fondant into the impressions that we made earlier. Our guy is looking pretty excited now that he can see!
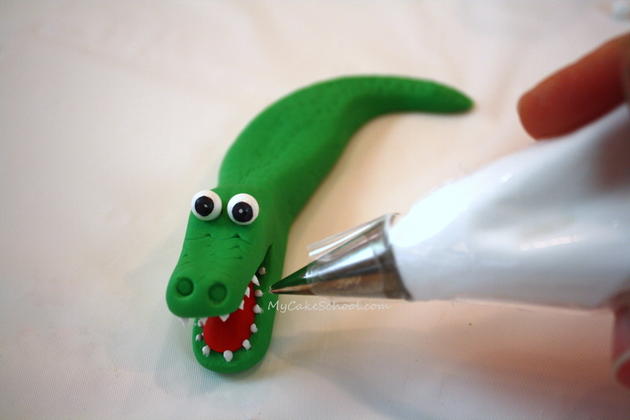
Now for some chompers~ I used some royal icing for this (Wilton Tip 2) because I like that the icing sets nice and firm. However, you could also use bits of white fondant or even a crusting buttercream.
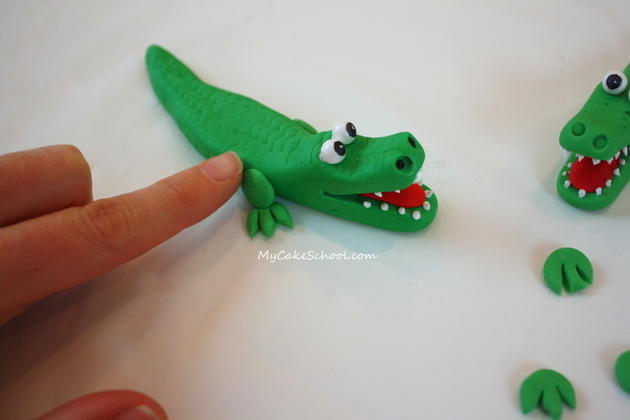
For feet, I flattened little round balls of gum paste and made a couple of slices in each one, and then pinched into pointed toes. They look like they are laughing at my feet making skills, don't they?
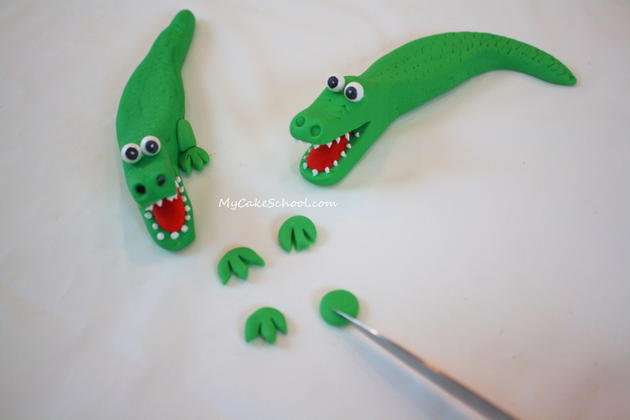
I used slightly dampened circles of gum paste to form the leg and hold the foot in place.
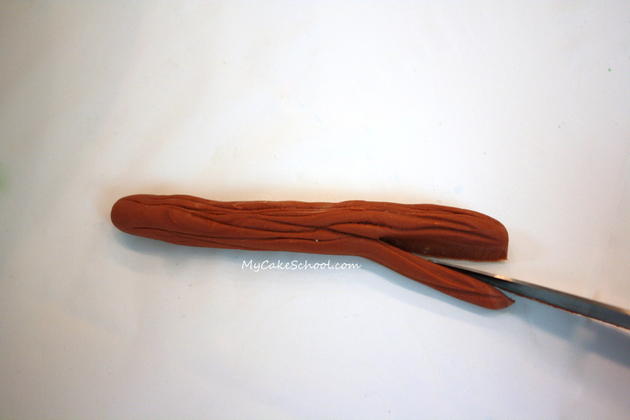
Next, for fun I decided to make our bottom border out of logs. I tinted some fondant brown (I used Americolor Chocolate Brown) and used my knife to create impressions and to form branches here and there.
Then, I pressed the branches around the bottom of our cake. (We used a 6 inch round cake, frosted in a crusting buttercream. You could use our Classic Vanilla Buttercream or Fluffy Vanilla Buttercream recipes.)
The rest of the accents that I made for our alligator party are really simple. I made a couple of cattails with green (20 gauge) floral wire and brown fondant, I made a fondant party hat, a fondant present, and a fondant cake with small buttercream accents!
I also added tall buttercream grasses & leaves using a Wilton Leaf Tip 70 (tinted Americolor Electric Green), and a buttercream pond with Americolor Sky Blue buttercream. Our sprinkles are leftover Wilton Halloween sprinkles but I liked the darker colors for this cake! ;0) --
Let's check up on our little friends....
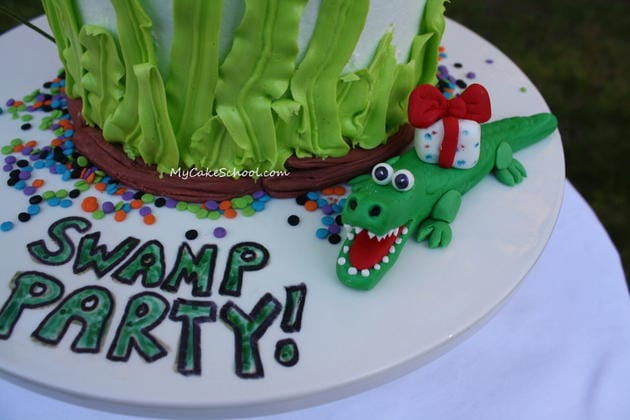
My "Swamp Party!" message is written with food coloring pen!
Now, for our alligator on top of the cake~
I thought it would be fun to use a real candle in his fondant cake :0)
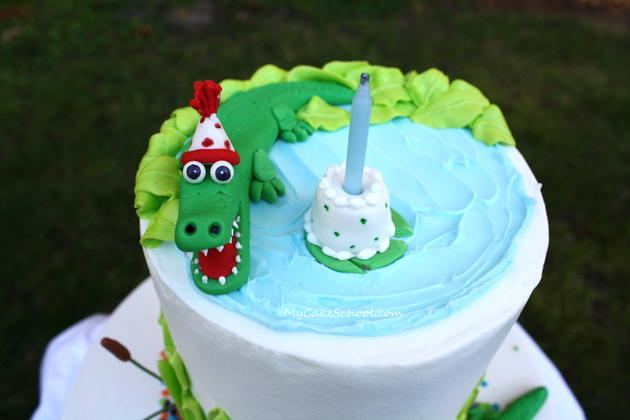
And we're done! Yaaay! Looks like a fun party to me!
Thanks for stopping by! I hope you'll make some party alligators of your own. Not only would they be sweet for young birthdays, but also for going away parties (See Ya Later, Alligator!) ;0) - Haha, just a thought.
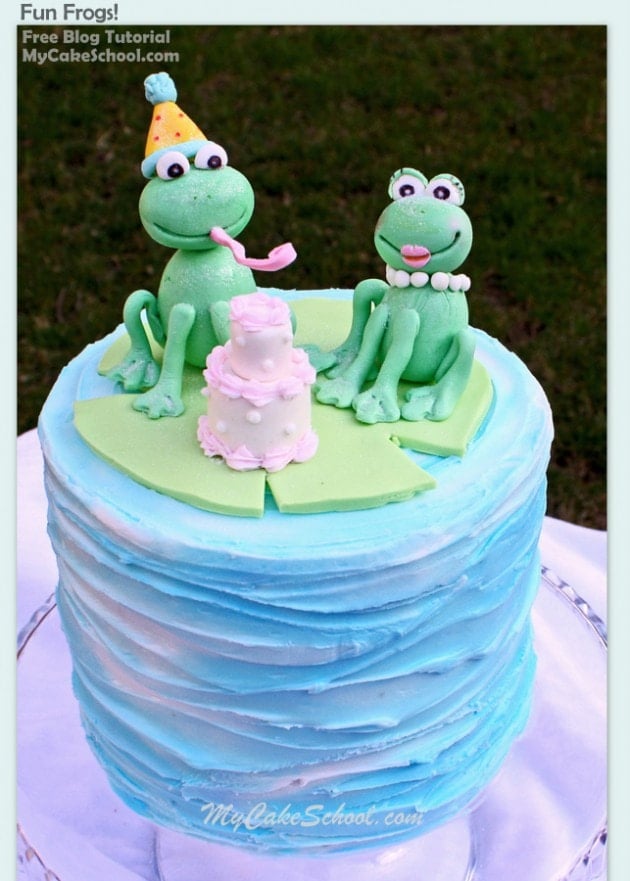
**Ready for more figure modeling modeling? How about these sweet frog cake toppers? :Free Frog Cake Topper Tutorial by My Cake School.
*Don't miss our full collection of tried and true Recipes for Cakes, Cupcakes, Frostings, and Fillings in our Recipes Section! We also have hundreds of FREE step by step cake tutorials and videos to share in our Free Tutorials Section. Enjoy!

very cute!
A very cute alligator! My son would love it!
Thank you very much for this tutorial.
Kisses from Barcelona Catalonia :-)
I love it!!!!
Love the hint about using the cake server or serrated knife to add texture. You are a genius!
Super cute!!!
Thank you! So cute and you make it look SO easy!!
Too Cute :-D
Olá Melissa, que lindo, obrigada por compartilhar o passo a passo, seus trabalhos são maravilhosos.
Bjs
Really fantastic!!!! I like it very very much! A thank you for this great tutorial!
how adorable, can't wait for the chance to use this one!
thanks for the tutorial!
What a fabulous cake, I love the idea of using it as a going away cake as well as for birthdays. Great alligators, you make it look so easy. GG