Angel Food Cake
This elegant Angel Food Cake makes the perfect light and flavorful dessert for any occasion!
If you are a fan of angel food cakes, you will love this delicious recipe, topped with homemade whipped cream and berries.
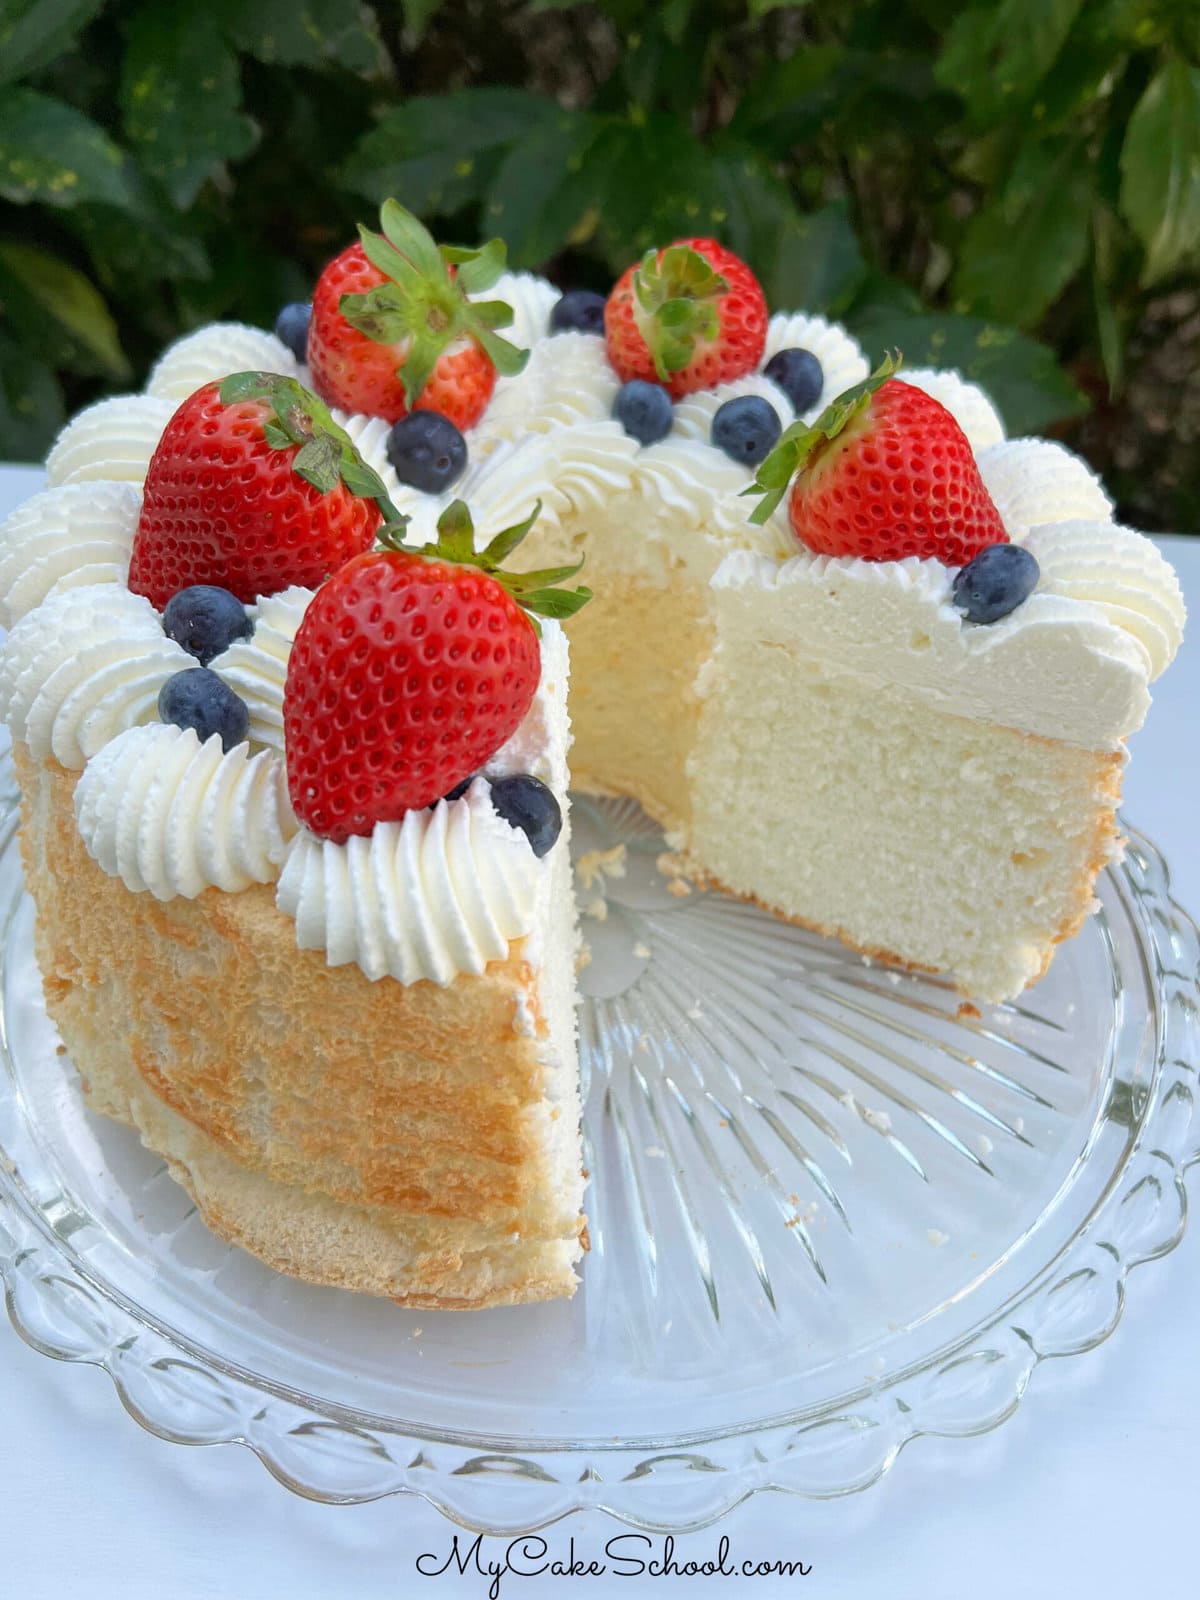
Table of Contents
Why we Love It
There are many reasons to love this Angel Food Cake recipe! Here are just a few:
- Super light yet moist.
- Made from simple ingredients.
- Classic cake recipe (just as many of our other favorites including Italian Cream Cake, German Chocolate Cake, and Banana Cream Cake.)
- Perfect birthday cake recipe, potluck dessert, or recipe "just because"!
Angel Food Cake Ingredient Notes
Here's a quick look at a few of the key ingredients! Find the full recipe card at the bottom of this post.
- Egg Whites from fresh eggs rather than liquid egg whites from a carton.
- Cake Flour contains less protein than all purpose flour, which makes for a softer, more tender crumb.
- Cream of Tartar adds volume and acts as a stabilizer for the whipped egg whites.
How to Make Angel Food Cake
You can find the full, printable recipe for classic Angel Food Cake at the bottom of this post. Here is a quick look at our steps!
- First, a quick note: Do not grease the tube pan/angel food cake pan (do not use a bundt pan or nonstick pan). Lower the oven rack to next to lowest position. Do not preheat the oven.
- One at a time, carefully separate each egg over a small bowl, allowing the white to fall into it (no yolks in this recipe). Transfer each egg white one at a time to the mixing bowl as you work. Even a trace of egg yolk may prevent the egg whites from whipping properly. We prefer to use an egg separator for this step.
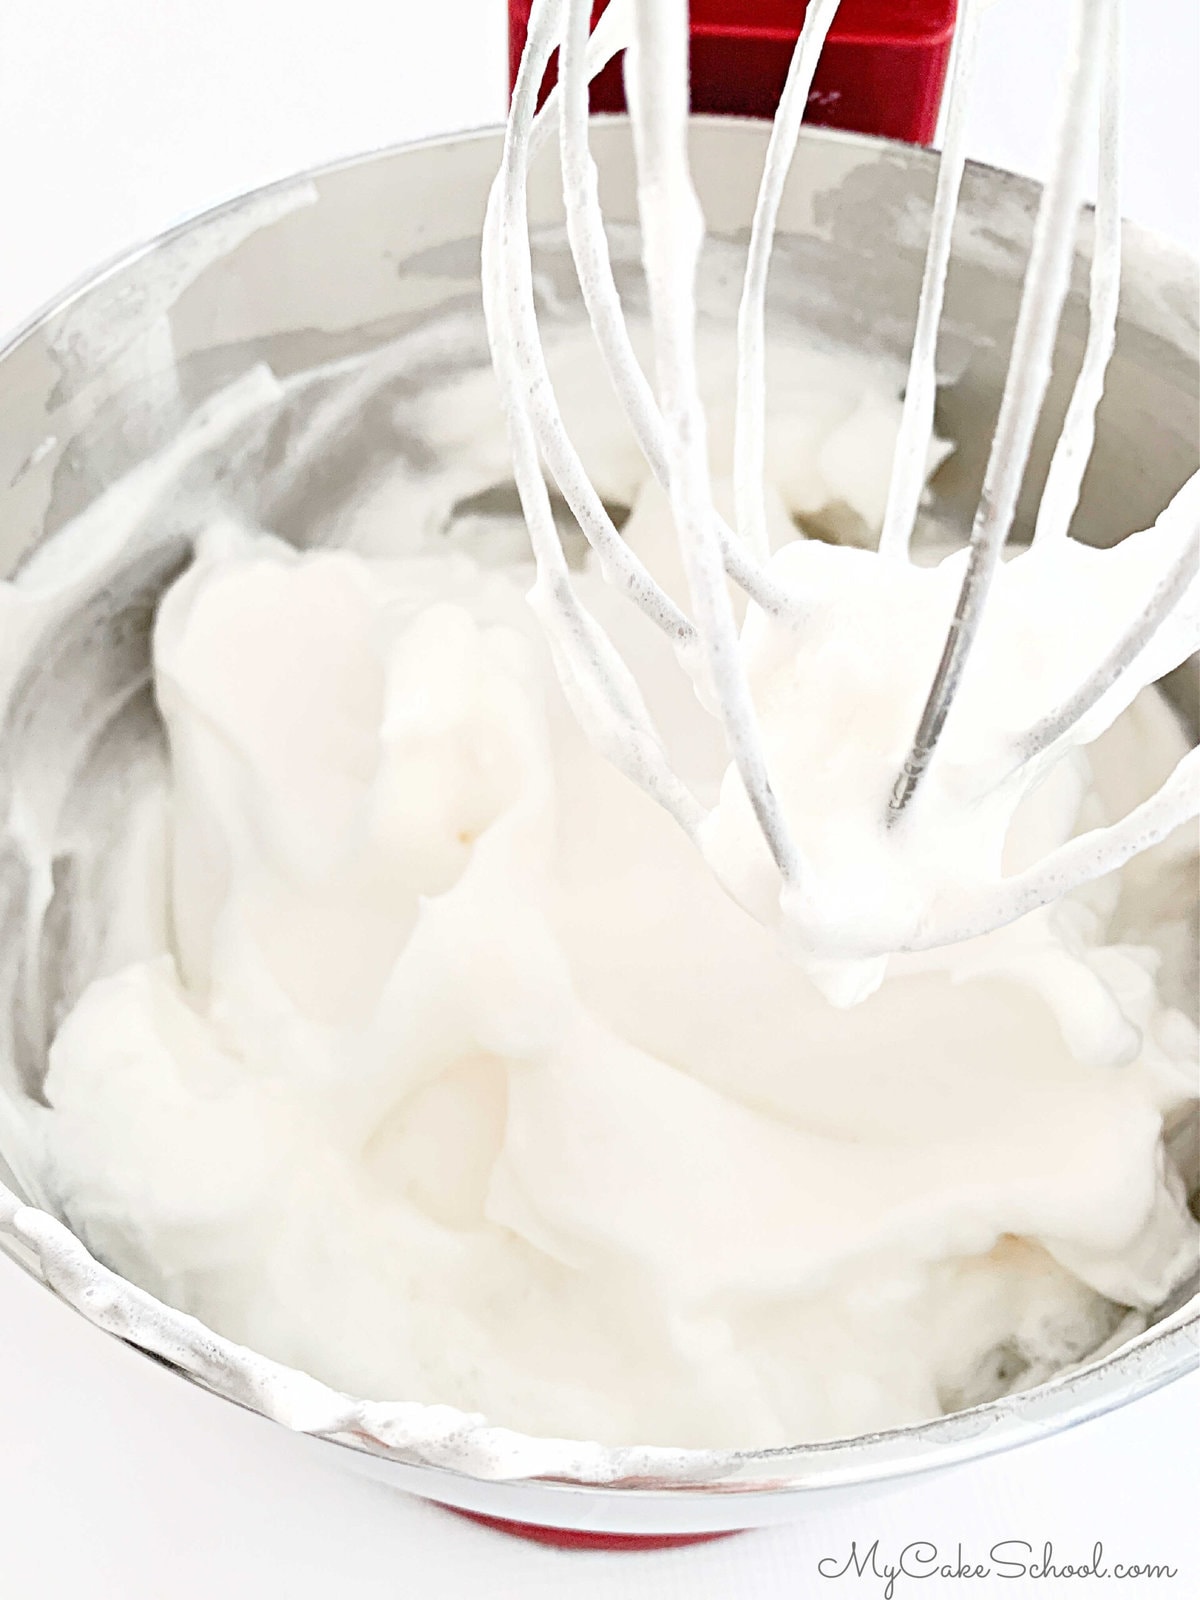
- Then, in the bowl of your mixer, combine the egg whites, cream of tartar and vanilla. Mix on medium speed using a. whisk attachment (if using a stand mixer) until stiff peaks form. Set aside.
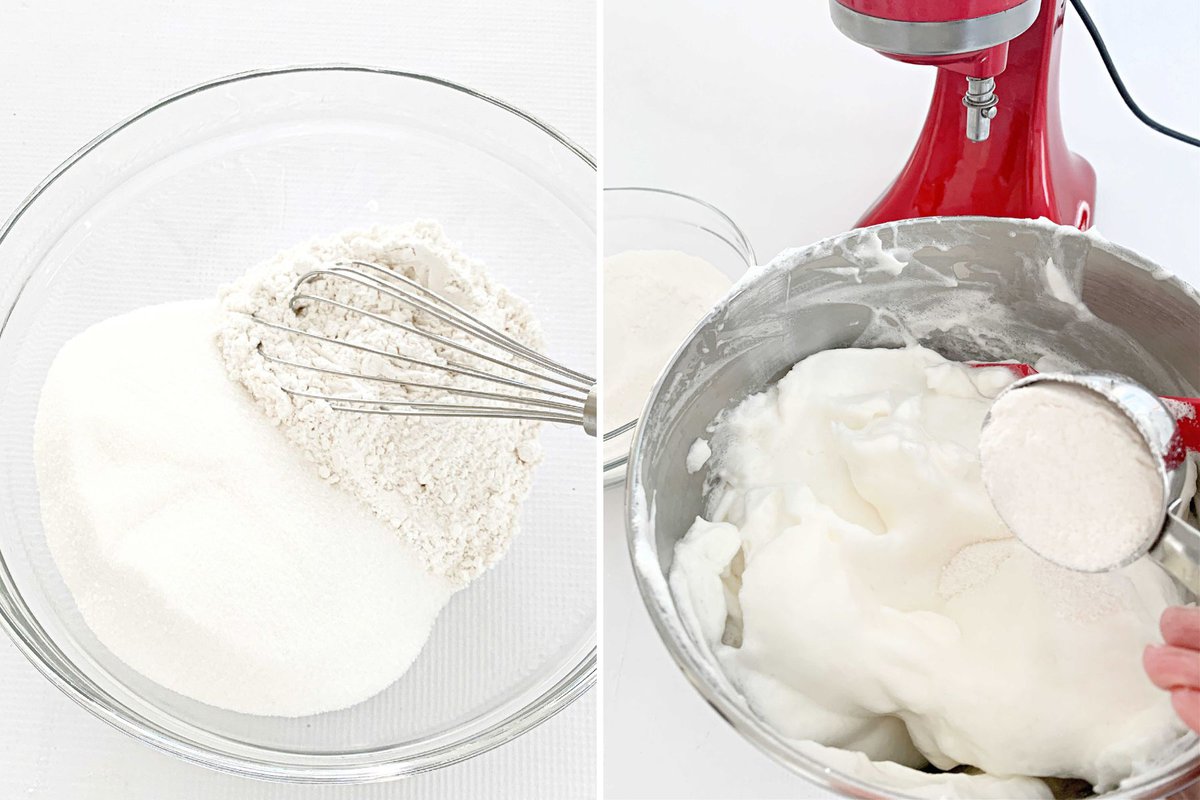
- In a separate bowl, add the cake flour, sugar, and salt. Whisk this for at least one minute.
- Using a spatula, fold in the flour mixture ¼ cup at a time. Lift and fold from the bottom to be sure that all is blended.
- Spoon the batter into an ungreased tube pan, moving the batter around to eliminate air pockets.
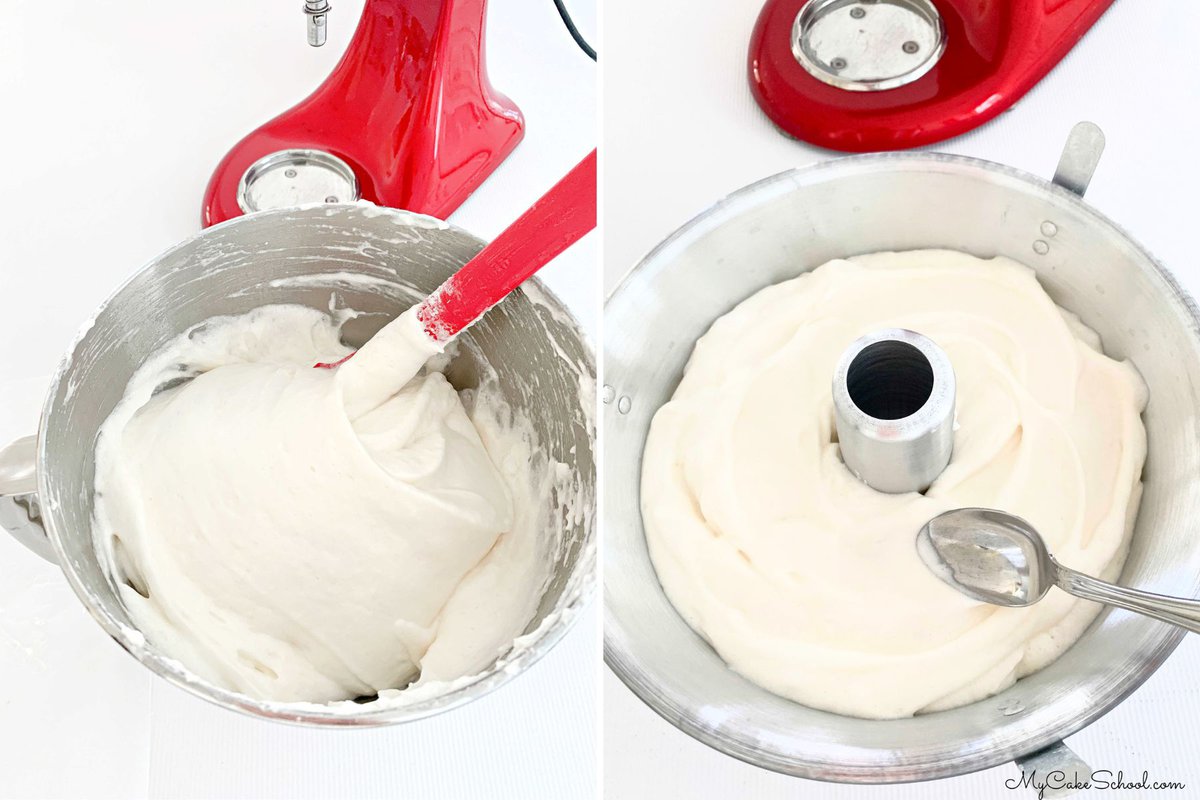
- Lower the oven rack to the lowest position if you haven't already. Put the pan into a cold oven.
- Turn the temperature to 325℉. Bake until the cake becomes golden brown and a skewer inserted into the center comes out clean. This will take approximately 45 minutes to one hour. If the top becomes too brown before it is done, cover with aluminum foil.
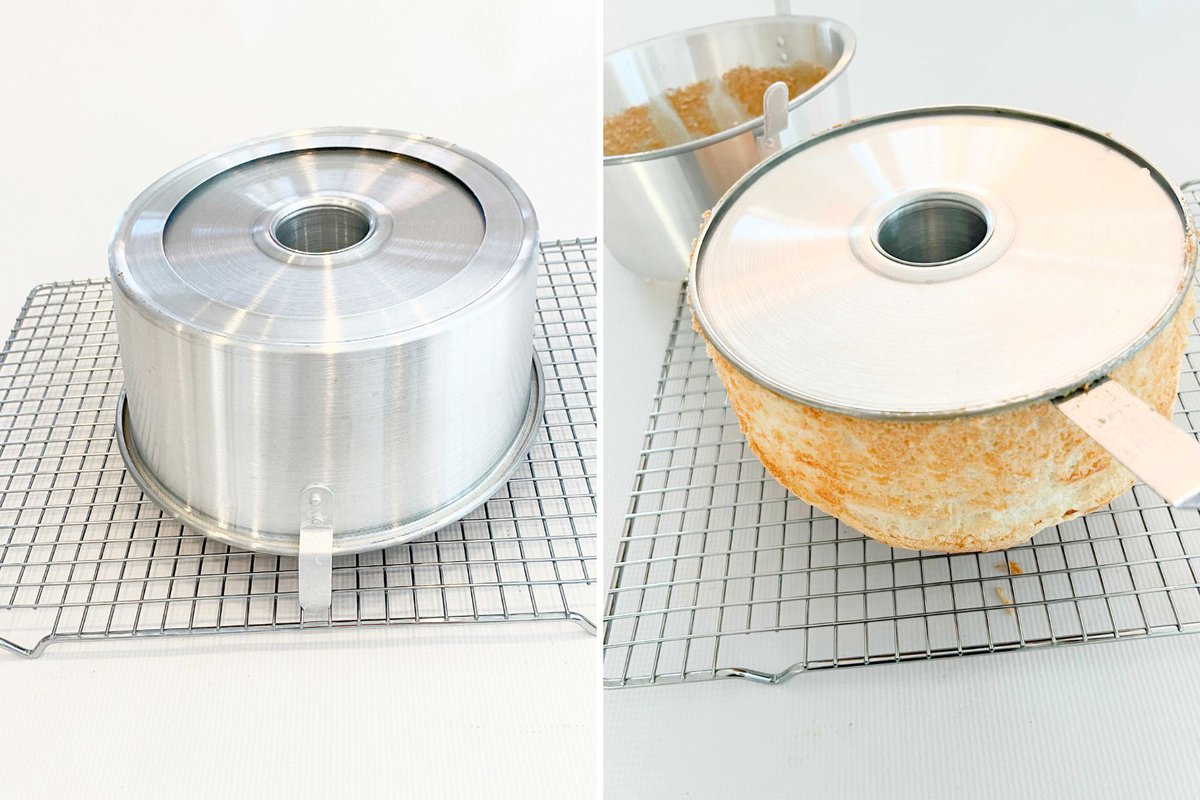
- Once done, turn the cake pan upside down on the countertop for about 1-1½ hours. When completely cooled, use a thin knife around the outside of the cake to loosen. Then, lift off the pan. If you have a two part pan as we did, you will also need to run a knife around and lift off the second piece: the bottom/core of the pan as well.
Decorating the Cake
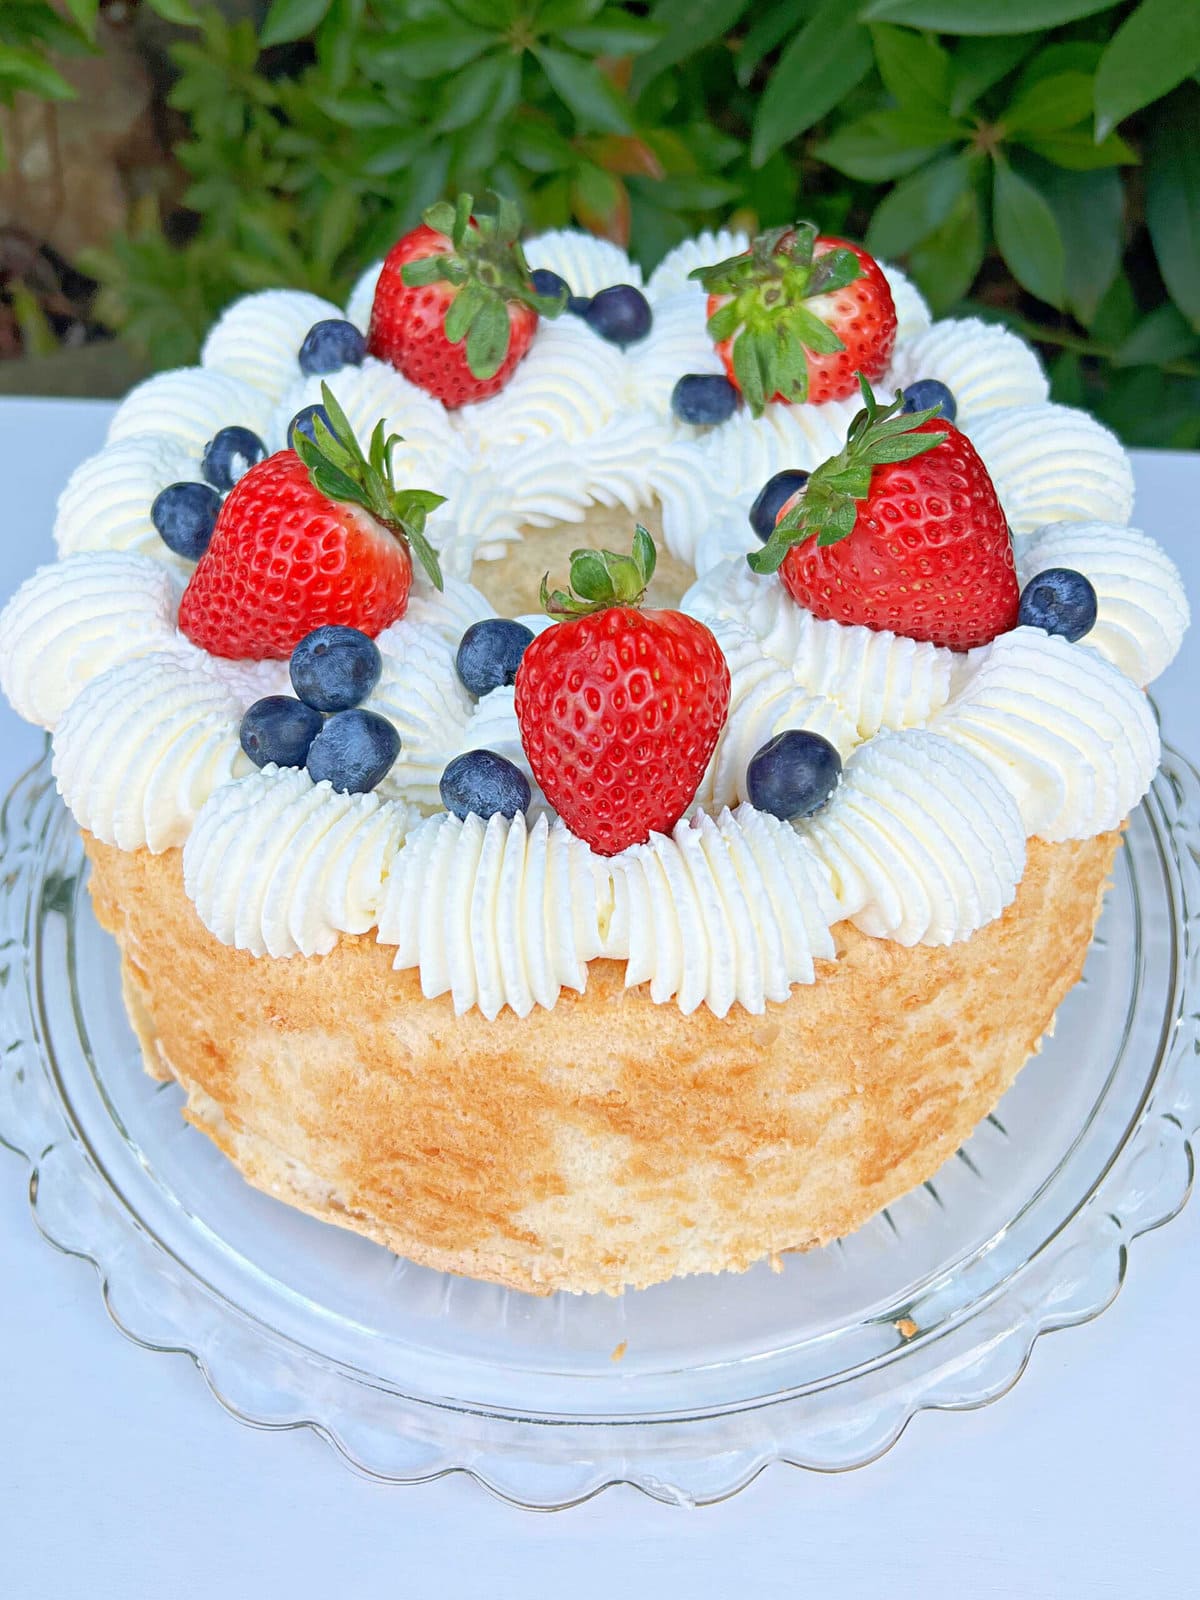
You can serve the angel food cake just as it is, but we prefer to top it with berries and whipped cream! You can find the instructions for the whipped cream in the recipe card below.
It is a very simple combination of heavy cream (or whipping cream), powdered sugar, and vanilla extract. Whip in a chilled bowl with chilled beaters until stiff peaks form.
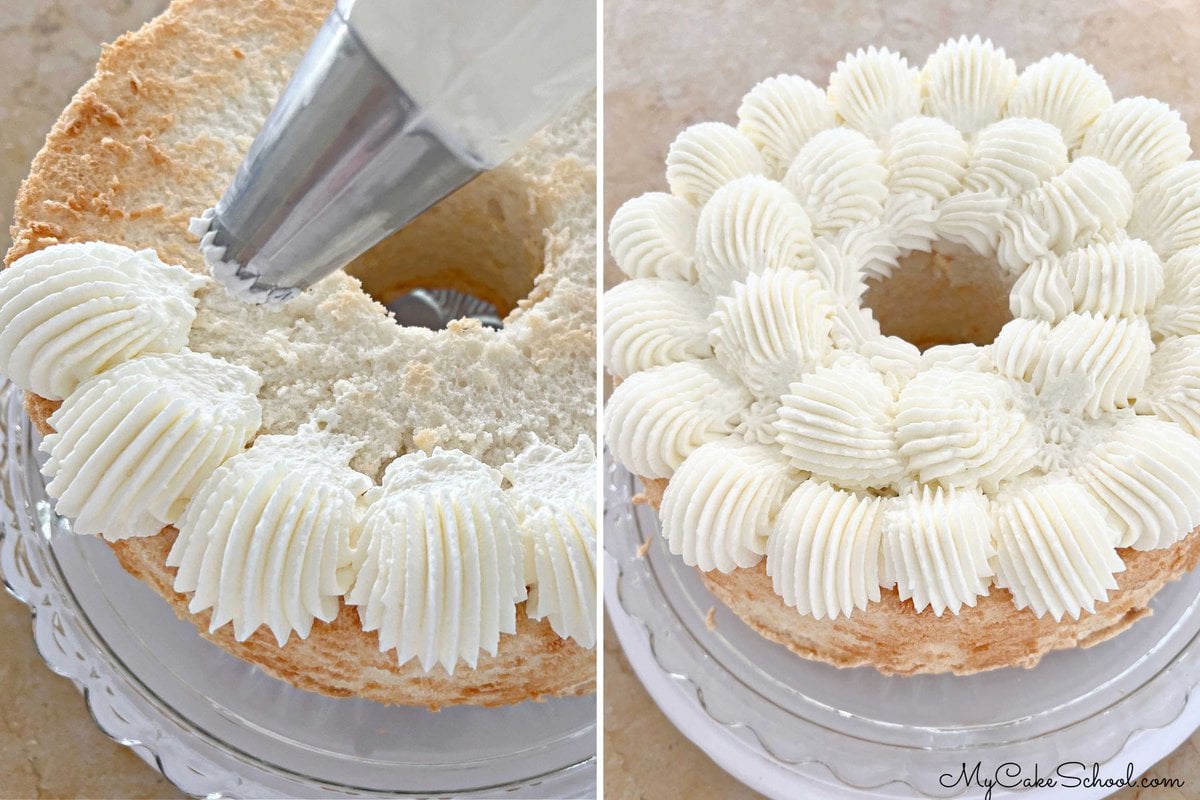
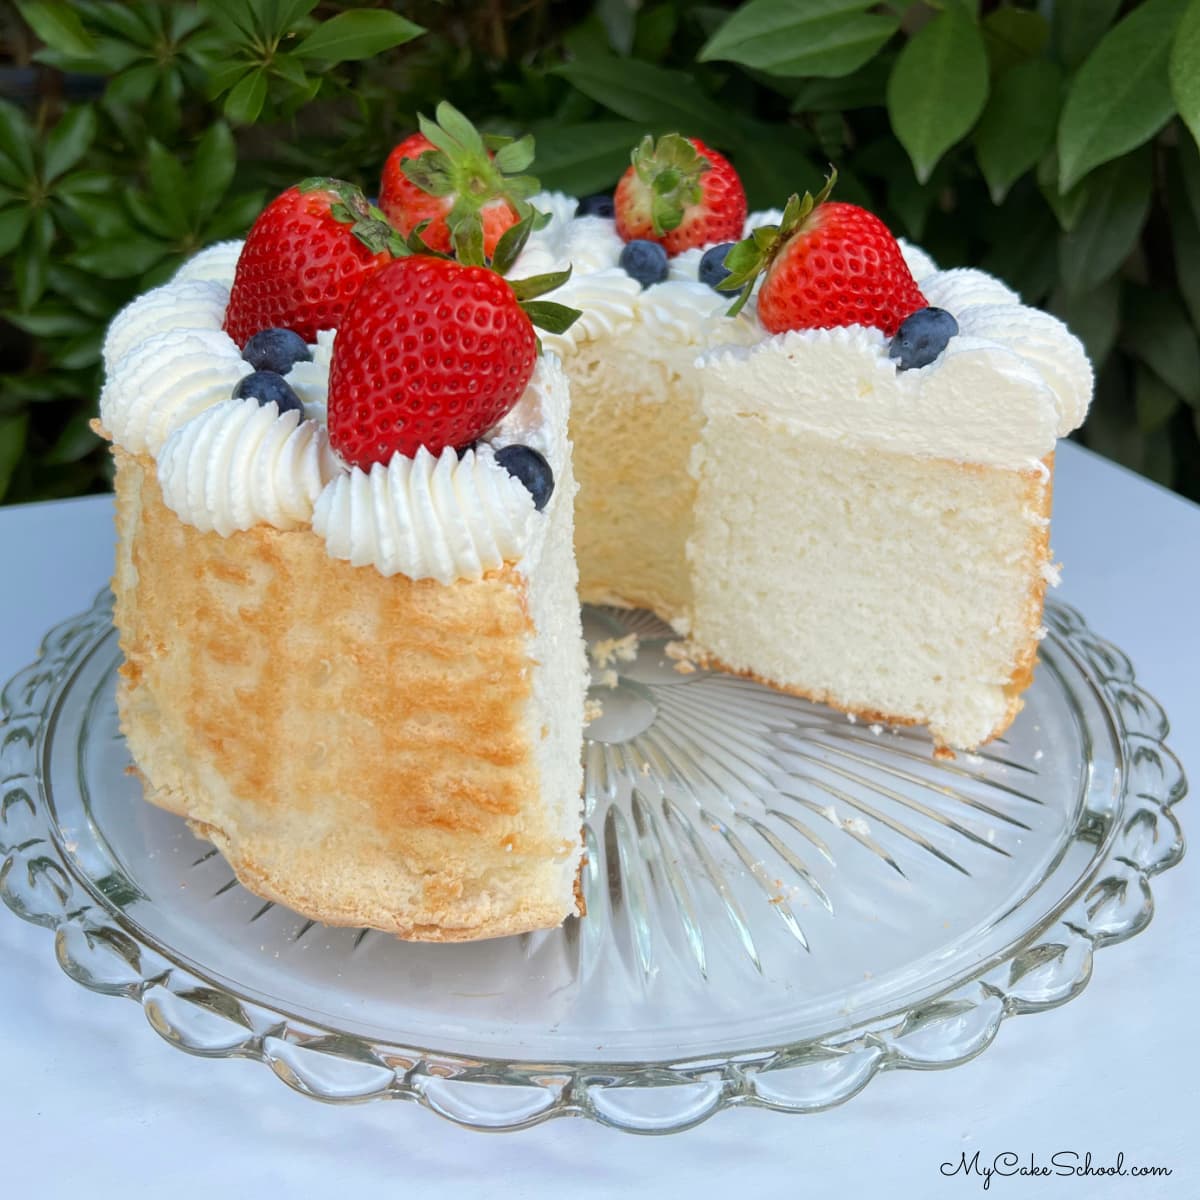
We decided to pipe the whipped cream onto the cooled cake using a large french tip (869) before adding our berries!
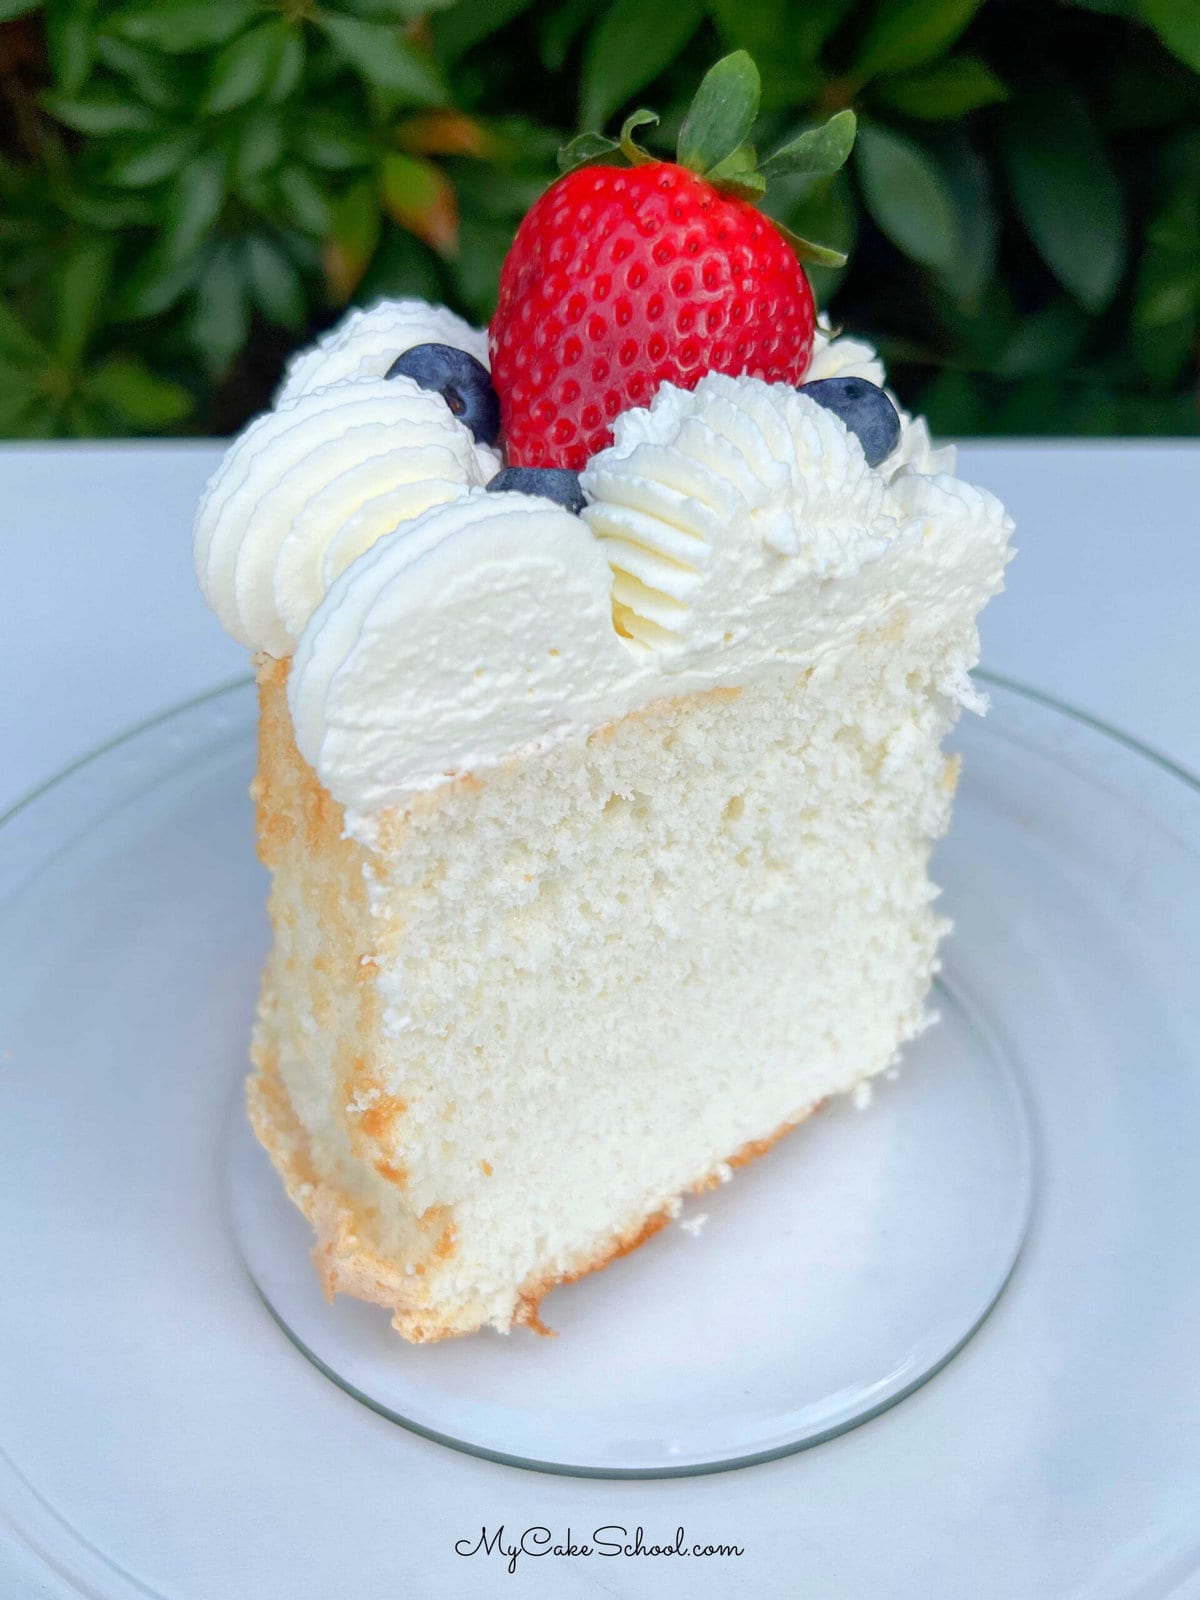
Here's a look inside.
Recipe FAQs
Fruity Cakes
In addition to today's Angel Food Cake, we have many more light and fruity cakes that you are sure to love.
Some of our favorites are our Berry Chantilly Cake, Strawberry Cake, Berry Cheesecake Cake, and Strawberry Shortcake Cake! If you're looking for a twist on today's recipe, make sure to check out our Lemon Angel Food Cake also!
Thanks so much for stopping by! We hope that you enjoy the recipe. Make sure to check out our full collection of Cake Recipes, including cake recipes from scratch as well as cake mix recipes!
If you would like to learn more about cake decorating, make sure to visit our collection of hundreds of free cake decorating tutorials as well.
Have you made this? We would LOVE for you to leave a ⭐️ rating as well as a comment and photo below! We really appreciate your feedback!
Angel Food Cake
Ingredients
- 1½ cups egg whites from 10 or 11 large eggs (Don't use liquid egg whites in carton)
- 1 teaspoon cream of tartar (3g)
- 1 teaspoon vanilla extract (4g)
- 1¼ cups cake flour (143g)
- 1½ cups white sugar (300g)
- ¼ teaspoon salt
For the Sweetened Whipped Cream
- 1 ½ cups heavy cream (360g)
- ¼ cup powdered sugar (29g)
- 1 teaspoon vanilla extract (4g)
Instructions
- Use an (ungreased, non-stick) straight-sided tube pan or angel food cake pan. Lower the oven rack to a low position-we used the next to last position. Do not preheat the oven.
- One at a time, carefully separate each egg over a small bowl, allowing the white to fall into it (no yolks in this recipe). Transfer each egg white one at a time to the mixing bowl as you work. Even a trace of egg yolk may prevent the egg whites from whipping properly. We prefer to use an egg separator for this step.
- Then, in the bowl of your mixer, combine the egg whites, cream of tartar and vanilla. Mix on medium speed using a. whisk attachment (if using a stand mixer) until stiff peaks form. Set aside.
- In a separate bowl, add the flour, sugar, and salt. Whisk this for at least one minute.
- Using a spatula, fold in the flour mixture into the whipped egg whites ¼ cup at a time. Lift and fold from the bottom of the mixing bowl to be sure that all is blended.
- Spoon the batter into an ungreased tube pan, moving the batter around to eliminate air pockets. Once in the pan, lightly smooth over the top of the batter with the back of a spoon.
- Lower the oven rack to a low position if you haven't already. Put the pan into the cold oven.
- Turn the temperature to 325℉. Bake until the cake becomes golden brown and a skewer inserted into the center comes out clean. This will take approximately 45 minutes to one hour. If the top becomes too brown before it is done, loosely cover with aluminum foil.
- Once done, remove the cake from the oven and turn the angel food cake pan upside down on the countertop for about 1-1½ hours. When completely cooled, use a thin knife around the sides of the cake to loosen in the pan. If using a two-part Angel Food Cake pan as we did (which has feet and a removable bottom/core), you will then, lift off the pan. You will also need to run a knife around and lift off the bottom/core of the pan as well.
- Serve the cake plain or with whipped cream and berries.
For the Whipped Cream
- Chill the mixing bowl and beaters/ whisk attachment in the freezer for 10 minutes.
- Pour the whipping cream, powdered sugar and vanilla into the chilled mixing bowl, begin beating on low speed gradually increasing to medium high speed.
- Mix until stiff peaks form. (This will take about 1 ½-2 minutes).
- We applied our whipped cream using a large french tip 869, and topped with strawberries and blueberries.
- If you add whipped cream as we did. The cake should be refrigerated in an airtight container (preferably) or under a cake dome or sealed bakery box until within an hour or two of serving.

Looks light and delicious! :-) Awesome as always!
Thanks Teri! ;0)
gorgeous cakes
Thank you!
Hello Ladies. I will be trying your recipe for Angel Food Cake soon and would love to know why we should not preheat the oven. That is a very different step to take for any baking. :)
Also, do you think it would work to make half the recipe with some cocoa powder and make it a black and white combo?
Hi Mary! I'm glad that you plan to try the recipe :0) - Angel food cakes are often (but not always) placed in a cold oven first and then brought to the baking temp. Baking more slowly is supposed to allow the leavening more time to work its magic before the cake sets. This results in taller, fluffier cakes.
As for your cocoa powder question, I'm not sure. It would definitely be an experiment. If you give it a try, let us know how it goes!
Just wanted to let you know that I did make your Angel Food Cake recipe. And it did just like you described; it grew so tall and soft, even though you don't preheat the oven! That was something I had to see for myself. Maybe next time, I will try the cocoa addition and see what happens. BTW, I save all my egg whites in the freezer until I have a jar full and have never had a problem using thawed whites for a recipe.