Birdhouse Cake- A Cake Decorating Video Tutorial
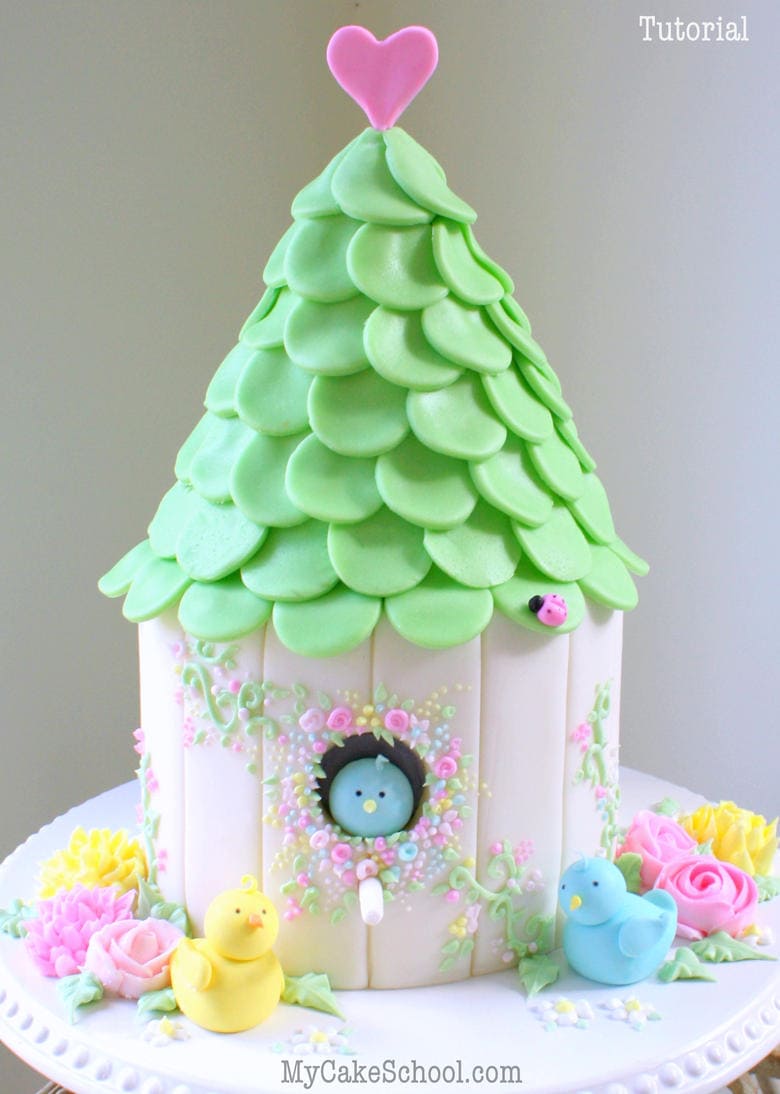
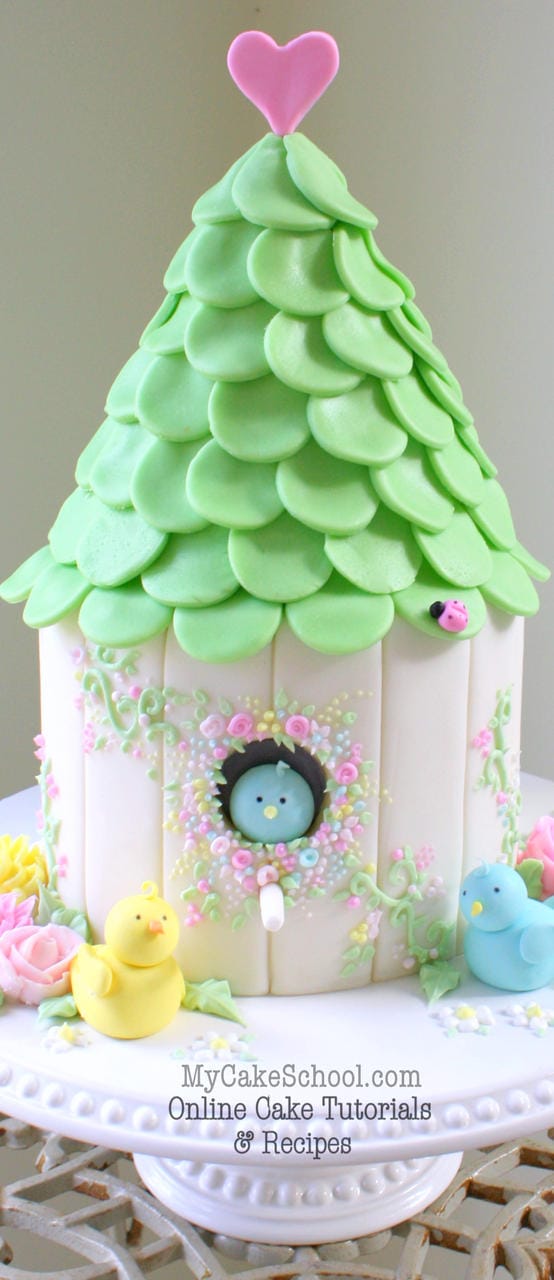
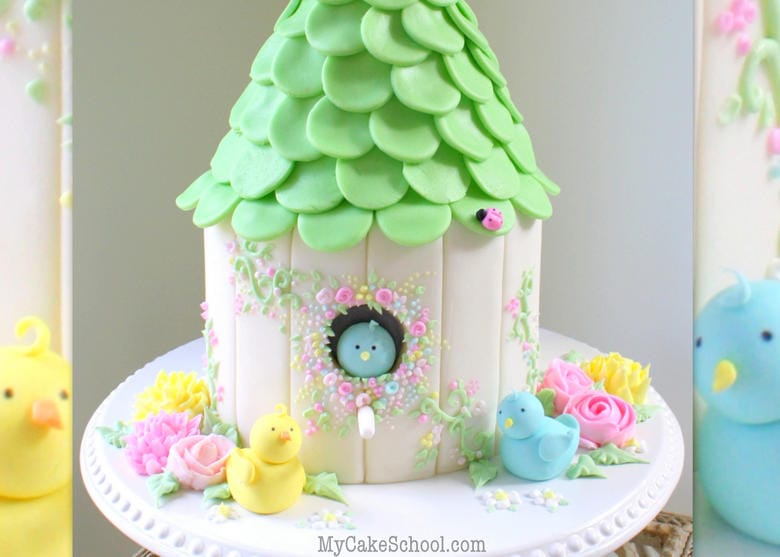
In this free cake decorating video tutorial, we'll show you how to make a CUTE Birdhouse cake!

I just love bird themes- they make the most wonderful centerpieces for springtime showers & birthdays! Our design today has a fairly simple construction, and although we are using ganache & fondant as our medium, you can easily adapt to buttercream!
Enjoy the tutorial, and make sure to check below for additional notes and materials!!
Materials:
We used a total of four 6" layers and one 4" layer. (there were three 6" layers on the bottom tier, and the roof tier was made from one 6" & one 4" layer.)
Fondant: Appox 36 oz. (1020 g)
White Chocolate Ganache: Approx. 1898 g/66 oz total (This means a 3:1 ratio of white chocolate to heavy cream. We used approx 1424 g (50 oz) white chocolate to 474 ml (16 fl. oz) heavy cream. ***We based these amounts on the ganacherator amounts for two six inch tiers (4 inch height). Since our bottom tier was over 4 inches height and our top tier was carved and shorter, it seemed to be a good middle ground.
Buttercream: We used our Fluffy Vanilla Buttercream Recipe from our Recipes section (crusting) For our misc. piping and flowers.
Coloring Gels: We used Americolor Lemon Yellow, Sky Blue, Super Black, Avocado Green, and Wilton Rose & Wilton Leaf Green. (Our shingles and buttercream leaves were tinted avocado green with a touch of leaf green.)
Food Coloring Pen for birds' eyes (You can pipe on buttercream if you'd rather)
Tylose (optional) I like to knead tylose into my fondant for modeling the birds to make them set up faster & firmer. You could also use gum paste.
Piping Gel or your "glue" of choice
Misc: Cake cardboards, bubble tea straws for supports (we used 4 in the bottom tier and 1 in the top tier)
Rice cereal treats (Three 22g. treats) for the point
Circle cutter/piping tip for shingle cut-outs
Heart cutter for topper
Lollipop sticks for perch and topper
Ruler for marking your lines
Cutting wheel or your tool of choice for creating impressions
Long rolling pin for applying fondant to tier
Misc: Shortening, small paint brushes, piping bags, couplers, waxed paper
Piping Tips: Small round tips 3 or 4. Petal tips (crescent shape) 79, petal tip 104, 10, leaf tip 352

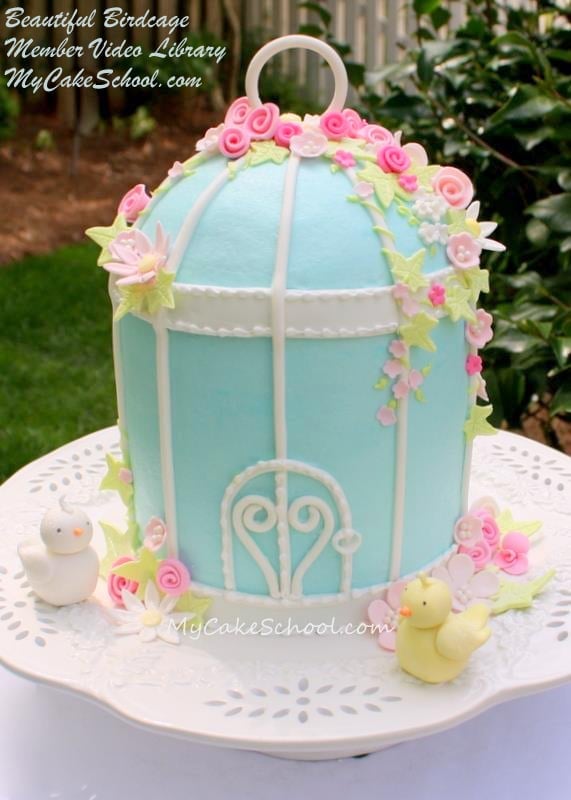
Love Bird Themes? You may also like our Birdcage Cake Tutorial


Love this cake. What cake recipe did you use?
That is super cute! I love it! If it's done in buttercream the pulled dot technique would make a great texture for the roof. Starting at the bottom and pulling them up. But I love the fondant roof :)
Stinkin cute and fabulous as always! :)
@Tammy- Thanks! We used the white almond sour cream cake (doctored mix recipe) from the Recipes section. If you make this recipe, you'll want to do a double batch.
@MsGF- So glad that you like it! We think alike, I actually mentioned that petal (pulled dot) technique for the roof at the end of the video for anyone doing buttercream-- that would be adorable. Glad you mentioned it for anyone that doesn't make it all the way to the end! ;0)
This cake is too cute!! Love this along with all your other videos!!
Thank you Susie!! xoxo
That is just about the cutest thing I have ever seen! Simply adorable!
Thanks so much TerriLynn!!! ;0)
I love this cake! I think I say that about all of your cakes LOL. I can not wait to make this one for Easter:) Thank you for the tutorial, I love it!
~Jennifer
Thank you Jennifer!! I'm glad to hear that you plan to make this! xoxo
Love Love Love! Will definitely be doing this cake! What petal technique are we referring to if done in buttercream? May have to give that a try also
Thanks Melissa!! I'll link the buttercream petal technique below that would work for shingles also. The difference would be that you would pipe your rows of dots horizontally starting from the bottom of the cake, and drag the frosting upward (rather than piping vertically & spreading horizontally as in the video below.)
Cutest cake I've ever seen. You make it look so easy!