Black Forest Cake Recipe
Today I'm going to share a delicious cake recipe for homemade Black Forest Cake!
The rich chocolate flavor of this cake combined with cherries, cherry liqueur, and whipped cream is heavenly.
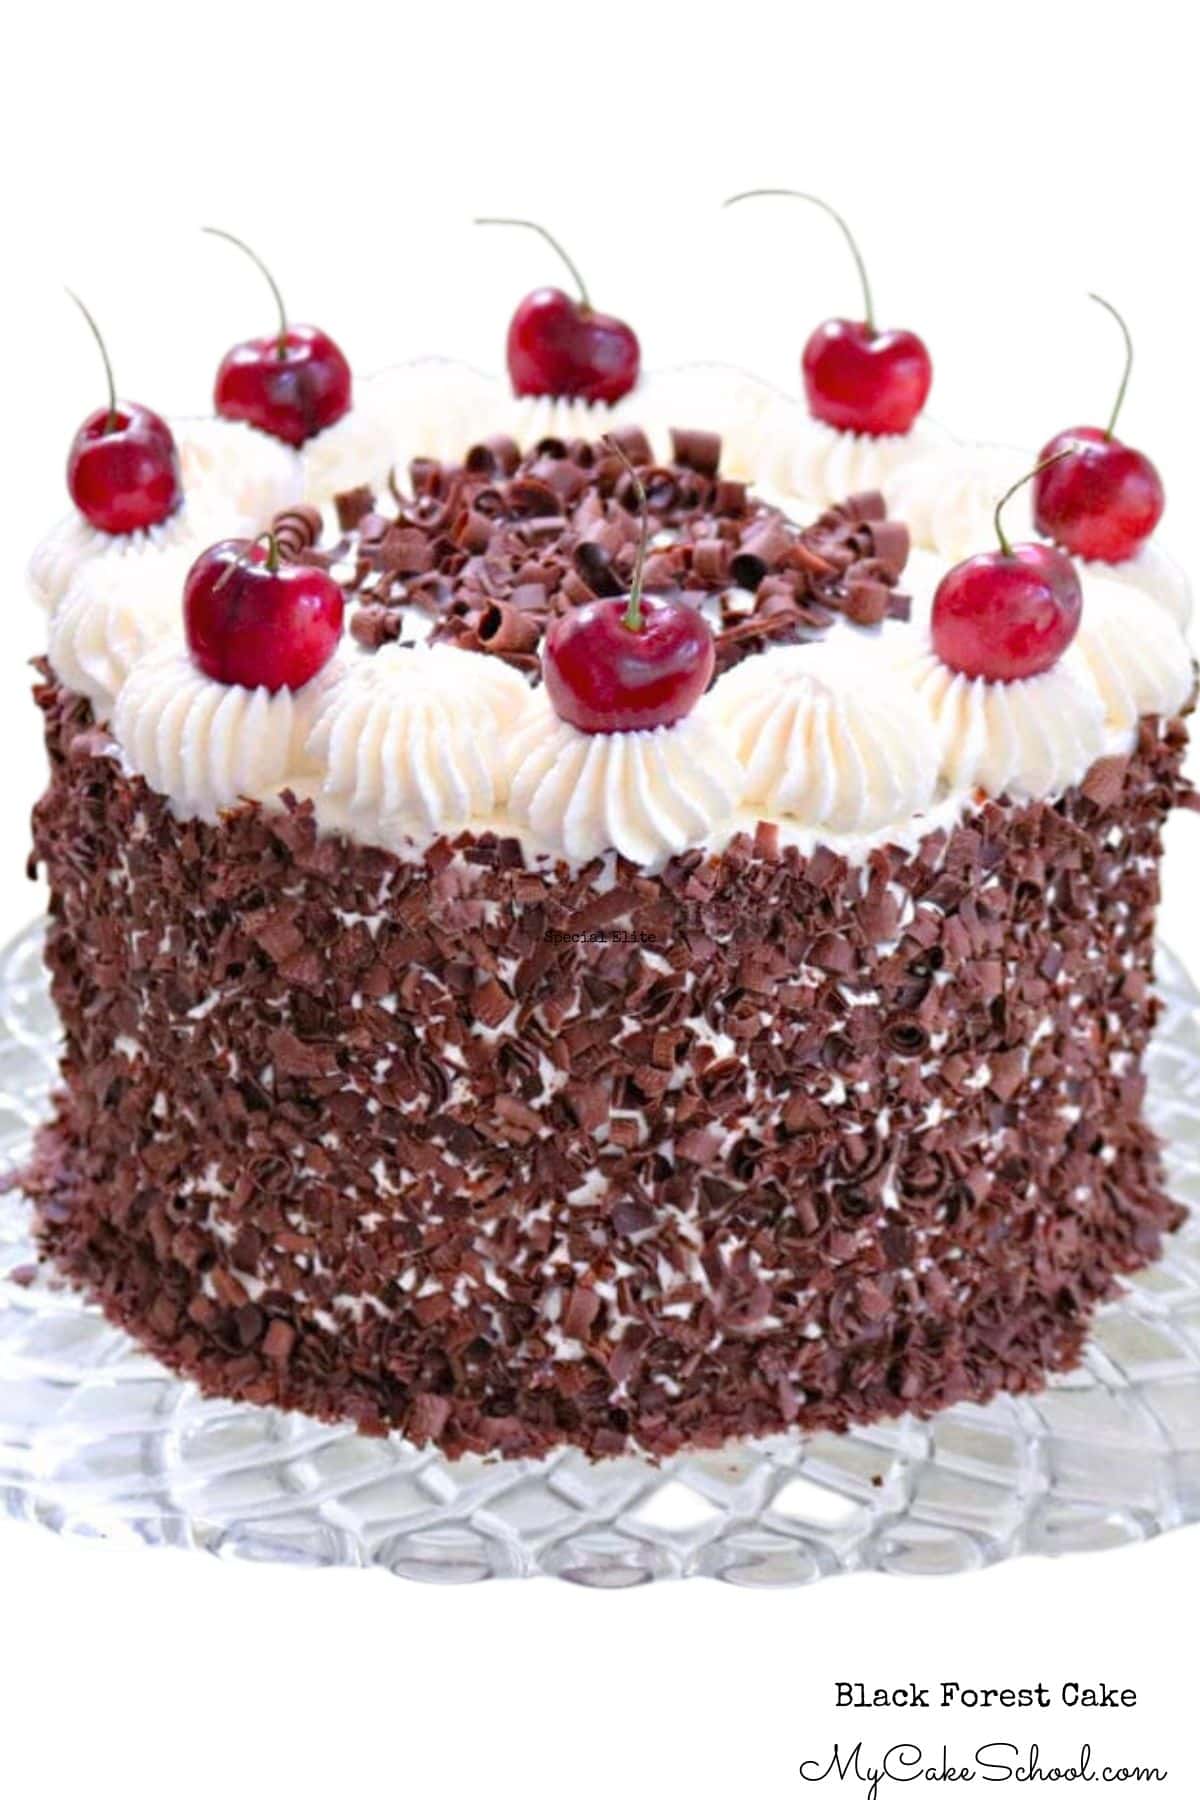
It is a sophisticated cake recipe that is sure to make any occasion feel more special, and is one of our most popular classic cakes!
Black Forest Cake has amazing flavor but isn't overly sweet, and its boozy Kirschwasser flavored cherry filling and homemade whipped cream make for a beautifully impressive, sophisticated dessert!
Table of Contents
Recipe FAQs
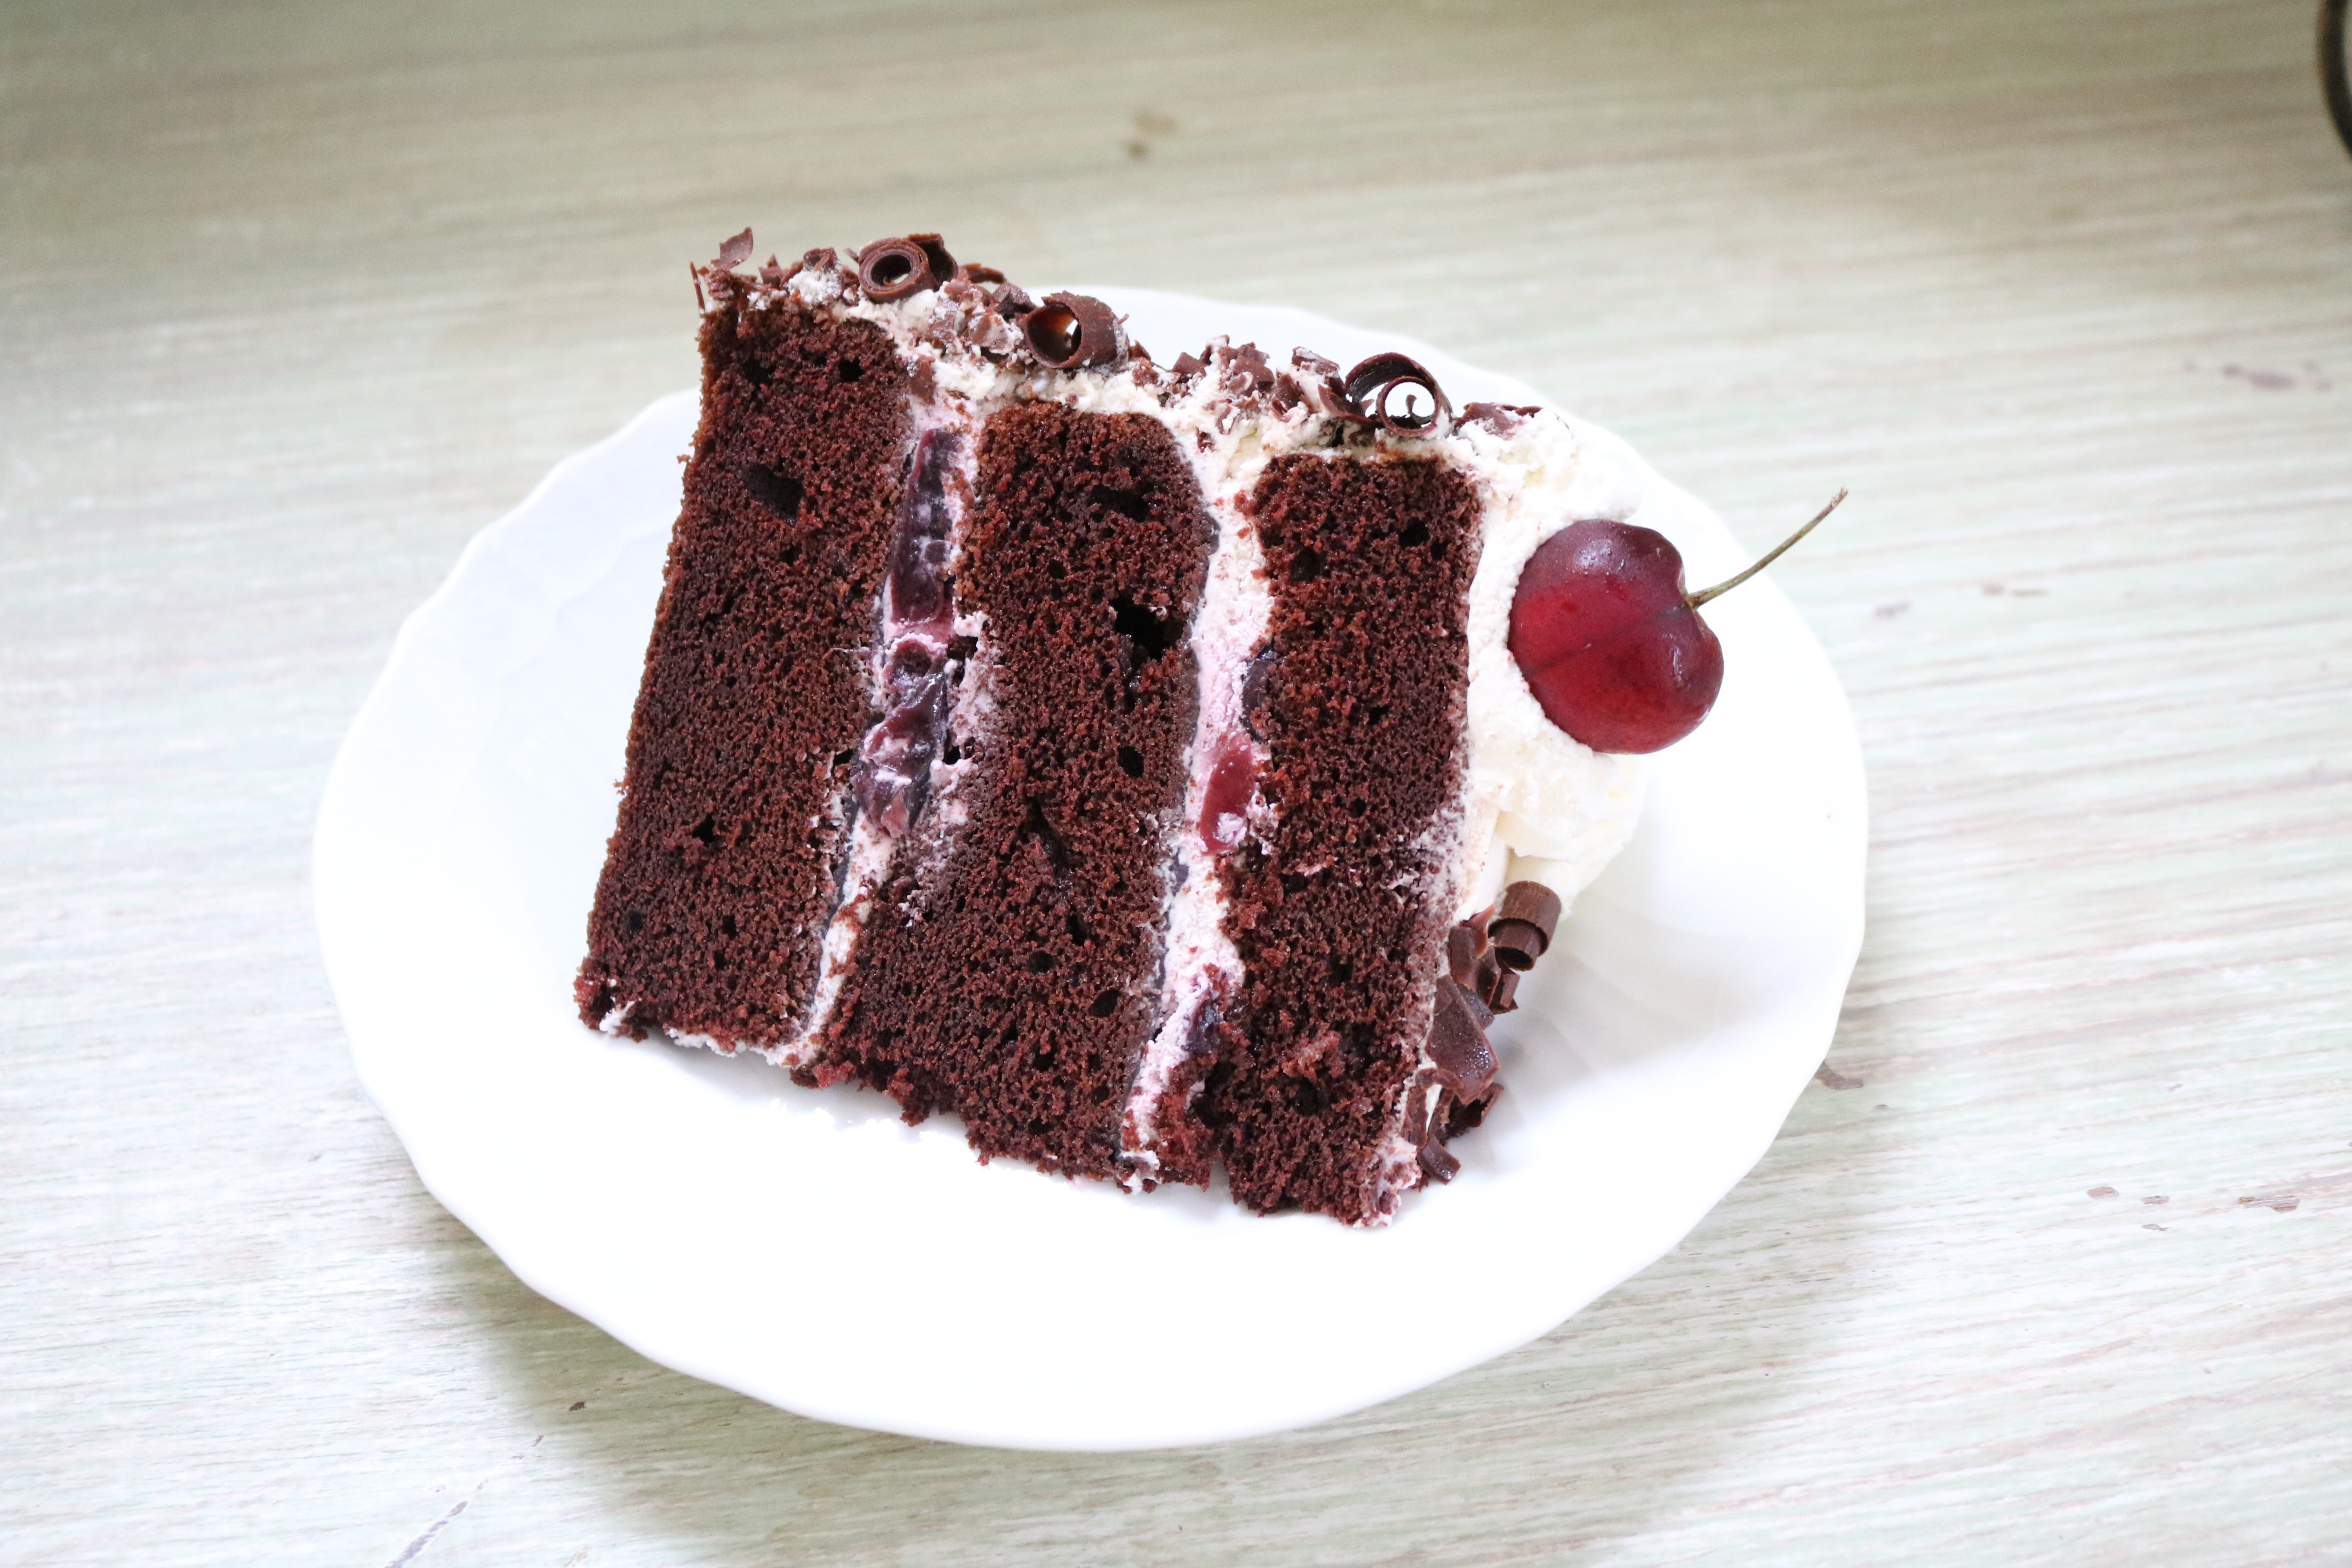
How to Make Black Forest Cake
*You can find the full, printable Black Forest Cake recipe at the bottom of this post. Here is a quick look at our steps!
For this recipe, we are using our favorite chocolate cake recipe - our Classic Chocolate Cake from scratch. This decadent scratch layer cake makes 9 cups of cake batter for our three 8 inch cake layers. I love that the assembled cake stands nice and tall!
- Preheat oven to 350 degrees F. Grease and flour three 8 inch cake pans
- In a mixing bowl, add the dry ingredients: sugar, all purpose flour, unsweetened cocoa, baking soda, baking powder, and salt. Whisk for 1 minute to blend.
- Add softened butter a few pieces at a time while the mixer is on low speed. Mix until the dry ingredients look like coarse sand and the dry ingredients are moistened. Scrape the bottom and sides of the bowl.
- In a separate bowl whisk the eggs, milk , vegetable oil and vanilla extract until blended.
- With the mixer on low speed, slowly add approximately half of the egg mixture to the dry ingredients. Increase the speed to medium and mix for 1 ½ minutes at medium speed. Scrape the bottom and sides of bowl. Add the remaining egg mixture in two pourings, mixing for 20 seconds after each pour. Scrape the sides and bottom of bowl.
- Slowly add the cup of hot coffee and mix another 30 seconds until blended. The batter will be very thin.
- Finally, pour the chocolate cake batter into the three prepared cake pans and bake at 350 degrees F for 25 to 30 minutes or until the center of the cake springs back to the touch and a toothpick comes out clean.
- Cool the cakes 10 minutes on a rack and then turn out of the pans. Make sure that the cakes are cooled completely before assembling the cake!
For the Cherry Filling:
For our cherry filling, we used a can of Sweet Dark Cherries (pitted) in a heavy syrup. We saved the syrup/cherry juice and drained the cherries, setting aside for later.
Next, we combined the cherry juice with a little water and cornstarch, and heated until thickened. Then, we gently stirred in the cherries and Kirsch and allowed to cool.
Whipped Cream
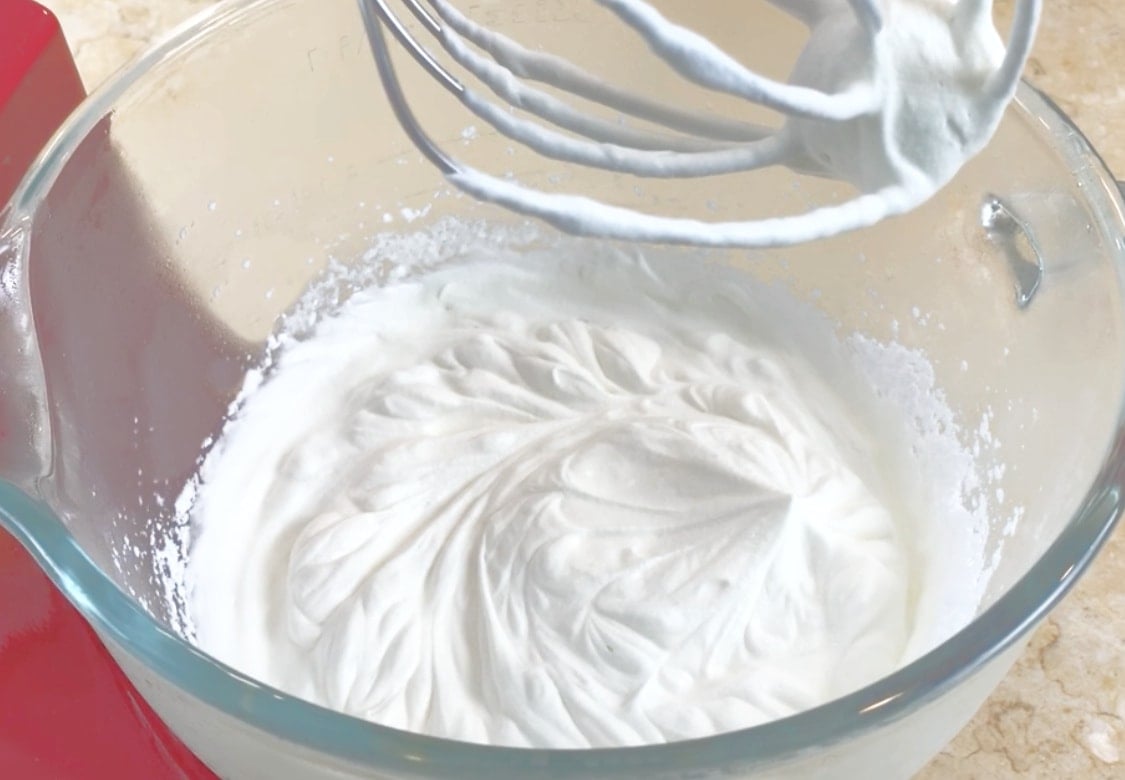
Next, we mixed up a batch of homemade whipped cream using a hand mixer. If you've never made whipped cream before, it couldn't be easier.
Simply chill a bowl and beaters/whisk attachment in the freezer for 10 minutes or so and whip the heavy cream and powdered sugar until stiff peaks form.
Assembling the Black Forest Cake:
Place the first chocolate cake layer on a cake stand or serving plate and use a pastry brush to apply a thin layer of Kirsch to the top.
Our chocolate cake is already very moist and so the main purpose of this step is to add cherry flavor to the cake. (You don't want to completely soak it).
Next, I applied the cooled cherry filling, followed by a layer of whipped cream. Add the second cake layer, brushing with more Kirsch, cherry filling, and whipped cream. Add the final chocolate layer, and brush the top with more Kirsch.
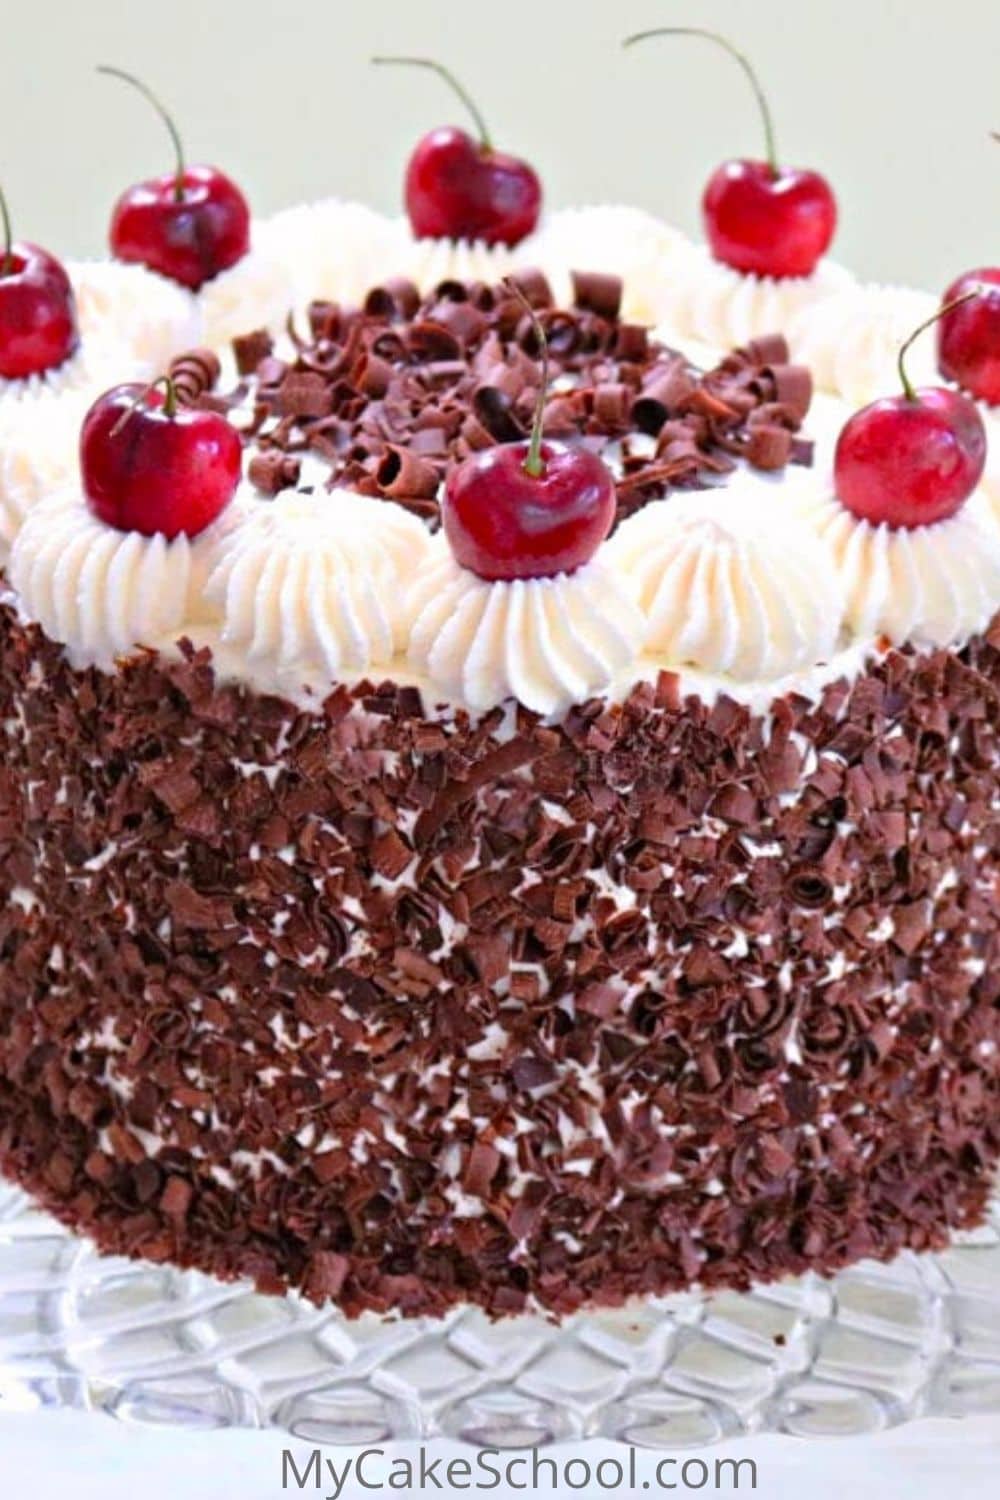
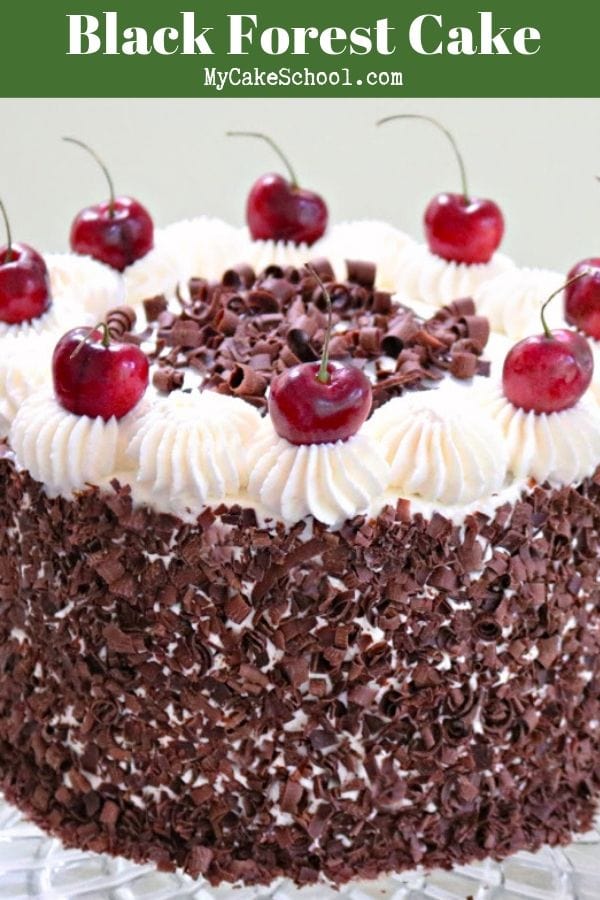
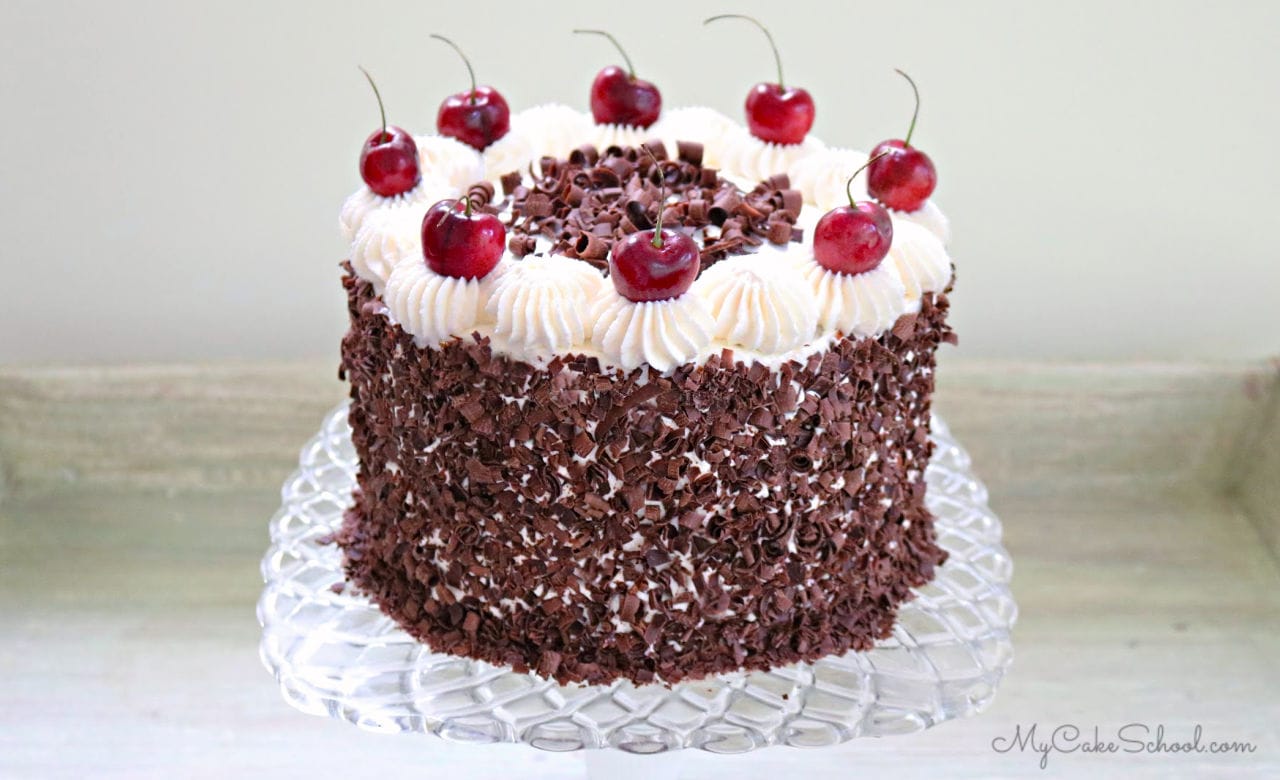
*We frosted the outside of the cake with the remaining whipped cream (reserving some for a top border) and pressed chocolate curls and chocolate shavings around the sides of the cake. See our note below about transport.
Transporting the cake:
We love whipped cream as a frosting for this cake, but if you are going to transporting it to an event, I would recommend a different frosting for around the sides so that you don't have to worry about the layers sliding.
Such a soft frosting that doesn't firm when chilled can make transporting a little risky. Our Classic Chocolate Buttercream or Classic Vanilla Buttercream would both be good options.
More Cherry Cakes
Here are a few more cake recipes for the cherry lovers in your life! All of these unique cake recipes are moist with wonderful cherry flavor.
You can find more cherry cakes in our Cake Recipes Section, as well as other classic cake recipes like Italian Cream Cake, Carrot Cake, German Chocolate Cake, and more!
We hope that you enjoy this Black Forest Cake recipe! Whether you are looking for a stand-out birthday cake or a beautiful cake for a dinner party, this recipe does not disappoint!
If you would like to learn more about decorating cakes, make sure to check out our section of cake decorating videos! We have so many great tutorials to share with you!
Have you made this? We would LOVE for you to leave a ⭐️ rating as well as a comment and photo below! We really appreciate your feedback!
Black Forest Cake Recipe
Ingredients
For the Chocolate Cake
- 2 cups granulated sugar (400g)
- 2 ¾ cup all-purpose flour (322g)
- 1 cup unsweetened cocoa (lightly spoon into cup then sift) (82g)
- 2 teaspoons baking soda (10g)
- ½ teaspoon baking powder (2g)
- ½ teaspoon salt (2g)
- 2 sticks unsalted butter, softened (226g) (do not soften in microwave) I slice the butter into 1 inch pieces onto waxed paper leaving on the countertop for 8 to 10 minutes.)
- ¼ cup vegetable oil (54g) (We use canola oil)
- 4 large eggs at room temperature (If in a hurry, place eggs into a bowl of warm water for 5 minutes.)
- 1 cup milk (220g)
- 1 teaspoon vanilla extract (4g)
- 1 cup hot coffee, it can be instant or brewed (220g)
For the Cherry Filling
- 15 oz can Sweet Dark Cherries (pitted) in heavy syrup (Separate cherries from syrup.)
- 2 Tablespoons Cornstarch (corn flour in the UK)
- Cherry Kirsch Liqueur 2 Tablespoons for filling, plus additional for brushing over layers
For the SWEETENED WHIPPED CREAM FILLING AND FROSTING
- 3 Cups Heavy Cream
- ¾ Cup Confectioners Sugar
Decorative Accents
- 8 oz Semisweet Baking Chocolate for Shavings (we used two 4 oz bars)
- Approximately 8-10 Fresh Cherries with stems for top of cake you could also use maraschino cherries
- Large star piping tip for top border (We used an Ateco 869)
Instructions
For the Chocolate Cake
- Preheat oven to 350 degrees
- Grease and flour three 8 inch cake pans
- In a mixing bowl, add the dry ingredients: sugar, flour, cocoa, baking soda, baking powder, and salt. Whisk for 1 minute to blend.
- Add softened butter a few pieces at a time while the mixer is on low speed. Mix until the dry ingredients look like coarse sand and the dry ingredients are moistened. Scrape the bottom and sides of the bowl.
- In a separate bowl whisk the eggs, milk , oil and vanilla until blended.
- Method is important when using the Reverse Creaming Method. With the mixer on low speed, SLOWLY add approximately ½ of the egg mixture to the dry ingredients. Increase the speed to medium and mix for 1 ½ minutes at medium speed. Don't mix above medium speed. Scrape the bottom and sides of bowl. Add the remaining egg mixture in 2 pourings, beating for 20 seconds after each pour. Scrape the sides and bottom of bowl.
- Slowly add the cup of hot coffee and mix another 30 seconds until blended. The batter will be very runny. Don't worry!
- Pour into 3 prepared 8" pans and bake at 350 degrees for 25 to 30 minutes or until the center of the cake springs back to the touch and a toothpick comes out clean.
- Cool the cakes 10 minutes on a rack and then turn out of the pans.
For the Cherry Filling
- Drain the cherry syrup into a measuring cup...the juice/syrup will be about ½ cup or so. Add water to the syrup to reach the 1 cup mark. Set the cherries to the side and pour the one cup of liquid into a sauce pan.
- In a small bowl, combine two tablespoons cornstarch with a few tablespoons of the cherry syrup mixture stir until well combined. When combined add it back to the saucepan of cherry syrup and stir constantly over medium heat until the mixture thickens. Keep in mind that it will thicken further as it cools. Gently stir in the drained, sliced cherries and Kirsch.
- (If you want a sweeter filling, add sugar at this point. Taste and adjust to your liking, the same is true with the amount of Kirsch.)
For the Chocolate Shavings
- I used a vegetable peeler to create chocolate curls and shavings. Just glide over the room temperature chocolate bars to create lots of curls and shavings.
For the Sweetened Whipped Cream
- Chill a glass/metal mixing bowl and beaters in the freezer for about 10 minutes, if using a stand mixer use the whisk attachment
- Beat the heavy cream on high speed until it begins to thicken (to around the soft peak stage), then gradually add the confectioners sugar, continuing to beat until the stiff peak stage -- this can happen quickly so keep an eye on it. (Peaks hold their shape when the mixer is pulled from the bowl). Don't over-beat or you will wind up with butter! I like to do this step with a hand mixer but if you'd prefer, you can do it with the whisk attachment of your stand mixer.
Cake Assembly
- Place first cake layer on your pedestal or cake base. Brush over the top with a thin coating of the Kirsch cherry liqueur. Follow with a layer of the cooled cherry filling. (I like to spread to about ½ inch from the edge of the cake.)
- Spread a layer of whipped cream over the filling.
- Add the second cake layer.
- Brush over the second layer with the cherry liqueur, and repeat above steps. Add the third chocolate cake layer, brush with a light coating of the liqueur, and frost top and sides with whipped cream.
- Press chocolate shavings around the side and on the top center of the cake. Pipe a border of whipped cream stars (I used an Ateco 869 but a Wilton 6B, 8B or your large star tip of choice is good.) I placed the fresh cherries into every other piped star so that they are evenly spaced.

Being from the Schwärzwalder Region, this is BEAUTIFUL! Just a little side note... the cake batter has ground almonds in it. I am definitely going to go thru all these other recipes too! They all look so yummy!
Hi Angela, Thank you for posting that information, I was not aware of ground almonds being in the batter. That sounds delicious!
First time I’ve made a Black Forest cake. Instructions were easy to follow and the cake turned out perfectly!!!
@Ann- Yay! So happy to hear that you loved it- it looks great!!
The recipe came out really nice...any advice on how to prevent a dense cake? The cake itself came out dense despite following the instructions, measuring accurately and watching the video for reverse creaming.
This was delicious!
Janet, Your cake looks fabulous! Thanks so much for your review!
Lynette, Your cake is decorated beautifully. I am sorry you thought it was dense. The reverse creaming method of mixing does give the cake a tighter crumb but it produces a moist and tender cake. It is sometime referred to as a velvet texture. The recipe can also be baked using the traditional mixing method. I hope you will give it another try.
No problem, thanks much
This cake is amazing. I made for a birthday dinner and it was a big hit! Thanks for the beautiful recipe!
Hi Izzy, Wonderful! We are so happy your birthday party guests enjoyed the cake. Thank you for posting!
Hello. Please can I use this to make a multi tiered wedding cake?
Hi Rose, Yes, you can use this recipe to make a multi tiered cake. This cake needs refrigeration until close to serving time because of the cherries and the whipped cream filling and frosting. Will you have enough space to refrigerate? Also, traveling with cakes with soft frostings can be tricky because they don't firm up with refrigeration. Just keep those things in mind.
I Love To Really Black Forest Cake, Your Design are Amazing.
Thanks For Sharing information