Ice Cream Cone Cupcakes-Minute Video & Blog Tutorial!
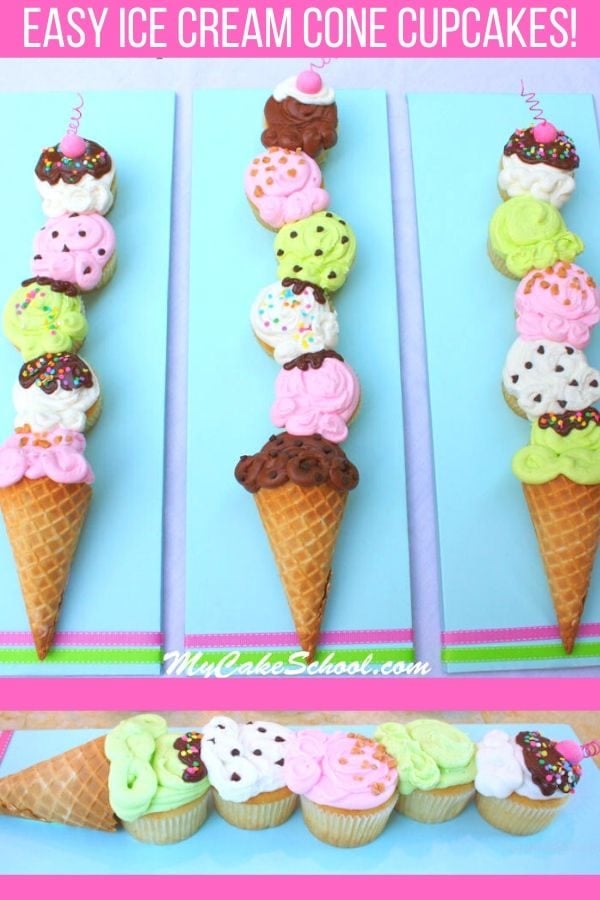
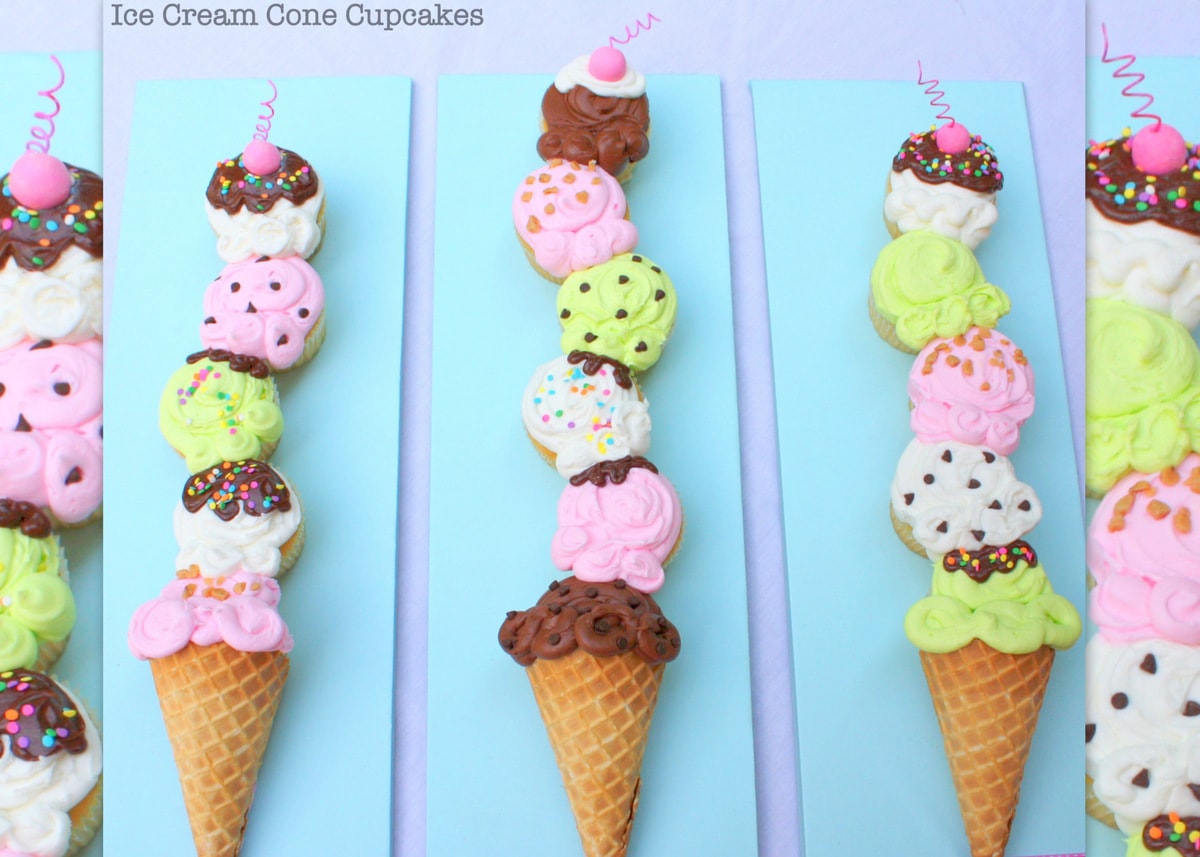
In this fun and easy cupcake tutorial, you will learn how to make adorable pull-apart Ice Cream Cone cupcakes!
These can be easily adjusted to fit the number of guests or desired colors for your party - this unique design is always a crowd pleaser!
Update: We have added a "minute video" version of this cute & simple ice cream cone cupcake tutorial! You can find it at the bottom of this post.
We originally posted this summertime favorite back in 2011 and the response over the years has been wonderful.
It is such a fun and EASY design! The only difference that you will notice between the video & the blog tutorial below is that I no longer use piping tips to frost these cupcakes.
I simply snip the end off of my disposable piping bags. This saves on cleanup time. Enjoy!!
Table of Contents
How to Make Ice Cream Cone Cupcakes
Blog Tutorial: May 20, 2011
Today we made ice cream cone cupcakes! This theme is perfect for summer parties and the best part of all is that they are SO quick to make! The most time consuming part is tinting the frosting.
As an added bonus, there are no worries of making the icing super smooth because ice cream is kind of swirly & lumpy-bumpy--hooray!
Here's what I did...
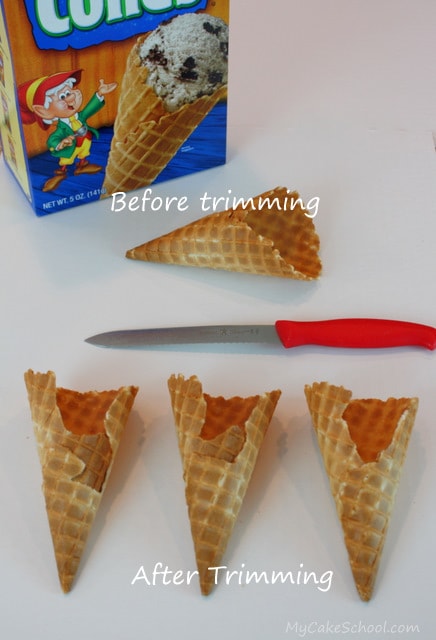
First, I cut notches out of some waffle cones so that once flipped, the cones would lie pretty flat on my cake board. It's best to saw your cones with a serrated knife.
It's a little tricky, but not too bad...I broke one though! :0)
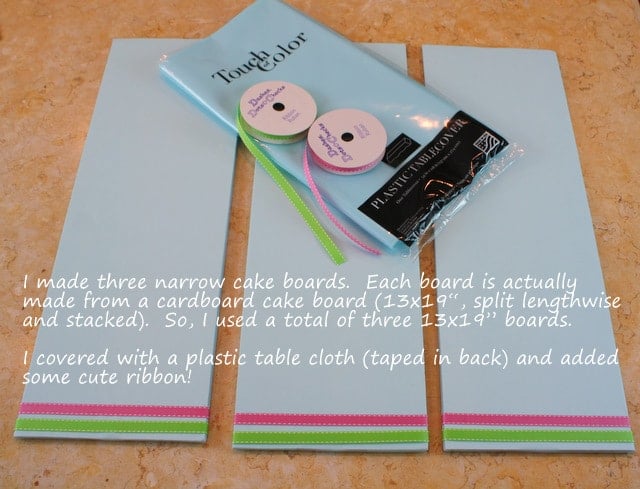
We could have used one wide board but we decided we liked the look of three narrow ones better...
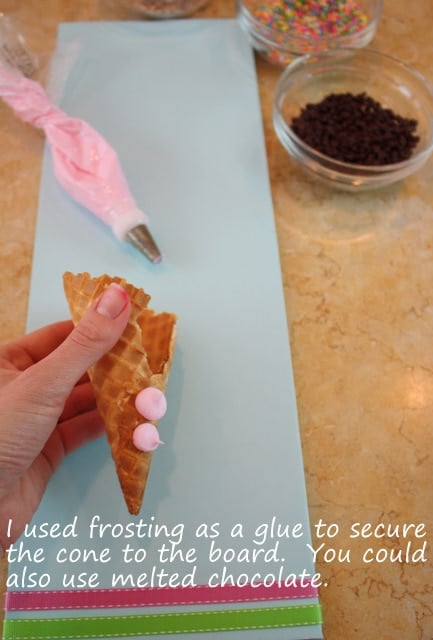
I piped a little frosting on the back of the waffle cone to secure it.
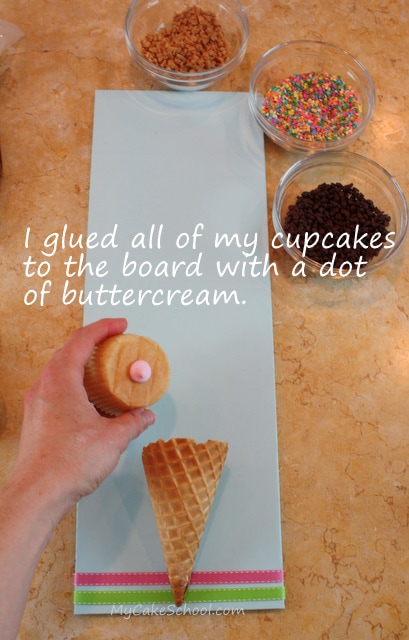
Now the fun part begins! It's time to add our cupcakes. once again, use a little frosting dot to secure it to the board.
I pushed it into the cone so that it would fit snugly.
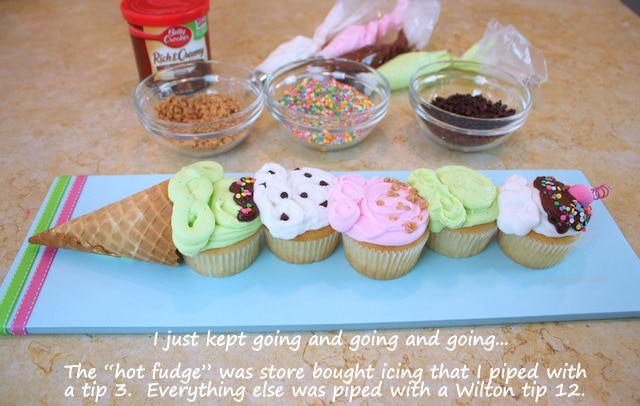
Next, it's time to add our vanilla buttercream to create our ice cream scoops! I did the piping using a medium sized (tip 12) round piping tip but you could also simply snip the tip away from a disposable piping bag.
To add a little color & fun, we used confetti sprinkles, mini chocolate chips, & toffee bits for decorations.
Here's the side view of our tall cupcake ice cream cone! For "hot fudge", you can use store bought icing, or you can melt chocolate chips or candy coating and pipe it onto the ice cream.
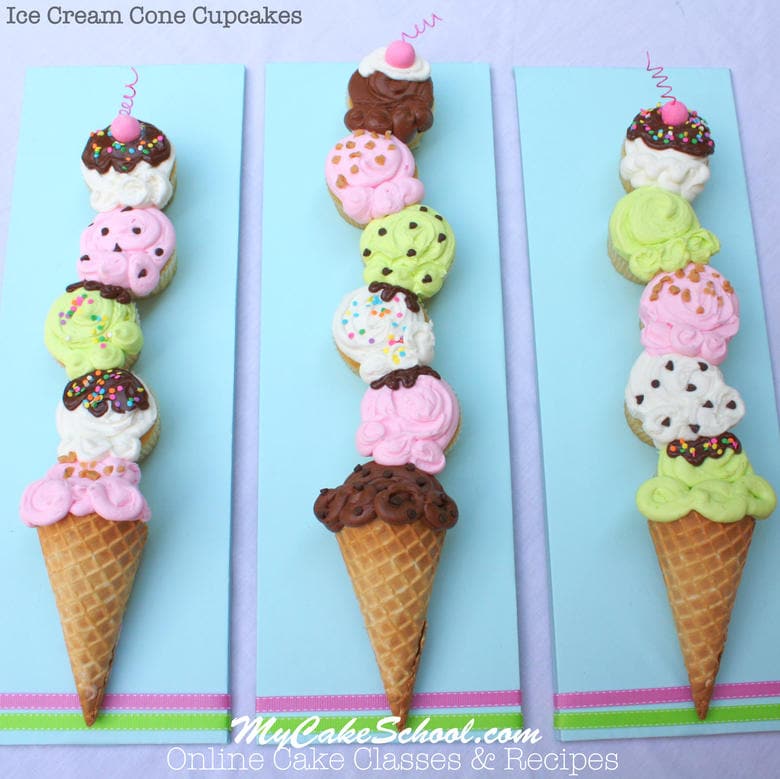
Create as many tall ice cream cones as you'd like!
As a final touch, I added a fondant cherry with a coiled stem. The stem is paper covered floral wire which I painted pink using coloring gel mixed with a small amount of vodka. (You could also use a little lemon extract). This is an optional step but it's fun!
That's all there is to it!! I made three tall ice cream cones for a total of 16...but wouldn't it be fun to make a super long cone the length of the picnic table? Maybe another time.... But for now, these happy little ice cream cones make me smile... :0) --
Keep this fun ice cream cone cupcake cake design in mind for summertime parties, kids birthdays, ice cream themed parties, and so many more special occasions!
More Fun Tutorials for Ice Cream Themed Cakes
Looking for an ice cream cone cake design that is cute and easy?
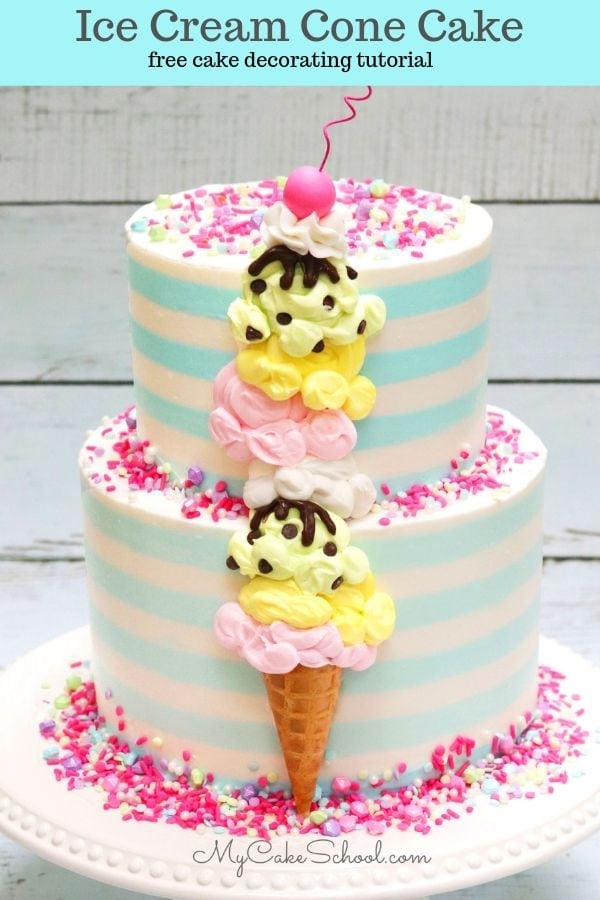
Check out our free tutorial for this tall ice cream cone cake! I love how simple this design is, and it could easily be piped onto a sheet cake as well. Check out our free video tutorial! Ice Cream Cone Cake
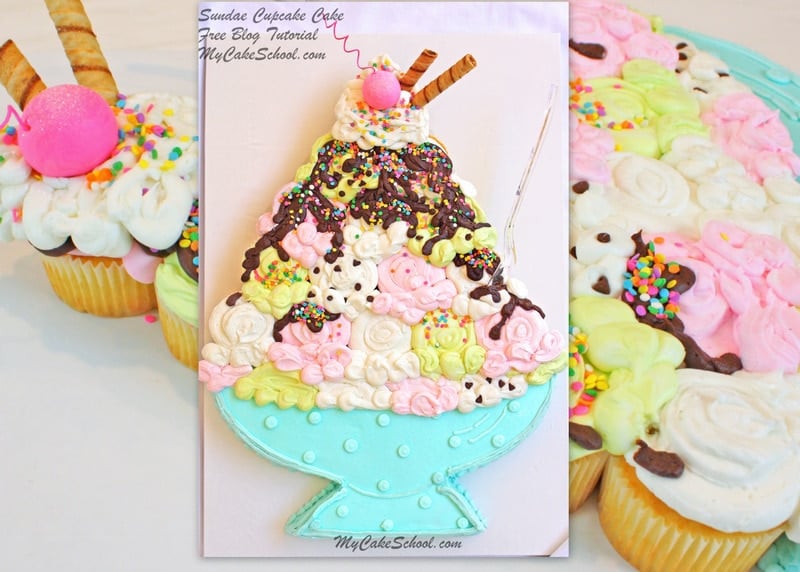
For more Ice Cream fun, check out our easy pull-apart Ice Cream Sundae Cupcake Cake!
ENJOY THE TUTORIAL!
Ice Cream Cone Cupcakes-Minute Video & Blog Tutorial!
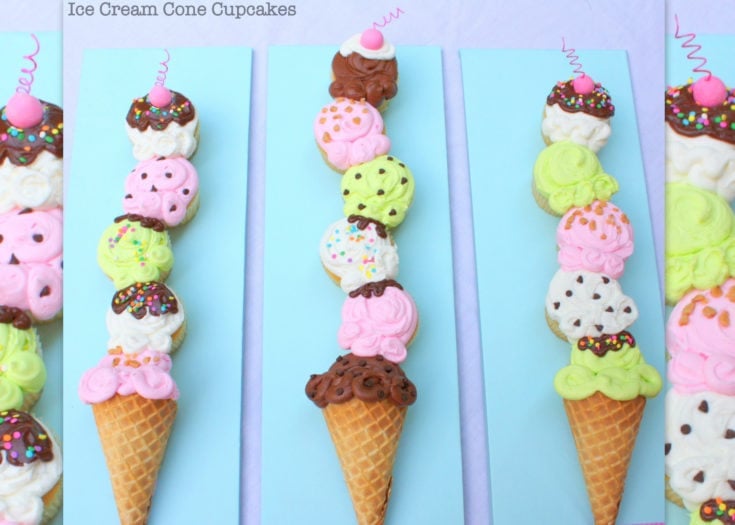
Learn how to make adorable Ice Cream Cone cupcakes in this quick step by step tutorial! Perfect for summer gatherings, birthday parties, and more!
Ingredients
- We used three 9×13″ sheet cake cardboards if you are doing the exact same setup as I used in my blog tutorial. (Each board is sliced longways, stacked, & wrapped to create one narrow base board.)-- Adjust to the number of cones you'd like to make.
- Your board covering of choice. I used a plastic tablecloth secured in back with a stapler.
- Your vanilla buttercream frosting of choice- We like our Classic Vanilla Buttercream (Recipes Section)
- Cupcakes of choice
- Waffle Cones for the number of cones you're building
- Desired number of cupcakes
- Disposable Piping Bags
- Coloring Gels: I used Americolor Electric Green, Wilton Rose, & Chocolate Brown
- Chocolate frosting for the “hot fudge” (canned chocolate frosting is a good shortcut)
- Pink fondant with white 18 gauge floral wire (painted or colored pink with food coloring pen) to create cherry on top.
- Misc sprinkles, mini chocolate chips, etc. of choice
Instructions
- Cut little notches from the back of the waffle cones that you'll be using so that they will not roll off of the board and will lie a little flatter.
- Attach to the board with a couple of dots of buttercream
- Pipe a dot onto the back of the cupcake and push it partially onto the cone. The buttercream on the bottom will secure it.
- Continue adding cupcakes, dotting the bottom with a little buttercream for "glue". Repeat until the cone is as tall as you'd like.
- Tint your buttercream as desired, add to disposable piping bags with either the tip snipped away, or you can use a tip 12 (medium round tip). Pipe onto each cupcake to look like ice cream scoops.
- Add details like sprinkles, mini chocolate chips & jimmies. You can use white frosting for "whipped cream" and dark frosting or melted candy melts/chocolate for "hot fudge".
- Optional: For a cherry on top, take a ball of hot pink fondant and add a coiled piece of white paper colored floral wire that has been painted with coloring gel + vodka or lemon extract. (The alcohol helps the "paint" to dry faster.) Coil the wire around a spoon handle or straw and slide off.




Thanks for your advice BeBe. I got the plastic taped on just fine. Regular scotch tape work really well. I decorated a test batch with three cupcakes and they turned out super cute. Thanks again for this darling whimsical idea.
I need to have a BBQ or something so I can have an excuse to make these this weekend.
So creative and bet it's delicious
Wow! Just pinned this and am featuring it in my fourth Cupcake Parade on Ducks' na Row this Friday! Hope you can stop by:)
That is lovely. Thank you.
So cute
To trim the cones a zester/grater works super and the cones don't break. I've used it several times for other decorating with sugar cones.
Thanks everyone for your nice comments!! @Nancy~ Great tip about the zester/grater. Will have to try it next time!
Love it!!!! Perfect for summer!!
These are adorable - can't wait to start making my own!
Hi, my name is Kayla, I’m 9, and I love your website. I made this cake today for my brother’s birthday. This was so much fun. Thank you for sharing your ideas.
@Kayla- Yay! I am so happy to read your comment, you did an amazing job & I love the photo! I know your brother was thrilled with it! Thanks so much for sharing. xoxo