Buttercream Rainbow Cake Tutorial
What could be more cheerful than a cake frosted with every color of the rainbow?!
In this cheerful Rainbow Cake in Buttercream decorating video, I'm going to show you how to make a multi-colored buttercream design with a smooth finish!
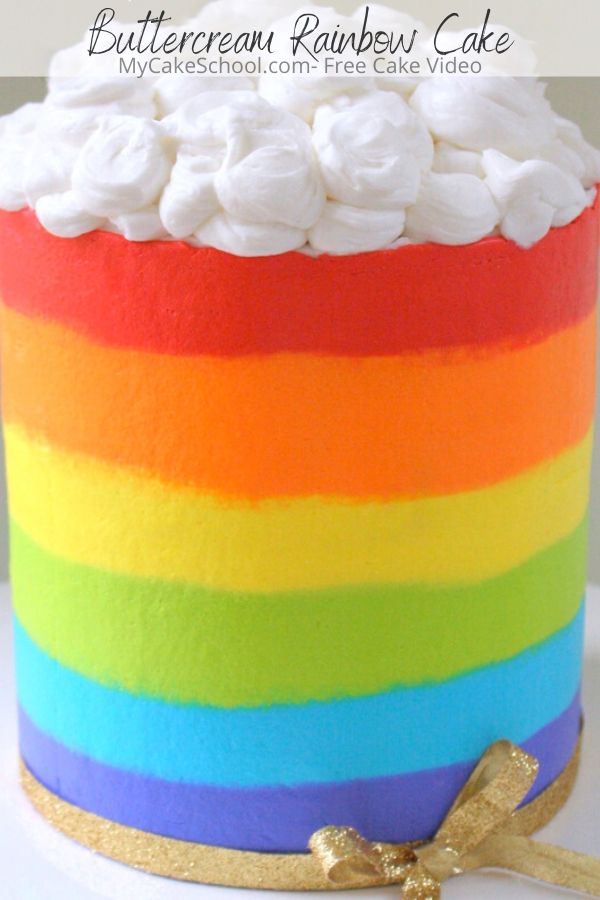
This simple buttercream technique can be applied to all sorts of cake designs, including ombre or color gradient cakes. Whether using a few colors of buttercream or many, the technique is the same. This is a great option for all skill levels of cake decorating!
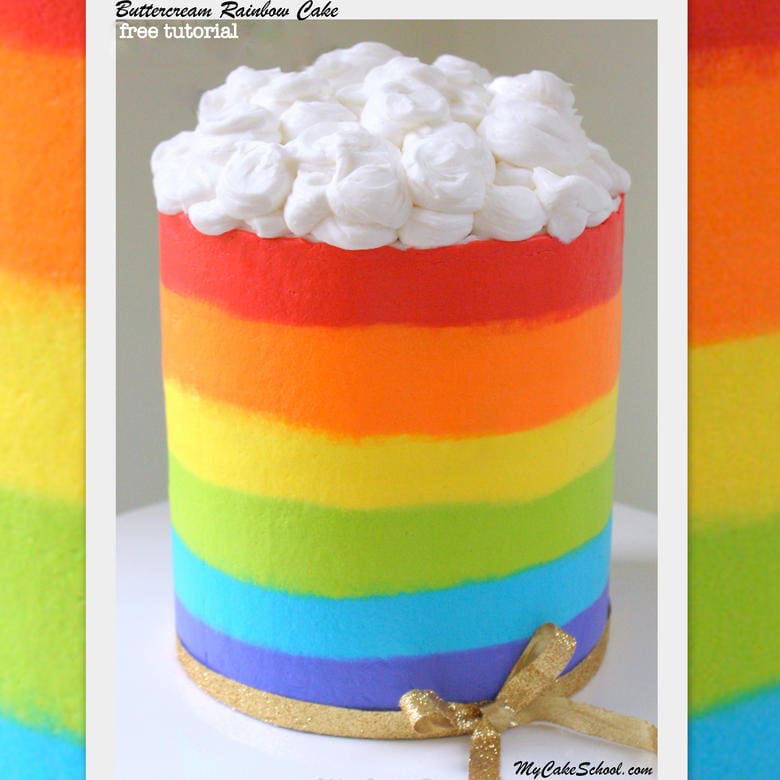
This brightly colored buttercream frosted cake is sure to bring smiles! Our rainbow design is not only perfect for birthday cakes, but also for St. Patrick's Day. A pastel rainbow design would be beautiful too.
The technique is surprisingly simple, and with so many colors, it has that festive "wow factor" too! You can bring even more fun to the inside of the cake with colorful cake layers, a rainbow filling, or Funfetti cake!
Hope you enjoyed the tutorial!
Notes
In the video, I forgot to glue my cake/cake board to the turntable with frosting. Ack! It's much easier to apply pressure to your cake as you smooth the sides with your bench scraper when the cake is not trying to escape ;0) But in the end, our little cake turned out just fine, whew!
How to Make a Rainbow Buttercream Cake- Free Tutorial
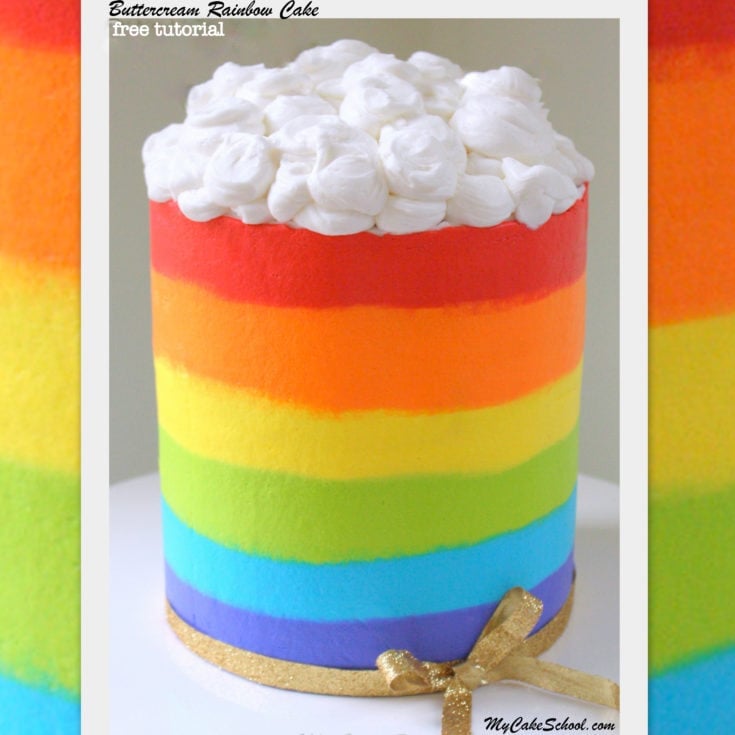
Learn how to create colorful rainbow stripes for this beautiful rainbow cake!
Materials
- In this cake video, I am frosting a 6 inch, 4 layer double barrel cake. (Double barrel cakes are taller than average, so there is a cake cardboard with supports beneath about halfway up). I’m using Fluffy Vanilla Buttercream frosting which is a crusting recipe, but any medium consistency frosting is fine! Our Classic Vanilla Buttercream is a great choice also (although not quite as white due to the amount of butter.)
- Buttercream (I used a crusting recipe because I wanted to use the “Viva Method” for smoothing).
- Coloring Gels: The colors of the rainbow! I used Americolor: Super Red, Orange, Lemon Yellow, Electric Green, Sky Blue, & Violet. I tinted about ½ cup of buttercream for each color used.
- Misc: Piping bags, Cake Cardboards- I used 2 beneath cake, and one halfway up since it was a double barrel cake, turntable, Viva paper towels for smoothing, spatula, etc.
- Straight Edge/Bench Scraper (My tall one that I use in the video is made by Wilton)
- Gold Ribbon- Optional, but we used this for our border to add a bit of gold to our St. Patrick’s Day cake.
- *No piping tips were used, I simply snipped the tips off of the disposable bags.
Instructions
- After crumb coating the cake, snip the ends off of your disposable piping bags filled with all of the rainbow colors.
- Pipe bands of color to desired width as you rotate the cake on the turntable.
- Using a (preferably tall) bench scraper, smooth the frosting stripes while rotating the cake, try to keep the bench scraper as still as possible and scrape off the bench scraper as needed.
- Fine tune smoothness of the crusted buttercream with a Viva Paper Towel (or if you prefer, you can chill the the cake in the freezer for 15 minutes until the buttercream is firm and smooth over with a hot bench scraper).
- Top off with billowy puffs of piped buttercream for clouds and wrap a gold ribbon around the base. *If the ribbon isn't metallic and will show grease splotches, you'll want to apply a thin coating of vegetable shortening to the ribbon before wrapping around the cake so that any discoloration is uniform.
nbsp;
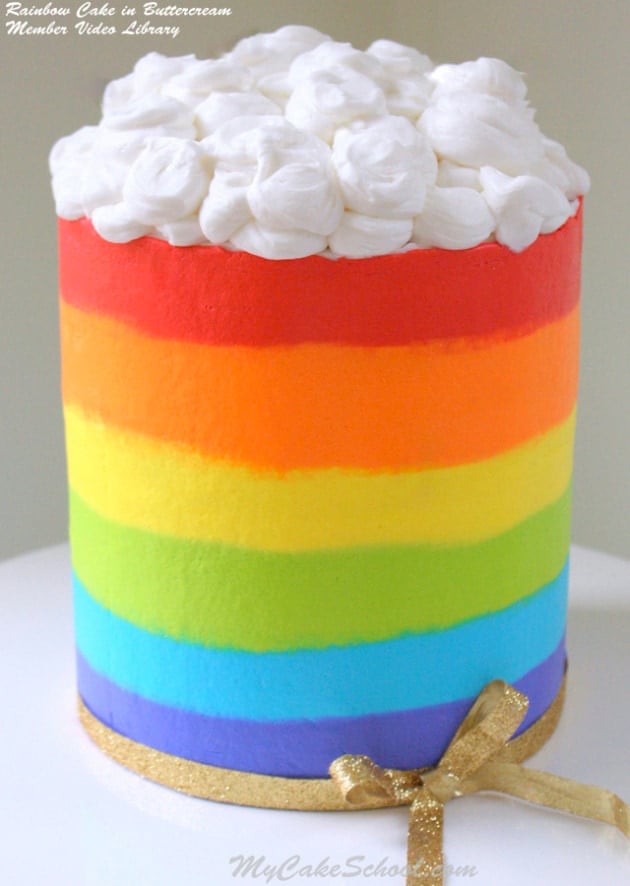
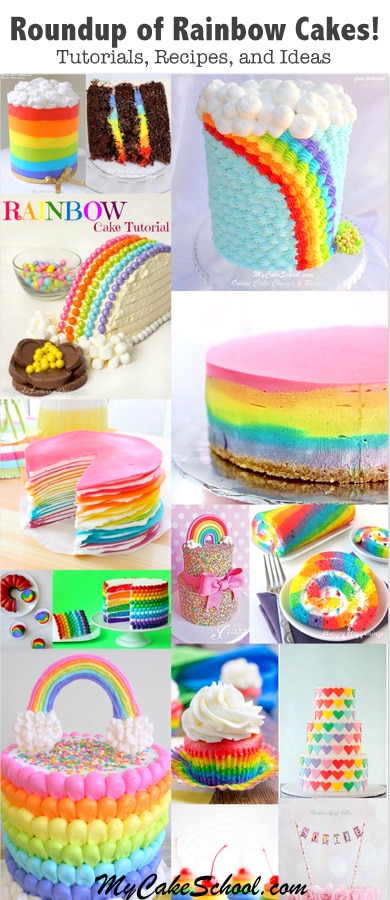
Looking for even more rainbow cake cuteness? Check out our Roundup of Rainbow Cake Tutorials, Ideas, and Recipes!

Made this for a co-workers son. He is a double rainbow baby as she has had two miscarriages prior (rainbow babies) to her precious one year old!
Hi Mary, Your co-worker will love this beautiful cake!