White Chocolate Mocha Cake
White Chocolate and espresso are the perfect combination in this moist, flavorful White Chocolate Mocha Cake!
This elegant dessert consists of white chocolate cake layers brushed with espresso, filled with whipped white chocolate ganache, and frosted with espresso cream cheese frosting. It is heavenly!
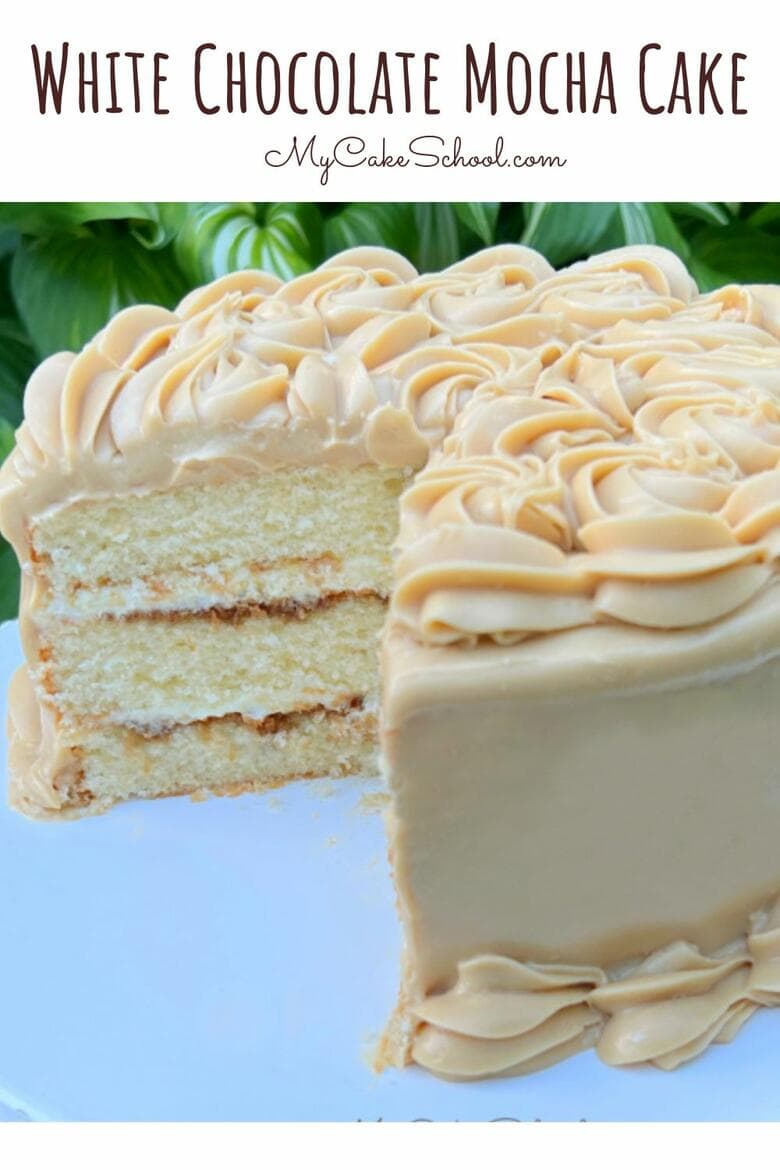
Table of Contents
How to Make White Chocolate Mocha Cake
We can't wait for you to try this recipe! You can find the full, printable version further down in this post. Here is a quick rundown of our steps!
First up, the white chocolate cake layers- we love the sweet, subtle white chocolate flavor as well as the texture of this recipe.
- Preheat: Preheat the oven to 325 degrees F
- Prepare the Pans: Grease and flour three 8x2 inch pans. Line the bottom with circles of parchment paper or wax paper to ensure that there will be no sticking!
- Heating Milk & White Chocolate: Heat the milk in the microwave or on the stove top, do not let it boil. Add the white chocolate that has been cut into very small pieces. Let it sit for a couple of minutes to soften, then stir until melted and smooth. Let this cool down before using.
- Flour Mixture: Combine the cake flour, baking powder and salt. Whisk flour mixture for 30 seconds to blend and set aside.
- Butter and Sugar: In the bowl of your electric mixer, beat the softened unsalted butter until smooth. Slowly add the sugar and beat on medium speed 4 to 5 minutes. (We used our stand mixer with paddle attachment for this recipe)
- Eggs & Vanilla: Add the room temperature eggs one at a time, mixing after each until the yellow is blended in. Add the vanilla extract.
- Alternately add Dry Ingredients and Wet Ingredients: With the mixer on low speed, alternately add the flour mixture and the milk/chocolate mixture, beginning and ending with the flour (3 additions of flour and 2 of milk mixture). Mix until just combined, be careful not to over-mix.
- Pour into Cake Pans! Pour batter into prepared pans and bake at 325 degrees F for 22-25 minutes. When a toothpick inserted in the center comes out clean or with just a few crumbs attached, it is done. Let the cakes cool in the pans for 10 minutes on a wire rack and turn out.
Makes 6 cups of cake batter, just enough for three 8 inch cake layers! (This cake recipe works well for cupcakes also, although they bake up with little to no dome.)
For the Espresso Mixture
Espresso and white chocolate taste so good together!
Using a silicone pastry brush, we brushed the white chocolate cake layers with slightly sweetened espresso (a mixture of instant espresso powder, very hot water, and granulated sugar).
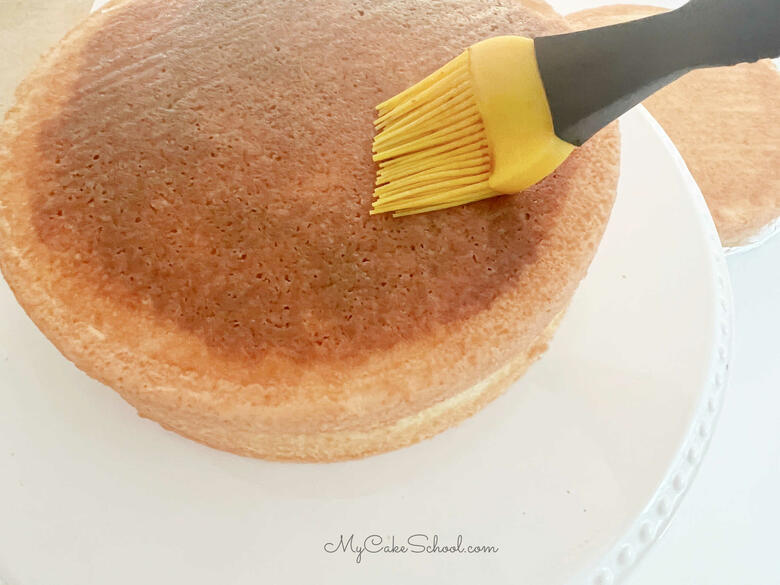
The espresso adds just the right amount of coffee flavor to the cake without overpowering the white chocolate flavor. It also makes for such a pretty slice!
We applied the coffee syrup somewhat lightly so that we didn't overly soak our cake layers. The ¼ cup of espresso mixture that we made gave us just the right amount to brush over the first two cake layers.
(We didn't brush espresso onto the top layer since it would be frosted in espresso frosting- but you could if you'd like to make a bit more!)
Whipped White Chocolate Filling
Our easy whipped ganache filling is so creamy and delicious and can prepared in no time. White chocolate and heavy cream are heated in the microwave in small increments until the chocolate is almost melted.
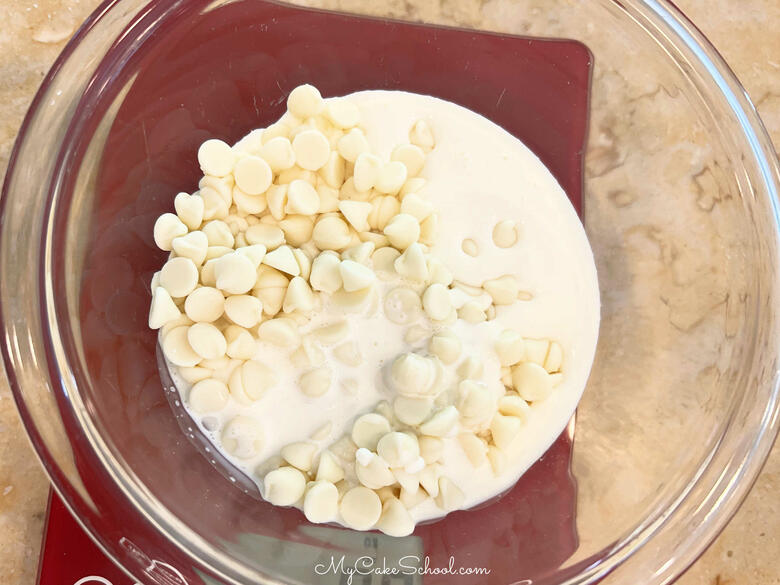
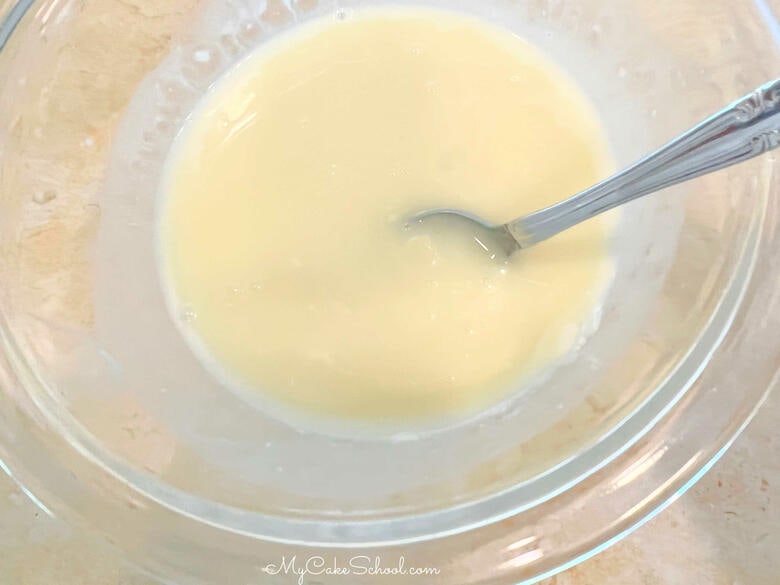
The melted white chocolate mixture is then stirred until smooth, chilled in the refrigerator to thicken a bit, and whipped up to stiff peak stage, leaving you with a soft and luscious filling.
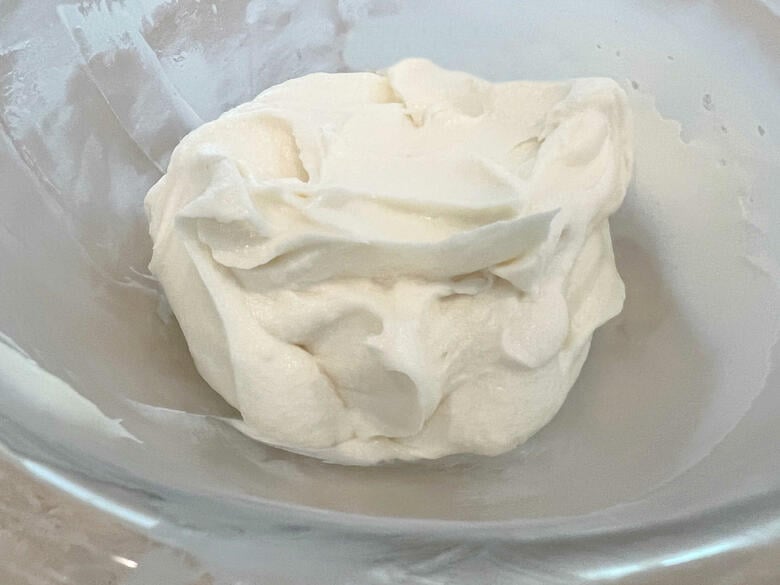
The white chocolate in our cake layers is really nice but subtle, and so this white chocolate filling adds a wonderful boost of white chocolate flavor.
Espresso Cream Cheese Frosting
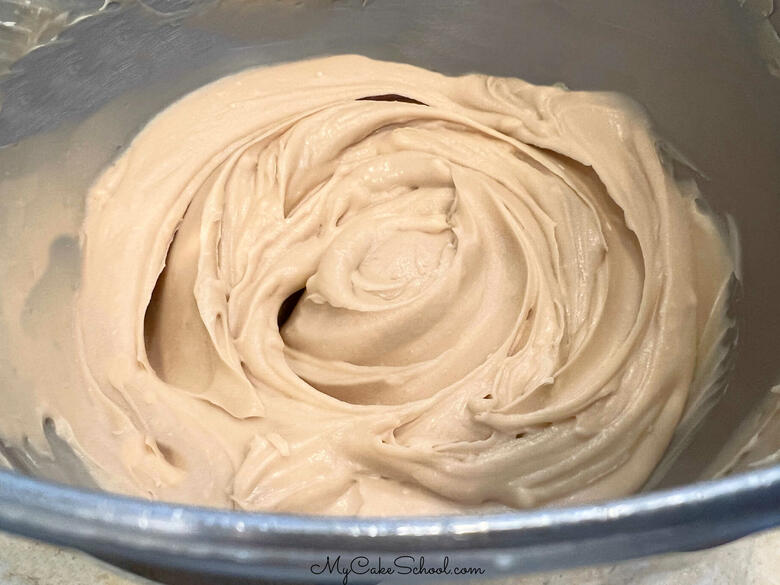
- Cut the butter into slices and add to the bowl of your mixer. Beat on low to medium speed until the butter is softened.
- Cut the cream cheese into pieces and add to the butter, beating at low to medium speed until blended. If using a hand mixer, you may need to soften the cream cheese a bit more.
- Add the espresso that has been mixed with the vanilla
- Gradually add the powdered sugar beating on low to medium speed until blended. Do not over mix or it will become too soft. If it does become too soft, just refrigerate for a few minutes, then continue.
- This frosting will pipe best if used while somewhat chilled. You can make this in advance, refrigerate and when ready to use, let soften to spreading consistency (do not microwave) and stir or remix with mixer.
Assembling the Cake
Time to assemble! Place the first cake layer onto the cake base or pedestal. Next, brush over the top with the espresso mixture. (We used a silicone pastry brush).

Spread the top with a layer of white chocolate filling and then top with the second cake layer.
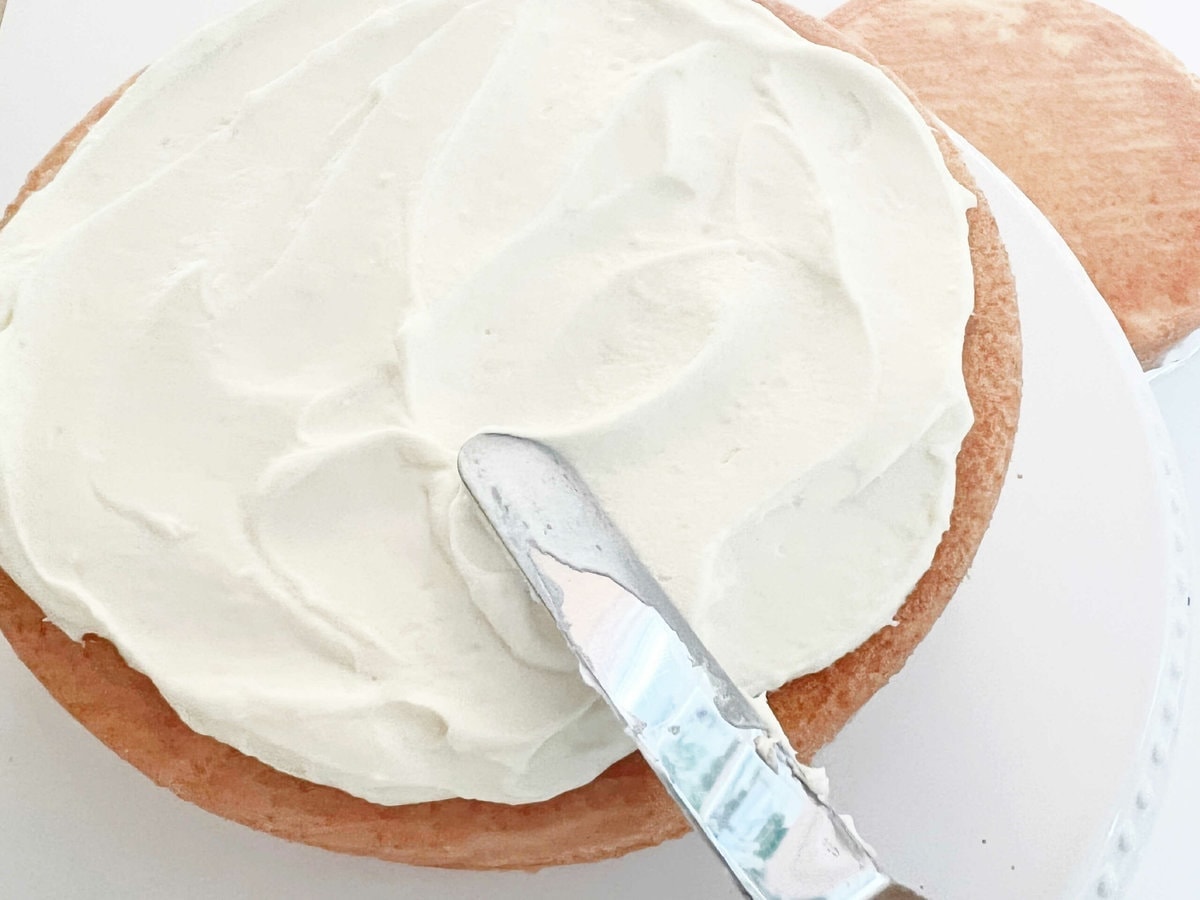
Repeat the steps- brush on the espresso mixture and spread with the white chocolate filling. Top with the third cake layer.
Next, fill in any gaps between the assembled cake layers with frosting. At this point I like to apply a crumb coat (thin coat) of frosting to the cake and chill it in the freezer for 15 minutes (or longer in the refrigerator).
We find that this chilling step firms everything up for the final coat of frosting and keeps the cake layers from sliding around as you decorate the cake.
Decorating the Cake
Decorate the cake however you like!
After applying frosting to the chilled, crumb coated layer, I smoothed around the sides of the cake with a metal bench scraper (which I heated with hot water).
To decorate the cake, I piped large frosting shells and rosettes on top of the cake using a 1M (large star) piping tip, and a large shell border around the base. (If you are new to decorating, check out our tutorial on star tip piping!)
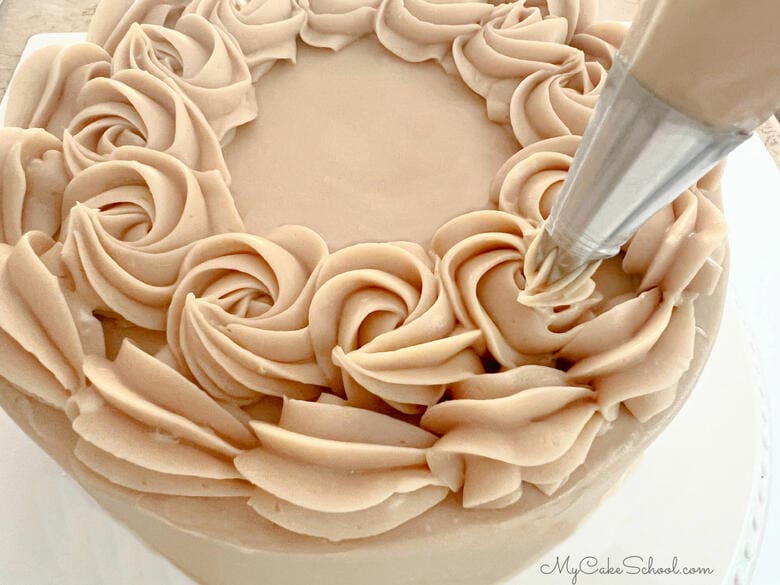
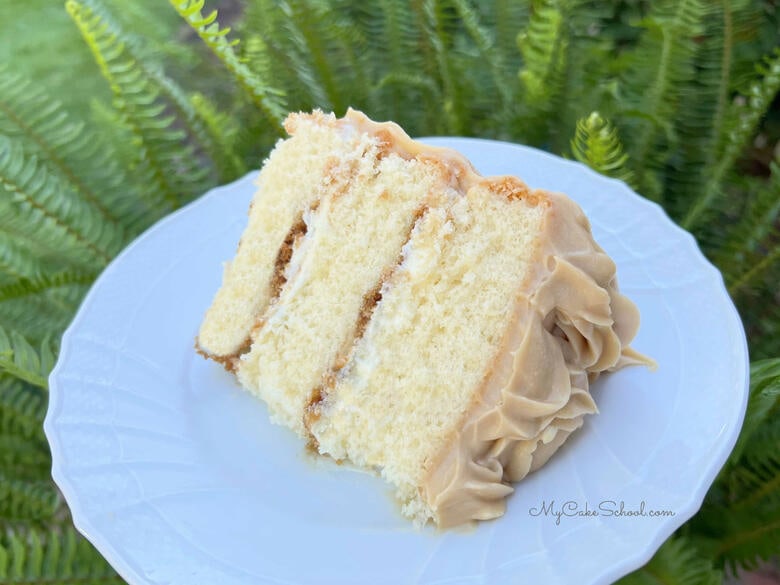
*If at any time the frosting becomes too soft as you are decorating, just pop the bowl, piping bag, or even the cake in the refrigerator or freezer for a few minutes.
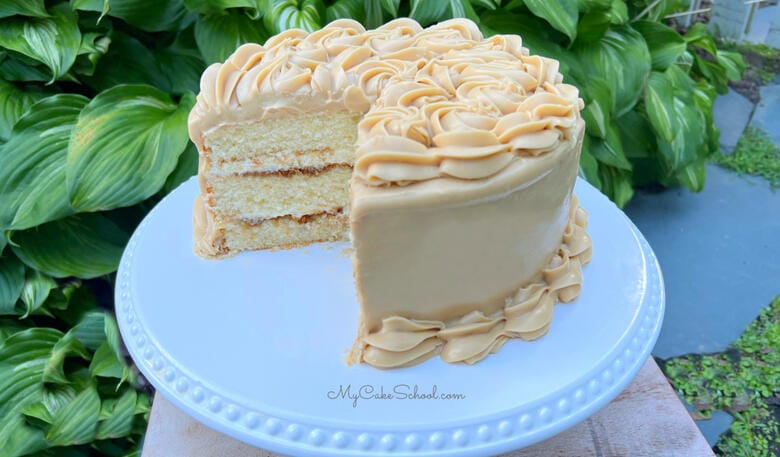
Enjoy the recipe! We hope that you love this delicious cake as much as we do! It is sure to please a crowd.
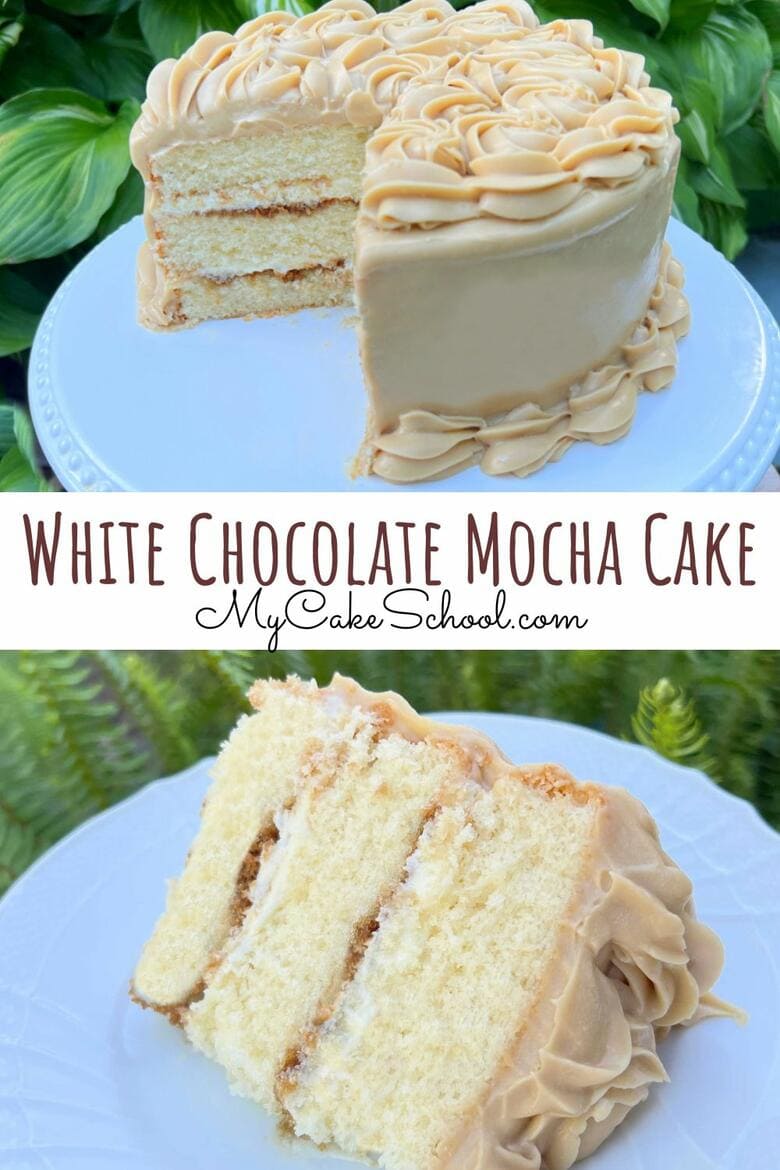
More Coffee and White Chocolate Cakes!
This is the first time that we've paired white chocolate and espresso together- but we have made many coffee flavored cake recipes as well as white chocolate cakes over the years.
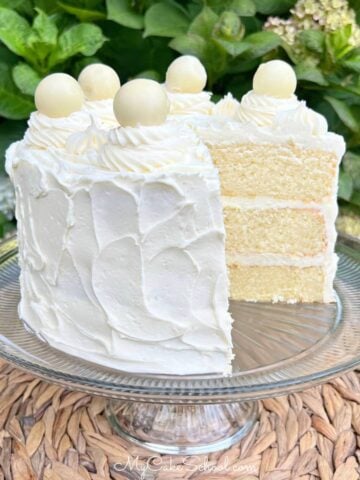
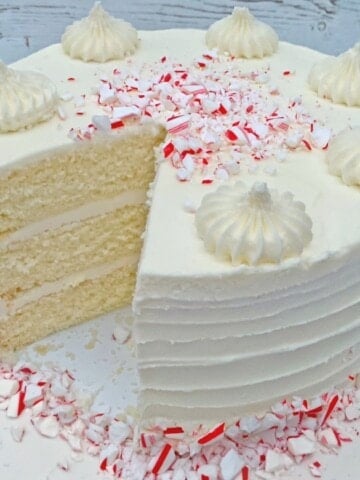
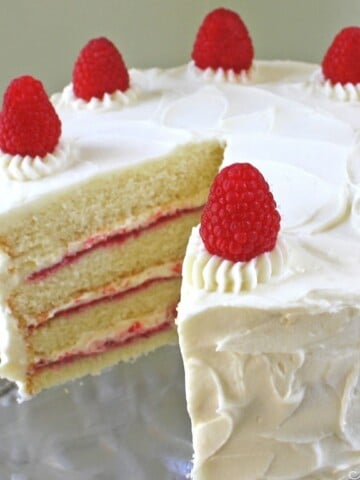
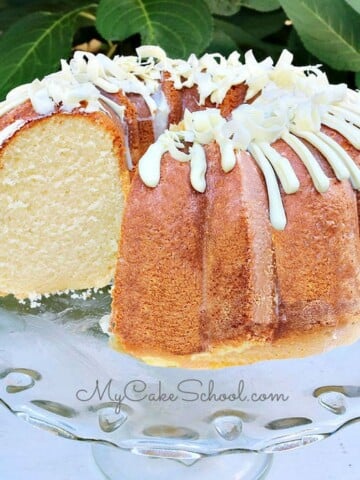
Some of our favorites are White Chocolate Velvet Cake, Gingerbread Latte Cake, White Chocolate Raspberry Cake, and White Chocolate Coconut Cake.
Have you made this? We would LOVE for you to leave a ⭐️ rating as well as a comment and photo below! We really appreciate your feedback!
White Chocolate Mocha Cake
Ingredients
White Chocolate Cake Layers
- 4 ounces white baking chocolate (113.5g)(I used Ghirardelli Premium Baking Bar and Bakers Premium Baking Bar to test the recipe)
- 2 ½ cups cake flour (285g) See notes for substitution
- 2 ½ teaspoons baking powder (10g)
- ½ teaspoon salt (3g)
- 1 ½ sticks unsalted butter, softened (170g) Should be soft enough to dent when pressed.
- 1 ½ cups white sugar (300g)
- 2 large eggs, room temperature (if in a hurry you can warm the eggs in a bowl of hot (not boiling) water for 5 minutes)
- 2 teaspoons vanilla extract (8g)
- 1 ⅓ cup milk (314g)
For the Espresso Mixture
- 1 Tablespoon instant espresso or 1 Tablespoon plus 2 teaspoons instant coffee (4g)
- 1 Tablespoons granulated sugar (12g)
- ¼ cup boiling water (60g)
For the Whipped White Chocolate Ganache
- 12 oz. White Chocolate (We actually used 11 oz as that was the size of our bag of white chocolate chips and it still worked great.)
- 6 oz Heavy Cream
Espresso Cream Cheese Frosting
- 2 sticks unsalted butter, softened (226g)
- 16 oz packages cream cheese, softened (We used two 8 oz packages, full fat)
- 1 Tablespoon espresso granules dissolved in 2 teaspoons (8g) vanilla extract (6g)
- 6 to 6 ½ cups powdered sugar (690g-747g)
Instructions
- For the White Chocolate Cake Layers
- Preheat the oven to 325 degrees F
- Grease and flour three 8x2 inch pans
- **For this recipe you will need to add a circle of wax paper or parchment paper to the bottom of the cake pans to prevent sticking.**
- Heat the milk in the microwave or on the stove top, do not let it boil. Add the white chocolate that has been cut into very small pieces. Let it sit for a couple of minutes to soften, then stir until melted and smooth. Let this cool down before using.
- Combine the flour, baking powder and salt, whisk for 30 seconds to blend and set aside.
- In the bowl of your mixer, beat the butter until smooth. Slowly add the sugar and beat on medium speed 4 to 5 minutes.
- Add the eggs one at a time, mixing after each until the yellow is blended in.
- Add the vanilla extract.
- With the mixer on low speed, alternately add the flour mixture and the milk/chocolate mixture, beginning and ending with the flour (3 additions of flour and 2 of milk mixture).
- Mix until just combined, be careful not to over-mix.
- Pour batter into prepared pans and bake at 325 degrees F for 22-25 minutes. When a toothpick inserted in the center comes out clean or with just a few crumbs attached, it is done. Let cool 10 minutes in the pans and turn out.
- Makes 6 cups of cake batter. Works well for cupcakes also (little to no dome).
For the Espresso Mixture
- Mix very hot water, espresso powder, and sugar until dissolved. Set to the side and allow to cool.
For the Whipped White Chocolate Filling
- In a microwave safe bowl, combine the white chocolate chips (or grated white chocolate) with the heavy cream and microwave in small increments until the chocolate is almost melted. (We started with 30 seconds, stirred, and heated in 15 second increments or less as needed). Once chocolate has almost completely melted, stir until smooth.
- Allow to cool and thicken- it shouldn't be firm, just thickened. We refrigerated our ganache to speed up the process, and also transferred it to a small casserole dish so that the ganache would be more shallow and chill for quickly. Also chill the beaters if using a hand mixer, or whisk attachment for stand mixer.
- Whip the chilled ganache until it fluffs up and stiff peaks form (maybe 20 seconds or so).
For the Espresso Cream Cheese Frosting
- Cut the butter into slices and add to the bowl of your mixer. Beat on low to medium speed until the butter is softened.
- Cut the cream cheese into pieces and add to the butter, beating at low to medium speed until blended. If using a hand mixer, you may need to soften the cream cheese a bit more.
- Add the espresso that has been mixed with the vanilla
- Gradually add the powdered sugar beating on low to medium speed until blended. Do not over mix or it will become too soft. If it does become too soft, just refrigerate for a few minutes, then continue.
- This frosting will pipe best if used while somewhat chilled. You can make this in advance, refrigerate and when ready to use, let soften to spreading consistency (do not microwave) and stir or remix with mixer.
Assembling the Cake
- Place the first cake layer on cake base or pedestal. Brush over the top with the espresso mixture. (We used a pastry brush). *See notes below
- Spread the top with a layer of white chocolate filling and place the second cake layer on top. Repeat the steps- brush on the espresso mixture and follow with the next layer of white chocolate filling. Top with the third cake layer.
- Fill in any gaps between the cake layers with frosting. At this point I like to apply a crumb coat (thin coat) of frosting to the cake and chill in the freezer for 15 minutes - or longer in the refrigerator. This firms everything up for the final coat of frosting.
- I smoothed the second layer of frosting around the sides of the cake with a metal bench scraper (which I heated with hot water). I piped large shell and rosettes of the frosting on top of the cake, and a shel border around the base. Decorate however you like! There is plenty of frosting. *If at any time the frosting becomes too soft as you are decorating, just pop the bowl, piping bag, or even the cake in the refrigerator or freezer for a few minutes.

Yummy! Looks and sounds fabulous as always! :-)
Will this recipe be fine without espresso? I don't care for coffee, but a white chocolate cake with whipped white chocolate filling and regular cream cheese frosting sounds delicious.
My cake layers turned out super thin. They taste good but they didn't even reach 2in. I would definitely need 2 more layers to get some height. Luckily this is for my best friend and she doesn't mind.
Hi Lori- I'm glad that you made it! If you made three 8 inch cake layers as we did, the cake layers would be I'm guessing about 1 1/4 inches-- that's what most of our cake layers measure. Once stacked, filled, and frosted, it will be around 4 inches tall which is pretty standard.