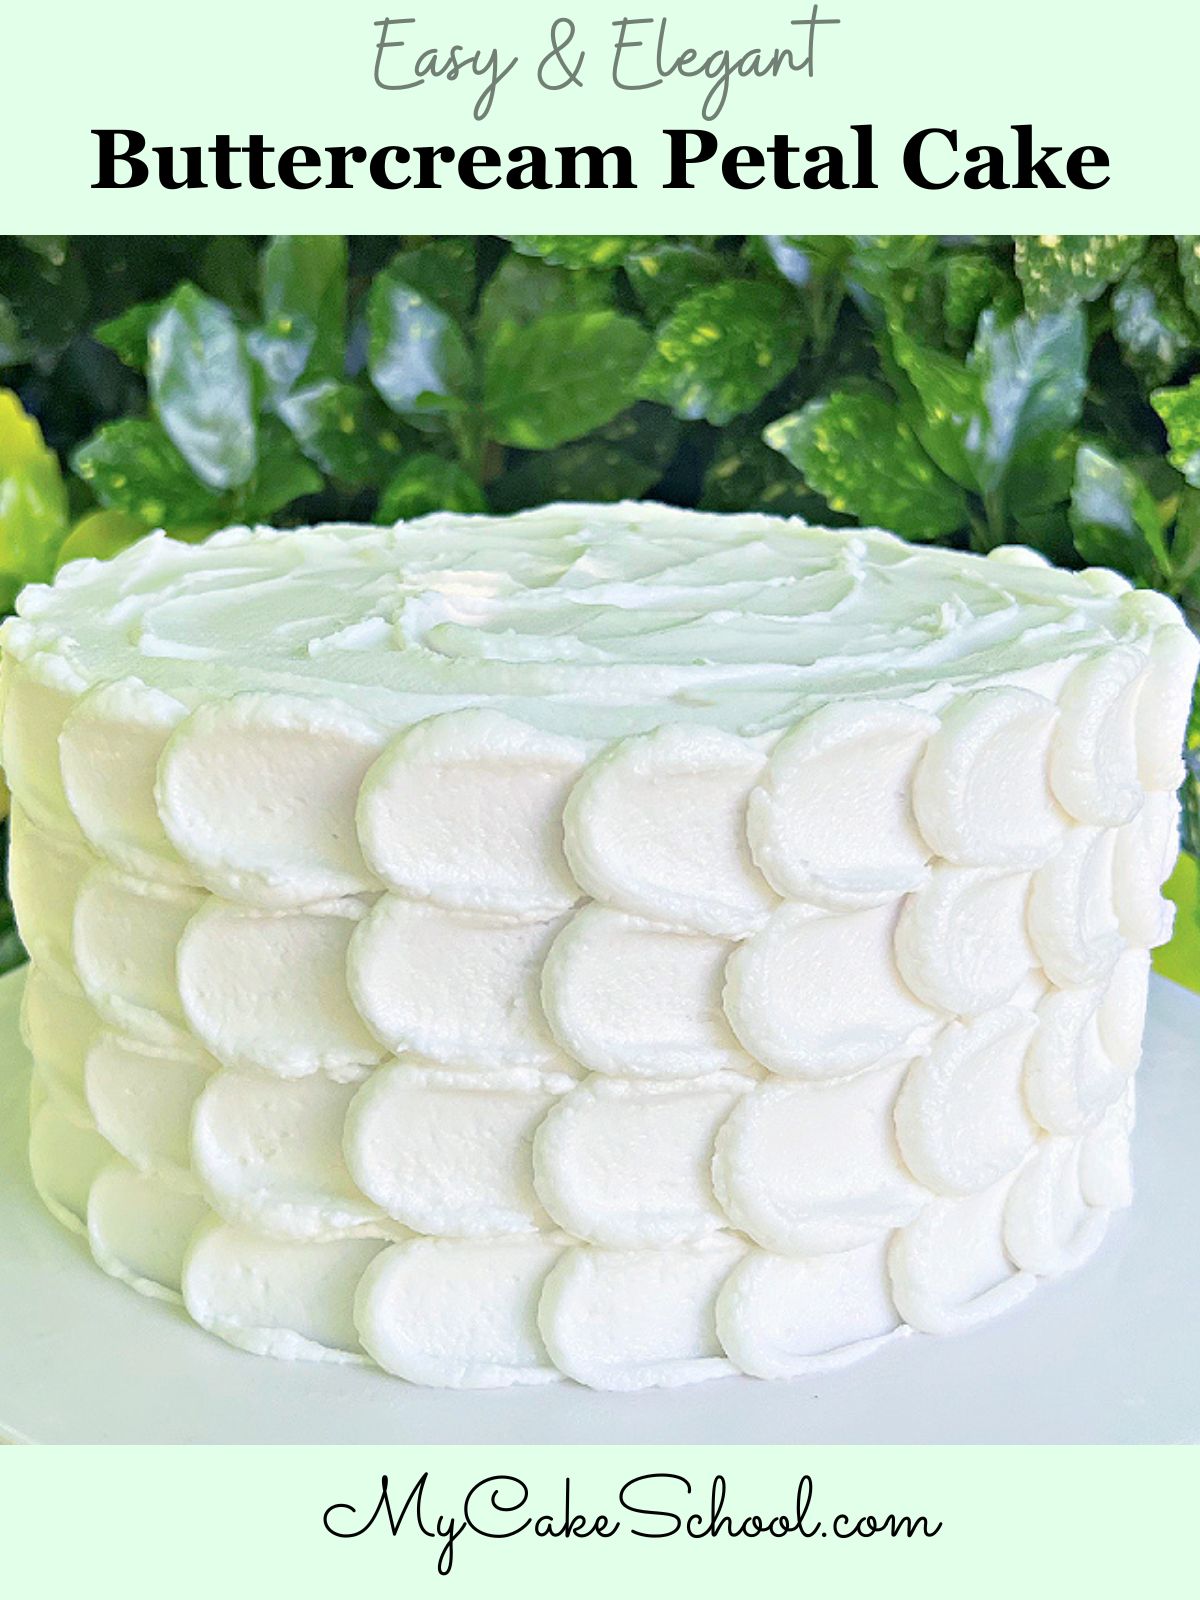
Buttercream Petal Cake Tutorial
Today, I'm going to show you how to make a beautiful buttercream petal cake!
I love cake designs that incorporate lots of piping or texture. Buttercream petal cakes are a perfect example, and this pretty "Petal Effect" around the sides is one of the easiest techniques there is.
Table of Contents
Easy, Beautiful Buttercream Technique
I absolutely love working with buttercream. Whether piping, or applying simple texture with a spatula, the decorating options are endless.
We have done countless tutorials on piped and textured methods of decorating, and today's technique is one of my favorites!
In today's tutorial, I am demonstrating a technique that not only looks like beautiful buttercream petals, but it is SO easy to create.
Your friends and family will be so impressed with this petal cake design, and the simplicity of the method will be our little secret. Enjoy!!
Petal Cake Video
How to Make a Petal Cake
Below is our original petal cake tutorial that we published to the site years ago. Sometimes it's helpful to see still shots as well!
I am working with Vanilla Buttercream, a smallish angled spatula with a rounded edge, and a piping bag fitted with a medium sized round tip (I used a Wilton Tip 12). First, pipe a vertical row of dots...
Next, spread the buttercream dots with a spatula as you see in the picture. I used a small offset spatula with a rounded edge (but you can use a spoon if you'd rather!). This creates the look of petals!
Repeat, Repeat, Repeat... one vertical row at a time.
You can experiment with your spacing..
or you can even stagger if you'd like (This looks like fish or dragon scales!)
There are so many fun ways to change up this buttercream petal effect- you could use multicolored petals, create the design on top of a sheet cake, use it as a bottom border, etc.


I LOVE it! One question....how do you do the last row and have the "swipe" go under the first row? I hope that makes sense!
Wow, that looks beautiful. Same question as above...how to you finish the last row.
Sooo pretty :)
Melissa you rock for real!!!!! I'm doing it on an anniversary cake for today!!!! Thank you!!!
Thanks everybody! Mokhalatte--yes, this one was for you! :0) --
Erin & Joanie--I should have included a shot of the back. You do have to fudge it a little bit where the first and last lines meet up---but it is a pretty forgiving design and most would not notice a difference. Still, I decide in advance what the back of my cake will be (if I have a preference), and that's where I begin & end my piping for all of my tiers.
If you pipe your first row of vertical dots, and flatten all the way across (rather than leaving the left side of the dot elevated as in all of the other rows), you'll find it easier to pipe and spread your last row of dots in a way that disguises the beginning and ending point. Hope that makes sense! Also, if you are using a crusting buttercream, you'll find that it's easier to manipulate the icing once it crusts if you need to.
Thanks for explaining how to work the final row. I am definitely going to be doing this asap. I love your school....I am having so much fun! You have so many wonderful ideas! Take care.
I can't wait to try this. How long did it take to do a single tier?
Thanks Joanie--
Lesavaughn--- it really went pretty quickly. The larger tier probably took me 15 minutes or less (not including the crumb coat).
I love this design. I did it on some cupcakes - just went circular. It was adorable :)
Anna--I bet that they were so pretty!
Oh my this is one gorgeous cake! What an awesome technique, and it looks pretty simple too! I can't wait to give it a try!
Hey... Good idea... I haven't started yet (lack of time...) but my mind is still working..hey hey... lol I like both tutorial and video: tutorial and writings are really really useful to me (mainly when I miss some words when you speak), my english is not so perfect... TK U for all... graziella