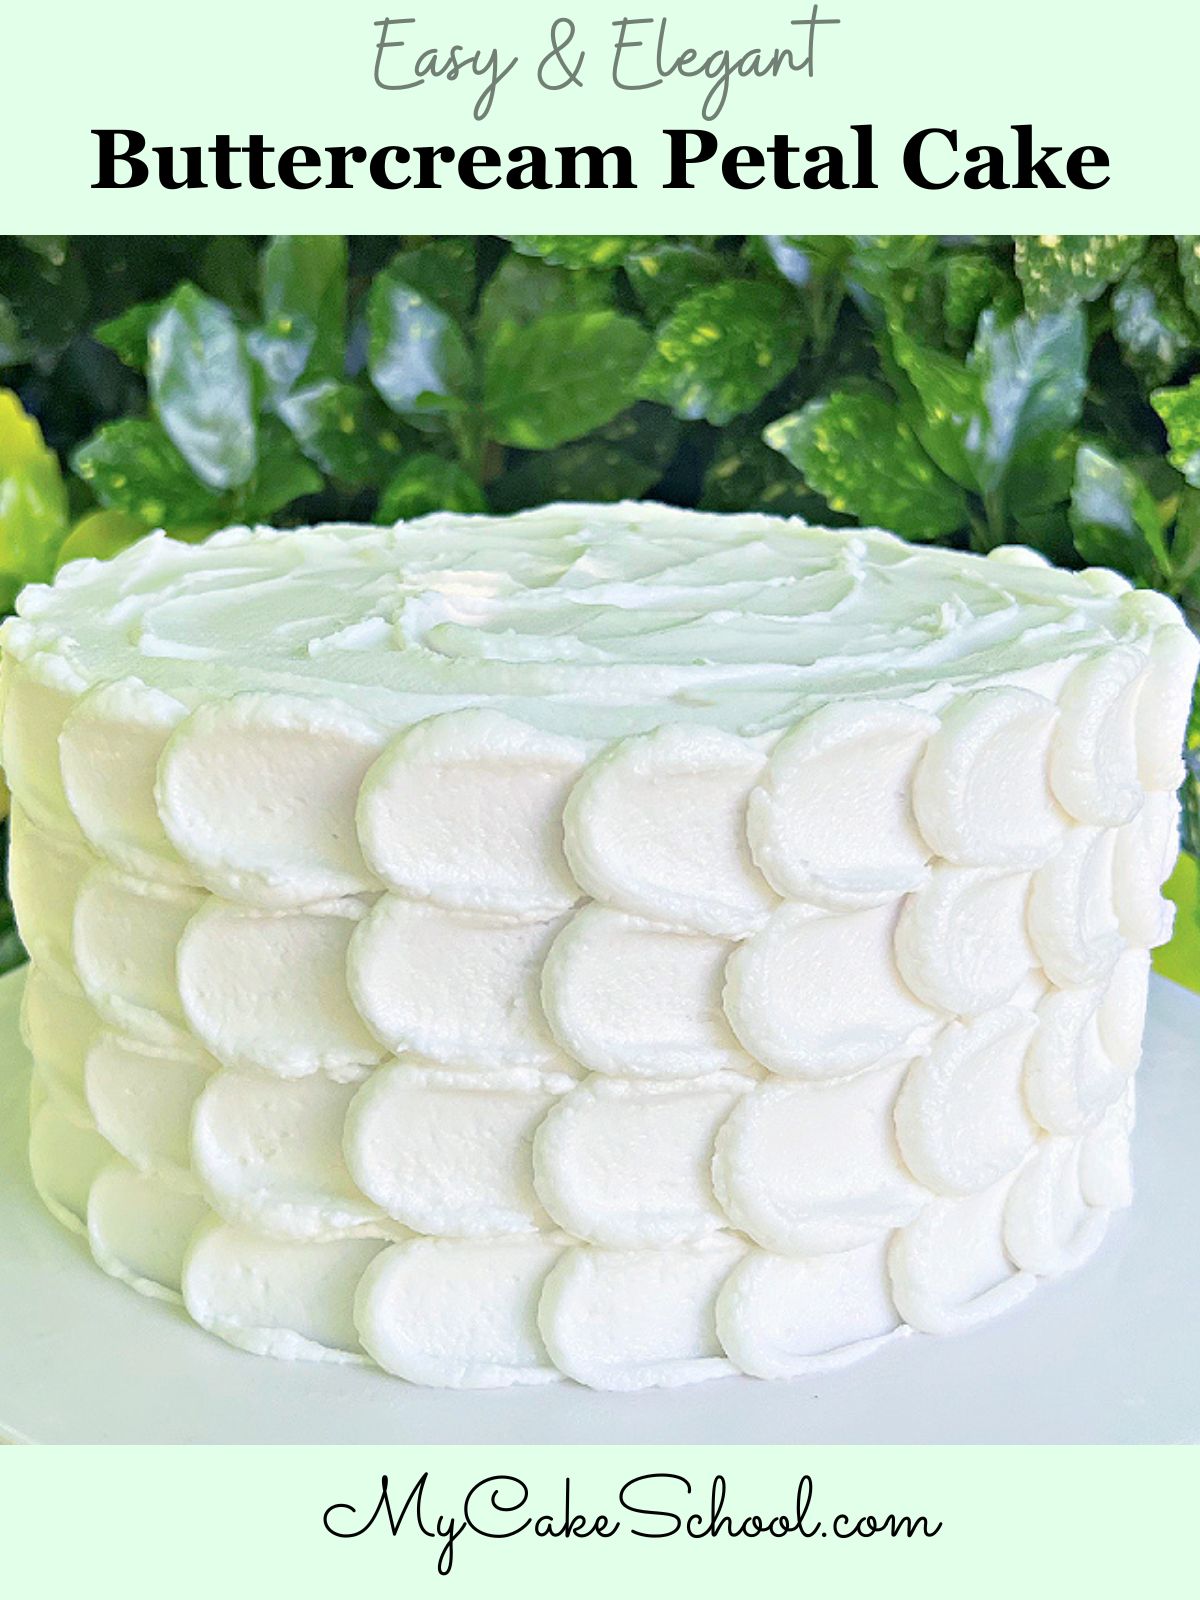
Buttercream Petal Cake Tutorial
Today, I'm going to show you how to make a beautiful buttercream petal cake!
I love cake designs that incorporate lots of piping or texture. Buttercream petal cakes are a perfect example, and this pretty "Petal Effect" around the sides is one of the easiest techniques there is.
Table of Contents
Easy, Beautiful Buttercream Technique
I absolutely love working with buttercream. Whether piping, or applying simple texture with a spatula, the decorating options are endless.
We have done countless tutorials on piped and textured methods of decorating, and today's technique is one of my favorites!
In today's tutorial, I am demonstrating a technique that not only looks like beautiful buttercream petals, but it is SO easy to create.
Your friends and family will be so impressed with this petal cake design, and the simplicity of the method will be our little secret. Enjoy!!
Petal Cake Video
How to Make a Petal Cake
Below is our original petal cake tutorial that we published to the site years ago. Sometimes it's helpful to see still shots as well!
I am working with Vanilla Buttercream, a smallish angled spatula with a rounded edge, and a piping bag fitted with a medium sized round tip (I used a Wilton Tip 12). First, pipe a vertical row of dots...
Next, spread the buttercream dots with a spatula as you see in the picture. I used a small offset spatula with a rounded edge (but you can use a spoon if you'd rather!). This creates the look of petals!
Repeat, Repeat, Repeat... one vertical row at a time.
You can experiment with your spacing..
or you can even stagger if you'd like (This looks like fish or dragon scales!)
There are so many fun ways to change up this buttercream petal effect- you could use multicolored petals, create the design on top of a sheet cake, use it as a bottom border, etc.


WoW! I love this! You come up with the cutest things and I love it that you share it!
Thank you Lauren, Graziella, and Lei Lei!!
Nice! Thank you for this!!!
Kisses
Etta
How do you finish your last row? Show that in a picture please.
Hi Sabrina--I have an explanation a few comments up, but if I were you, I would take a look at the video for an explanation. You'll find the video in the "Piping Techniques" section.
The short answer is that you are probably always going to have one vertical row in the back that is not quite like the others...but it is easy to make it blend in enough that nobody would notice until they were really looking for the end point.
This is so cute :) Looks like it would make great fish scales if you did the alternating rows....
^.^
Awesome - I love when clever minds come up with new ideas like this one. I'm going to remember this neat technique for sure!
:)
ButterYum
This is so pretty! Your work is amazing! While I love to bake...I can definately use more help and techniques in the decorating department. I'm defintely going to become a member:) Stunning!
I just found your blog via pinterest and I am so charmed! I love the name and your creativity. This is so simple yet such an effective look, thank you so much for sharing!
I am new to the "school" and just love all the great ideas and techniques. Thanks so much for sharing!
HI, I love this and am planning to do this for a 90th birthday! Was wondering if I have to use a "crusting" buttercream? I always use a swiss meringue because I prefer the taste. Do you know if this will work with that? Thanks!!
Hi Stephanie, yes, it should work great for you.