Rollin' with my Peeps! Carrot Car Cake Topper Tutorial
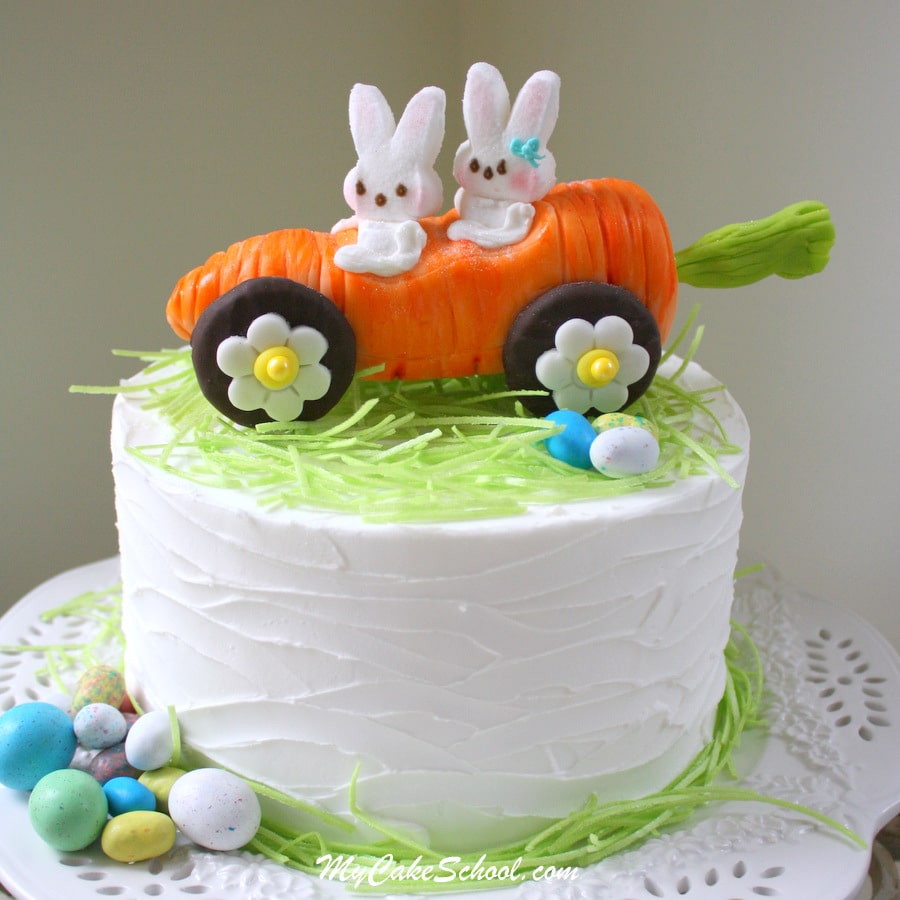
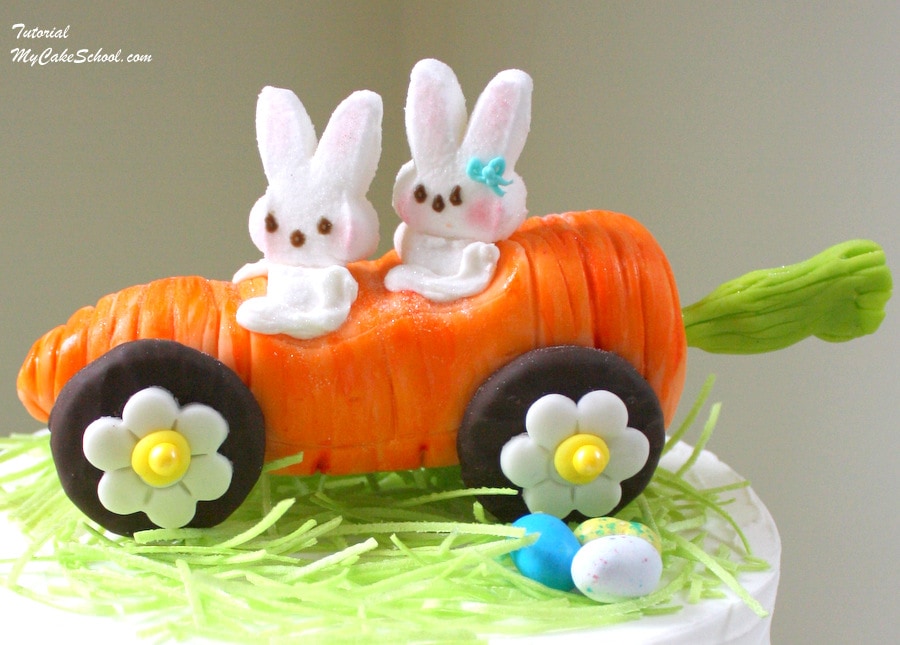
This Carrot Car Cake Topper is one of our favorites for Easter! You just can't help but smile when you see a carrot car with a couple of PEEPS bunnies inside ;0) In this step by step photo tutorial, I'm going to show you how to make it!
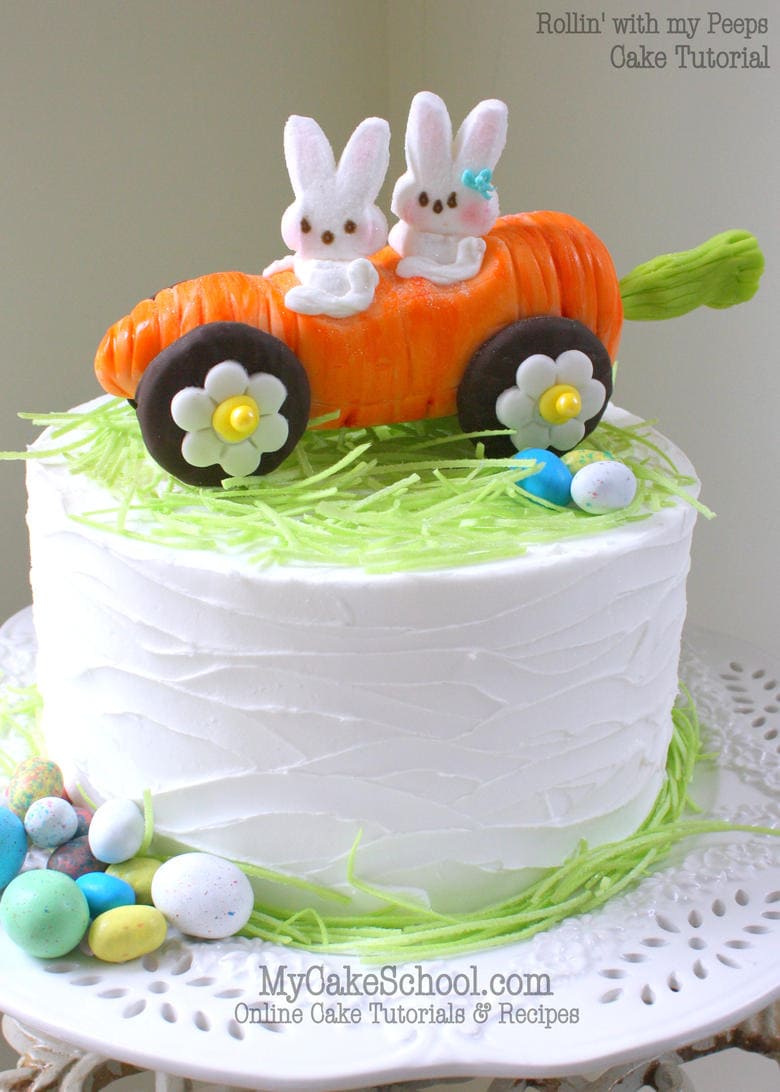
Hi everyone! Today's cake decorating adventure is a fun one for Easter & springtime themes!
I don't know how we've made it through five Easters of cake tutorials without ever including marshmallow Peeps bunnies! How is that possible? Well, this is the year for our Peeps friends to finally have their moment. A fabulous carrot car is happening today!
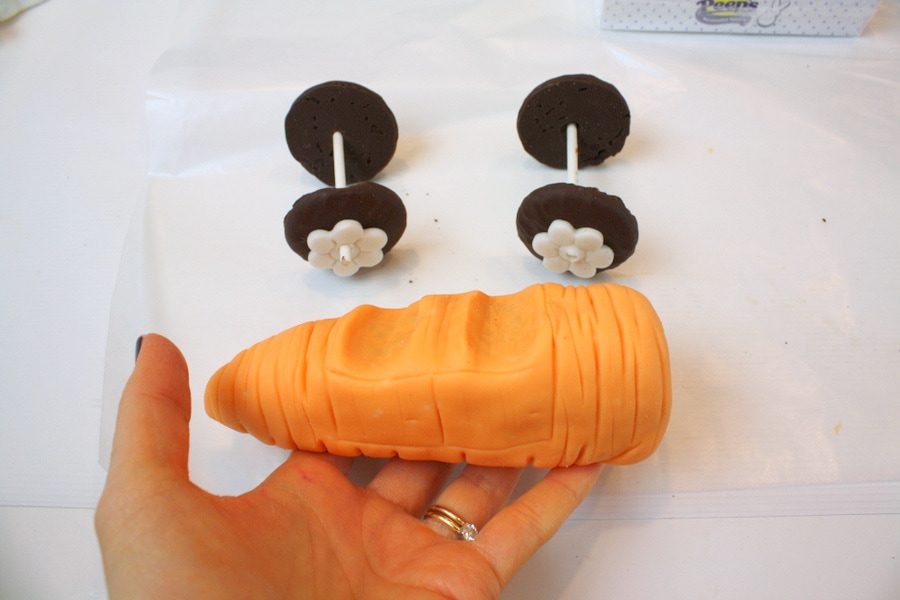
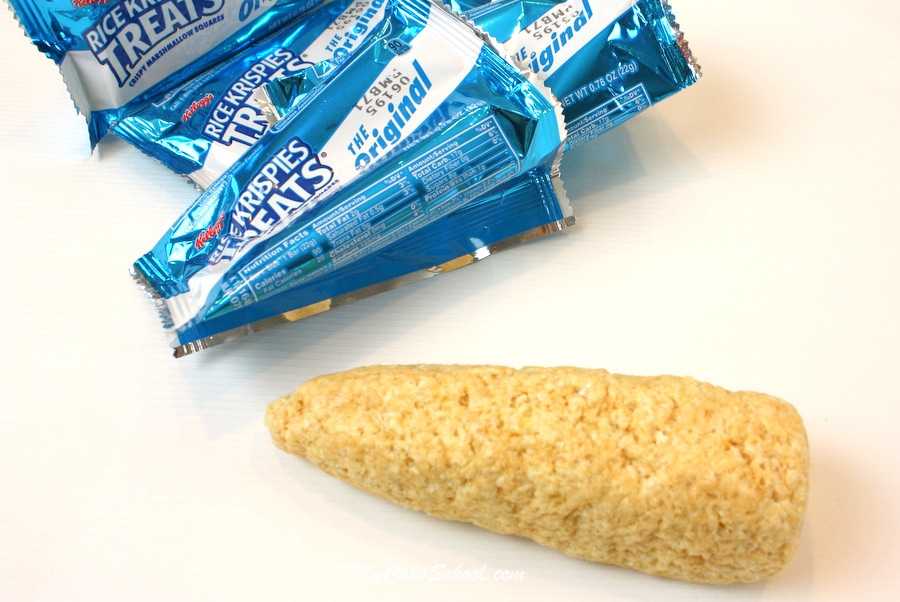
First, we shaped four (22g) rice cereal treats into a carrot shape. Press the cereal treats tightly together so that the shape will be nice and strong. I wouldn't go larger than a 5.5"-6" length without adding internal support. Mine was just under 6 inches.
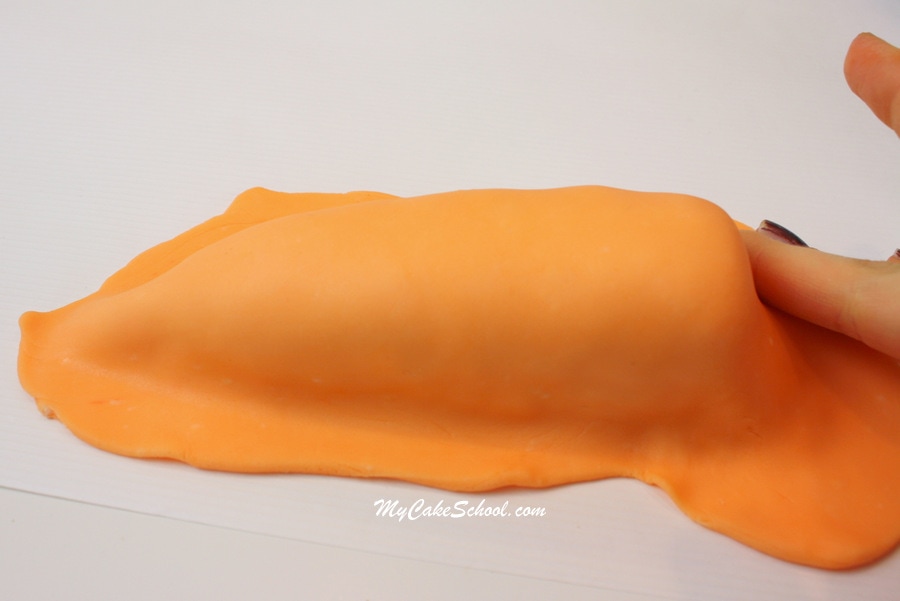
Next, I lightly greased the carrot with a little vegetable shortening, and covered with a piece of orange fondant. (The shortening helps the fondant to adhere.)
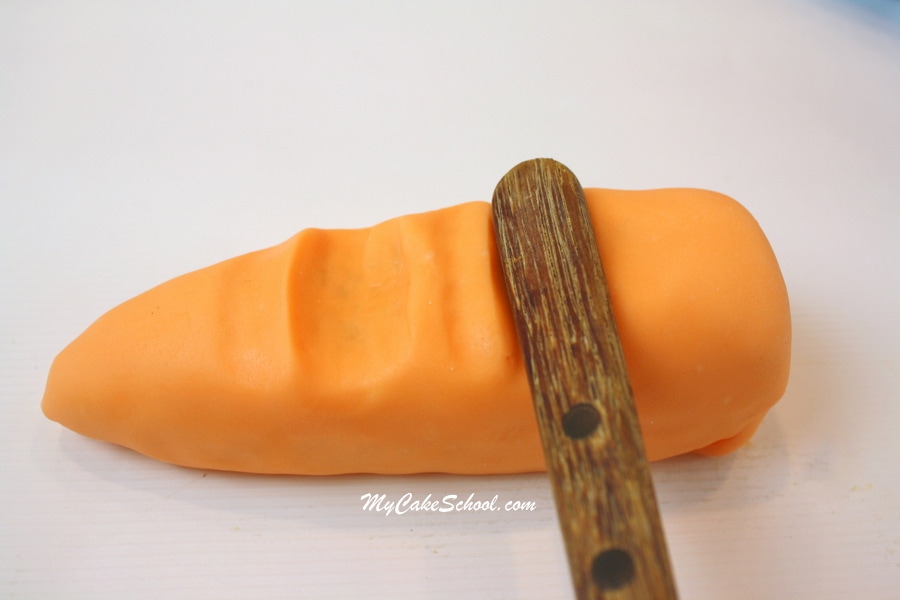
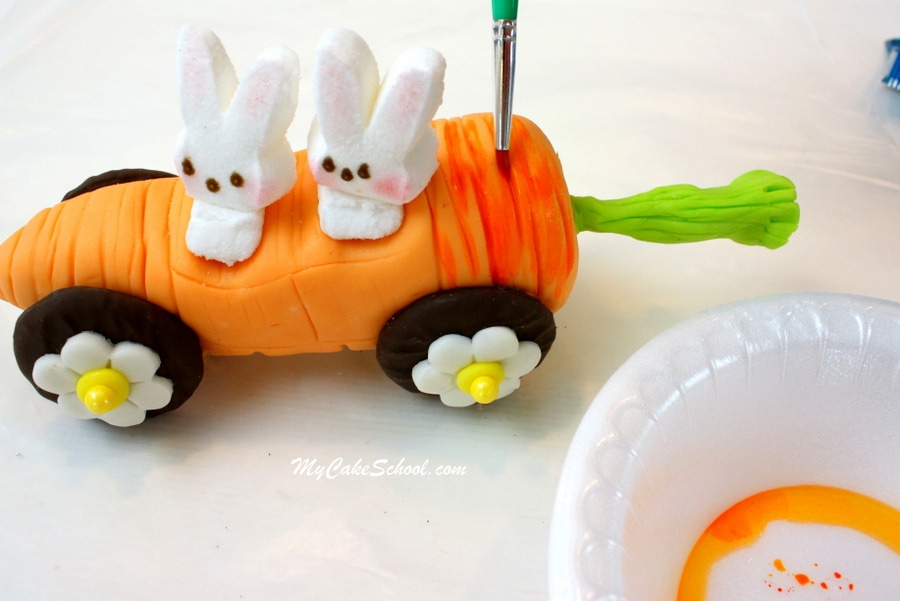
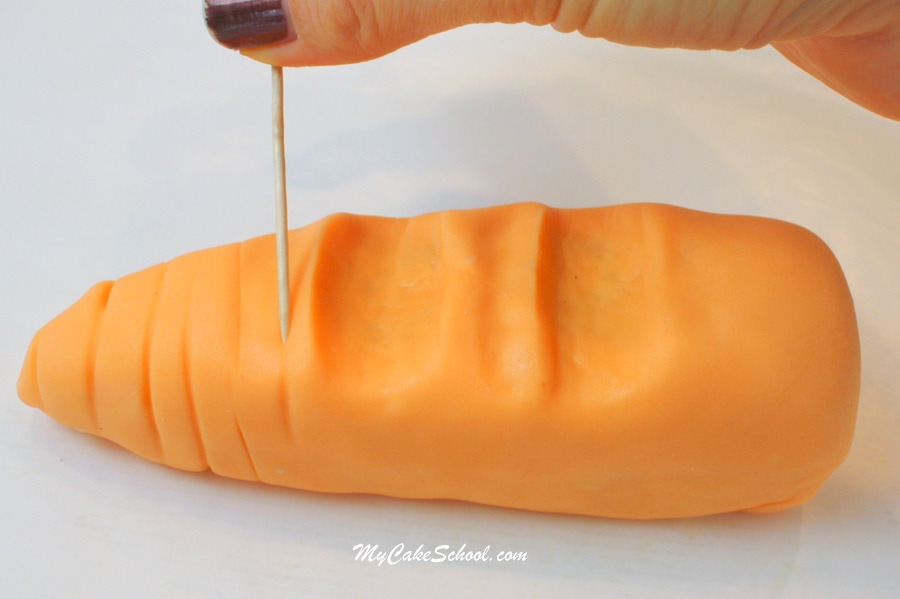
Here, I'm using the handle of a spatula to create two "seats". Really, I could have shaped my cereal treat this way before covering with fondant...but I didn't think of it at the time ;0)
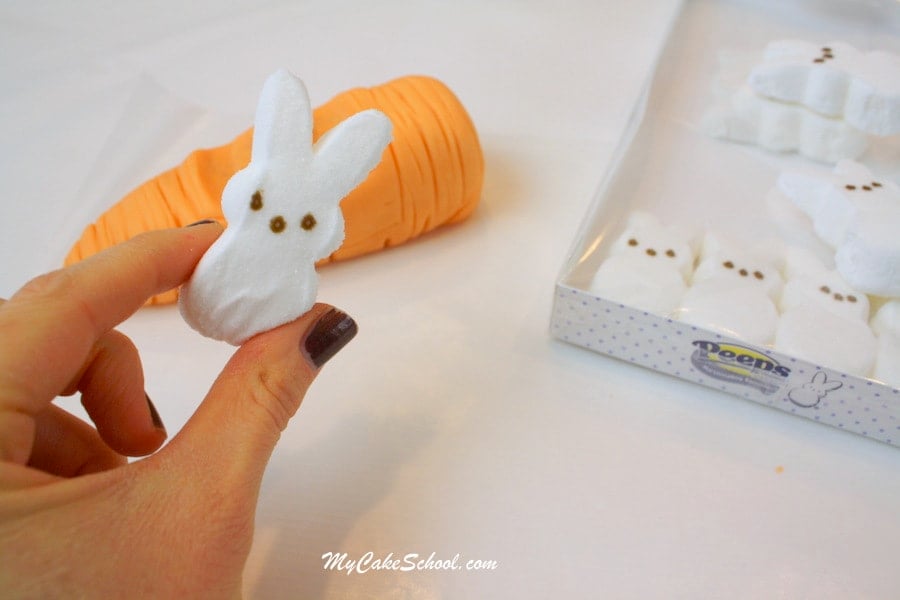
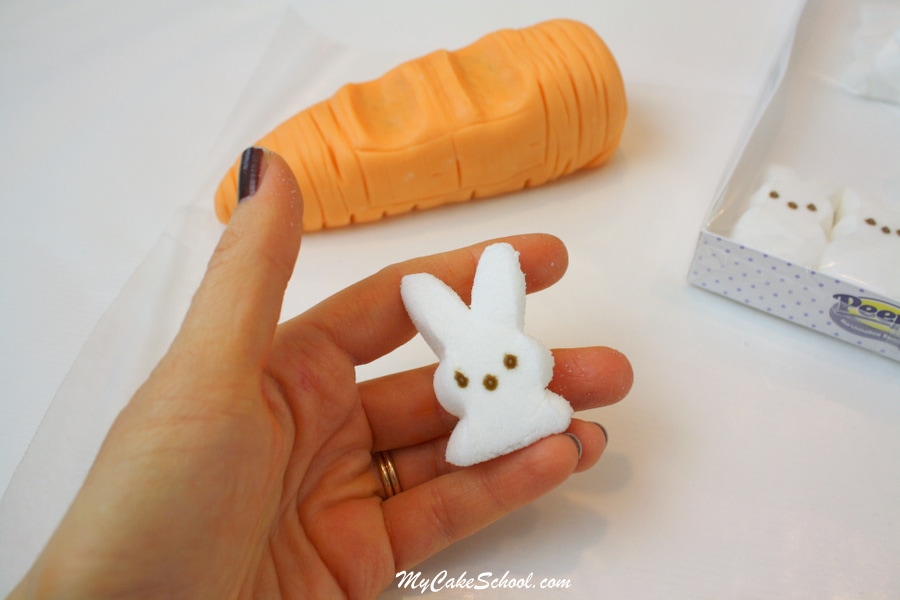
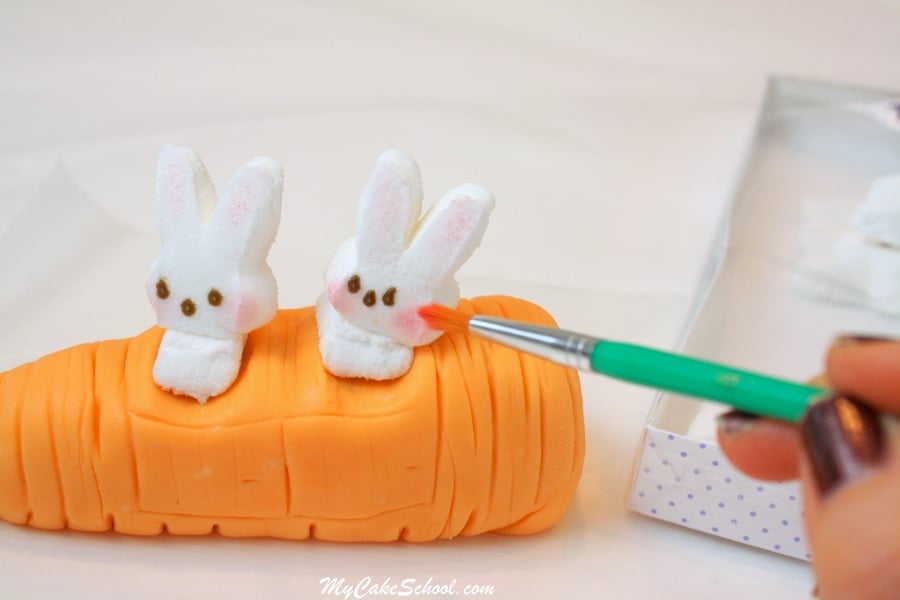
Peeps! Here's our driver. In his natural fresh-from-the-box state, he's a bit too tall.
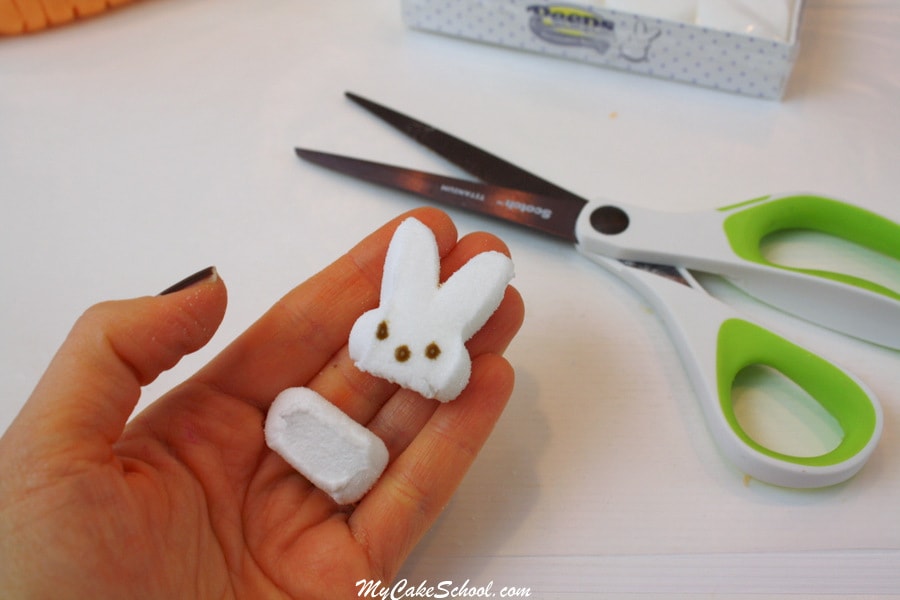
So....snip snip again, right under the head. Now I just stuck the head right back onto the shoulders again, just slightly turned. As a side note, don't do this step if you have brightly colored Peeps. Their white marshmallowy insides will show! ;0)
When it comes to the carrot car's wheels, there is more than one way to go about this. You could simply attach wheels to the sides of the carrot...or you could use a few narrow pieces of cake board or foam core to raise the carrot & then attach wheels... but I went with option 3.
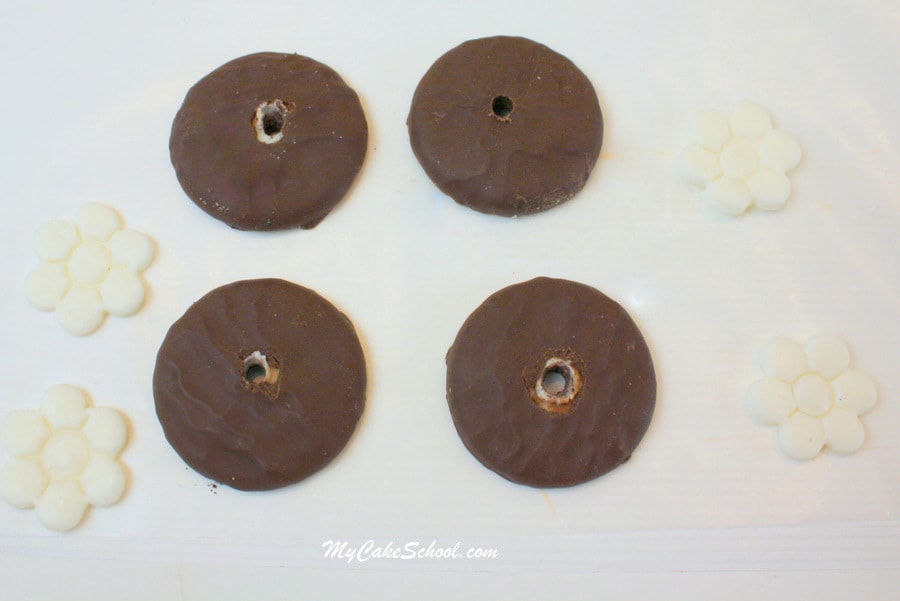
I punched holes through the centers of 4 chocolate cookies, then threaded them together with shortened lollipop sticks. I also cut out 4 fondant daisies just for decoration.
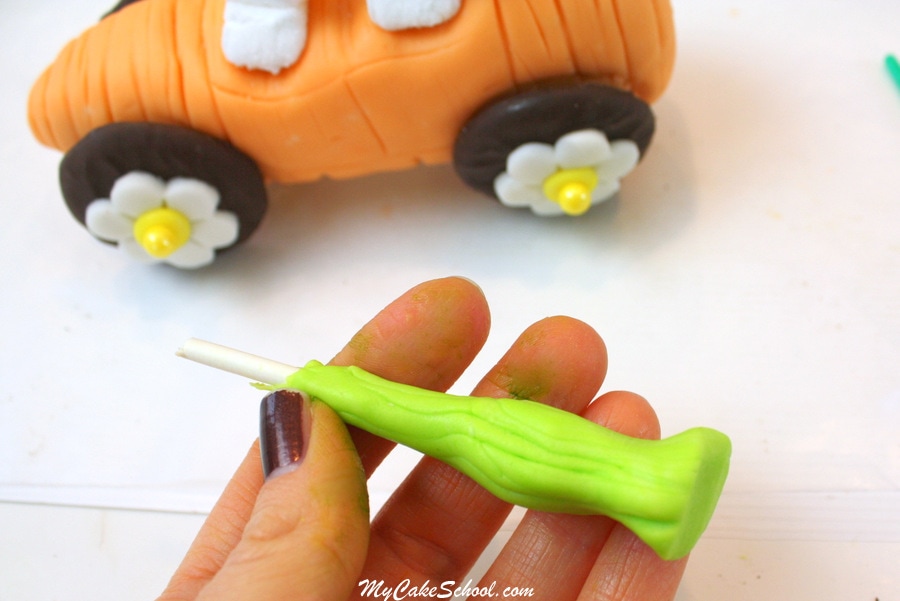
Now it's just a matter of laying the carrot between the wheels. Once in place, I attached each of the wheels to the carrot with a tiny ball of lightly dampened fondant just for extra support.
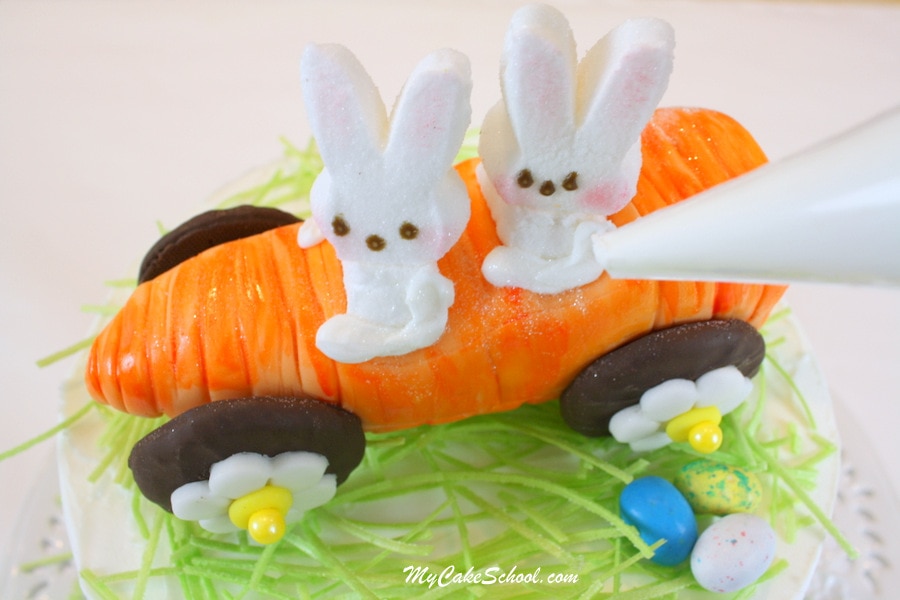
Since the topper does have a little weight to it, I would either add this to your cake close to the time of the event, OR add a drinking straw (cut down to the height of the cake) beneath each wheel.
We hope that you enjoyed our sweet little carrot car tutorial! I think our Peeps are very happy with their newfound freedom.
Thanks for stopping by today, come back again soon! xo

This is the cutest Easter cake I have ever seen. I am making it this weekend to share with my family - thank you sooo much for sharing this tutorials!!!! Melissa, You are the best!!!!
~Jennifer
Thank you all so much for your comments!! Excited that some of you are planning to make carrot cars of your own! :0) We'll have to think of something fun for the Peeps to do next year too, this was lots of fun!
wonderful ideas. thanks for keeping me posted.
regards,
beb
What a great idea! Melissa and Bebe, where do you guys get your inspirations from? I just love this tutorial. I will have to try it. Thank you!
Adorable Melissa
This is so adorable! This has to be one of the cutest cake toppers I've ever seen - the two bunnies in a car are perfect for Easter.
Love to bake for my family
Very pretty and explained in a very simple way.
Hi melissa.. can you give me a suggestion how to box and transport a cake like this? It'll be for a school cake walk and I'm not sure how to box it. Thanks!!
Hi Brandy! Whenever I need to box up a cake with a topper like this, I tape the cake box lid so that it's opened at an angle & then tape a piece of plastic wrap over the opening. I'm glad that you are making it!! ;0)
I love this thank you I was thinking of something different to make for Easter I think I found it lol :)
Hi Vonda, Wonderful!! So happy you are going to make this!!