Cascading Rosettes of Buttercream- Video Tutorial
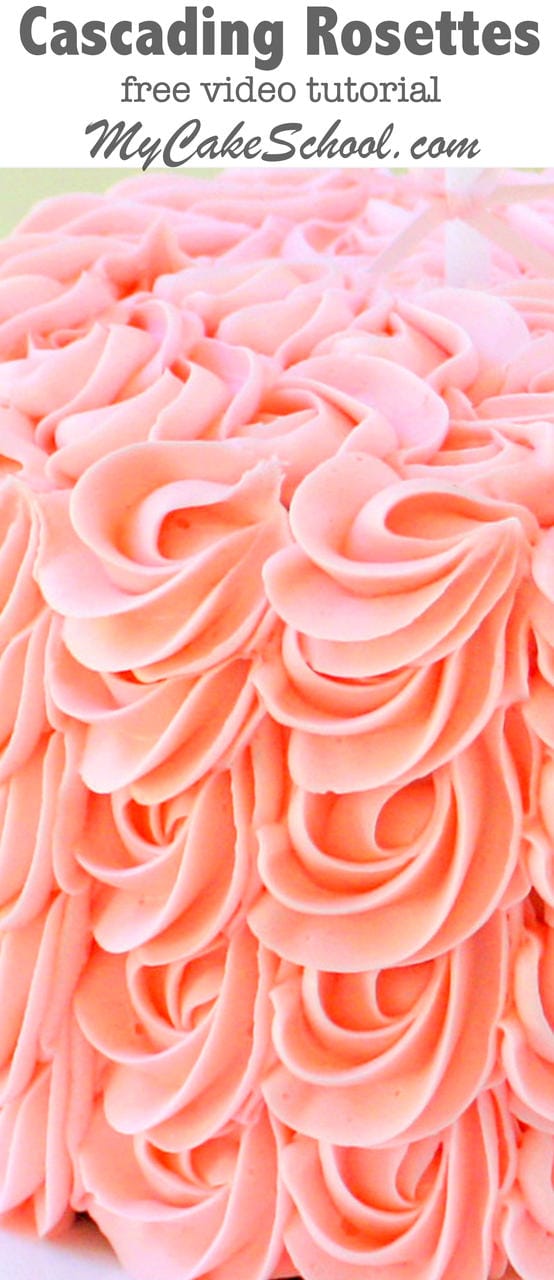
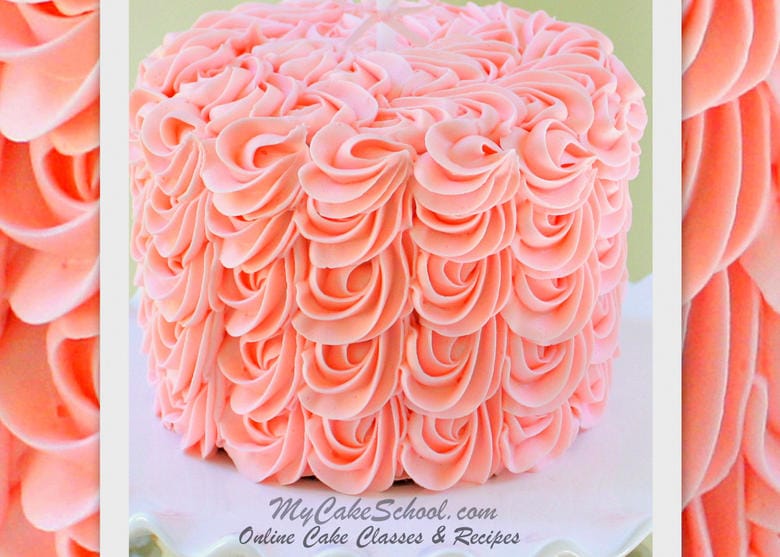
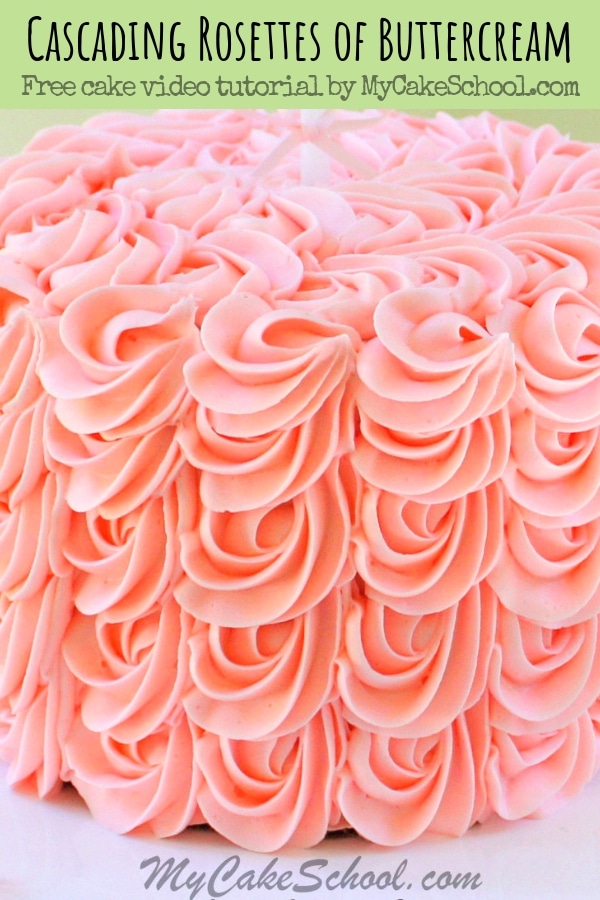
In this free cake decorating video tutorial, you will learn an elegant technique for creating cascading rosettes of buttercream. I absolutely love to cover cakes in buttercream piping!
This is one of those great piping techniques that looks SO impressive that nobody would ever believe how simple it actually is.
In fact, it has the appearance of rosettes that are piped individually in an overlapping pattern.
This cascading rosettes technique is every bit as beautiful as if we had piped the rosettes individually, but can be done with more consistency and in a fraction of the time.

No matter what your cake decorating skill level, you will be able to master the technique in no time.
Once you get the basic motion down, I think that you'll find that this style of decorating goes much more quickly than trying to create a perfectly smooth buttercream finish to your cakes!
It's nice to change things up now and then, isn't it? In the cake video, we are using a Wilton 2D star tip.
A large 1M star tip will give you a very similar look. Whether you use a large star tip or experiment with various piping tips, I hope that you enjoy the technique! It's one of our favorites.
Materials for Cascading Rosettes of Buttercream:
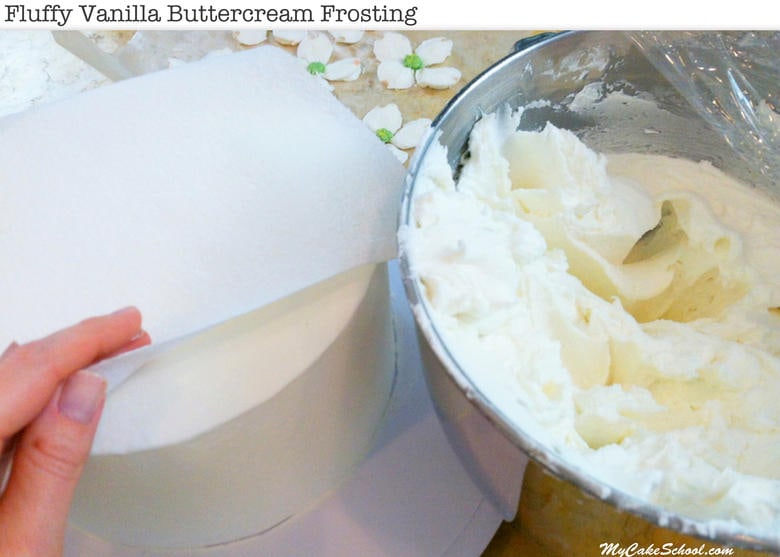
In this video, I'm piping onto a freshly crumb coated 6" cake with our Fluffy Vanilla Buttercream. Our Classic Vanilla Buttercream is a great choice as well.
The tier is on it's own cake board, cut down to the size of the cake.
Wilton 2D piping tip
Americolor Christmas Red Coloring Gel (for the pinky/peach color of our buttercream)
*This piping technique will work with any buttercream recipe that holds up well to piping. We used our Fluffy Vanilla Buttercream frosting recipe but you can find other frosting choices in our https://www.mycakeschool.com/category/recipes/frostings-and-glazes/!

Thanks for stopping by!


Hi Laura, my guess is that it wouldn't be quite sturdy enough to hold it's shape. A stabilizer could help but I would definitely do a practice run first. Let us know if you try it!
Hi I have tried a couple times.Mine fall off after they crust.I don't put in frig,afraid cake will dry out?Any other tips
Hi Rachel, I'm sorry that you've had trouble. For best results, you'll want to pipe your buttercream onto a freshly crumb coated cake. This helps the piping to adhere a bit better. If you did this and still had issues, I would make sure that your piping is largely on the cake itself. As you see in the video, there is a slight overlap with each rosette over the rosette before it, but most of the piping is connecting to the cake itself so that it can better support the weight of the frosting. Otherwise, the weight of the frosting becomes too heavy.
Finally, I wouldn't worry about refrigerating the cake. We do it all the time. The buttercream does a great job of sealing in the freshness. As long as the cake is in a bakery box or cake dome, etc. it is fine to refrigerate. I hope this helps!
Thank you!
How many cups of frosting would I need to do this technique on a 3 layered 8-inch round cake?
Thank you:-)
Hi Suzanne, I don't think a single batch will quite do it (which would be around 6 cups of frosting). I would double the batch, and just freeze the leftovers for another time.
Thank you! Good to know the frosting can be frozen.
Gosh, it sure looks easy, a cinch, till all the frosting starts oozing out of the top of the bag and I have a huge mess going on. My cake did not look anything like your beautiful work of art. More practice for me!
Haha, oh no! It will become a little easier with every cake ;0)