Chocolate Cake from Scratch
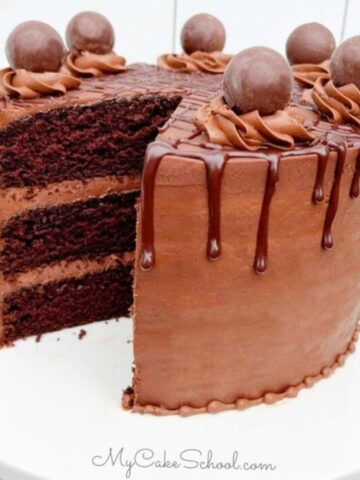
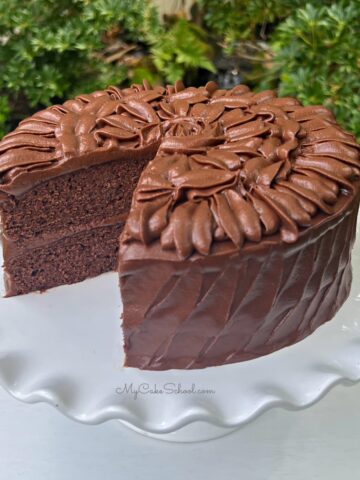
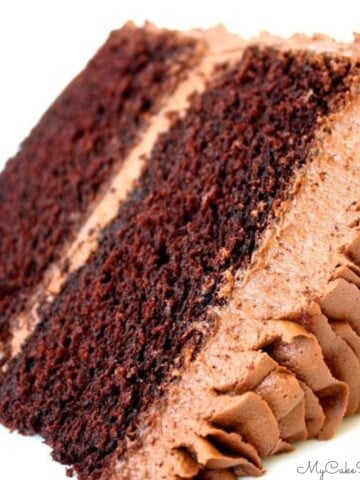
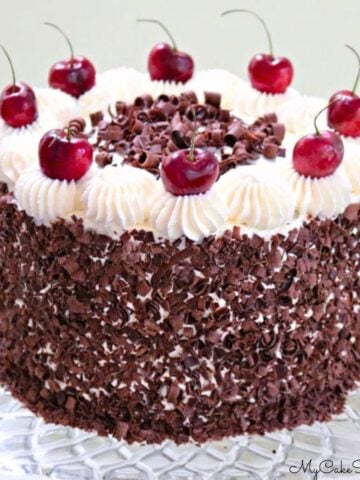
This amazing Chocolate Cake from Scratch is ultra moist and so rich and decadent!
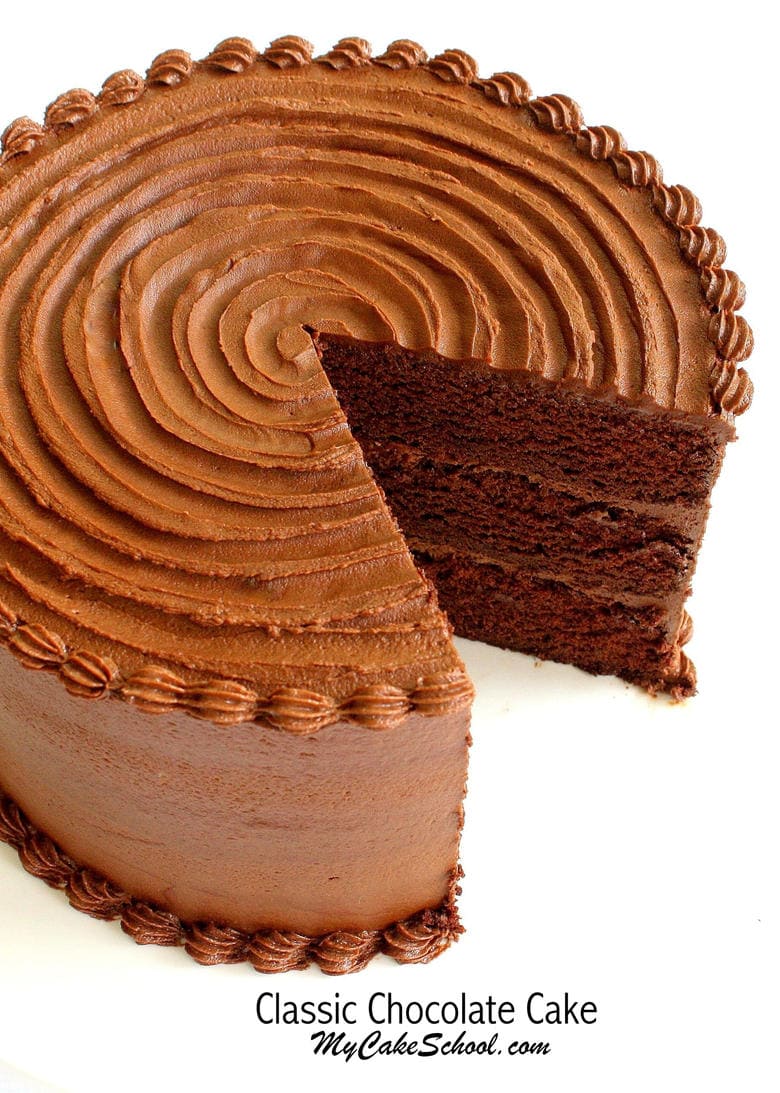
We always get rave reviews from this chocolate cake recipe. It is one of our go-to chocolate cakes for all sorts of fillings and frostings (from Almond Joy Cake and Mint Chocolate Chip Cake to Chocolate Oreo Cake and more.)
Our delicious Chocolate Bundt Cake and Chocolate Ricotta Cake are also based largely on this recipe- that is how much we LOVE it!
Table of Contents
Why we Love It
There are so many reasons to love this amazing chocolate cake. Here are just a few:
- Velvety soft, moist texture
- Decadent and rich cake for chocolate lovers
- Makes plenty of batter for an impressive three layer cake
- Perfect go-to chocolate cake for birthdays and other special occasions
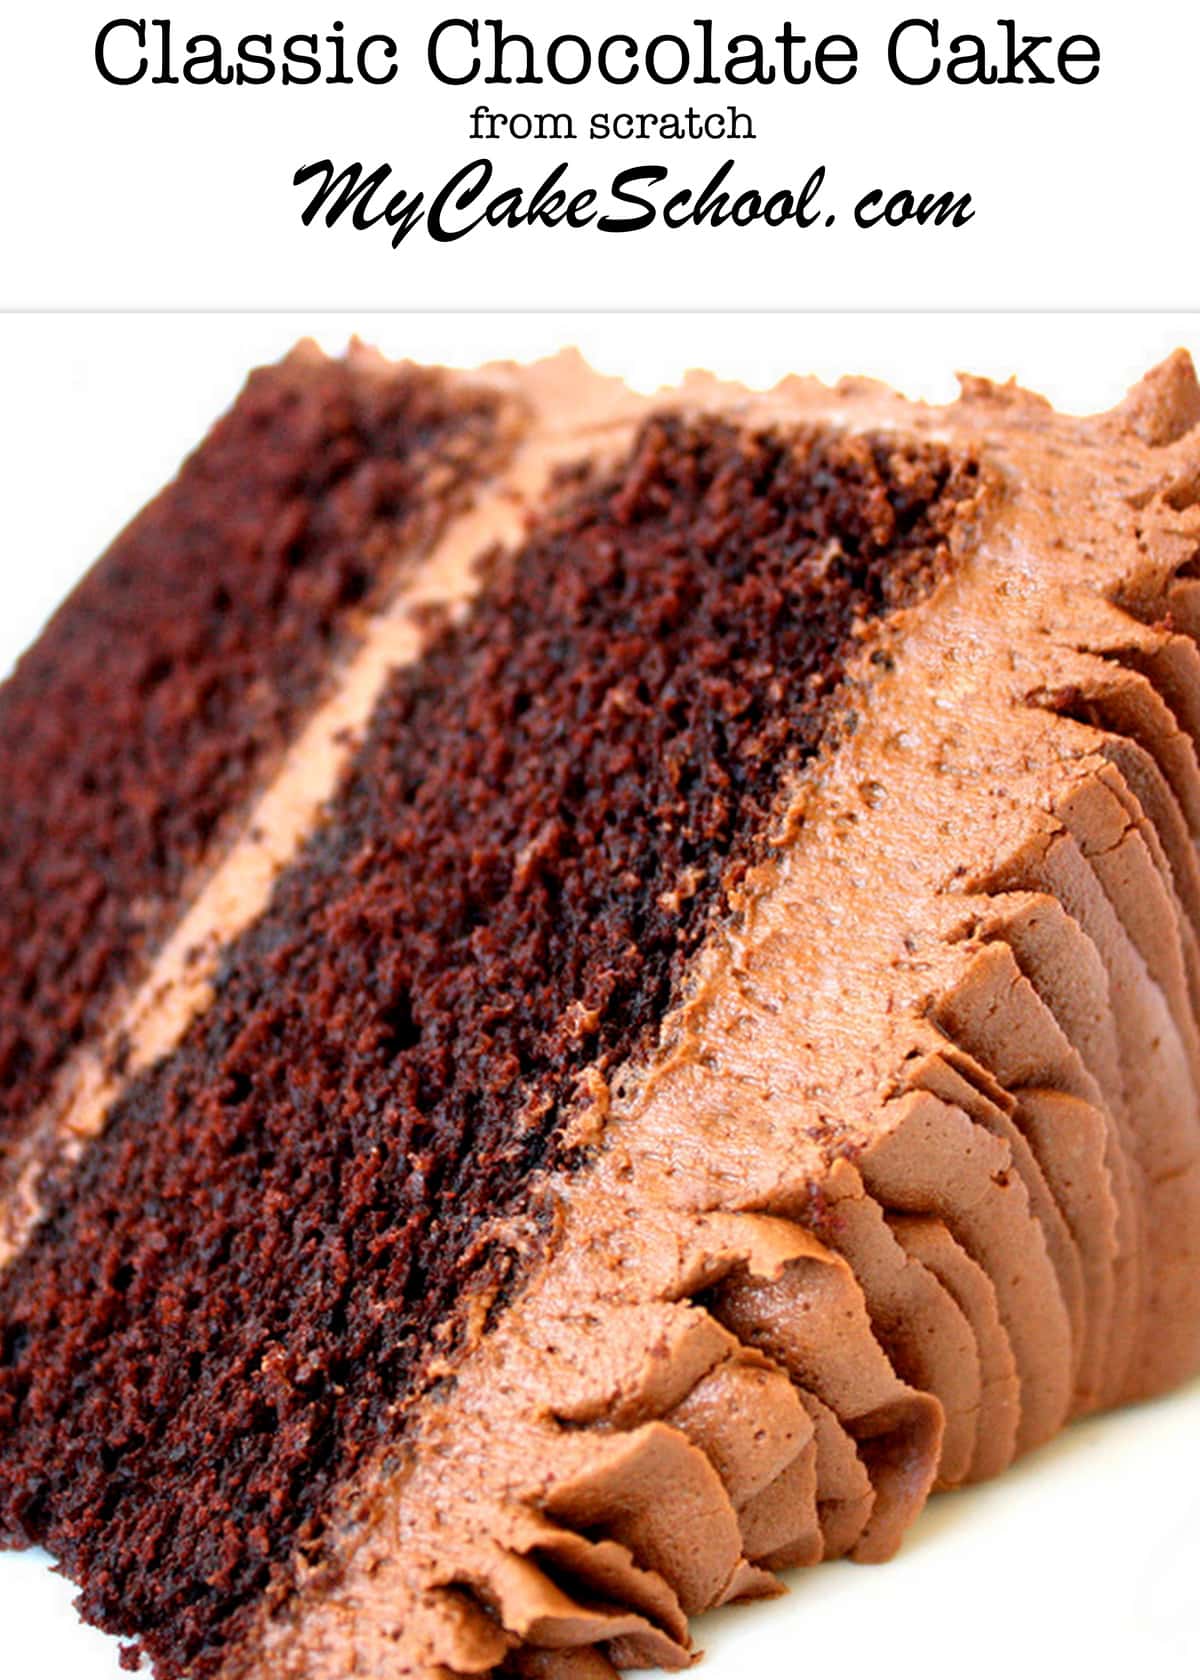
How to make a Scratch Chocolate Cake
*You can find the full, printable recipe for this rich chocolate layer cake further down in this post, but here is a quick rundown of how we made the cake!
- Preheat oven to 350 degrees F.
- Grease and flour three 8 inch cake pans (We often line our pans with parchment paper as well)
- In a mixing bowl, add the dry ingredients: sugar, all purpose flour, unsweetened cocoa, baking soda, baking powder, and salt. Whisk these dry ingredients for 1 minute to blend.
- Add softened butter a few pieces at a time while the mixer is on low speed. Mix until the dry ingredients look like coarse sand and the dry ingredients are moistened. Scrape the bottom and sides of the bowl.
- In a separate bowl whisk the eggs, milk , oil and vanilla until blended.
- With the mixer on low speed, SLOWLY add about half of the egg mixture to the dry ingredients. Increase the speed to medium and mix for 1 ½ minutes at medium speed. Scrape the bottom and sides of bowl. Add the remaining egg mixture in 2 pourings, beating for 20 seconds after each pour. Scrape the sides and bottom of bowl.
- Next, slowly add the cup of hot coffee (prepared instant coffee or brewed) and mix another 30 seconds until blended. The chocolate cake batter will be very runny. Don't worry!
- Pour into 3 prepared 8" pans and bake at 350 degrees for 25 to 30 minutes or until the center of the cake springs back to the touch or a small wooden pick comes out clean or with just a few moist crumbs attached.The cake layers will pull away ever so slightly from the sides of the pan.
- Cool the cakes 10 minutes on a wire rack and then turn out of the pans.
- *Yields approximately 9 cups of batter, plenty for three 8 inch cake pans and a nice, tall cake!
Recipe FAQs
More Chocolate Cakes
Aside from today's rich chocolate cake, we have created many more Chocolate Cakes that we love!
Some of our most popular are: Marble Cake, Chocolate Velvet Cake, German Chocolate Cake, and Black Forest Cake. If you prefer bundt cakes, we also have a great Chocolate Ricotta Cake and Chocolate Bundt Cake!
Also, if you love cake mix recipes, our Triple Chocolate Cake is a great one!
Have you made this? We would LOVE for you to leave a ⭐️ rating as well as a comment and photo below! We really appreciate your feedback!
Chocolate Cake from Scratch
Ingredients
- 2 cups granulated sugar (400g)
- 2 ¾ cup all purpose flour (322g)
- 1 cup unsweetened cocoa (82g)(lightly spoon into cup then sift)
- 2 teaspoons baking soda (10g)
- ½ teaspoon baking powder (2g)
- ½ teaspoon salt (2g)
- 2 sticks unsalted butter, softened (226g) (do not soften in microwave)
- ¼ cup vegetable oil (54g)(we use Canola oil)
- 4 large eggs at room temperature
- 1 cup milk (220g)
- 1 teaspoon vanilla extract (4g)
- 1 cup hot coffee, it can be instant or brewed (220g)
Instructions
- Preheat oven to 350 degrees F.
- Grease and flour THREE 8 inch cake pans
- In a mixing bowl, add the dry ingredients: sugar, flour, cocoa, baking soda, baking powder, and salt. Whisk for 1 minute to blend.
- Add softened butter a few pieces at a time while the mixer is on low speed. Mix until the dry ingredients look like coarse sand and the dry ingredients are moistened. Scrape the bottom and sides of the bowl.
- In a separate bowl whisk the eggs, milk , oil and vanilla until blended.
- With the mixer on low speed, SLOWLY add approximately ½ of the egg mixture to the dry ingredients. Increase the speed to medium and mix for 1 ½ minutes at medium speed. Scrape the bottom and sides of bowl. Add the remaining egg mixture in 2 pourings, beating for 20 seconds after each pour. Scrape the sides and bottom of bowl.
- Slowly add the cup of hot coffee and mix another 30 seconds until blended. The batter will be very runny. Don't worry!
- Pour into 3 prepared 8" pans and bake at 350 degrees for 25 to 30 minutes -it is done when an inserted toothpick comes out clean or with just a few crumbs attached. Baking times can vary and so peek in as the end time approaches to test for doneness.
- Cool the cakes 10 minutes on a rack and then turn out of the pans.
- *Yields approx 9 cups of batter.
- Making cupcakes? Check out our Classic Chocolate Cupcake Recipe (uses conventional creaming method for fluffier cupcakes).
Notes
- These cake layers can be wrapped individually in plastic wrap, followed by aluminum foil, and frozen for up to three months.
- Thaw at room temperature, removing the wrapping after 30-45 minutes.

Thank you for getting back to me! Those are helpful tips and I'll try them out next time I make this recipe.
hi dear. i would like to give a try on this recipe. but please advice me on the baking soda amount. can i reduce it to 1 tsp and add extra baking powder for the change i make. coz i really don't like baking soda taste..
Hi Liyana, We do not notice a baking soda taste in this recipe. You could try reducing the b. soda and increasing the b. powder.... 3 teaspoons baking powder and 1/4 teaspoon baking soda. I have not tried this so I cannot be certain of the result. We have had many comments on this recipe and no one has left a comment on a baking soda taste, so I hope you will try the recipe as it is written.
I want to make a cake that is half vanilla and half chocolate in the same pan. I was thinking of using your recipe from the marble cake for the vanilla half. Do you reccomend me using this recipe for the chocolate halfl do you have other suggestions?
Made it this weekend. OUTSTANDING. The whole family agreed it's the best chocolate cake! Did not change a thing.
Thanks Candice - I'm so happy to hear it!
@Ina- I'm sorry that I missed your question earlier but yes, if you are making one half of the cake chocolate, this would be fine for that (although I'm sure you'll have leftover).
Hi there! Thank you for all of your amazing recipes! Does this chocolate cake hold up to sculpting as well as fondant? It is delicious!
Hi Carol, Thank you for your nice compliment! This recipe will hold up to simple carving. Anything tapered as with a Topsy Turvy cake would need something firmer. It also holds up to fondant.
Hi dear can i use cake flour instead of all purpose flour if so the weight of flour should be changed
Hi there! Do you not have a recipe that does not require butter?
It's just that it gets a bit expensive when baking with butter instead of oil.
Hello,
I will be using this recipe for a large carved cake I have coming up. Just FYI for any future readers, I live at about 7,000 feet and this cake comes out AMAZING! - every time!! No no high altitude adjustments needed, it works just the way it is.?
- do you think the cake is durable enough to handle 3-4 layers stacked on top of eachother?
- is there a way to double the recipe? (My bottom first layer will be a 12x 18 pan and needs 16 cups of batter)
Thanks in advance!
Can I omit the coffee I this recipe (making for a child’s birthday party) or what can I replace the coffee with?