Coffee Mug Cake~Father's Day Blog Tutorial
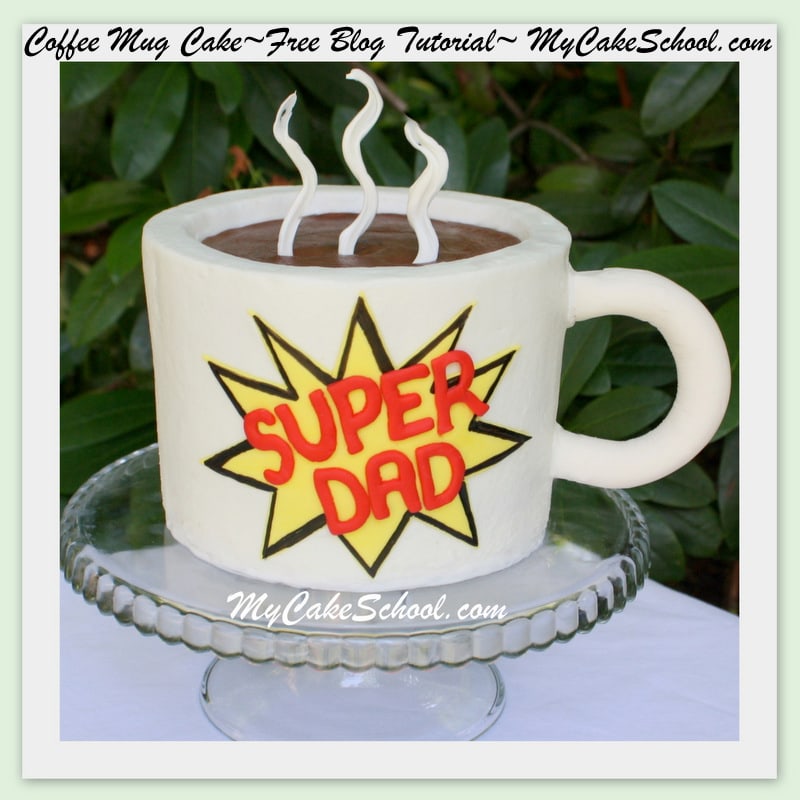
With Father's Day just around the corner, I thought it would be fun to create Coffee Mug Cake tutorial! This cake is so simple to create and can be personalized to fit all sorts of themes!
(Keep this in mind for winter months also & throw a few "marshmallows" in the mug for a sweet hot chocolate cake theme!)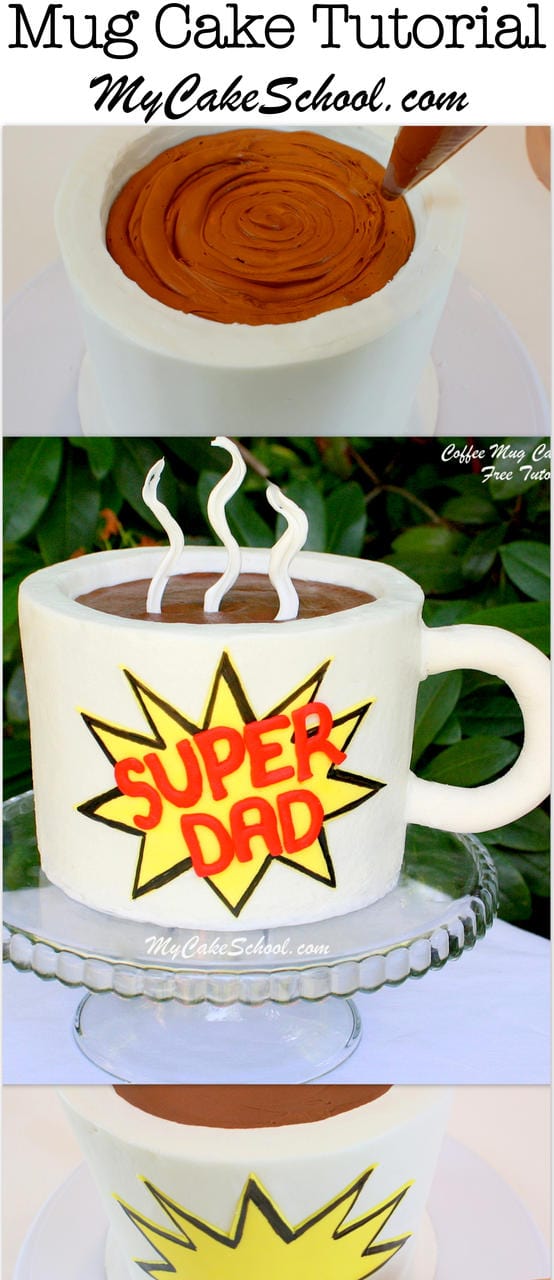
*Update 1/9/20: We now have a free cake video tutorial for a very similar mug cake design for Valentine's Day! If you'd like to see it, you can find it here: I Love You a Latte- A Free Cake Video Tutorial for Coffee Mug Cake!
Looking for Even More Father's Day Cake Ideas?
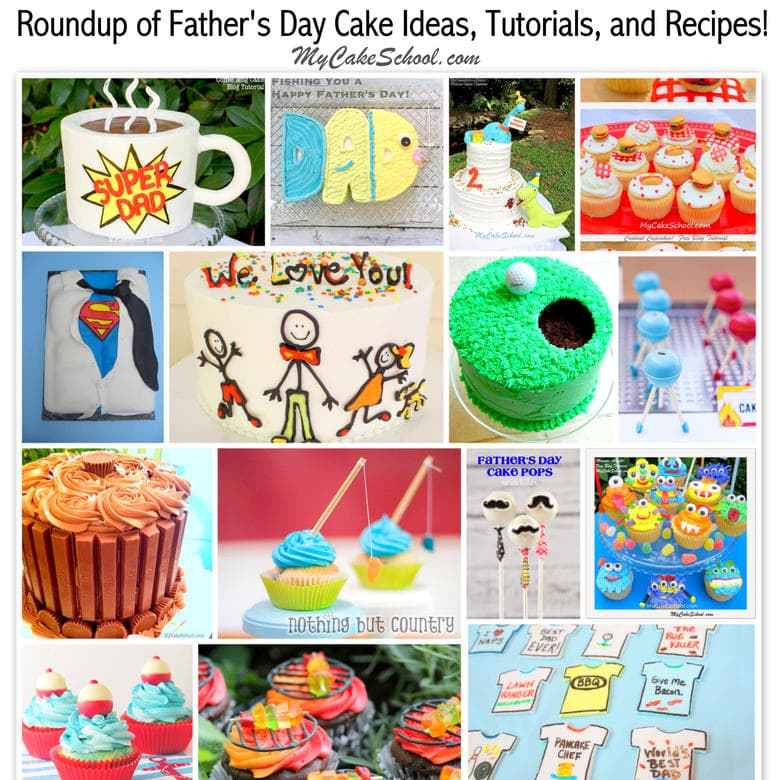
If you're looking for even more fun and simple Father's Day cake ideas, we have you covered. Make sure to stop by our Roundup of Favorite Father's Day Cakes (after finishing this mug cake post of course!). Have fun scrolling through!
We also have a roundup of our favorite Father's Day Cake recipes!
How to Make a Coffee Mug Cake
If the dad in your life loves coffee (or hot chocolate), he needs this cake for Father's Day!
First step...the handle~
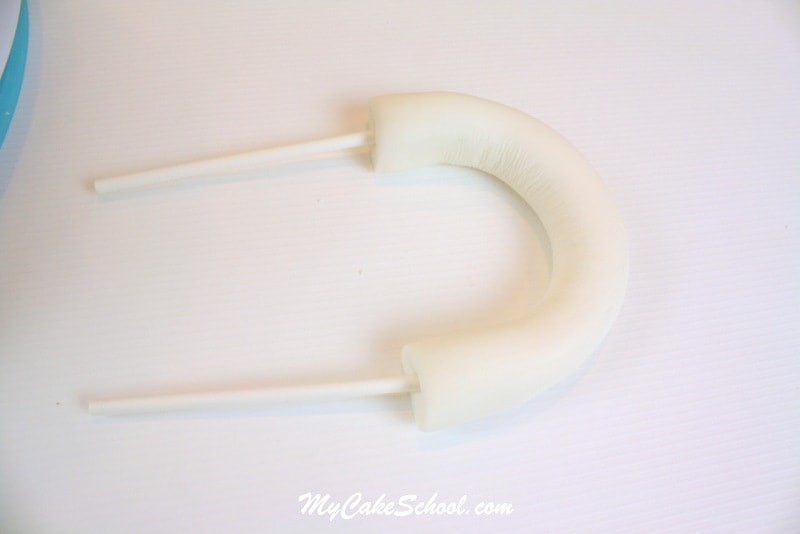
To be on the safe side, you'll want to start out at least a few days in advance. This will ensure that it has enough time to dry. I created my "snake" of gum paste, formed it into the handle shape, and pushed a lollipop stick into each end.
If you don't have gum paste, you can knead tylose into your fondant until it takes on a more elastic (gum-paste-like) consistency.
(If you are in a time crunch, you could use sturdy floral wire to drive all the way through your soft gum paste handle. You would just need to cover the exposed wire anchors with a plastic stir straw.)
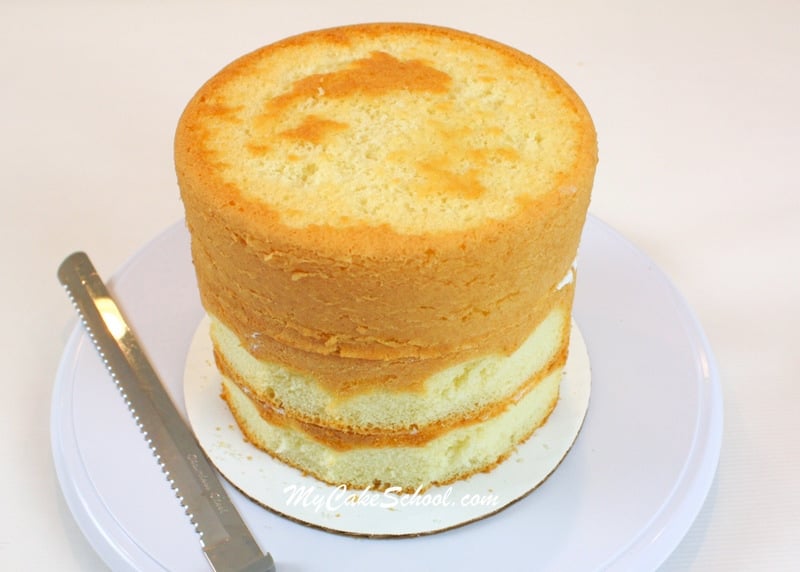
I started with a six inch round cake. My three layers topped out at approximately five inches tall. This seemed to be a good height for me, but mugs come in all shapes and sizes so go with whatever you'd like!
As usual, after filling and stacking my layers, I did just a small amount of trimming to even up the sides. (This is an optional step and one that you wouldn't want to do with a super soft cake.)
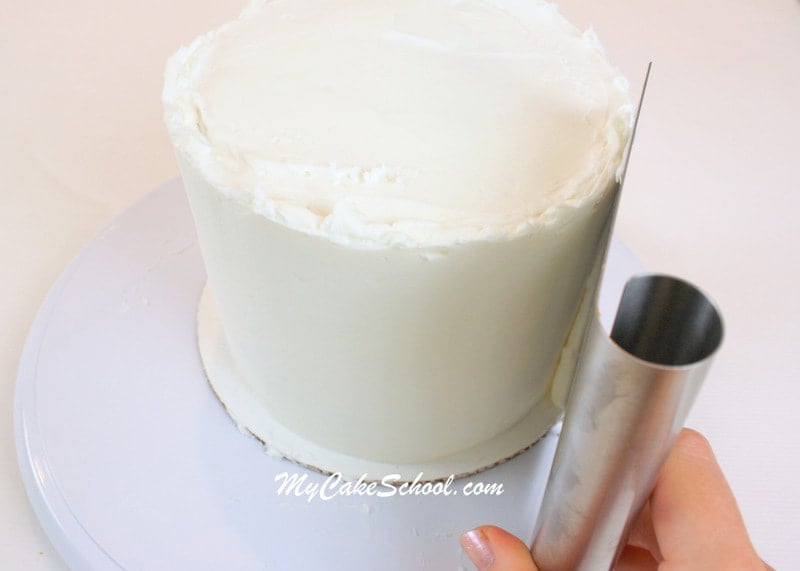
Next, I frosted my cake with a crusting vanilla buttercream and gave it a twirl on my turntable, using a bench scraper to smooth the sides as I spun.
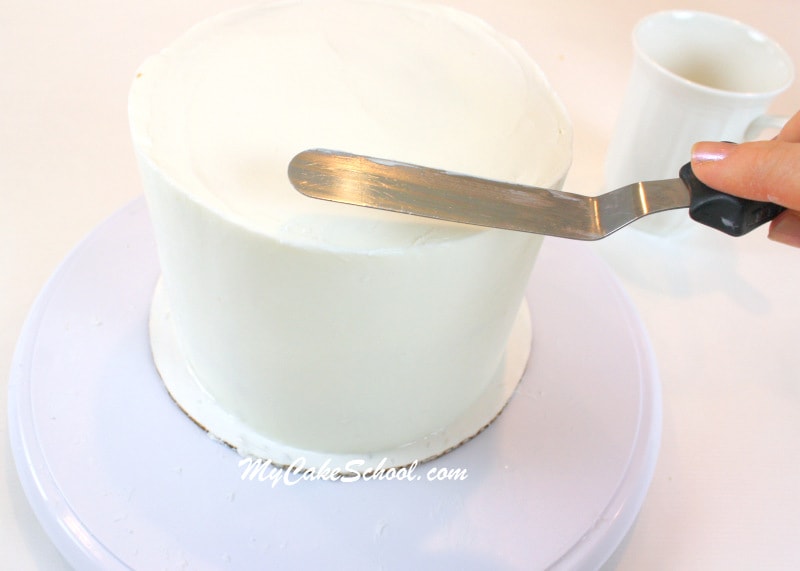
I briefly chilled my frosted cake in the freezer (10 minutes or until frosting firms up) and then smoothed over everything with a spatula that had been dipped in very hot water.
(This is known as the "hot knife" method of smoothing. Use whatever your preferred method is!)
Next, I made an impression using a circle cutter that was a little smaller than the top of my cake. This was my guide for the opening of my mug. Make sure that you don't make the "inner circle" too close to the edge of the cake, otherwise that little ledge will be fragile.
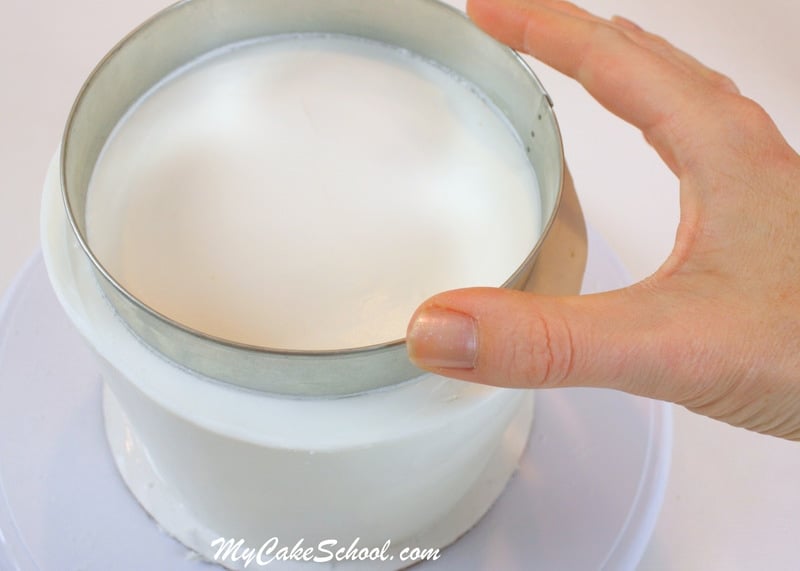
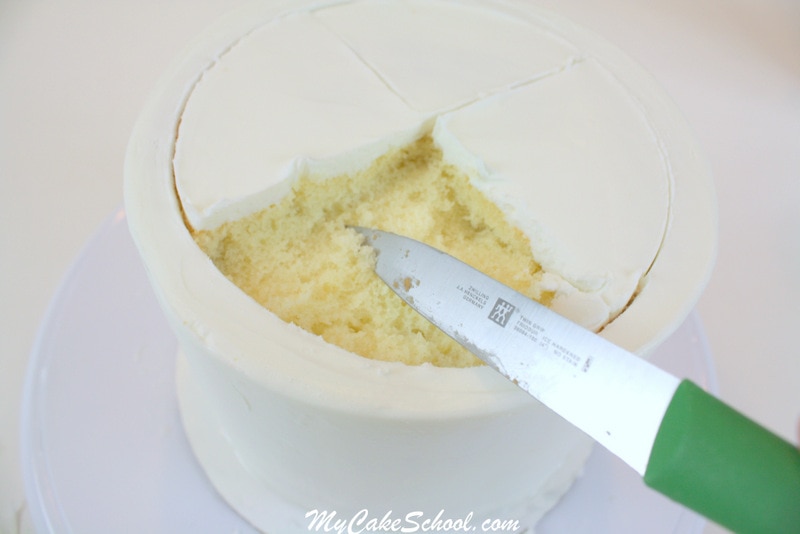
Following my circle impression, I made my way around the cake with a sharp knife. You can tell by the photo that I didn't insert the knife very far...maybe a ½ inch or so.
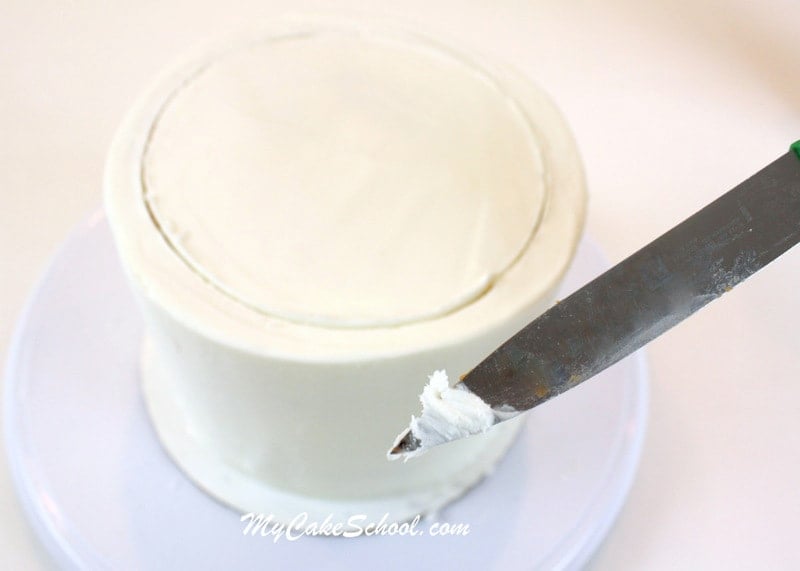
Then, it was time to remove a little cake! I find it easiest to divide the top of that inner circle into halves or fourths. Just angle your knife and slice into the cake. As you can see, I did not go very deep.
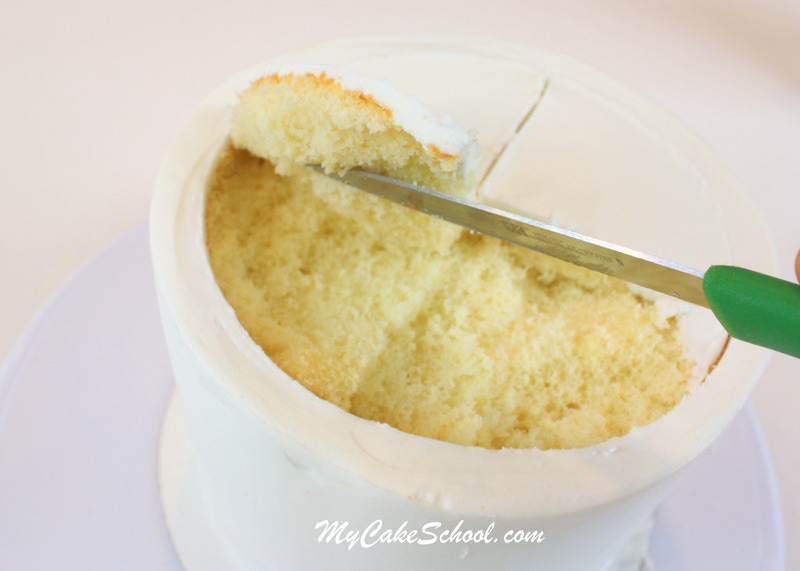
After removing the center of the cake, I used a piping bag filled with buttercream (no tip) to pipe over the little inner "wall" of cake.
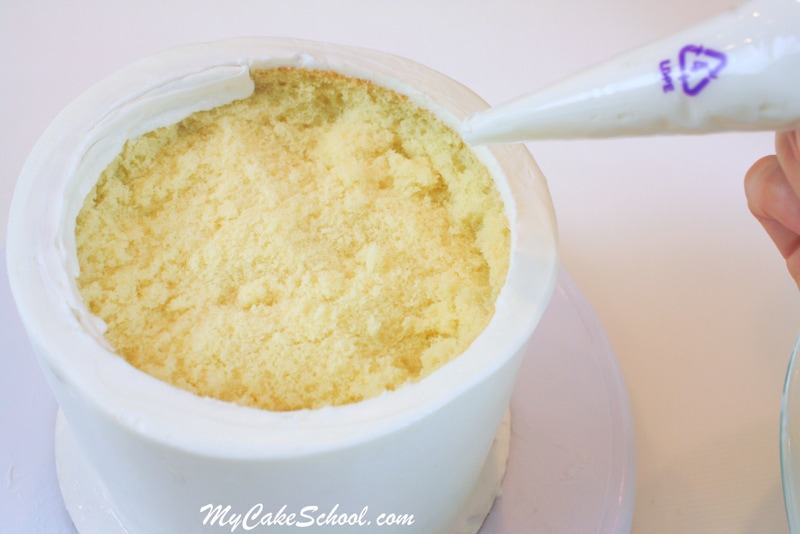
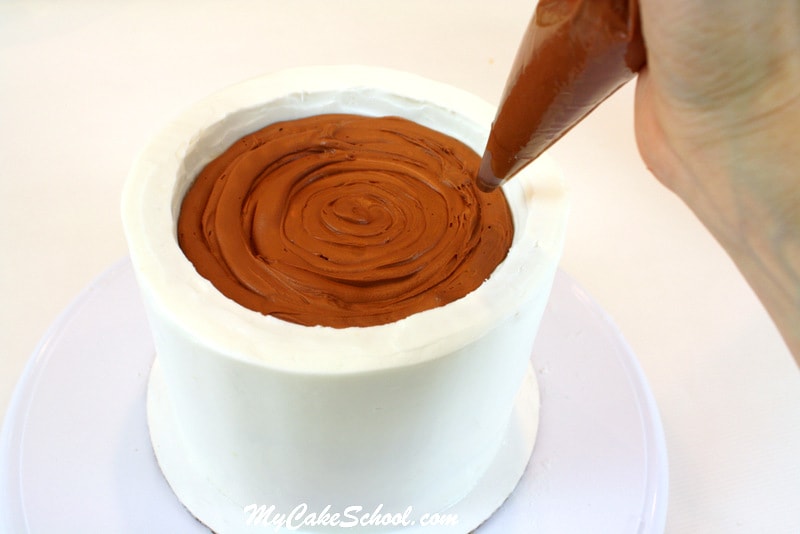
Now, coffee time! I used a piping bag fitted with a Wilton 12 round tip and filled with "Chocolate Brown"- tinted buttercream to cover the remaining bit of exposed cake. (I started in the center and spiraled outward until everything was covered.)
A little finishing touch for the top of the mug... I used a small piece of a Viva brand paper towel to smooth over my crusted buttercream.
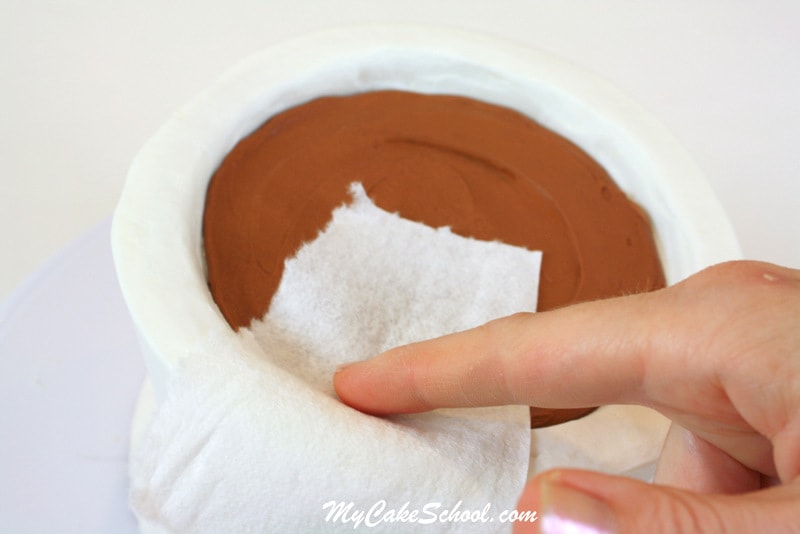
Next, it's time to think about the design on our mug cake!
Since we are making a Father's Day themed mug, I wanted a fun design fitting for the dads out there. A good place to find Father's Day inspiration is T-shirt websites, greeting cards, and of course, a google search for Father's Day mugs!
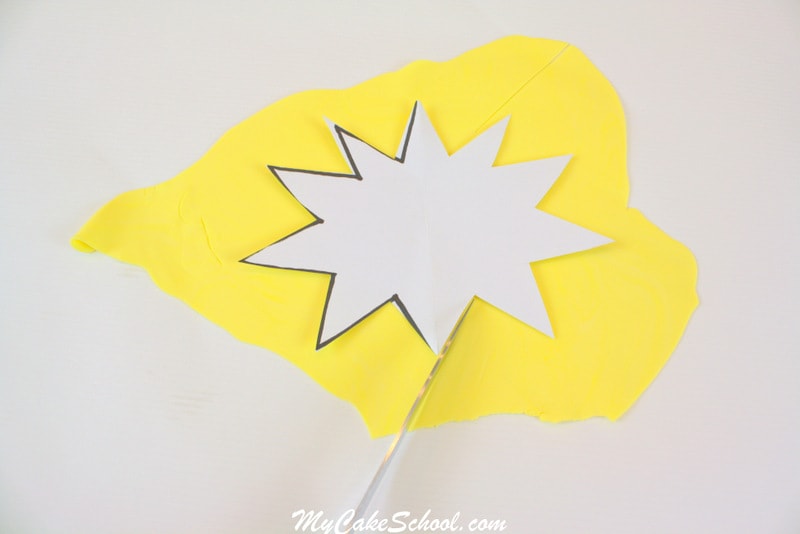
For my design, I rolled out some fondant (tinted Lemon Yellow) and used a homemade template to cut out my shape. Let your fondant sit out several minutes after rolling if it seems very soft so that you can handle it more easily.
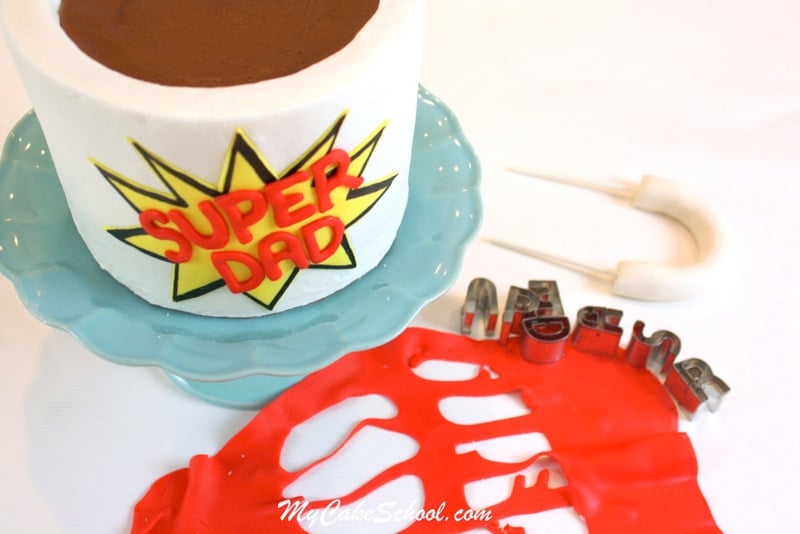
I used my pre-colored red fondant for my letters. (I kneaded in a bit of tylose powder to help things along.) You can see that I also outlined my yellow cut-out with my black food coloring pen.
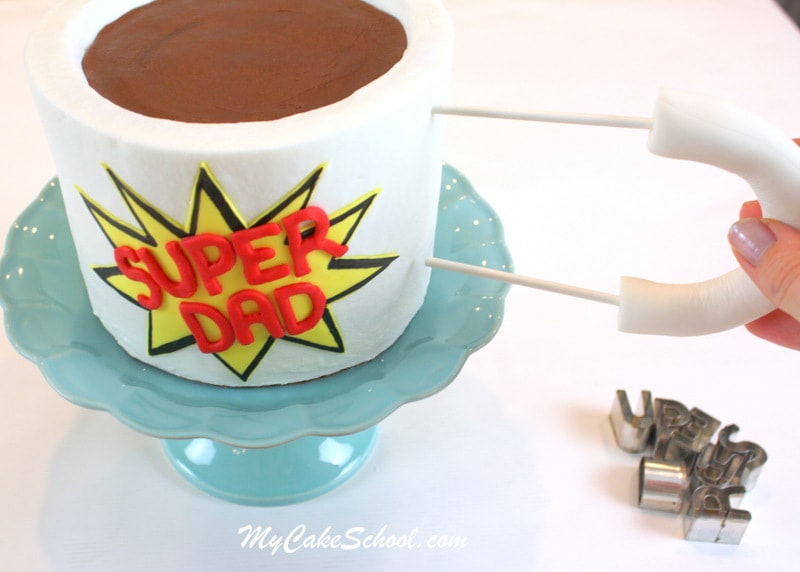
Hooray, time to make our mug really look like a mug with the addition of our dried gum paste handle. Here I am, pushing it straight into the side.
As an optional step, I decided to make a little steam. This was done with a piping bag (minus tip) filled with melted white candy coating. Keep in mind that you'll be using the bottom of the "steam" as an anchor into the cake and so you will be losing a bit of length.
I couldn't decide...wavy steam or curled? I made lots of steam options, popped my parchment lined cookie sheet in the freezer for about five minutes and they were ready.
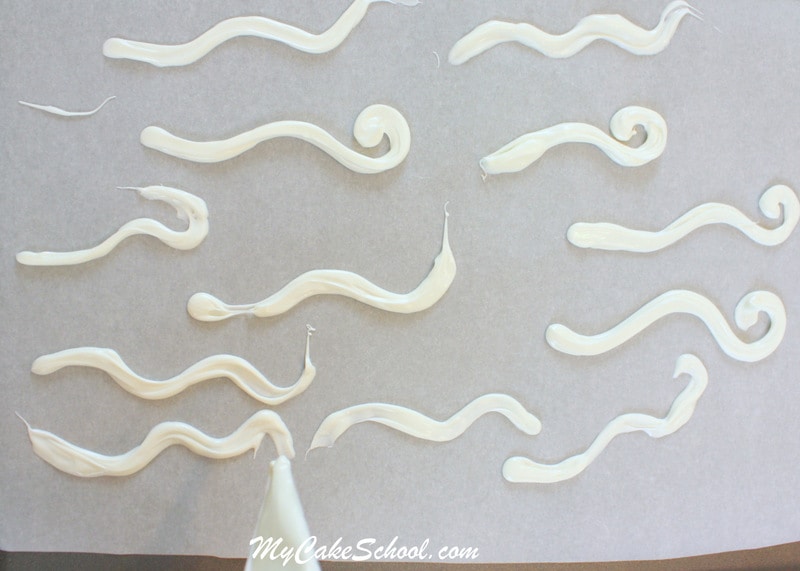
That's all there is to it!
I LOVE how this Super Dad mug came out, and as someone who can never get enough coffee, I wish it was real! This would also be so cute for your winter or snowy day themed parties as a hot chocolate cake too...just needs a few marshmallows! File it away in your list of cakes to try--you'll love it!
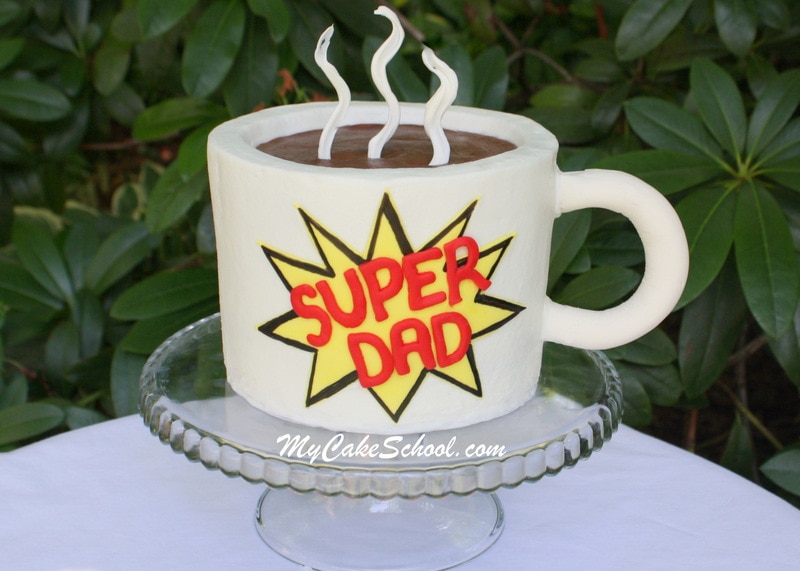
Coffee Mug Cake~Father's Day Blog Tutorial
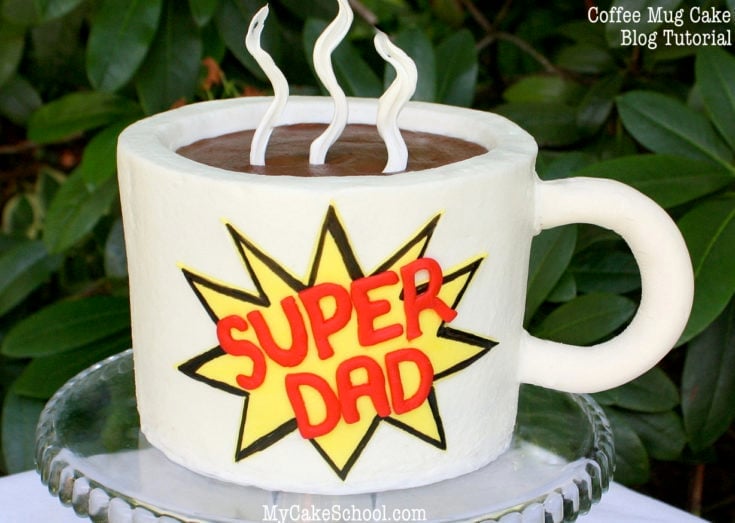
Learn how to make a CUTE buttercream cake mug for Father's Day (or any day)!
Materials
- *For this cake design, we used a three layer 6 inch cake, frosted in our Fluffy Vanilla Buttercream Recipe. The cake was approximately 5 inches tall.
- Buttercream of choice (We used our Fluffy Vanilla recipe. Our Classic Vanilla is a good choice also)
- Letter Cutters or Molds for the message.
- Gum Paste (or fondant with tylose) for handle
- Red fondant + and Yellow Fondant (preferably with a little tylose kneaded into it)
- Two Lollipop Sticks for handle anchors
- Coloring Gel: red, yellow, brown
- candy coating (small amount) for creating the steam
- Piping gel or edible glue of choice (warm water + tylose powder makes glue also)
- Miscellaneous: disposable piping bags, turntable (optional), fondant roller, vegetable shortening for preparing countertop before rolling out fondant, parchment or waxed paper for drying handle, spatula, bench scraper
- Viva Paper Towels if using the Viva Paper Towel method of smoothing (These are paper towels that do not have quilting or impressions) - optional
Instructions
- Roll a snake of gum paste (or fondant with tylose powder kneaded into it) for the coffee mug handle-- the length was about 5.5-6 inches- adjust to your liking. Insert a piece of lollipop stick into each end and curve to desired shape. Allow to dry on parchment-lined cookie sheet for 2 days. (It may be dry sooner depending on humidity, etc)
- If settling your tier--Fill the cake layers with buttercream and wrap the tier with plastic wrap, putting a book on top to settle for a few hours. ( I do this with every cake to prevent settling-related bulges in the frosting). My cake was on it's own cake cardboard cut to the size of the cake.
- Apply the crumb coat/thin layer of buttercream to the tier, Then apply second coat of frosting and smooth with a hot bench scraper. Allow frosting to crust (about 10 minutes or so)...then smooth over with a dry paper towel. (You could also use the hot knife method of smoothing if you'd rather, which involves chilling the frosted tier for 10-15 minutes in the freezer before gliding over it with a very hot bench scraper or spatula). Repeat steps as necessary to achieve desired smoothness. (*** If you'd rather have a textured "pottery-style" mug, hold a small offset spatula against the freshly frosted cake while spinning it on a turntable, starting at the bottom and moving higher with each rotation for a ridged finish.)
- Chill the cake in the freeze for about 15-20 minutes before moving to the pedestal or final cake base (attach with a smear of fresh buttercream).
- Roll your fondant (I like to add a little tylose so that it will set up more quickly), cut out your shapes for the design, and apply to the chilled cake. If needed, you can attach with a little buttercream or piping gel.
- Add the handle
- Pipe melted candy melts through disposable piping bag (with tip snipped away) onto a parchment or waxed paper lined cookie sheet, creating wavy lines. Make them fairly thick so that they won't be to fragile. Chill in freezer for 5-10 minutes until firm. Push steam into top of cake.

Love it! I was looking for ideas and this is perfect!
Hi Melissa,
I love this cake! What are the letter cutters you used and where did you buy them? Thanks!
Super cute!
Many dads will be happy!
Hi Melissa,
Great cake. Looking forward to making it for Father's Day. I was wondering what the diameter and length of the handle would be.
Lucy
Hi Lucy, the length of the handle is 6 1/2 inches and the diameter is 2 1/4 inches.
Thanks so much BeBe. The handle is drying now :-)
Lucy
This is adorable and so simple. Thanks ladies.
Made this cake for my husband for Father's Day. He loved it! I made it with 4" cakes and fondant.
Hi Melissa,
I love this cake! What are the letter cutters you used and where did you buy them? Thanks!
Hi Allison--I'm sorry, you asked this before & I forgot to come back! They are FoxRun brand, (1 inch letters) bought them years ago locally but I found them online. Here's the link!:
I made it! Pictures on member gallery. Wish I would have seen the comment about the length of the handle. Mine was too long ( big) and didn't have time to redo it, but my husband loved it just the same. I used a cake circle in between, so that the slices weren't so tall and it worked out great. Used chocolate frosting for the " coffee". All buttercream, fondant emblem and gum paste handle, as you did. Thank you so much. Fun, quick and easy.
I saw your cake in the gallery and it looks wonderful, love the emblem. Great work!!