Buttercream Bird Cupcakes
Today we're going to show you how to make ADORABLE buttercream bird cupcakes! These would be perfect for young birthdays and baby showers, and the presentation may be my favorite part of all!
How to Make CUTE and Easy Bird Cupcakes
Let's get started!
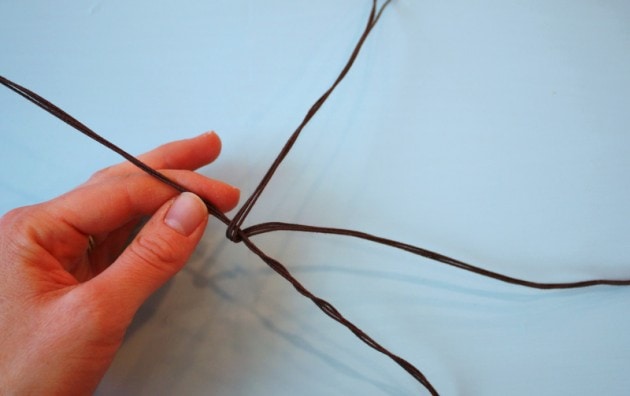
What I'm starting with here are several strands of 22 gauge, brown fabric covered wire. I recommend twisting 3-4 pieces of wire together to make one skinny "branch".
In the photo below, I've made two "branches", and I'm twisting the first branch around the second to create one even longer branch.
This is optional, but my cake board is large (24x24") and so I wanted the extra length, plus I think that the branches are more realistic this way. You'll see what I mean in a minute--
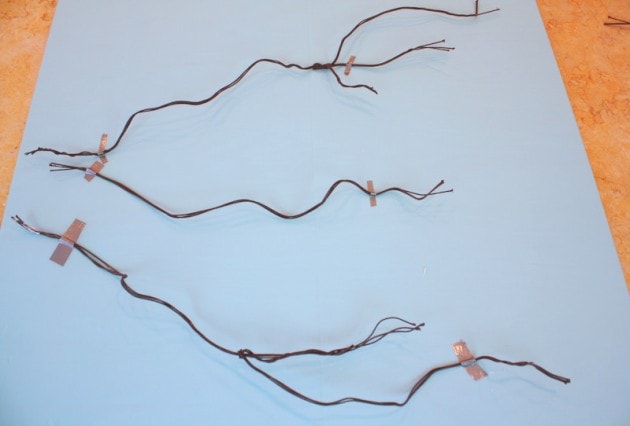
Okay, so here are my finished branches (minus leaves). You can see that none of them are lying flat. The 22 gauge wire is very easy to bend, and so I wanted parts of the wire to float above the board. I secured the wire here and there with duct tape :0)
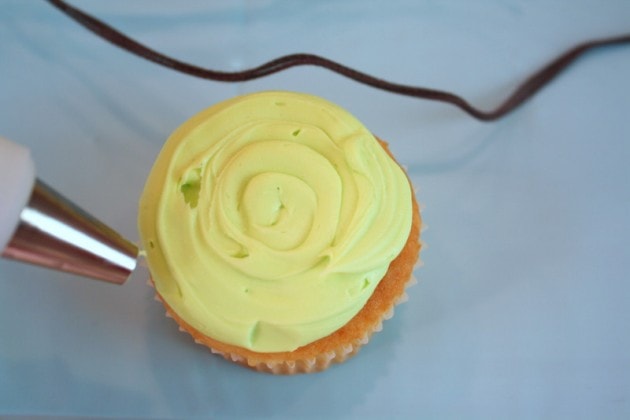
Now, we'll focus on our birds. Here is a cupcake that I've frosted with our Classic Vanilla Buttercream (Americolor Electric Green) using my tip 21 piping tip.
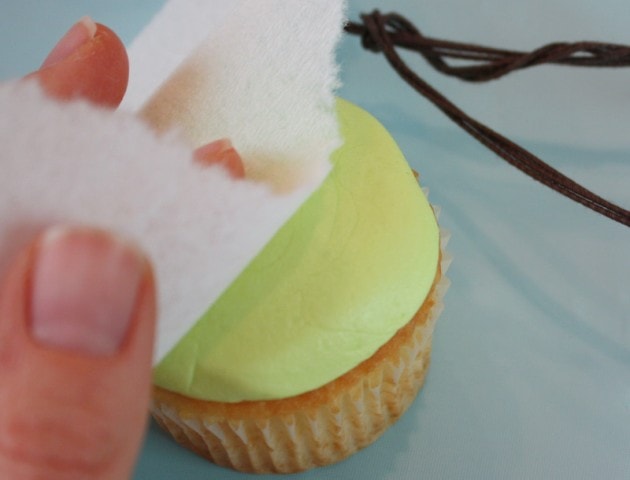
I decided to make the birds nice and smooth, so I tore off a piece of Viva brand paper towel (no impressions/quilting) and smoothed over the icing after it had crusted.
Smoothing the buttercream is optional--textured buttercream would be cute also! Anything goes ;0)
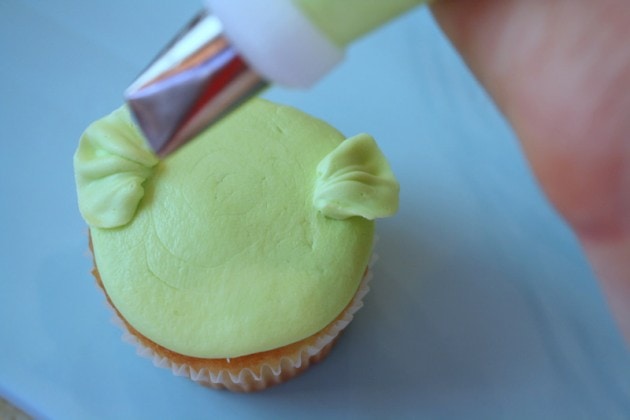
 I added wings with my petal tip (I used Wilton 104), and little black eyes using a tip 2 & beak using a tip 3. (Any small round tips would be fine for these little accents).
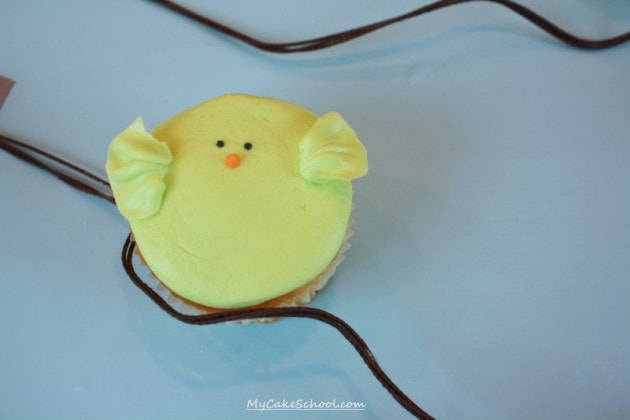
Take a few minutes to figure out exactly where your birds will go. This may require some extra wire bending as you decide how you'd like the branches to fall in relation to each bird or group of birds.
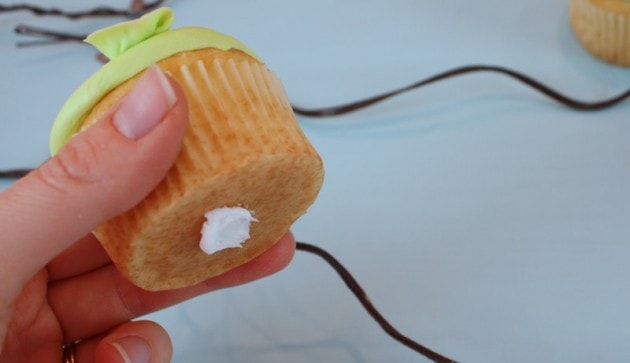
Once you're ready, add a dab of icing to the bottom of your cupcakes and place them onto the cake board.
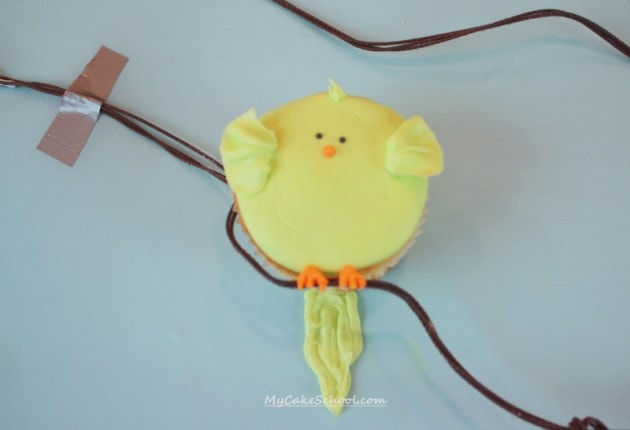
At this point I piped on little orange buttercream feet with my tip 3 and some tailfeathers (also tip 3) ;0) Any small round tips are fine for these accents! Look how cute!
I decided to make party hats too-- I cut out fondant triangles (with tylose kneaded in to speed up drying) and painted them with coloring gel mixed with vodka. Then I drank the rest of the vodka. (Just trying to keep it interesting)
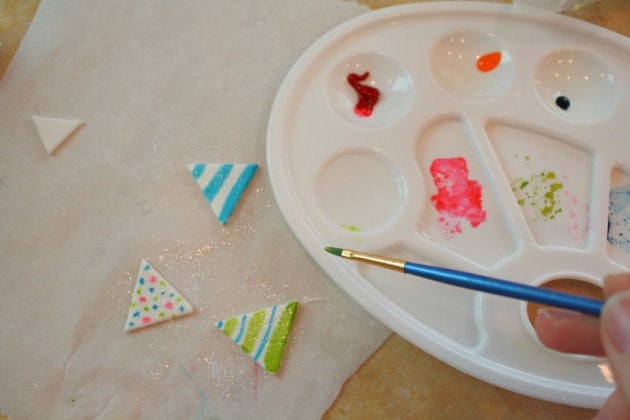
All that's left is piping on the leaves and sticking on the hats! The hats were attached with a dot of buttercream, and I used buttercream to add the trim at the bottom of the hats & a ball on top.
I used both small star tip 16 & a small round tip 2 for these little hat accents. Use whatever you'd like!
For the leaves--I piped buttercream (tinted Americolor Leaf Green) with a tip 66. Make sure to pipe right over all of that duct tape!
Small leaves clung pretty well to the fabric wire also--so I added some leaves here and there to make it more colorful.
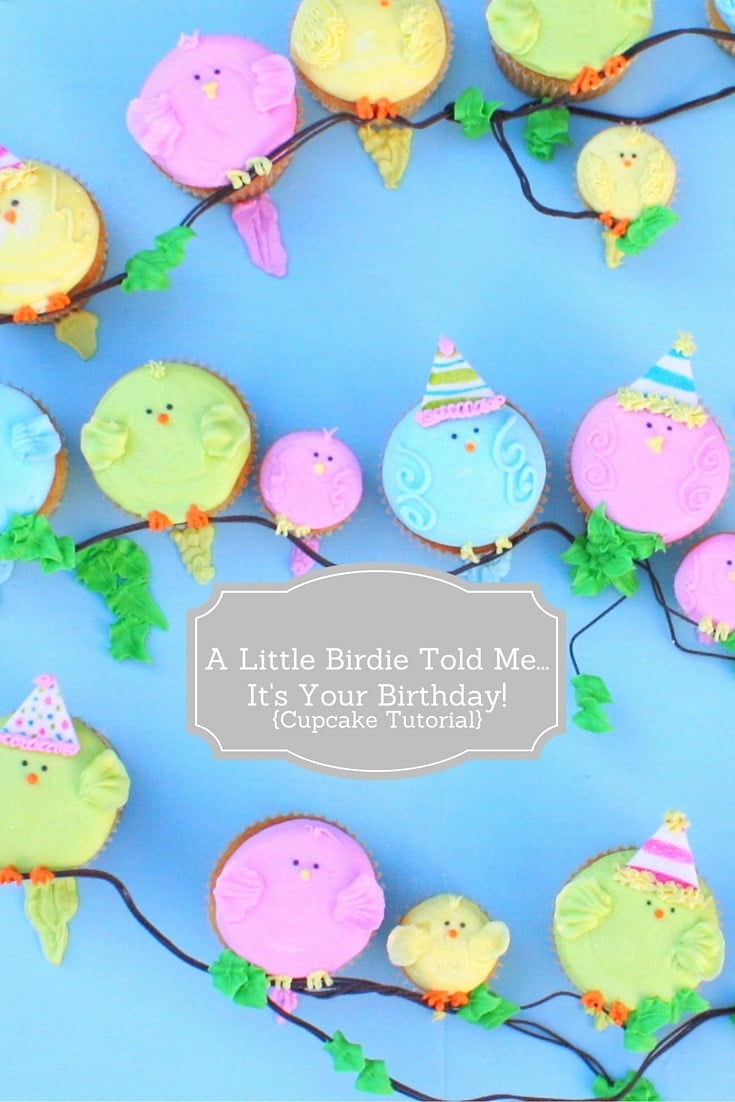
Are you ready to see our birthday birdies? Eeeek! The cuteness!
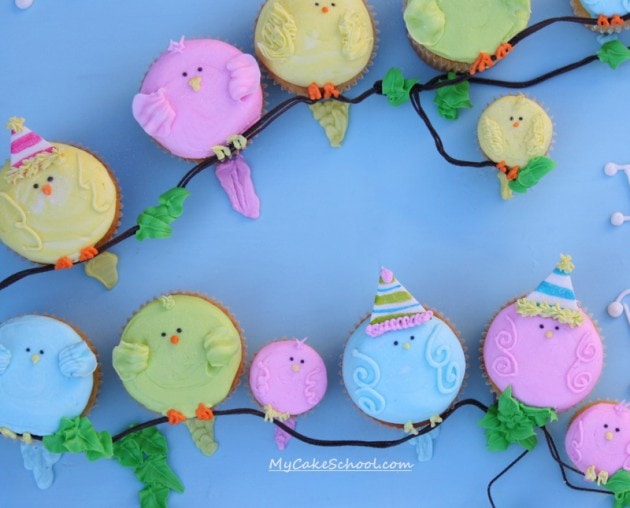
Group shot!
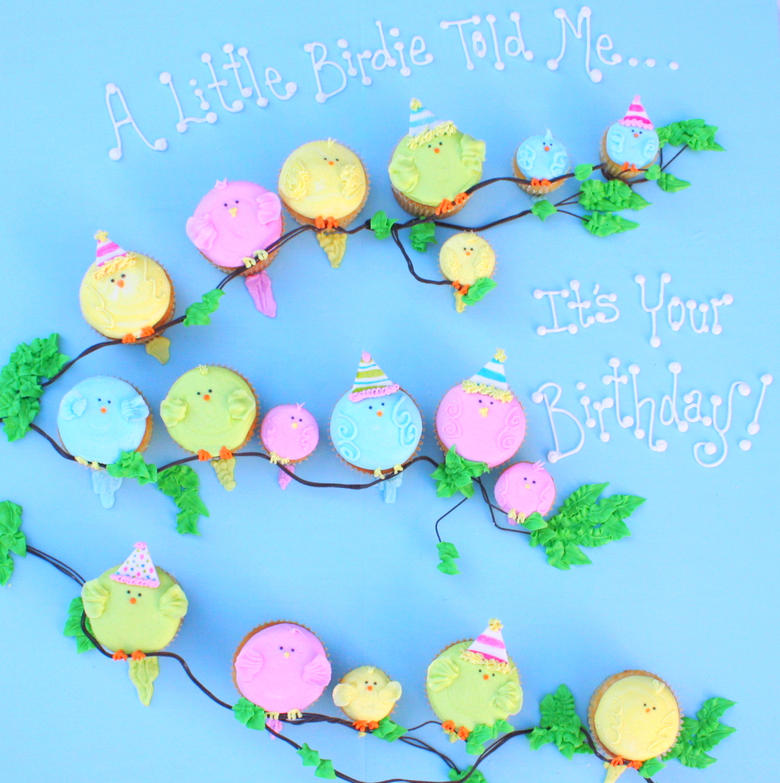
Thanks for stopping by for this fun little cupcake tutorial! I hope that you enjoyed these sweet birdie cupcakes! I think that this would be such a cute design for baby showers too-- if you try it, be sure to send me a picture!
See you next time--Have a good weekend!
*In this tutorial, we frosted our cupcakes with Classic Vanilla Buttercream. This is a delicious frosting that develops a slight crust. You can find it here: Classic Vanilla Buttercream.

Melissa, this is just too darn cute!!
This is the most beautiful thinks I've evered seen. You really have great talent.
I love this! Can't wait to try this out. Soo cute :)
Love these cute little birds! Will definately try these in the spring!
So cute!! Out of curiosity-- what did you cover your cake with?
O MY GOODNESS............too stinkin' cute!!! ( : (and I mean that in the best of ways! ) HA!
Sooooo creative........and makes me think spring!
Whoops... I meant cake board... :)
That is really cute. I would have drank the vodka : D
You r so talented, ur work is awesome!!!!!! It is so nice for u to share ur talent with us that is less talented, thank u!!!!!
fabulous. thanks so much for sharing all your wonderful ideas!
They are absolutely lovely!!! I admire your work. Thanks for a new proyect.
This is toooooooooooooooo cute. Well done Melissa!! You are such an artist!