Espresso Cake
Oh how we love coffee flavored cakes, and this Espresso Cake with its moist and flavorful layers filled with espresso whipped cream is sure to become a new favorite!
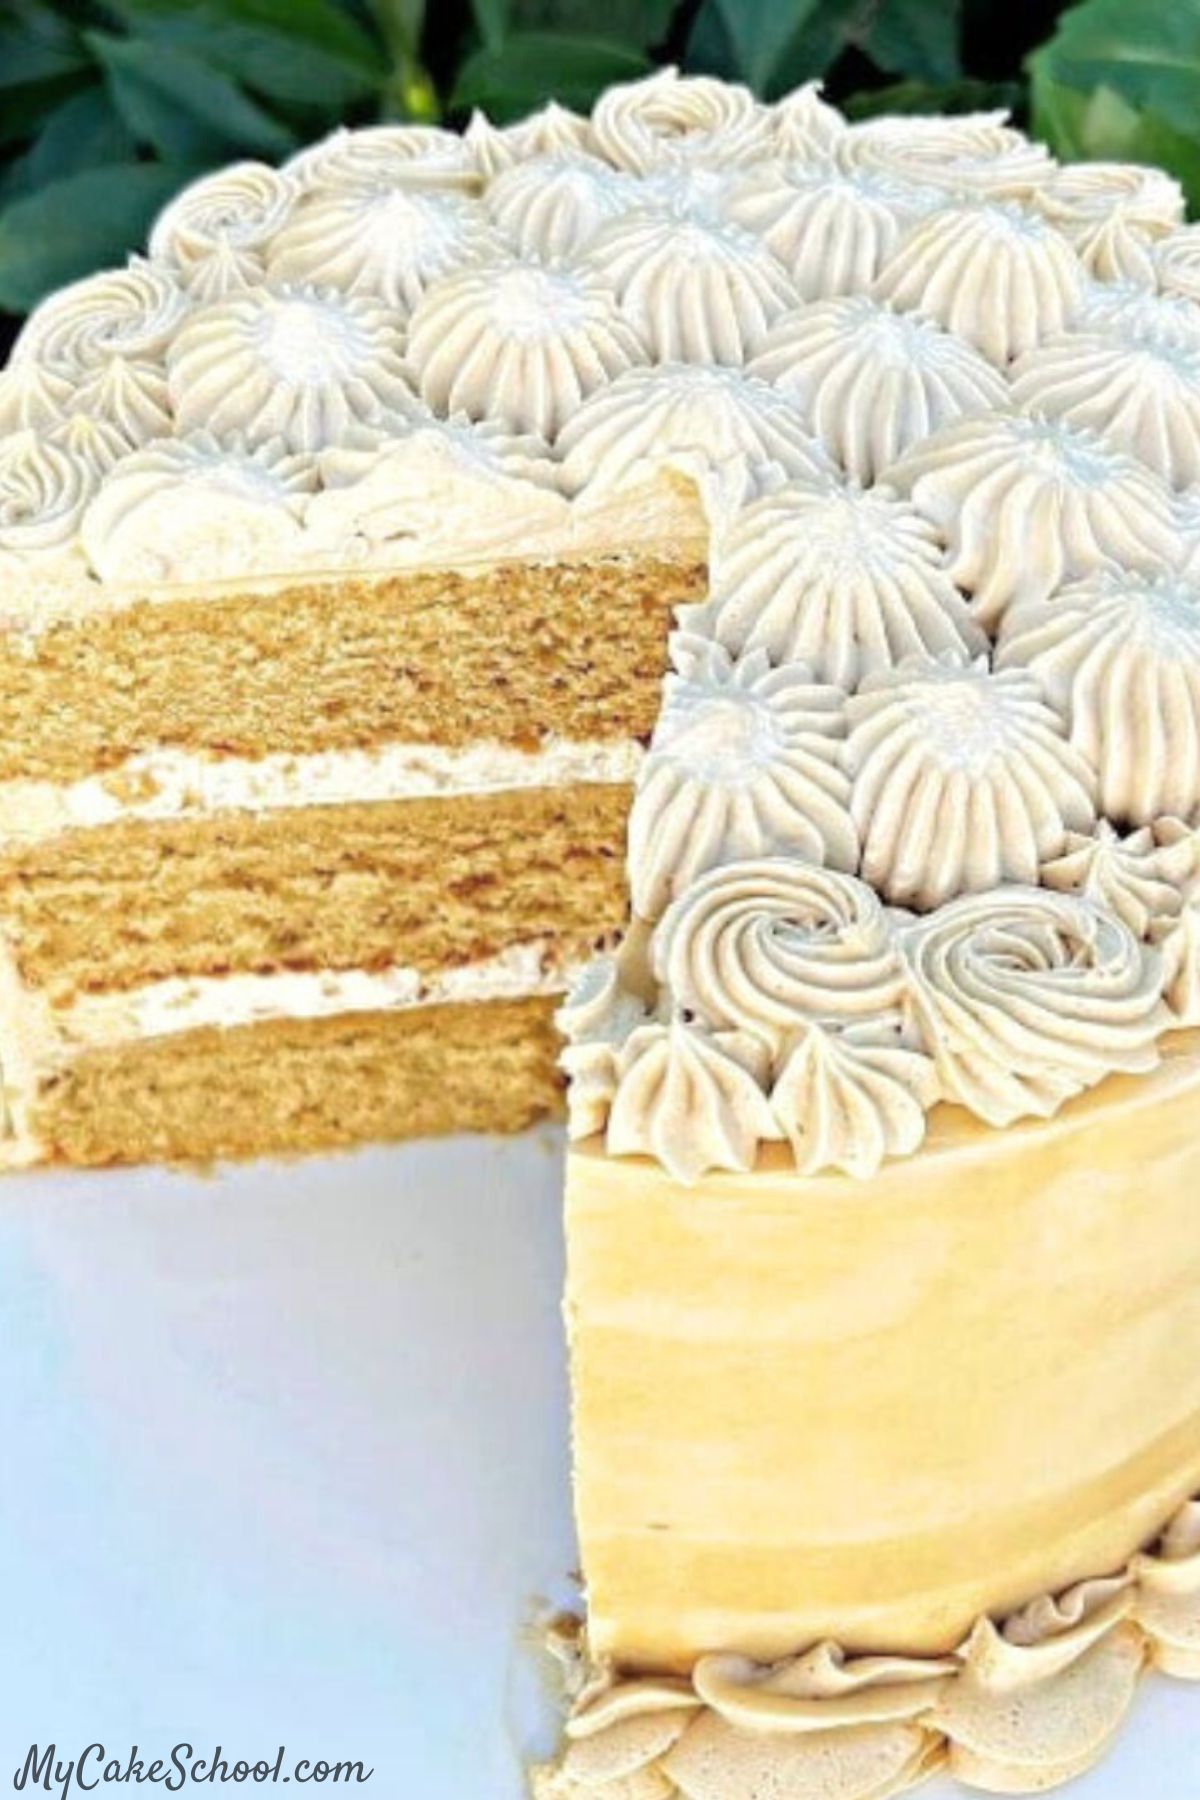
We've frosted the cake in a dreamy Espresso Buttercream frosting that tastes amazing with the espresso infused cake layers.
If you love coffee, you are going to want to save this recipe!
Table of Contents
How to Make Espresso Cake
You can find the full, printable espresso cake recipe further down in this post but here is a quick rundown of our steps!
- Preheat the oven to 350 degrees F and grease and flour three 8 inch x 2 inch round cake pans. (We also like to line our cake pans with a circle of parchment paper.)
- In a medium sized bowl, add the flour, baking powder, and salt. Whisk to blend for 30 seconds. Set aside.
- In another bowl or measuring cup, combine the sour cream, milk, instant espresso granules, and vanilla extract.
- In the bowl of your mixer, beat the softened butter until smooth. Gradually add the sugar and beat on medium speed for 3-5 minutes until fluffy and lightened in color.
- Add the room temperature eggs one at a time, mixing until the yellow of the yolk disappears.
- With the mixer on LOW speed, add the flour mixture and the sour cream mixture alternately, beginning and ending with the flour mixture (Three additions of dry ingredients, two of wet).
- Mix the cake batter just until combined, so as not to over mix.
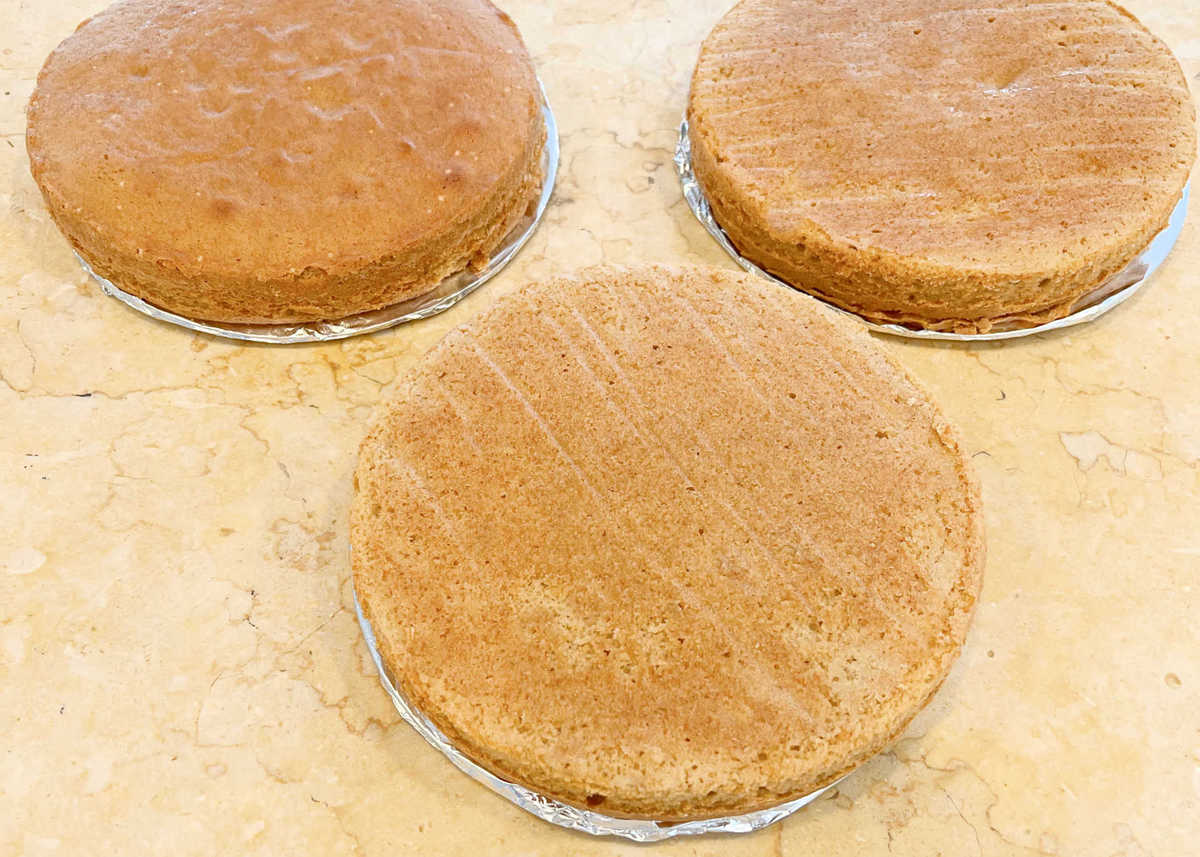
- Bake at 350 degrees for 25-28 minutes or until a toothpick inserted into the center comes out clean or with just a few crumbs attached. Let the cakes cool 5-10 minutes in their pans on a wire rack, then turn out.
Espresso Whipped Cream Filling
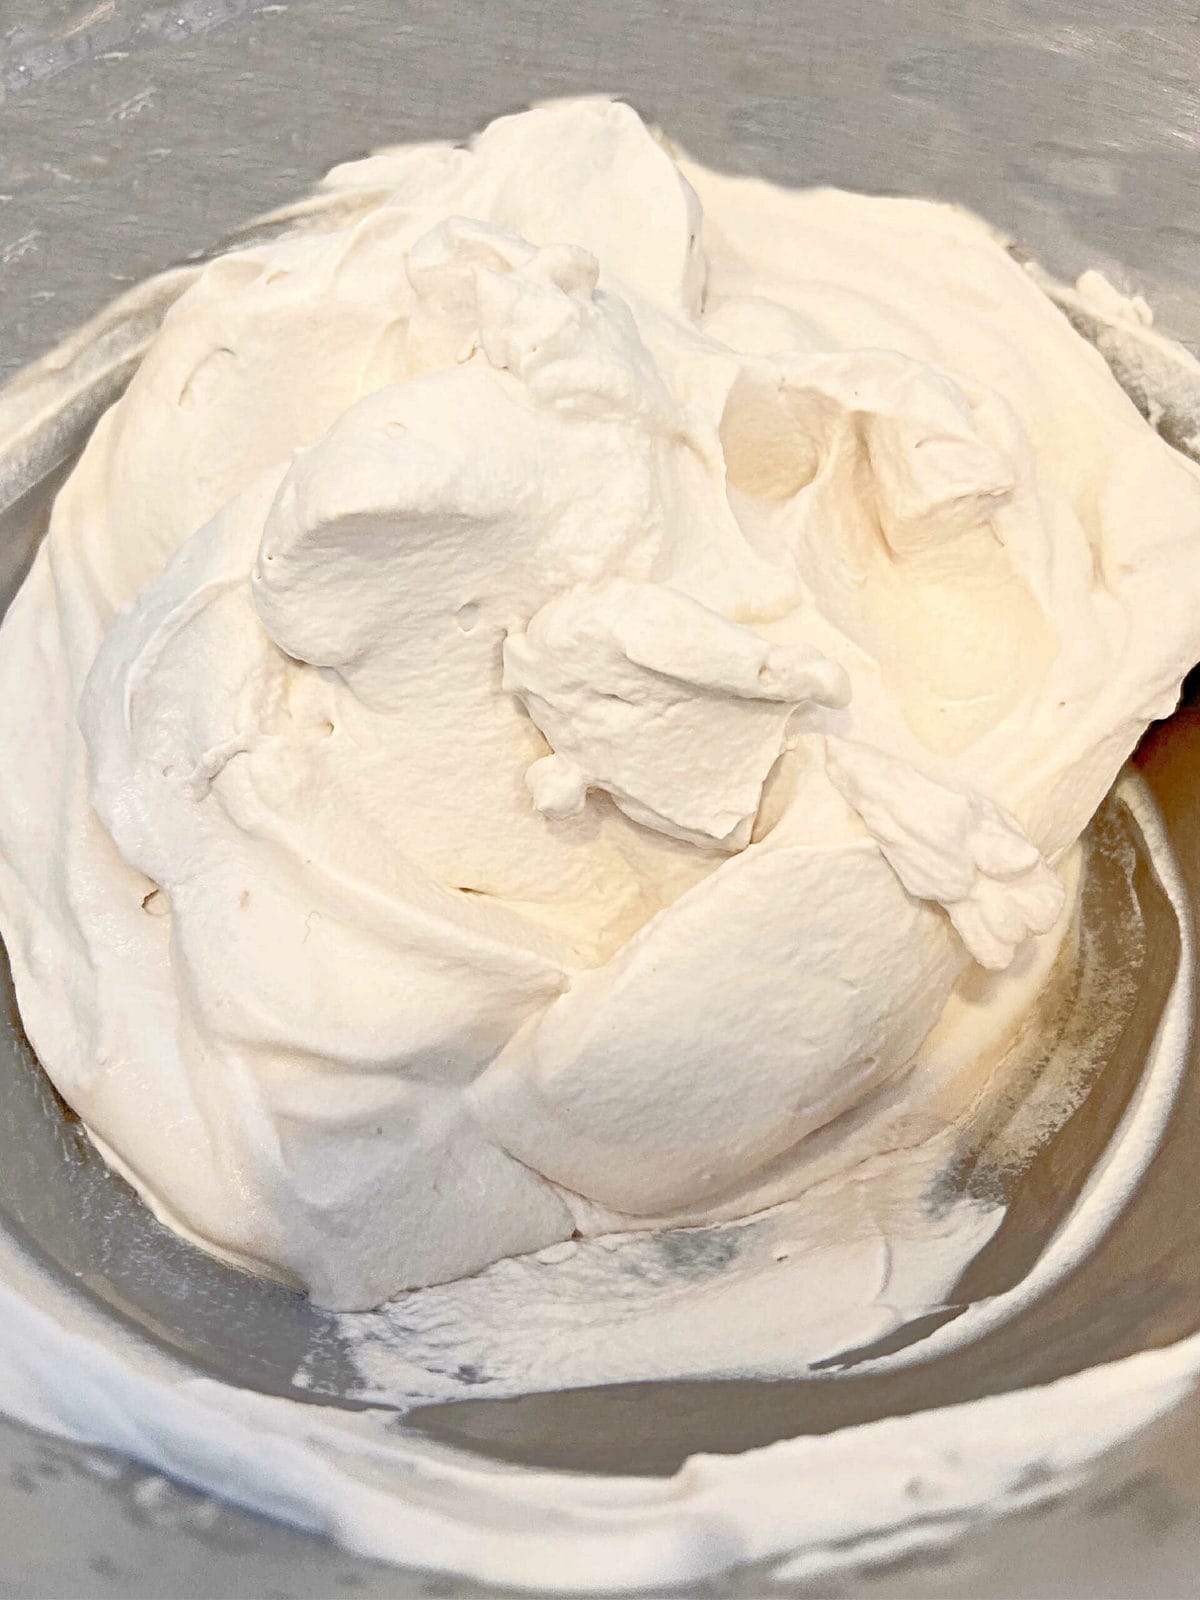
This light espresso whipped cream filling, which is based in part on our homemade whipped cream recipe, is easy to make and tastes so good!
You can find the full recipe further down in this post, but it's simply a matter of whipping up a mixture of heavy cream, powdered sugar, vanilla extract, and espresso.
Make sure that your bowl and beaters have been well chilled before whipping! The resulting filling is a light and airy whipped cream with an unmistakable coffee flavor and just a hint of sweetness and vanilla.
Espresso Buttercream
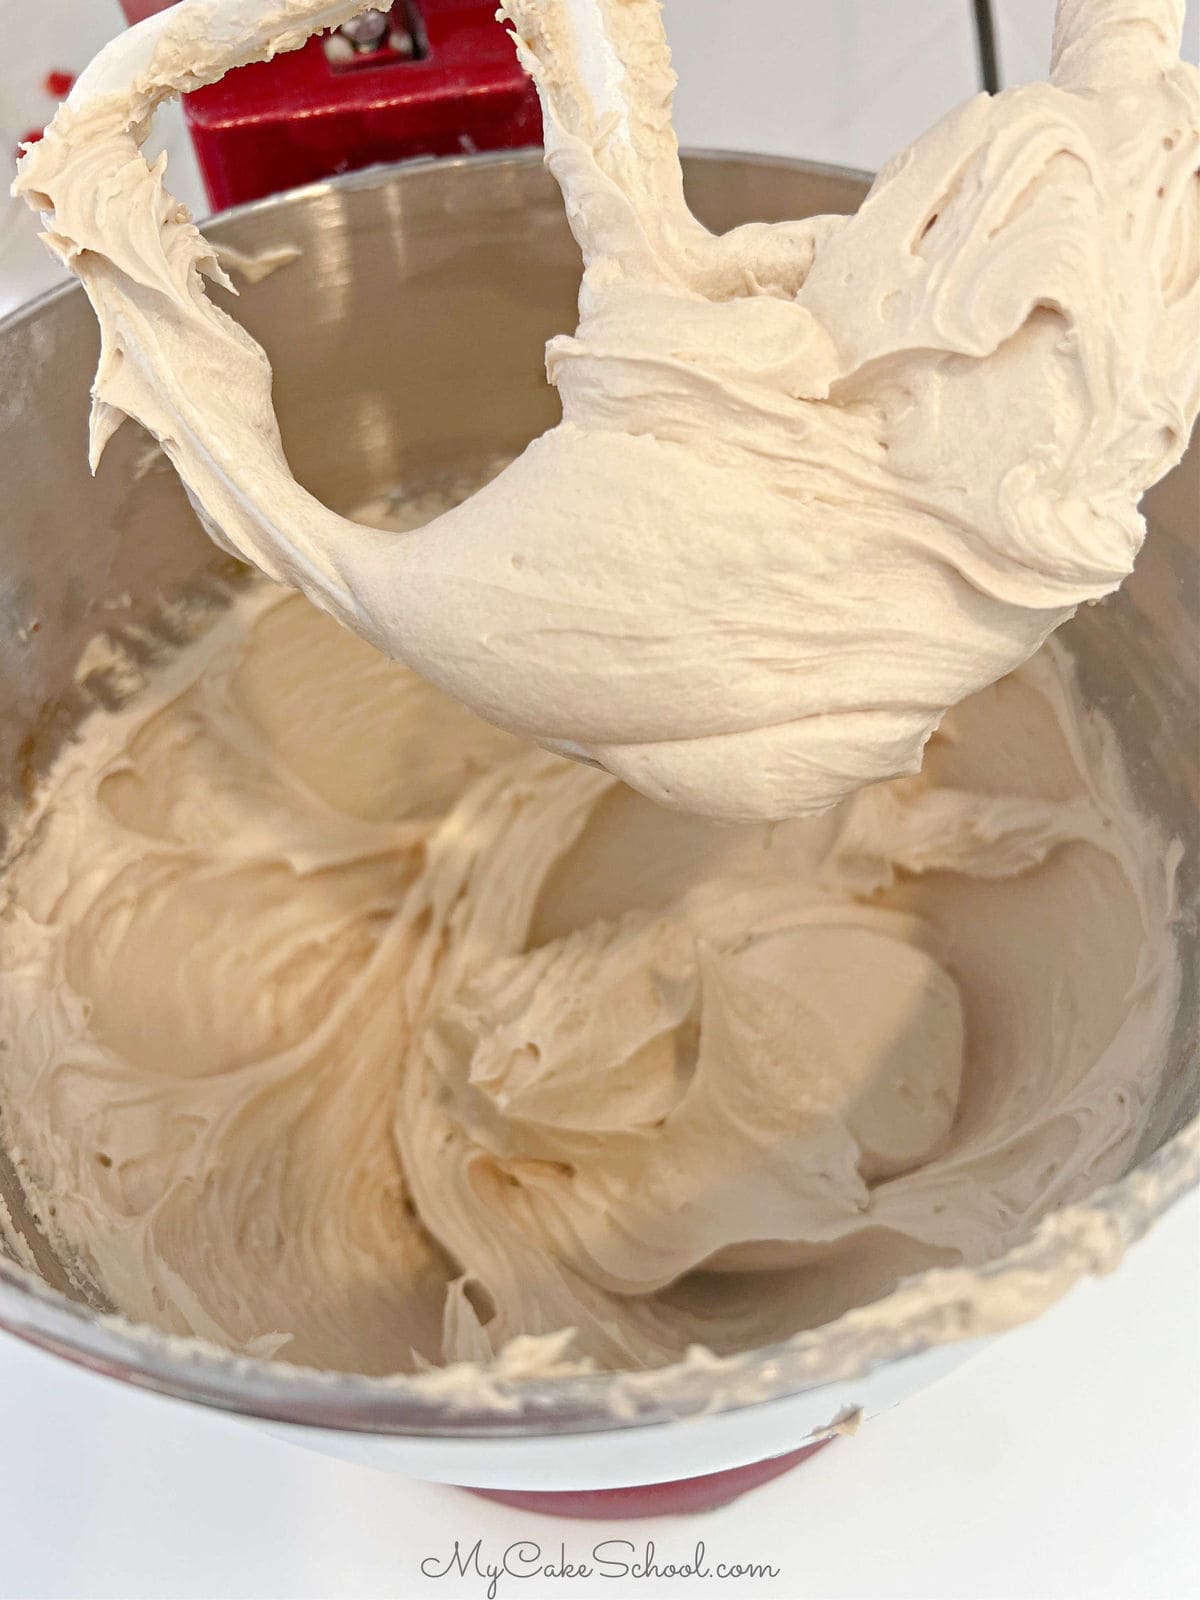
This creamy buttercream frosting has a wonderful balance of coffee flavor as well as sweetness. This American buttercream recipe pipes great, makes a wonderful filling or frosting, and perfectly complements our scratch espresso cake layers!
As with most American buttercream recipes, this frosting is a simple combination of confectioners sugar, softened butter, a bit of heavy cream (or milk), vanilla extract, a pinch of salt, and in today's case, a splash of espresso.
We dissolved the instant espresso granules in hot water and set aside to cool before incorporating into the frosting. (If you don't have instant espresso powder you can use instant coffee).
This is an easy frosting that would be delicious not only on coffee layer cakes, but on chocolate cakes, cinnamon cakes, vanilla bean cakes and more! If you love coffee, you will love this buttercream!
Assembling the Espresso Cake
To assemble the cake layers, place the first espresso cake layer on your cake base or pedestal.
Since we are using a soft filling, I first piped a dam of buttercream around the edge of the cake layer (about ½ inch in) using a piping bag with the tip snipped away. The dam provides a barrier so that the soft filling cannot escape when the layers are stacked.
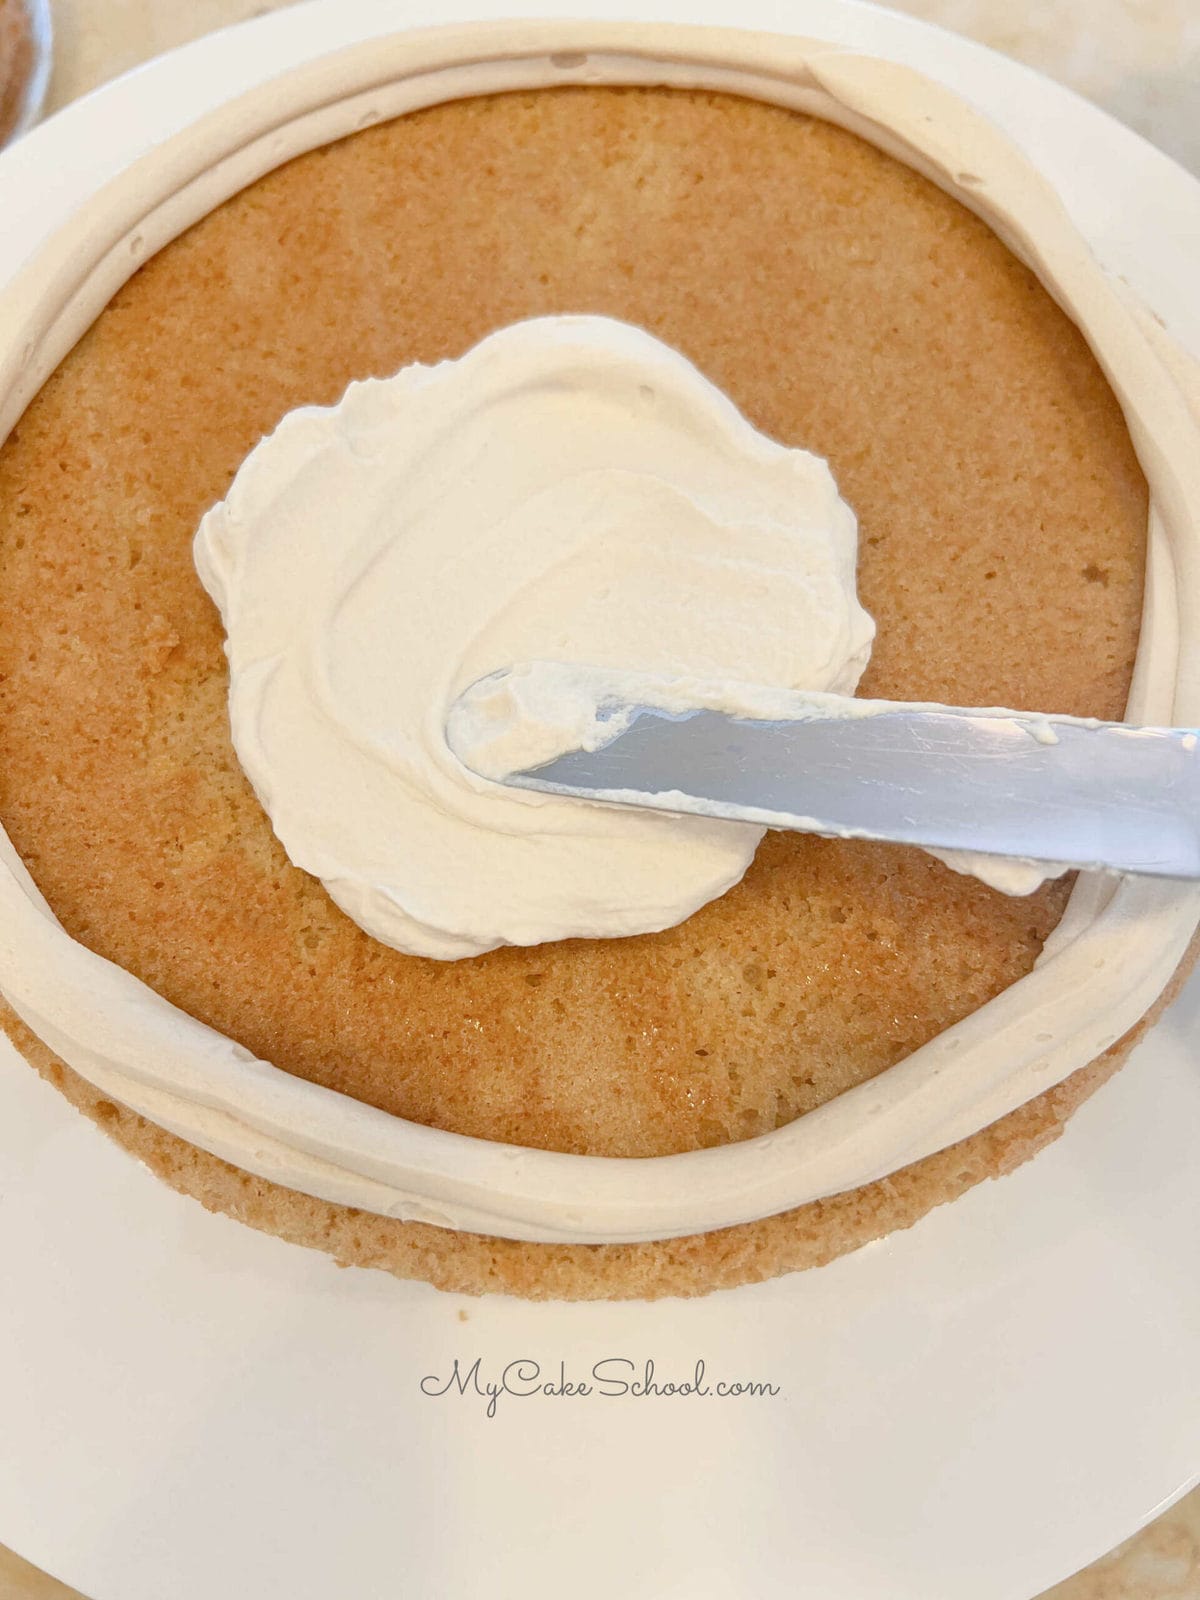
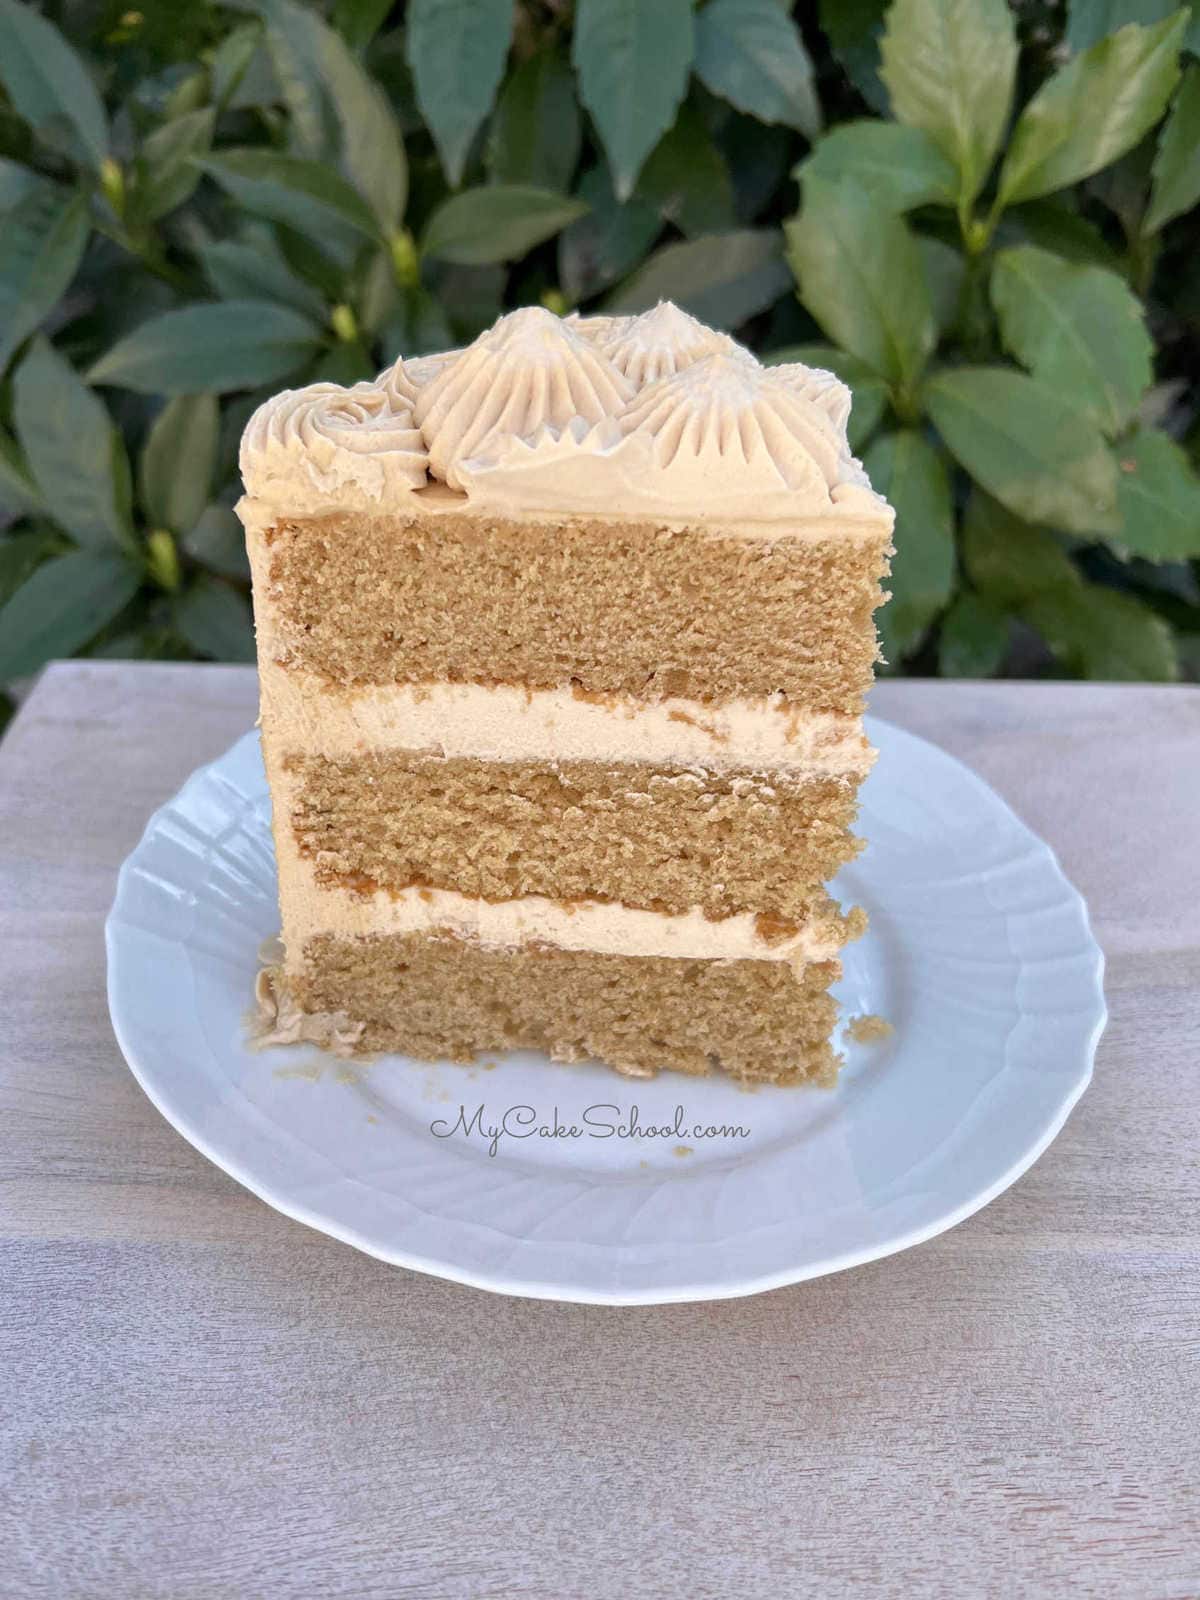
Next, spread the espresso whipped cream frosting within the dam and top with the second cake layer. Repeat the steps and top with the third cake layer.
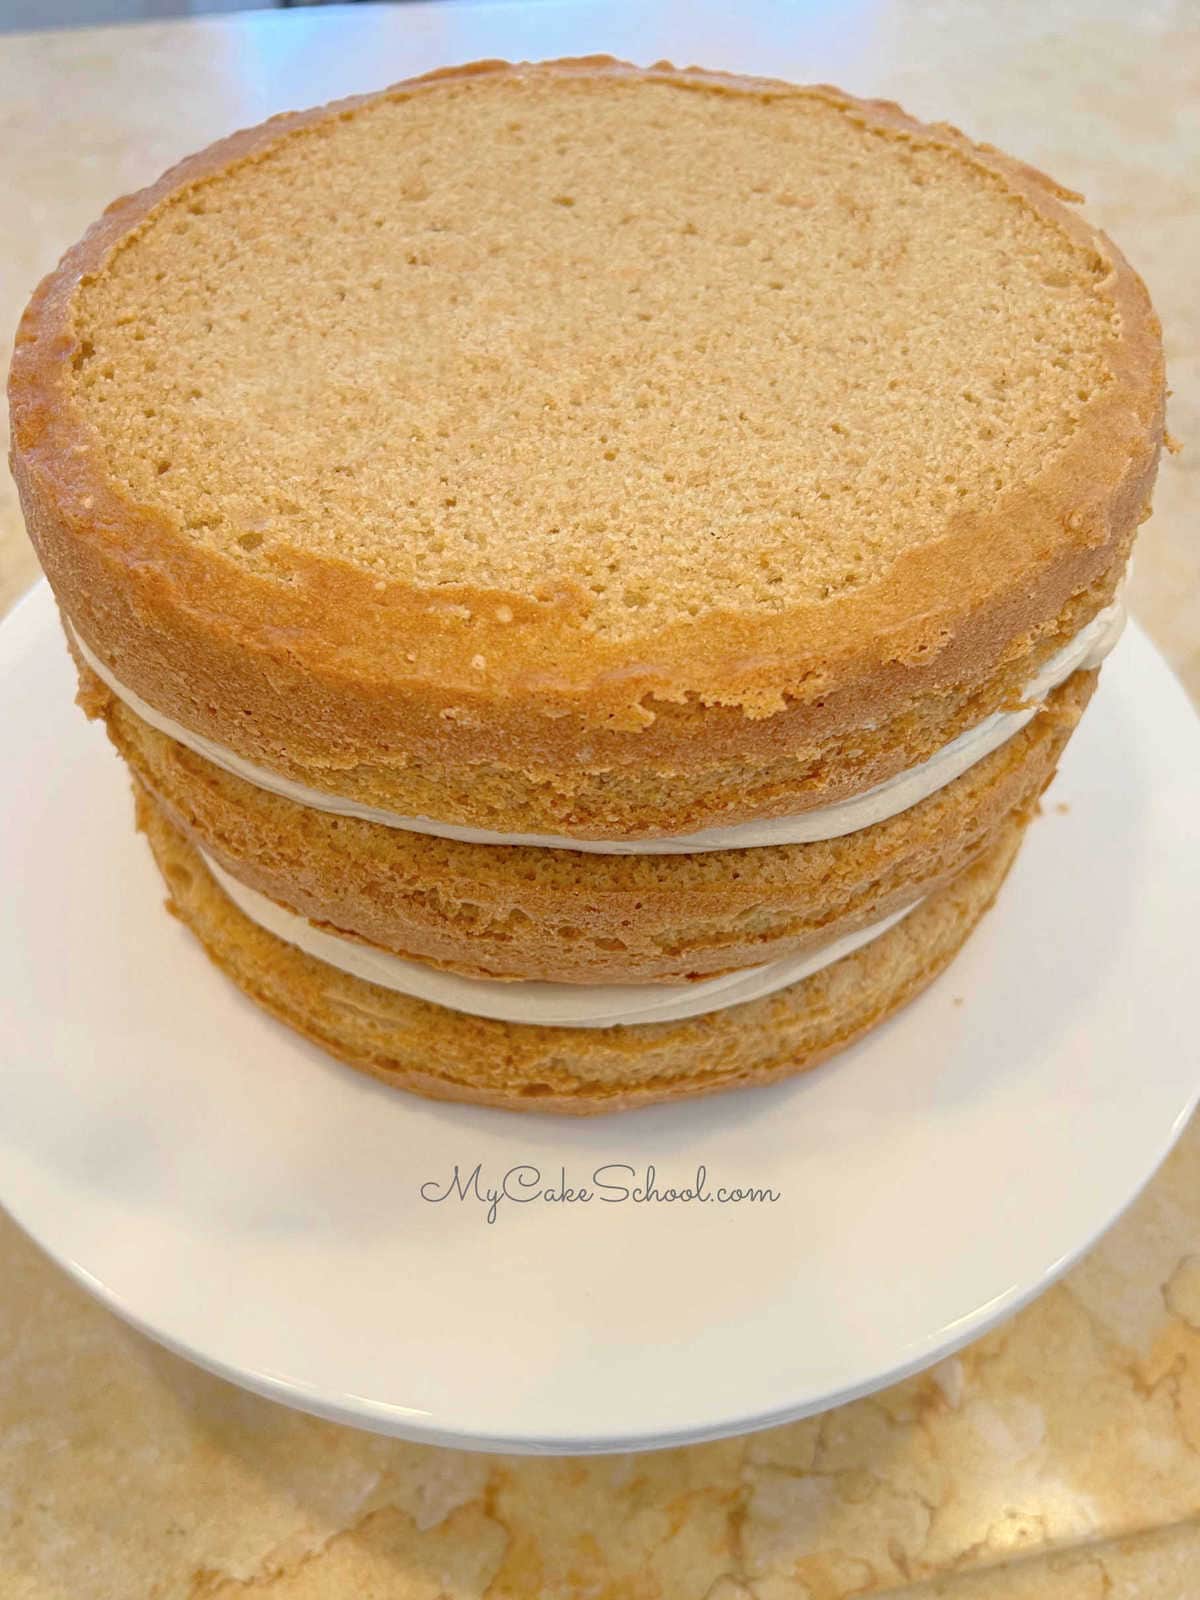
Then, frost the cake with espresso buttercream. I always start with a thin coat (crumb coat) of frosting and then freeze the cake for about 15 minutes to firm things up before moving on to the final coat of frosting.
The chilling step is optional but I find it very helpful to decorate a cake that is nice and firm- no risk of sliding!
Decorating the Cake
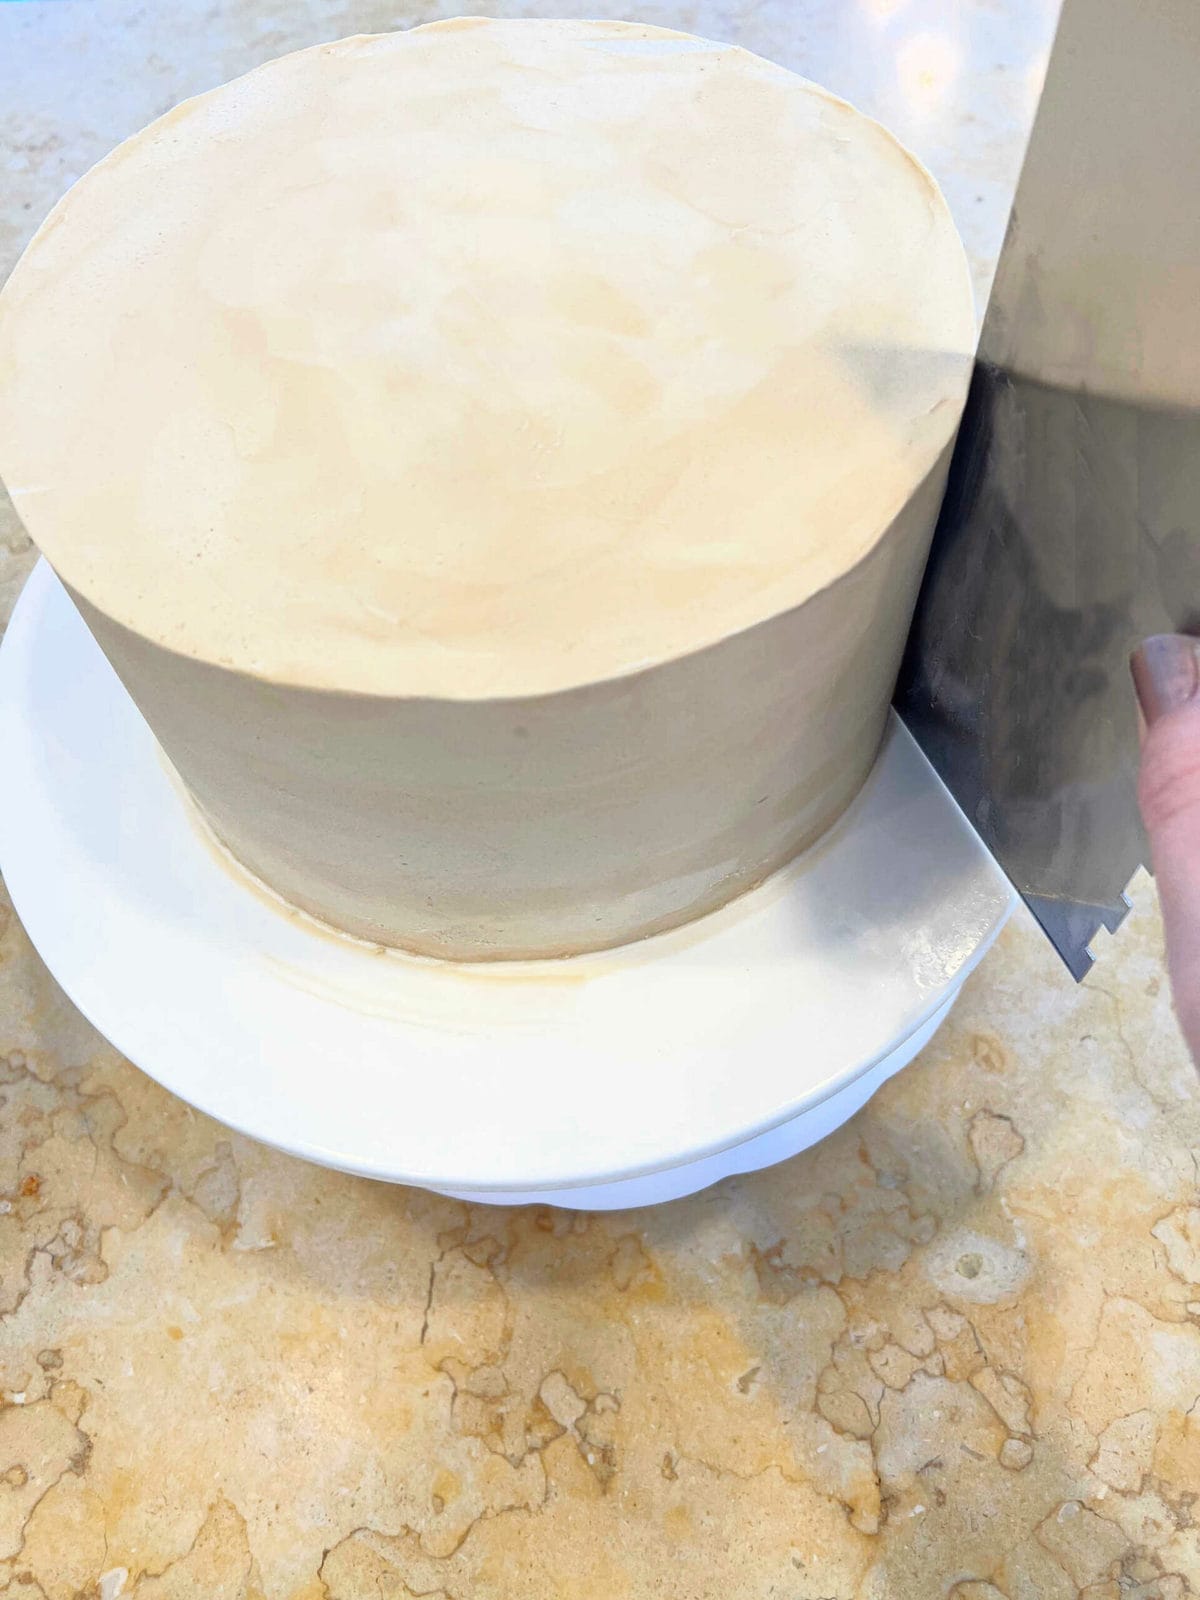
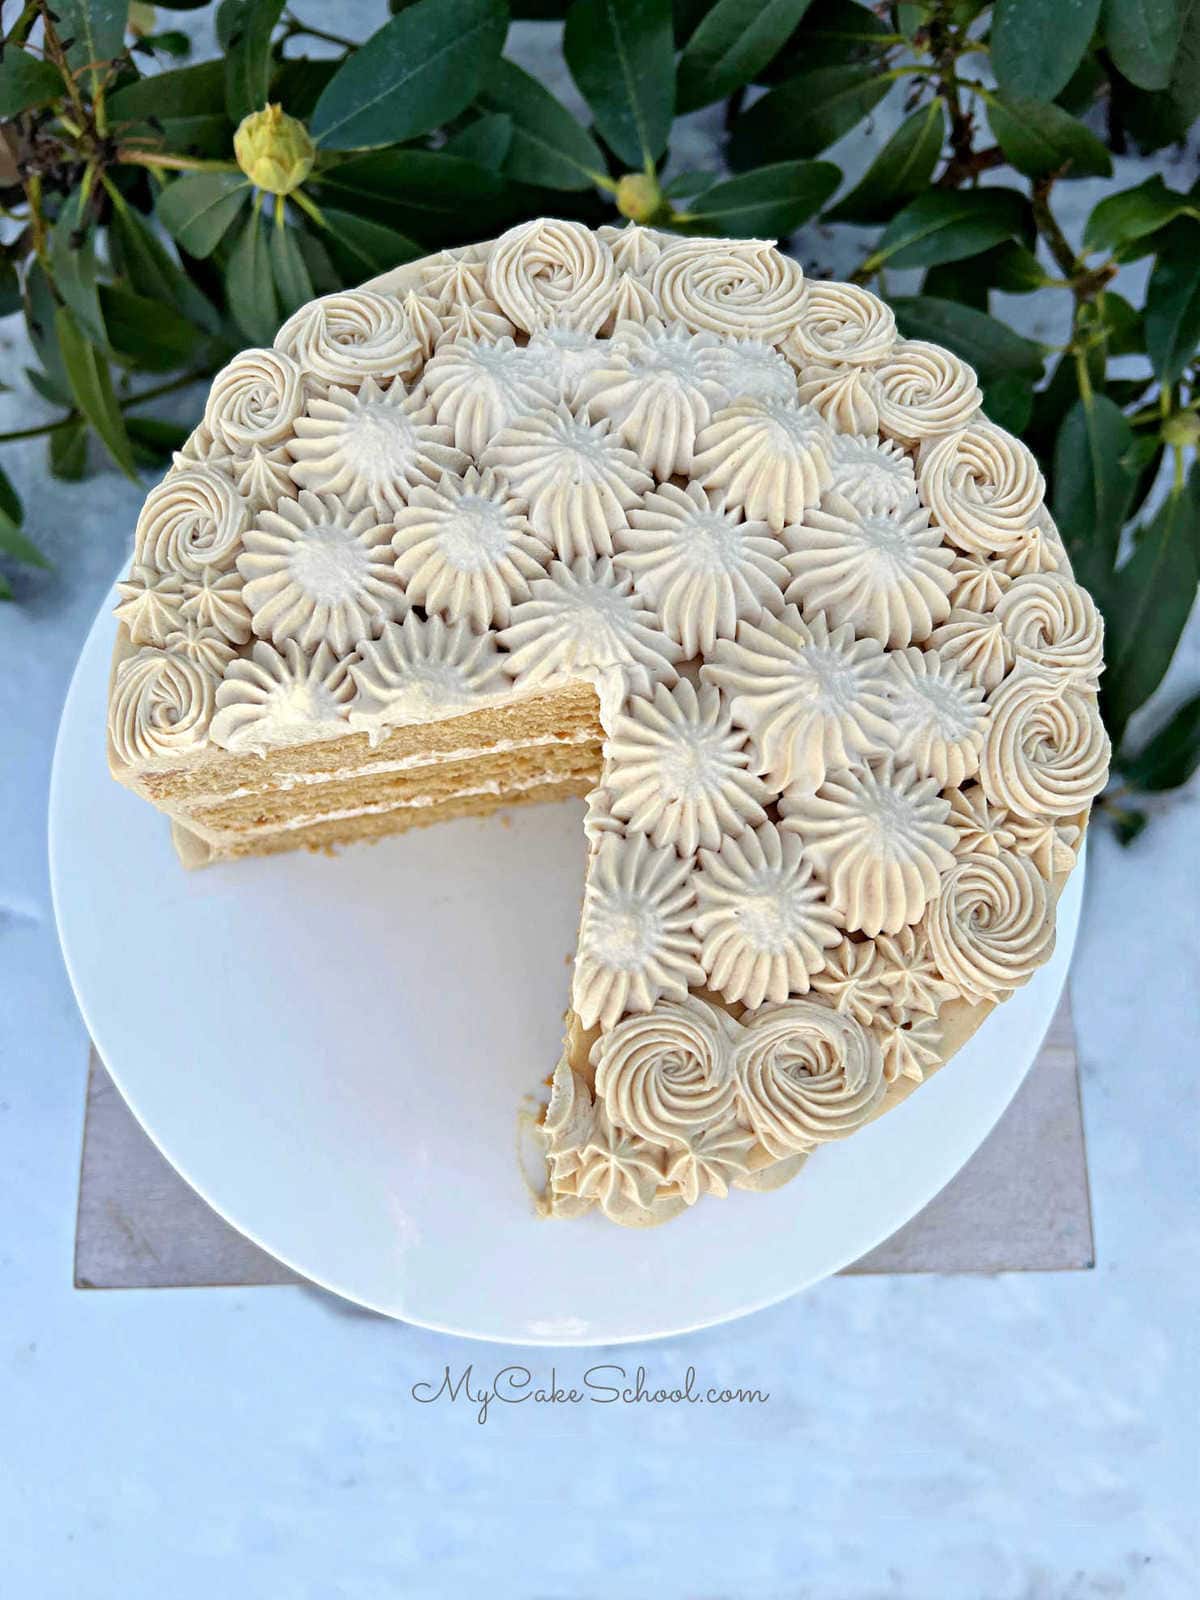
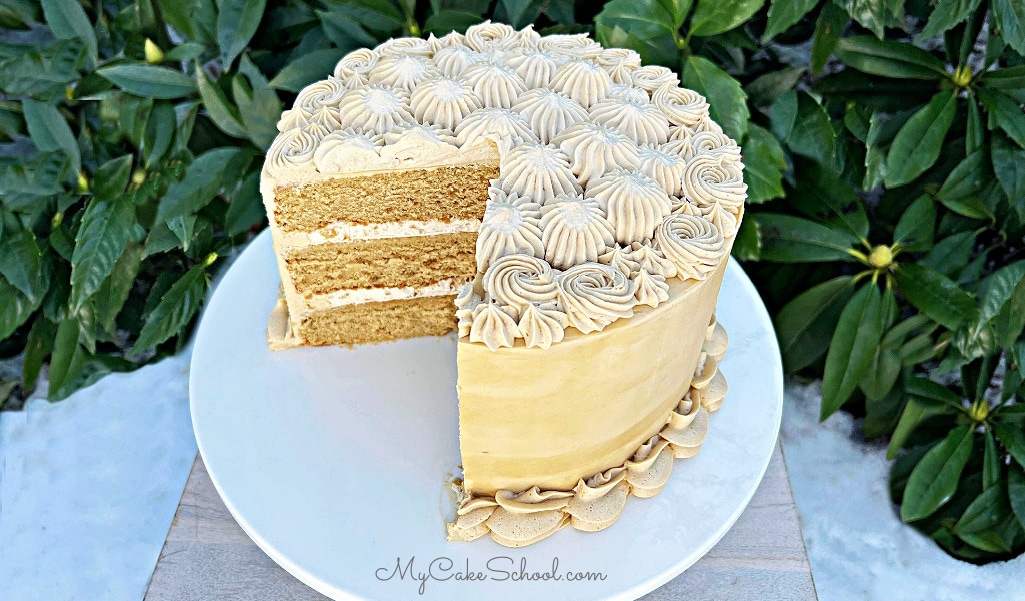
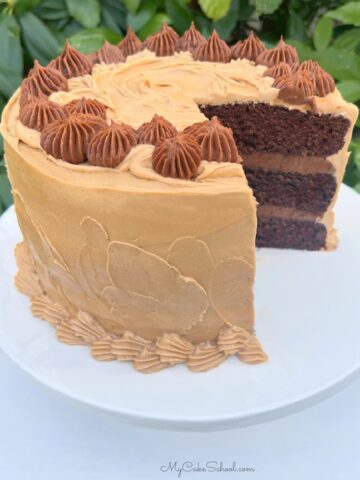
Decorate the cake however you like, I used a heated metal bench scraper (which I ran under very hot water and dried) to smooth around the sides and top of the cake as I applied the second coat of buttercream. This "hot knife method of smoothing" is a great technique for a smooth finish.
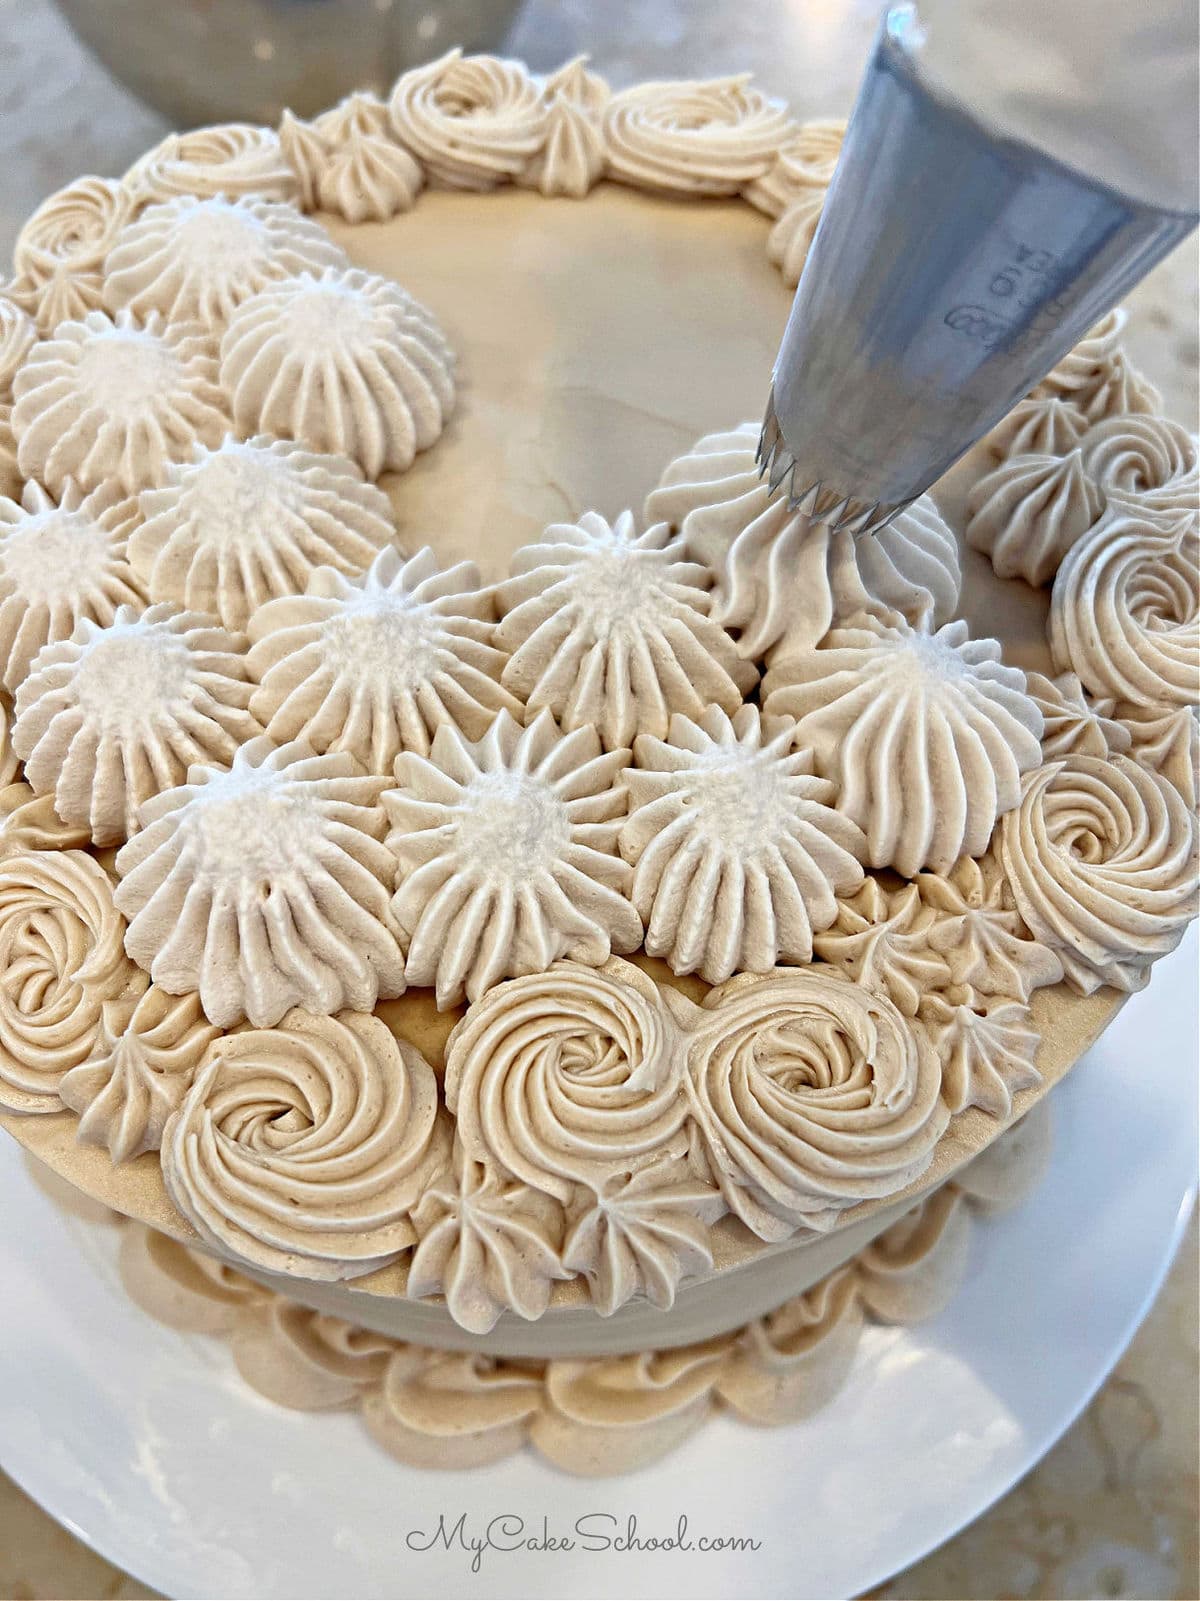
I finished things off with a large espresso buttercream shell border (2D tip) around the base of the cake, and then a border of buttercream rosettes and stars (star tip 21) around the top edge of the cake.
I finished things off by applying our remaining espresso whipped cream on top of the cake- I used an Ateco 869 french tip for this!
Recipe FAQs
More Coffee Flavored Cakes to Try
If you love coffee desserts, don't miss these other favorite cakes from our Cake Recipes section! There are so many great flavor pairings when it comes to coffee!
Some of our most popular are Pumpkin Spice Latte Cake, Tiramisu Cake, White Chocolate Mocha Cake, and Mocha Toffee Crunch Cake. We also have a great scratch recipe for Mocha Cupcakes!
Thanks so much for stopping by! We hope that you enjoy the recipe.
Make sure to check out our full collection of cake recipes and free cake decorating tutorials! We have so many more cakes to share with you.
Have you made this? We would LOVE for you to leave a ⭐️ rating as well as a comment and photo below! We really appreciate your feedback!
Espresso Layer Cake
Equipment
Ingredients
For the Espresso Cake Layers
- 2 sticks unsalted butter, softened (226g)
- 2 cups sugar (400g)
- 3 large eggs, room temperature (you can add eggs to very warm water, for 5 minutes bring to room temp)
- 1 cup sour cream (we use full fat) (242g)
- ⅓ cup milk (we use whole milk) (81g)
- 3 teaspoons Vanilla Extract
- 3 cups cake flour (plain in the UK) (342g) See substitution in notes below.
- 3 teaspoons baking powder (12g)
- ½ teaspoon salt (2g)
- 2 Tablespoons Instant Espresso (6g) You can substitute instant coffee.
Espresso Whipped Cream
- 2 rounded teaspoons espresso powder (you can also use instant coffee) (2g)
- 1 teaspoon hot water
- 2 cups heavy cream (464g)
- 1 teaspoon vanilla extract (4g)
- ¼ cup confectioners sugar (29g)
Espresso Buttercream
- 2 sticks unsalted butter, softened (226g)
- 6 cups confectioners sugar (690g)
- 3 rounded teaspoons espresso powder or instant coffee granules (4g)
- 2 teaspoons hot water
- 1 teaspoon vanilla extract (4g)
- ½ cup heavy cream, a bit more or less to reach consistency you like (116g)
- ½ teaspoon salt to cut sweetness (optional) (3g)
Instructions
For the Espresso Cake Layers
- Preheat the oven to 350 degrees, grease and flour three 8 inch x 2 inch round cake pans.
- In a medium sized bowl, add the flour, baking powder, and salt. Whisk to blend for 30 seconds. Set aside.
- In another bowl or measuring cup, combine the sour cream, milk, instant espresso granules, and vanilla.
- In the bowl of your mixer, beat the softened butter until smooth. Gradually add the sugar and beat on medium speed for 3-5 minutes until fluffy and lightened in color.
- Add the eggs one at a time, mixing until the yellow of the yolk disappears.
- Add the flour mixture and the sour cream mixture alternately, beginning and ending with the flour mixture (3 additions of dry ingredients, 2 of wet).
- Mix until combined and smooth, do not mix above medium speed or over-mix.
- Bake at 350 degrees for 25-28 minutes or until a toothpick inserted into the center comes out clean or with just a few crumbs attached. Let the cakes cool 5-10 minutes, then turn out.
- Makes 7 cups batter. The recipe works well for cupcakes also.
For the Espresso Whipped Cream
- Put the mixing bowl and whisk attachment (or beaters of hand mixer) in the freezer for 15 minutes or in the refrigerator for 30 minutes.
- Stir the hot water into the espresso powder until dissolved.
- In the chilled bowl, add the heavy cream, dissolved espresso, vanilla and confectioners sugar.
- Begin mixing on low speed gradually increasing to medium high speed. Watch closely as the mixture begins to thicken. Mix until soft peaks form. This will happen in 1 to 2 minutes so don't walk away from your stand mixer.
- Refrigerate until ready to add filling to cake layers
Vanilla Espresso Buttercream
- Dissolve espresso powder in the 2 teaspoons hot water, set aside
- In the bowl of your mixer, mix the softened butter until smooth
- Slowly add the powdered sugar along with the cream, vanilla and dissolved espresso powder and salt.
- Mix on medium speed until well blended and fluffy. It will increase in volume as you mix and more air is incorporated into the buttercream. The buttercream should be soft and easily spreadable. Add more liquid if needed to reach this consistency.

Can't wait to try this expresso cake, sounds so good, thank you for the recipe. My only concern is with the freezing of the cakes whilst still warm. Does this not impose a food safety concern. I thought all foods must be thoroughly cooled before freezing. Maybe cakes are different, would appreciate your advice. Thank you
Hi Rosie, I'm comfortable with wrapping and freezing the layers while warm since it's what we've done for many, many years but it's completely up to you! If you are baking in advance, you can just cool the layers completely before wrapping & freezing and they will still taste as fresh as the day they were baked. Hope that you enjoy the recipe!
Can't wait to try this! It looks so yummy! Definitely a job for this weekend! Can I just ask why your buttercream on the sides of the cake looks different to the piped border please? On the sides it looks like it's different colours. Keep up the great work and thanks so much for all these fantastic recipes. I try every one! x
Hi Linda! That's a good question ;0) - I checked back to my other photos to make sure it wasn't just the lighting and they all look that way.
I think that the sides of the cake have that almost two toned look because I used the "hot knife" method of smoothing. Smoothing over the frosted, chilled cake with a very hot bench scraper seemed to really bring out the different colors in the frosting. I've seen this happen with chocolate frostings as well as tinted frostings-- I guess that it happens with coffee frostings too! ;0) The very top center of the cake is espresso whipped cream but everything else is the buttercream ;0)
I have a question about the whipped espresso cream. If it's going in between the layers, wouldn't it be better to stabilize it especially if you are not going to be consuming it in one day?
Hi Donna, we don't find that the whipped cream deflates in a way that is noticeable but there is no harm in adding stabilizer if you'd like!
I just finished frosting the cake. There was just enough frosting for the dam, the crumb coat and a nice layer over the crumb coat. I pretty much followed the recipe verbatim except instead of 3 tsps of vanilla in the batter, I subbed 1 tsp of Coffee extract and I also stabilized the whipped cream since it's just the two of us. I took a picture and stuck it in the fridge until we are ready to dig in. Thanks again for sharing this! Will be making some other cakes I have saved in the near future. That Tiramisu Cake has my name written all over it. ;-)
Hi Donna, so glad that you made the cake- I hope you enjoy it!!
Hello Melissa and BeBe. Happy New Year!!!
I have been saving this recipe to make and am considering making tomorrow. Wondering though, can it be made into cupcakes? And, will the baked result be just as good if I use ap flour? I typically don't have cake flour and I think prefer the texture given with ap flour.
Thank you.