Flip Flop Cupcakes! Free Tutorial
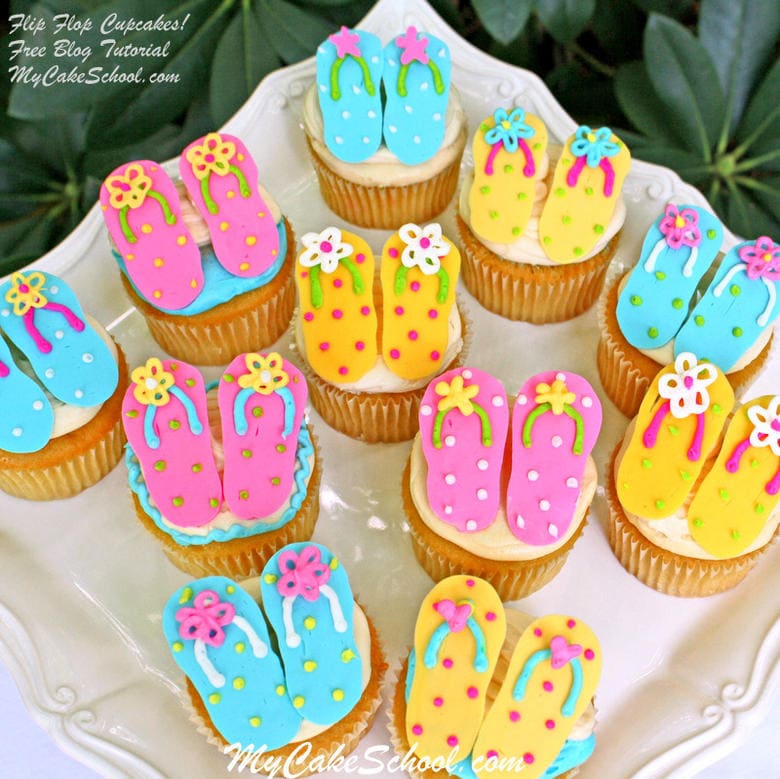
Today we are going to show you how to make cute and easy flip flop cupcakes!
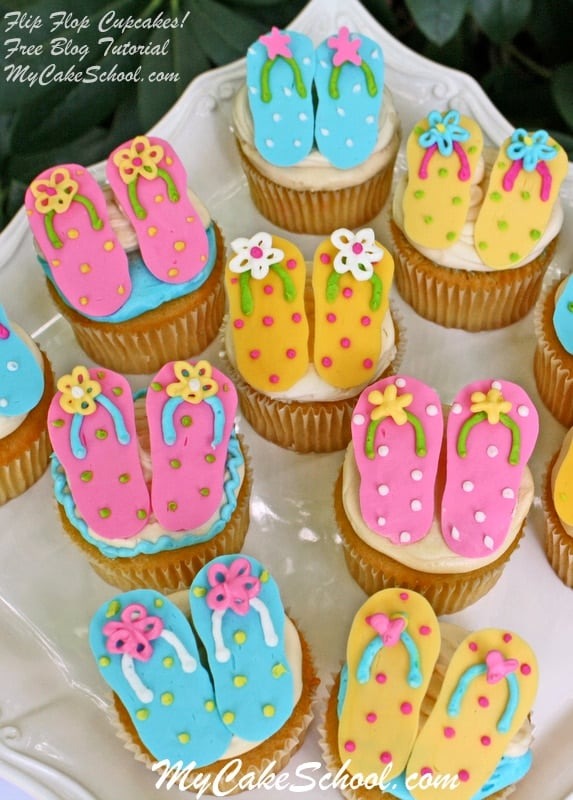
The cheerful color, design, & pattern options are endless, and the theme is perfect for so many celebrations. These are perfect for birthdays, beach parties, pool parties, and more!
Table of Contents
Working with Candy Coating
We're using one of my favorite decorating mediums today... candy coating! I LOVE candy coating (aka compound chocolate, chocolate bark, candy melts, etc.) because it is so easy to work with.
Candy coating can be easily melted in the microwave, piped, & applied to your cakes and cupcakes in minutes. No need to wait hours for decorations to firm up as with gum paste and fondant accents.
An added bonus is that candy coating cake decorations can be made in advance & will add dimension to your design too!
You can find pre-colored candy coating (Wilton Candy Melts for example), but you can also tint white candy coating to all sorts of bright colors using (oil based) candy coloring. *Do not add regular frosting/fondant coloring gels to your chocolate as it will cause it to seize.
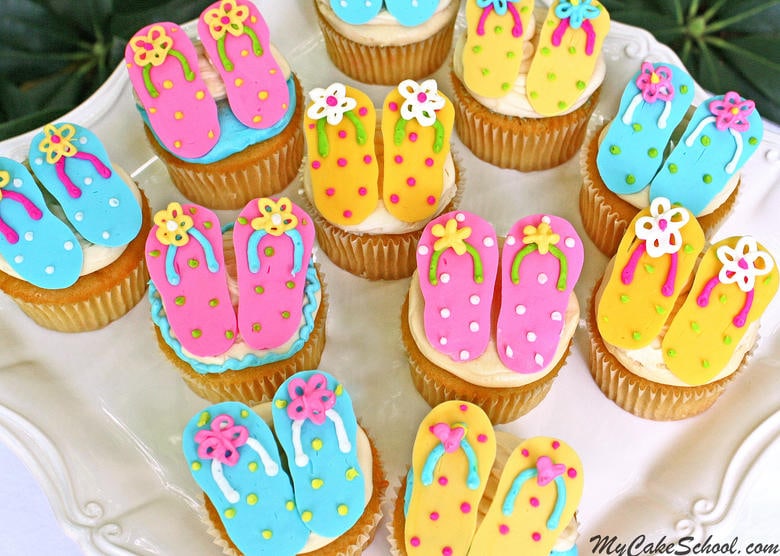
How to Make Flip Flop Cupcakes
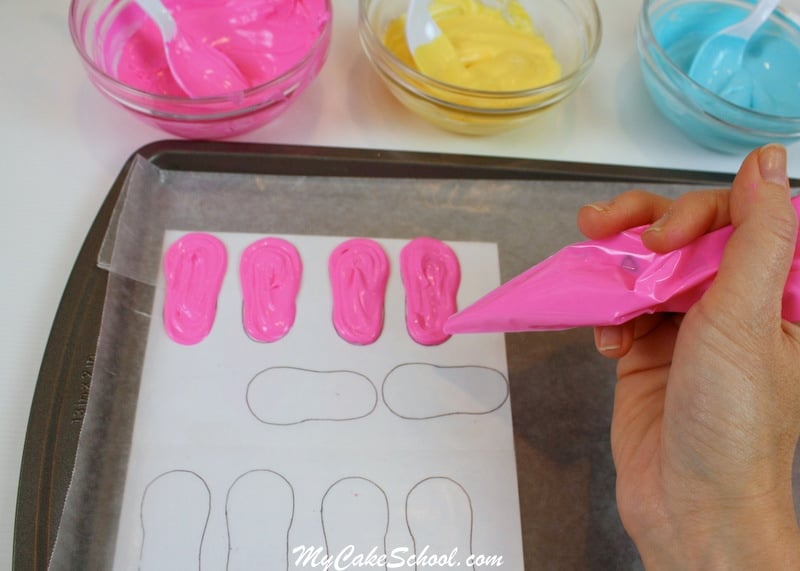
Below, you can see my tinted white candy coating-- After melting the coating in the microwave, I tinted the pink & blue shades using Wilton Candy Coloring
(**Make sure you're using oil based candy coloring rather than regular coloring gels when tinting candy coating or chocolate). The yellow was pre-colored Candy Melts (Wilton).
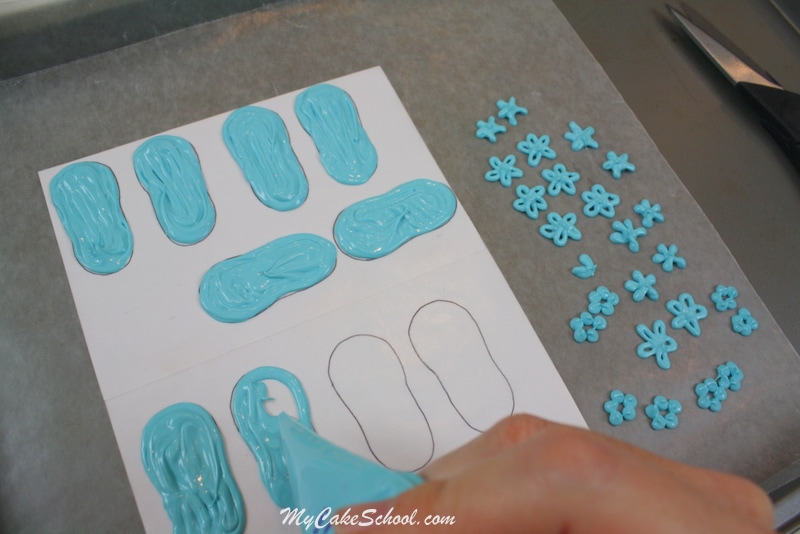
Flip flops are pretty simple to freehand, but you may like to use a template to ensure that everything is about the same size.
I slid my template beneath my waxed paper (on a cookie sheet)-- I piped the melted chocolate from a disposable piping bag with the tip snipped off. (If you'd rather use a piping tip, it would be about the equivalent of a Wilton 10.)
As an optional step, I also piped small little flowers, stars, & hearts using a piping bag with a small opening. These will be my accents for the flip flops later.
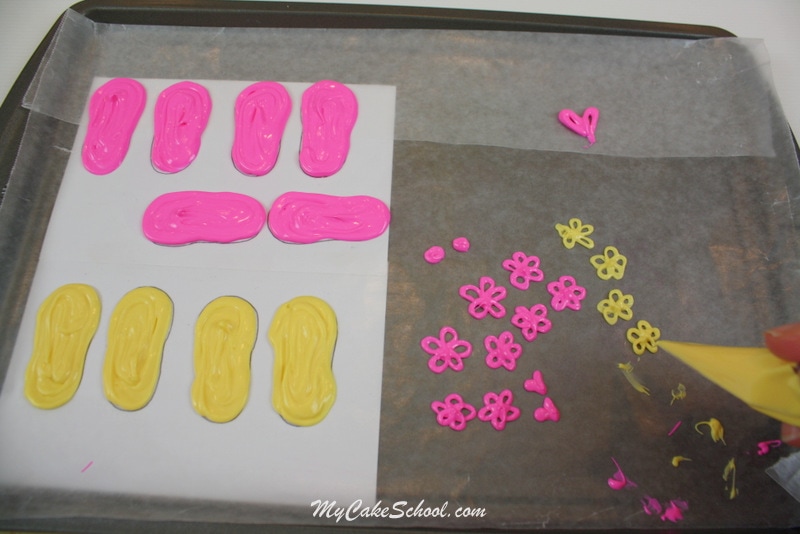
More piping...this time in blue. After piping my chocolate designs, I chilled them in the freezer for about 5 minutes until firm.
Time to start decorating! I flipped the chilled flip flops over so that the smooth sides were facing up. Then, I piped on the straps with buttercream (using a small round piping tip (3)) --You could do this step in candy coating also, but I thought that buttercream was a little faster.
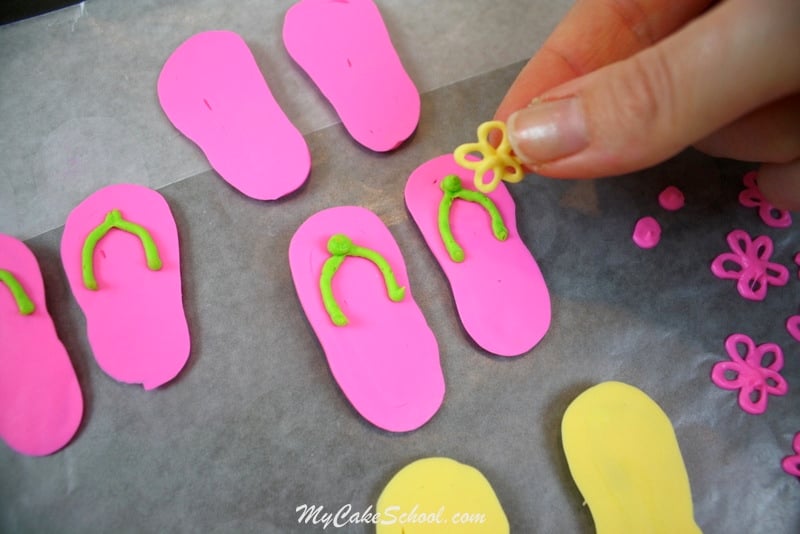
In the photo, I applied a dot of buttercream to the center of the straps & then placed a chocolate flower on top. This raises the decoration a bit & acts as a nice glue also.
I love these colors together!
The straps & dots are buttercream...everything else is candy coating. (Buttercream colors: Americolor Deep Pink coloring gel, Electric Pink, Lemon Yellow, & Sky Blue).
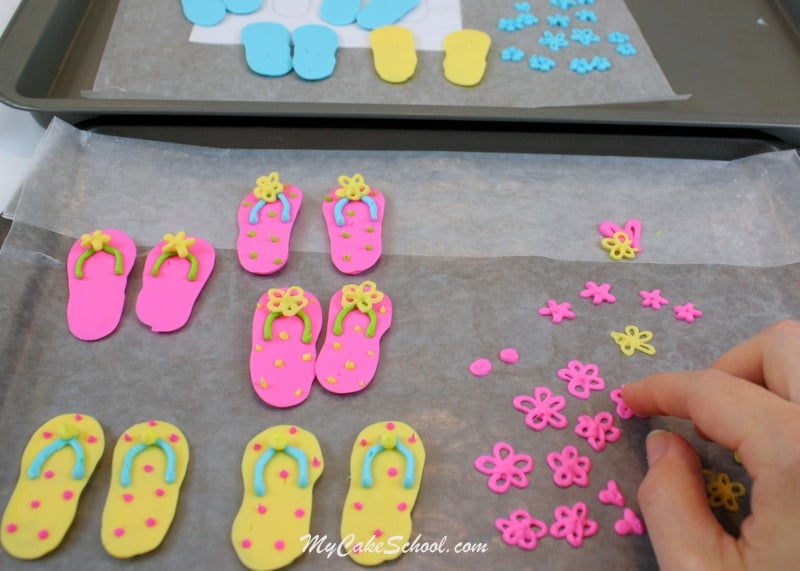
Decorating the Flip Flop Cupcakes
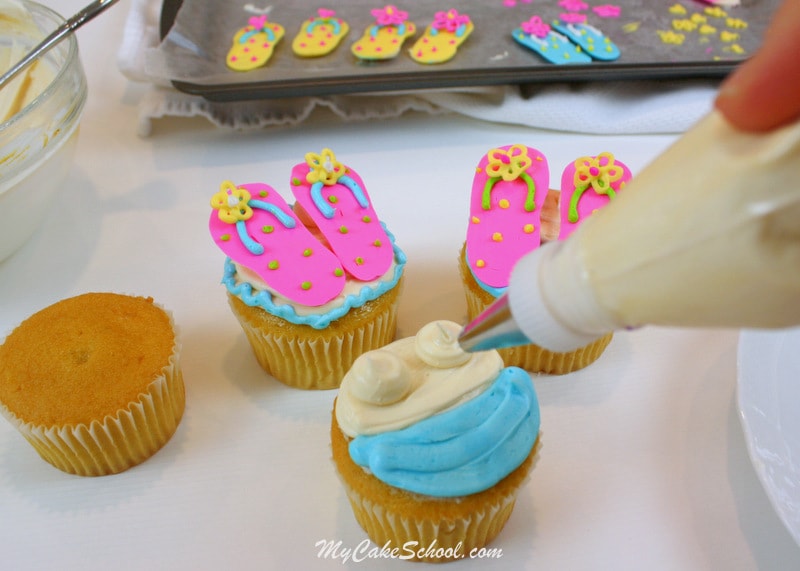
First, I tinted a crusting vanilla buttercream with Americolor Sky Blue & Americolor Ivory coloring gel. Some of my cupcakes were frosted entirely in ivory, but others like the one below were half and half for an ocean and sand look.
(Use your vanilla buttercream of choice. If you don't already have a favorite, we highly recommend our Classic Vanilla Buttercream Frosting recipe!)
One of the most important parts of decorating these cupcakes with buttercream is remembering to pipe the two medium sized dots. (You can use a Wilton 10 or Wilton tip 12 -or just snip the end off of your disposable piping bag).
These buttercream dots will prop up our flip flops so that they lay at a nice angle. Of course, you could simplify things and lightly press the flip flops into classic 2D piping tip swirls of frosting also. Either way, you're going to have some CUTE cupcakes.
If working in advance, you can store these toppers in a cool room and then chill just before applying them to the cupcake so that they are easier to handle.
Finished! I love how these came out, so simple and cute! They would be perfect for summer birthdays, pool parties, luau birthdays, and more!
Cupcake Recipes
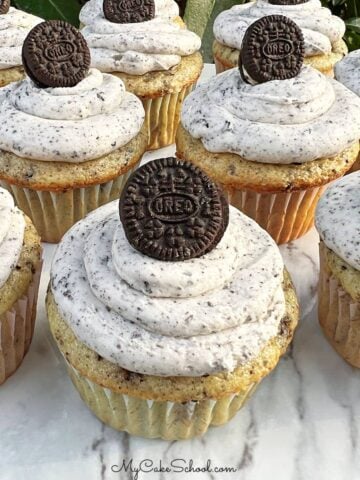
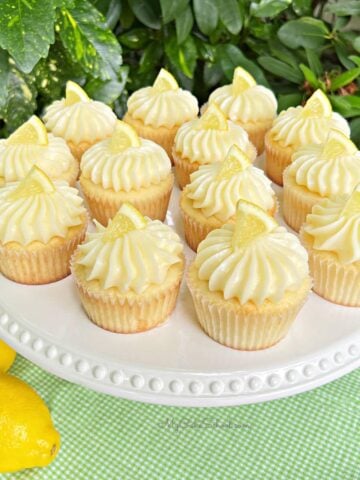
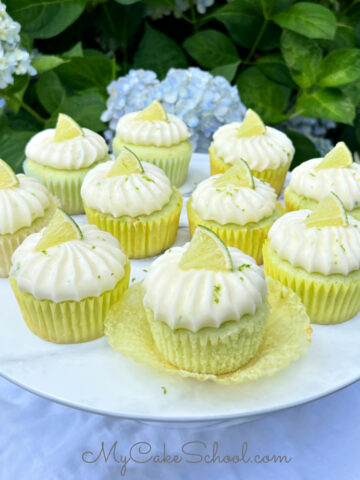
This flip flop cupcake design is great no matter what cupcake recipe you use! Some of our favorites are Lemon Cupcakes, Chocolate Cupcakes, Strawberry Cupcakes (cake mix), and Vanilla Cupcakes!
More Beach Cakes!
We also have several fun beach themed cakes to share with you! These summer cakes are perfect for birthdays, picnics, and other special occasions.
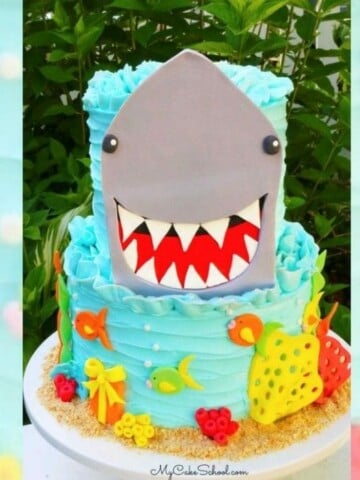
Some of our favorite are our Mermaid Cake and Shark Cake, but we have many more!
Thanks for Stopping By!
We hope that you'll give these cute flip flop cupcakes a try! If you do, make sure to leave a comment and photo below.
Make sure to check out all of our Cake Recipes as well as Cake Decorating Tutorials!

I love what you are doing and would love to do it. So where can i go and how much will it cost.
I love it! I am just about to make a pool party for my granddaughter and this will be perfect for it. Thank you so much, God Bless you!
Super cute! Great idea. Always thinking outside the box. Love that!
So cute and easy
I love these, Melissa! :D
Sweet! And looks fun to make! Thanks for sharing!
Your cute ideas never end! Thank you for sharing!
Wow what an amazing tutorial and lovely photos. thanks so much
Hi Melissa
I would like to know if I can use tylosa on my fondant and if is edible or not?
beautiful and it look so easy to do thx
Those are adorable! It is nice to know you can easily pipe designs with wilton melts as opposed to buying a ton of molds. It is great to have something decorative that tastes great too. I have to give this technique a try. Thanks so much. :)
How do u make the cases stick to the cakes. Mine seems to come off