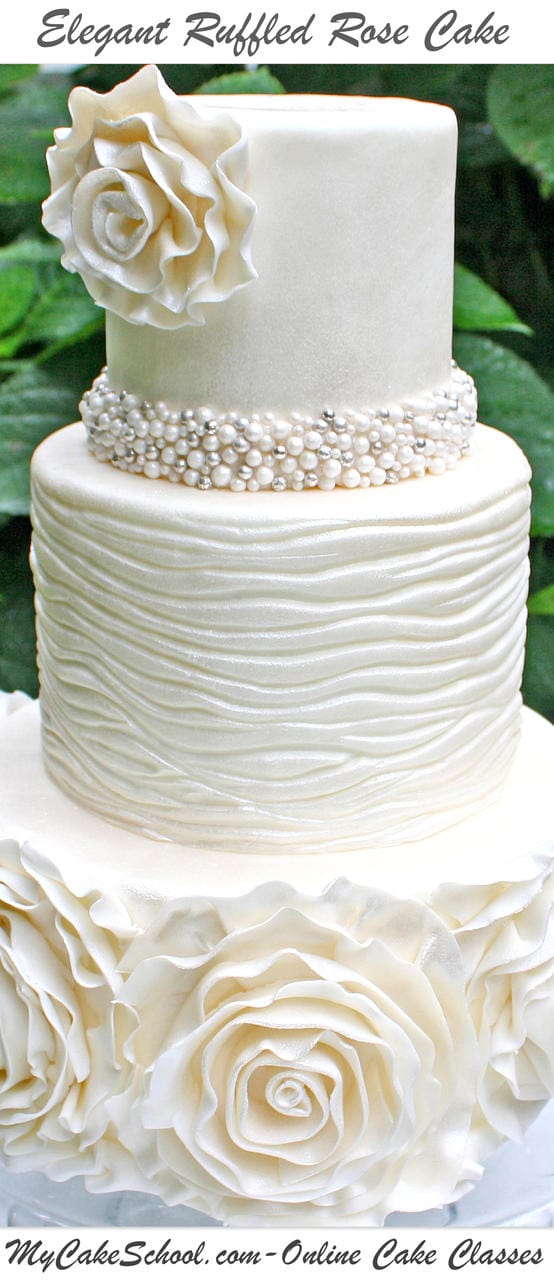
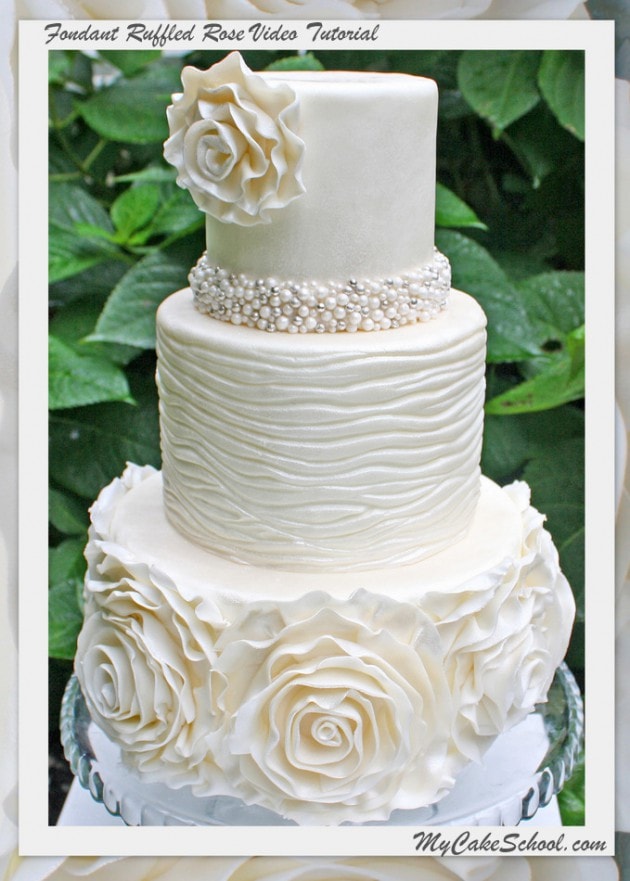
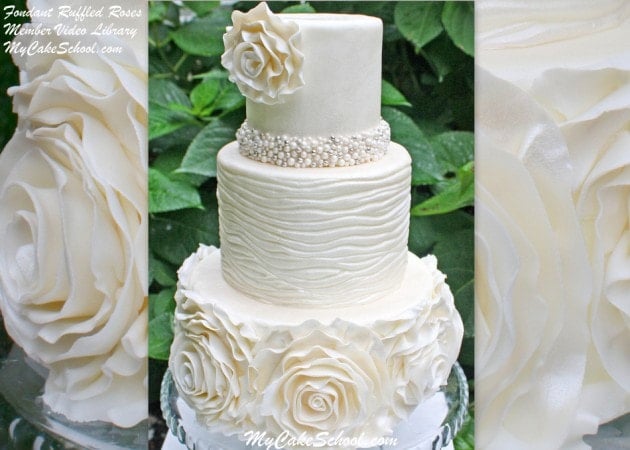
Fondant Ruffled Rose Cake- Free Tutorial
Our love for all things ruffled continues in this highly requested, elegant fondant cake design!
We are so excited to offer this tutorial, as cakes dressed in ruffled roses continue to be in high demand year after year. 
While creating ruffle roses is consuming, it is not a difficult technique to master. In this video, we are going to demonstrate a couple of ways to create an elegant ruffled rose.
As an added bonus, you will learn to add a ridged texture to your fondant as well as a beautiful pearl and dragee accent border.
Enjoy the video!
Table of Contents
Materials
(We started with 9 inch/6 inch/ 4 inch tiers covered with Liz Marek fondant. As usual, each tier is on it's own cardboard cake circle cut down to size.)
Fondant (we used Liz Marek's recipe)
Tylose Powder- We kneaded a small amount into our fondant to make it easier to handle. Optional step. If you prefer not to use tylose, you may need to dry your strips a few minutes longer before they are ready to handle. Also needed for "tylose glue".
Tylose Glue- (¼ tsp. tylose dissolved into 2 tablespoons warm water). Piping gel is another option.
FMM Multi Ribbon Cutter for cutting our fondant strips.
Cel Pad-This makes frilling the edges much easier. You can try using a roll of paper towels or even your palm as your padded surface if you are in a pinch.
Ball Toll (I prefer a metal ball over plastic)- necessary if you'd like a frilled/ruffled look to your edges.
Clear vinyl/mat or plastic wrap to help keep the strips from drying too much after they've been out for several minutes
Circle cutter in the size that you would like for your rose centers to be (needed for one of our two ruffled rose methods)
Sugar pearls and dragees, pixie/shimmer dust is optional
Pearl Dust/Pearl Spray -Optional for pearlizing our tiers
Small paint brushes- helpful for brushing on adhesive. Handles are useful too. I also used a large Wilton brush to apply my pearl dust.
Gum paste tool/paint brush with a thin handle- for the middle tier design. I will link to the tool that I use...I believe that mine is for clay but they have very similar options for use with gum paste. Mine are from Michael's craft store.
Toothpicks-Helpful for holding roses/ruffles in places as they set. Just don't forget to remove them! ;0)
Notes:
**In this video, I demonstrate two ruffled rose techniques. I want to thank my friend Stephanie of Delicious Deliveries for sharing one of those methods with me, which involves building the rose onto fondant discs. Before that, I only had built roses directly onto the cake. Being able to prepare them in advance is a wonderful option. If you are not familiar with Stephanie's work, check her site out here...or her Facebook page out here! She is an amazing cake artist!
-In our video, I laid out our thinly rolled fondant strips to set up on the countertop. After about 10 minutes or so, I flipped them so that both sides would have a turn at being exposed to the air. For me, a total of 20-30 minutes on the counter worked well...but that amount of time will vary depending on several factors (humidity in your kitchen, brand or recipe of fondant, whether or not you used tylose,etc.)
-I kneaded a very small amount of tylose into my fondant so that the consistency was not quite as soft as straight fondant...but not as stiff as gum paste. You may find that straight fondant works well for you.
-Don't allow your fondant strips to become too dry while sitting out. I used my clear vinyl to keep them useable as I started the process of creating the roses. You could also use layers of plastic wrap or slide them into large ziplock bags.
-We made our centers for our roses the night before, and so they were still pliable the next day. However, if you are working further in advance, or if you want to prevent them from becoming firm, you can slide them into a large ziplock bag.
Let us know if you have any questions! I hope that you enjoy the tutorial!


Love this. One of my favorite. I also loved the buttercream one you did.
Did you make the Liz Merrick fondant with the new Wilton Fondant. If so how did it work and how does it taste?
Tammy,
I also make the Liz Merrick fondant. Taste FANTASTIC ...and it is so easy to work with! You're going to LOVE it.....try it!
Ansa
Hi Tammy, yes we did use the new Wilton Fondant with the Liz Marek fondant recipe. I agree with Ansa, you will love it.
Thank you for another great video. Wondered if you have any advice on how to cut this cake? Do you removed the ruffles/roses or can you cut through them?
Gorgeous cake! Great video.
Thanks Teri! --
@Wendy--I'm sorry I missed your question before. If your fondant ruffled roses were made recently, or if you just added a bit of tylose to your fondant, you should still be able to cut through the fondant even after the roses have set up. I would go with a sharp knife for a clean cut.
If the roses were made well in advance or if a lot of tylose was kneaded into the fondant, then the ruffles may be a bit too firm to cut through easily (or neatly). In that case, I would pull away the roses one at a time as you slice your servings.
Hi Melissa...loved this cake and am going to make a wedding cake for this weekend ...and would love to know how to move the bottom rosette cake to the actual presentation board....how do you move it...without breaking the rosettes? Please let me know. Thank you
Hi Martha-- If you are worried, you may prefer to move the bottom tier to the presentation board before applying the rosettes.
However, you should be able to move the decorated tier to the presentation board with no trouble. When you finish decorating, the fondant rosettes are not so rigid that they will break easily. I would just slide a spatula beneath the cake board in a place that falls in between two large ruffled roses. Then lift, slide your hand beneath, and gently slide onto the presentation board. You can have some petals or ruffled fondant ribbon on standby just in case you need it (but I don't think that you will).
Love it!!!!
Thank you so much for a wonderful tutorial.Love the idea of the premade ruffle centres that can be done in advance.
This is to gorgeous! Can't wait to do it. Thank you for a fabulous tutorial.