Buttercream Gift Cake- Blog Tutorial
Today I'm going to show you how to make a beautiful buttercream hat box cake with a frosted lid!
This hat box cake tutorial (or round gift cake) is SO cute, and can be used for all sorts of occasions from birthdays to baby showers!
Depending on the piped pattern or bow, you can dress the cake up or down to fit your theme.
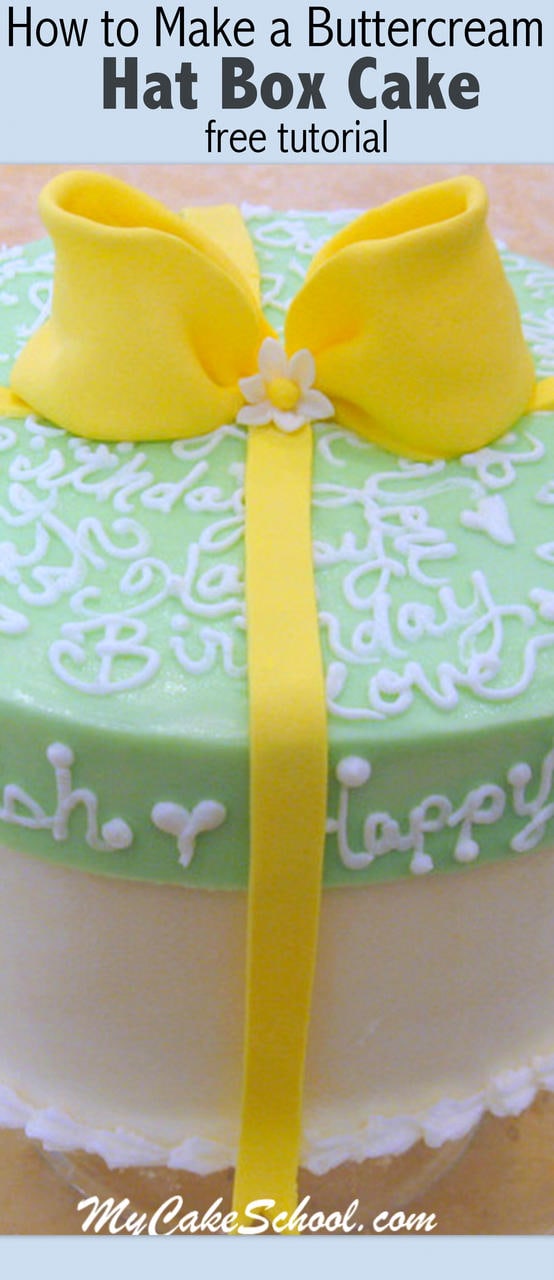
My FAVORITE part about this hat box cake is that the lid is created with buttercream rather than fondant. I absolutely love working with buttercream, and am always on the lookout for new frosting techniques to try.
Usually gift cakes or hat box cakes are accented with a fondant lid, and so I'm really excited to have the option of creating a similar look in buttercream! Creating a cake with a frosted lid is easier than you think. Let's get started!
Table of Contents
How to Make a Buttercream Hat Box Cake with Lid
First, I'm using good old butter-based vanilla buttercream (no shortening). I recommend our Classic Vanilla Buttercream from our Recipes section.
The reason that a butter based frosting is your best bet for this particular technique is because the buttercream frosting must be very firm in order for our method to work. A butter based frosting will firm up much more quickly when chilled.
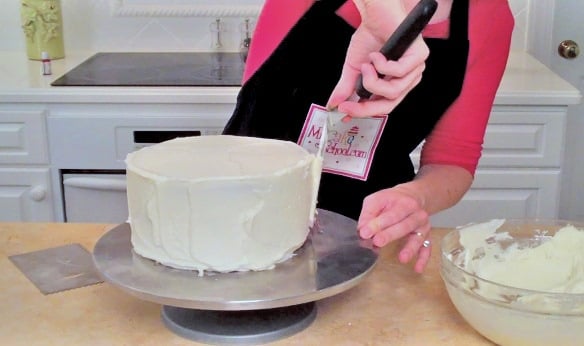
After frosting the cake, I popped it into the freezer for a few minutes. As I mentioned above, because this vanilla buttercream is butter-based, the frosting gets firm very quickly.
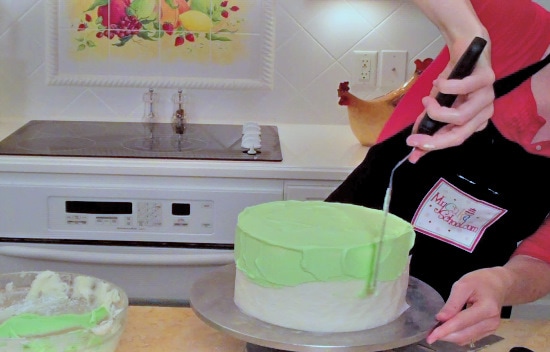
Once the frosting was firm, I went back over it with a HOT spatula and smooth it all out. This is cake decorating technique is often referred to as the "Hot knife" method. Freeze for a few more minutes to firm everything up for the next step!
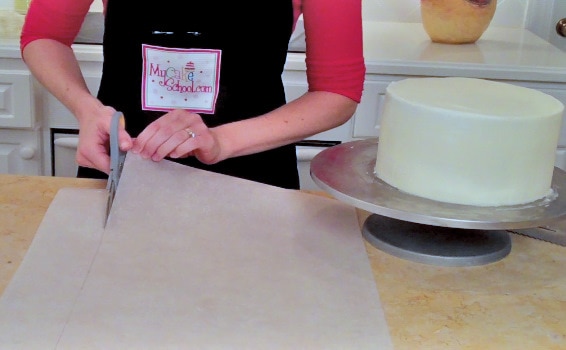
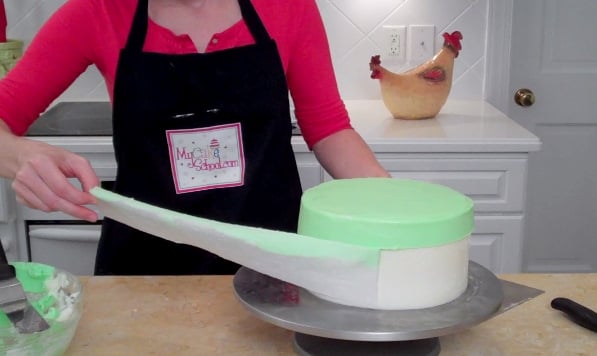
Next, I took out a roll of parchment paper & cut a piece long enough to wrap around the cake. You want to cut a width equal to the height of your cake, minus approximately one inch. (Mine was 3" wide because my cake was 4" tall.)
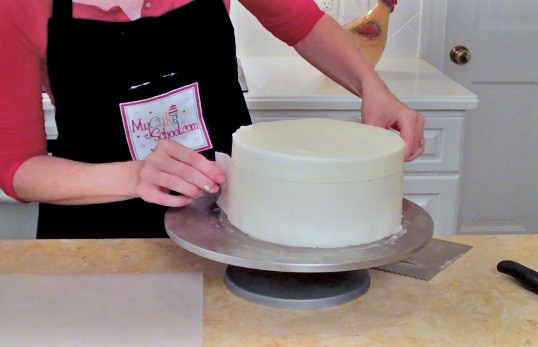
Next, I wrapped the parchment all the way around the chilled cake. Since the cake was cold, the parchment paper adhered to the sides with no problem. If it doesn't, just tape the overlapping ends. *If the frosting is not firm when it's time to wrap the cake, simply place it in the freezer for a few minutes to firm things up!
Now it's time to make the frosted lid! I used our classic vanilla buttercream frosting (slightly thickened with a little powdered sugar) which I tinted with Americolor Mint Green coloring gel. I applied the frosting just slightly thicker than the other frosting.
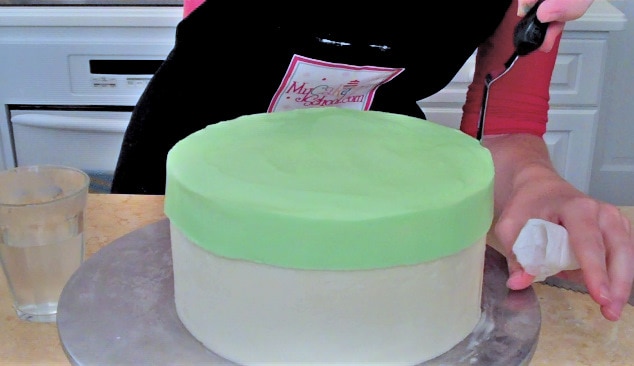
I made the frosting for the lid as smooth as possible. (You can always chill and smooth as needed to fix any remaining imperfections.) Now for the big reveal!
Does everything look perfect? If not, pop in the freezer for a final few minutes. I had to do this one last time to smooth over a few dings in the icing with my hot spatula. I couldn't help myself.
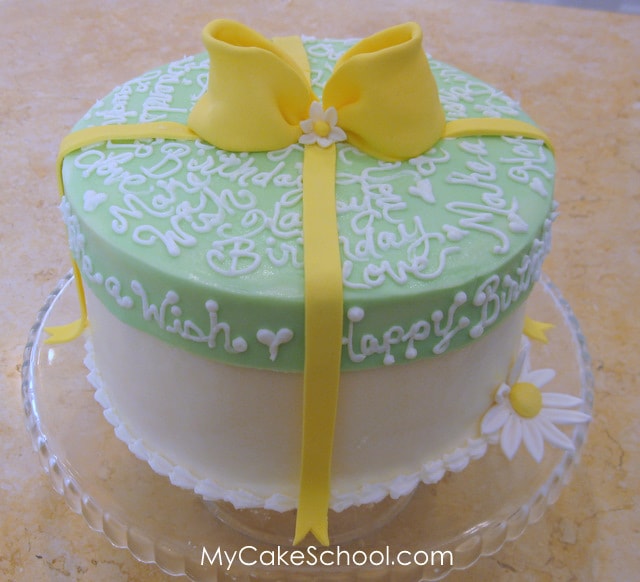
That's all there is to it! I love the look of the hat box cake. Now the real fun begins....time to decorate!
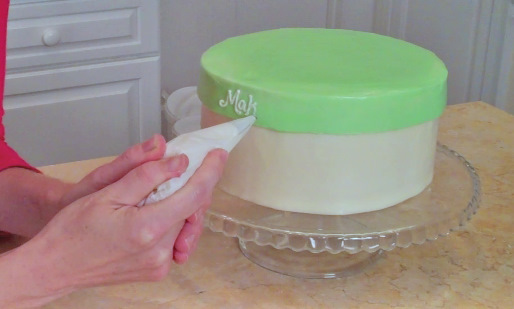
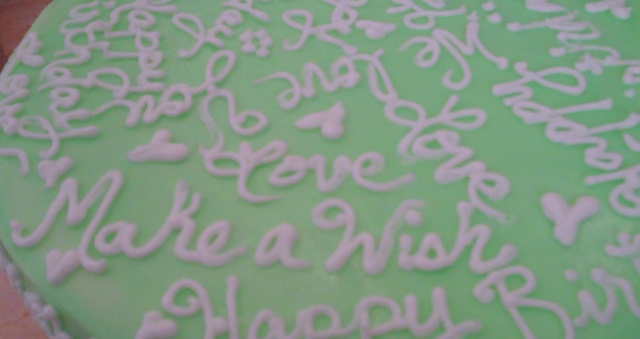
Adjust the design to whatever fits your theme best. I decided to write ALL over my lid in vanilla buttercream using a Wilton Tip 2. If you aren't wild about the idea of a lot of piping, keep it simple with polka dots or daisies.
I kept writing and writing until there was no where left to write!
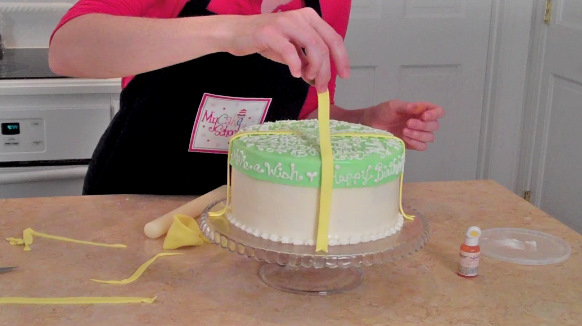
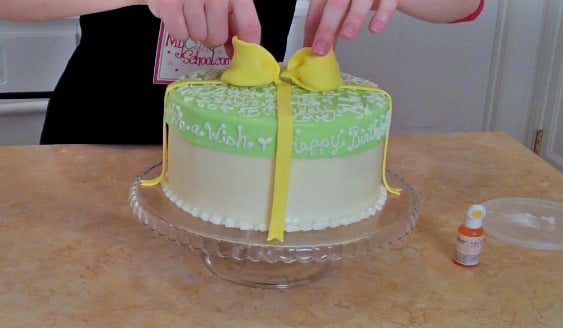
Next I added a gum paste ribbons and bows.....
Everything looks better with a bow! This one was still a little soft. I only dried it for 30 minutes, but it worked out fine! If time allows, dry your gum paste loops several hours in advance or overnight.
I added a little daisy for the center...and we're done!
I hope that you enjoyed this sweet and simple buttercream gift cake tutorial as much as we enjoyed creating it! Have fun experimenting. If you give it a try, we would love for you to leave a comment below!
More Gift Cakes!
We have more gift cakes to share with you! These cakes are from demonstrated in our free cake video tutorials, and feature cheerful gum paste bows!
Elegant Piping & Bow Cake Tutorial
Ruffled Buttercream Cake with Striped Bow

Hi Joan-- I think it would be great! ;0)
I just want say thank you for teaching me and I love love this site
Hi Charlene, thank you for your nice comment about the site!!
Sooo beautiful...im trying this for my daughters birthday...thank you so much.and thank you,so very much for the frosting ideas.
Thank You, great idea, beautiful cake
This is a lovely idea, will try this for my Son's girlfriends birthday!
I was just wondering ...is it possible to achieve this with shortening?
Hi Cynthia, I've never tried this with a shortening based frosting. It isn't ideal because butter based frostings become so much firmer when chilled and so there is less chance of accidentally denting the frosting when applying and removing the parchment.
i love this will do it soon.
it's great tutorial,i've to try it.thank u
Muy bueno el tutorial gracias muchas gracias.
did you use royal icing for the writing or buttercream?
well done !