How to Pipe Large Frosting Flowers!~Video Tutorial
Hi everyone! Today, we are going to show you how to pipe frosting flowers that are large, whimsical, & fun!
We've had many requests for these types of flowers & after experimenting with several different piping tips & frosting recipes, we've found our favorite methods & are excited to share.

We are going to make a few different types of flowers in the tutorial, but I hope that in addition, you all will be inspired to experiment & develop even more flowers.
We've only scratched the surface with this tutorial ;0) -- The piping tips that we use in the video have been around for some time now, and so there are lots of examples out there of large frosting flowers, but some of my favorites are by the White Flower Cake Shoppe! LOVE their great variety of flowers & designs!
Time to get started! Let us know if you have any questions, and don't forget to find our Materials (and frosting recipe) beneath the video!
Table of Contents
Materials:
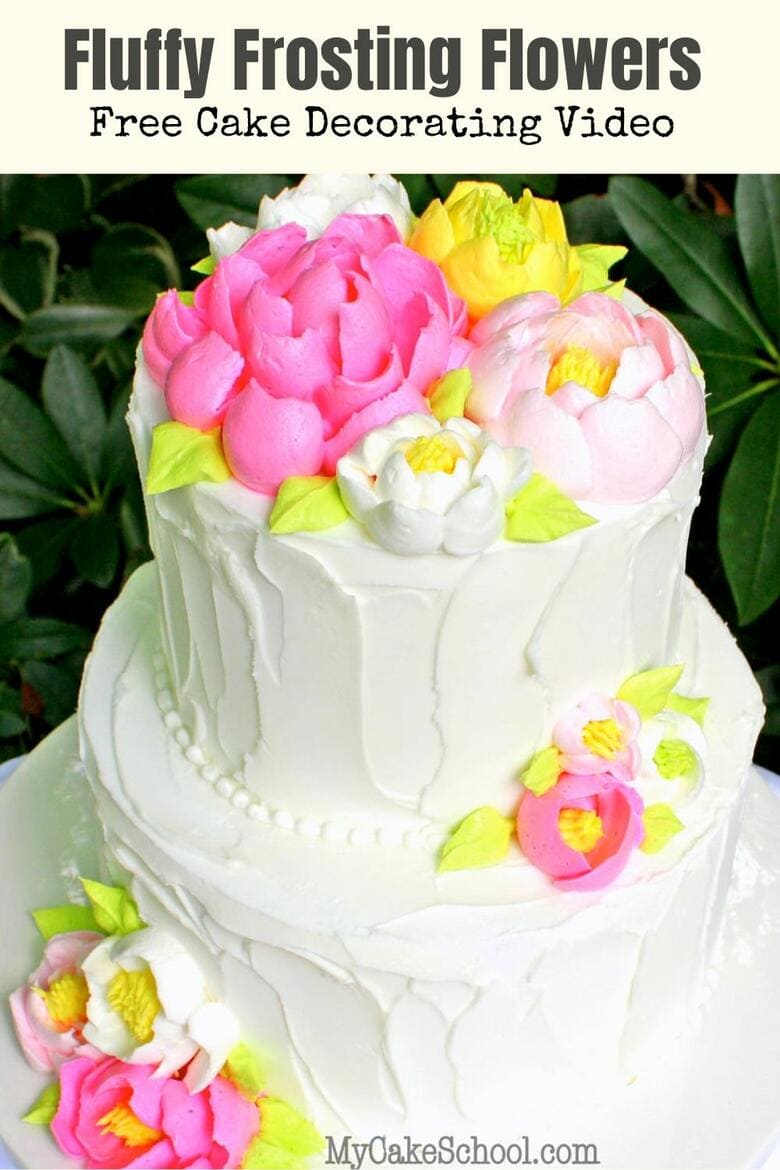
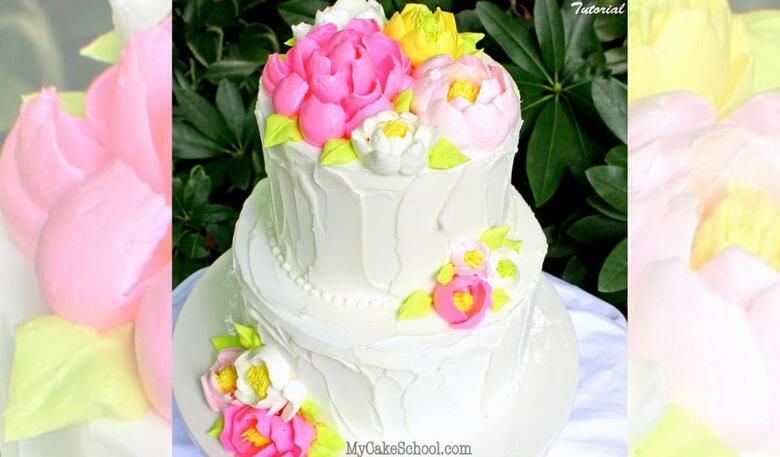
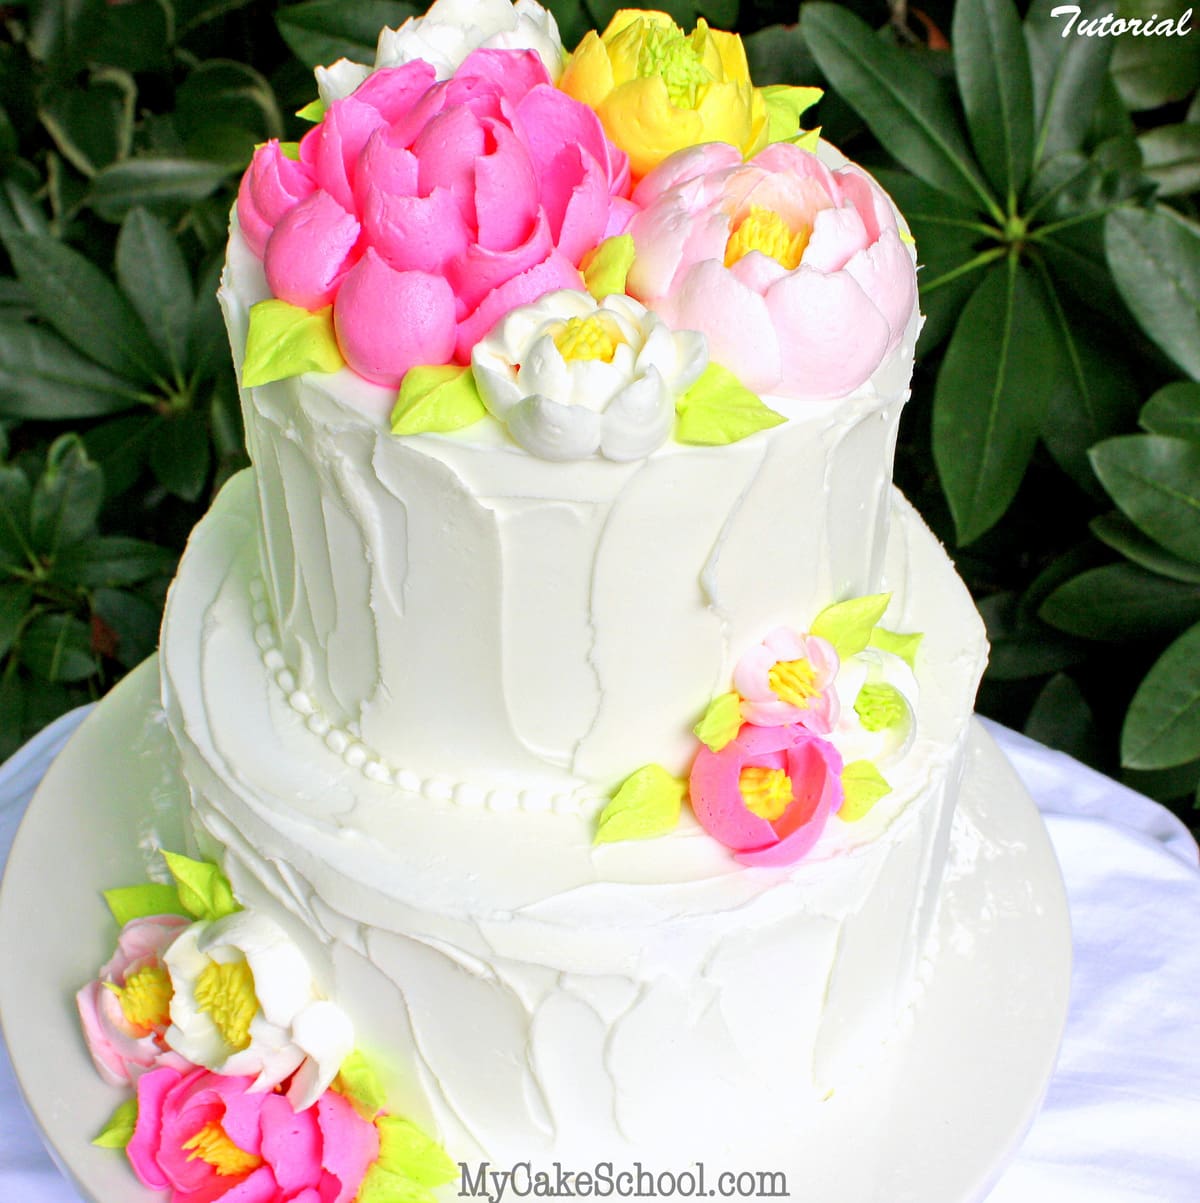
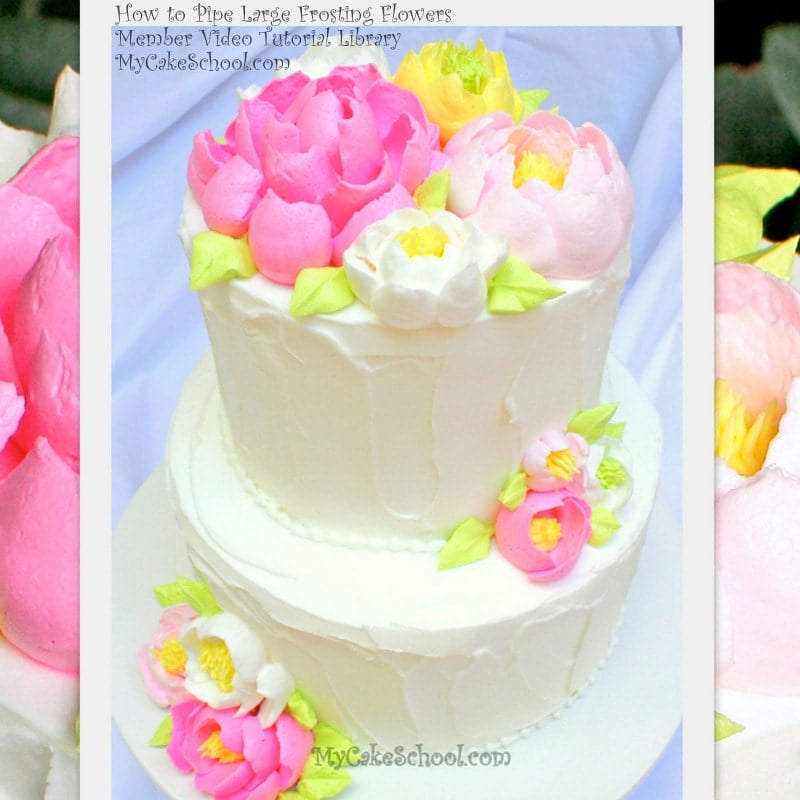
The cake featured in our tutorial is 8" and 6" tiers, frosted with our "fluffy vanilla buttercream" and topped off with big frosting flowers of "Whipped Meringue Frosting". (see recipe at the bottom of the page).
Piping Tips: Ateco 403, 402, & 401,(which we pried open a bit) & Wilton 233 grass tip. 403 is the tip I used most often & is my favorite for these large flowers!
Notes:
As we explain in the video, we felt that our flowers were much easier to pipe after slightly prying open the "mouth" of the piping tips. This allows for more icing flow from the tip, and therefore our petals had a more substantial base & could be piped taller without falling.
Although you can get a similar look with an American Buttercream recipe (like our "Classic" or "Fluffy" recipes), we had more trouble with irregular edges when piping our petals with these frostings. Plus, we liked the idea of such large flowers being a lighter whipped texture. If you experiment and have success with other recipes, we would love to hear! If you do not like to use shortening, a swiss meringue frosting would be another good option.
*Our kitchen was very hot as we filmed this tutorial, and we found that the frosting consistency did change a bit after several hours of sitting in the piping bag & bowl. If you notice a similar change, just give it a good stir...and if your frosting becomes overly soft, you can chill it for a few minutes in the refrigerator.
*Special thanks to Teri (MsGF) for recommending a whipped meringue recipe found on Cake Central. We adapted our recipe from this one, increasing the amount of sugar, flavorings, and mixing time...but she put us on the right track for finding a light recipe that we liked for these flowers! xo
Here are a few links to the piping tips that I used in the tutorial!
Tip 401
http://www.amazon.com/gp/product/B0000VLE3Q/ref=pe_385040_127745480_pd_te_o_s_ti/183-7270713-7612614
Tip 402
http://www.amazon.com/gp/product/B00085F88G/ref=oh_aui_detailpage_o00_s00?ie=UTF8&psc=1
Tip 403
http://www.amazon.com/gp/product/B008GUYI72/ref=oh_aui_detailpage_o09_s00?ie=UTF8&psc=1

WHIPPED MERINGUE FROSTING RECIPE
This is the recipe that we prefer for the large fluffy frosting flowers that we feature in our “How to Pipe Large Frosting Flowers” video tutorial. This non-dairy (shortening based) frosting has a fluffy, whipped-cream like texture, yet is shelf stable & even develops a slight crust. This recipe is stable for up to 3 months at room temperature.
INGREDIENTS
¾ cup (146g) granulated sugar
½ teaspoon (3g) salt
2 Tablespoons ( 18g) meringue powder
½ cup BOILING WATER, ( minus 2 Tablespoons of the water if you are using Crisco )
2 and ½ cups (430g) Hi Ratio Shortening or Crisco
5 cups (570g) confectioners’ sugar – measure then sift
2 Tablespoons vanilla extract
½ teaspoon almond extract
flavor to taste
THIS FROSTING IS MADE IN TWO PARTS AND SHOULD NOT BE COMBINED UNTIL EACH PART IS COMPLETED.
Use the whisk attachment for this part, to the mixing bowl add the granulated sugar, salt, meringue powder and ½ cup BOILING WATER. The water must be boiling to melt the granulated sugar. Mix on high speed and beat until stiff peaks form, approximately 6 to 8 minutes. Transfer the meringue to another bowl and set aside for later.
Change to the paddle attachment and to the mixing bowl add the shortening. Gradually add the confectioners’ sugar. Beat mixture until it is very creamy, approximately 5 minutes, scrape down the sides of the bowl a couple of times.
Now you are ready to add the bowl of meringue to the mixing bowl, along with the flavorings. Beat another 8 minutes. The frosting will become very light and fluffy. Keep in a covered container. Do not refrigerate. It can be kept at room temperature in airtight container for 3 months, just stir with a spoon when you are ready to use.
This is a lightly crusting frosting.
Yield: 7 cups


Melissa, I so enjoy watching and learning new techniques from you.
When my subscription expires in 39 days I will for sure renew my membership.
Thank you for the great tutorials.
Kindest regards, Renate
I have SO been wanting to know how to do this! This tutorial alone is worth my yearly subscription. Can't wait to try out the icing recipe and this tutorial!
Dene Swearingen, I just ordered mine from Shop Bakers Nook.
Hi Melissa,
first let me tell you how much I looove your work, thanks for sharing all with us. I was wondering, if I would like to make a lot of those flowers in advance and have them on hand when I have a cake to decorate, could I use royal icing to pipe the flowers since they last for like ever!!!!
Thanks and keep up the good work!
I was so excited to see this on a video tutorial! I had seen these kind of flowers online on cakes from a Bakery up in Ohio. I tried doing similar ones with the smaller tips since I didn't see any large tips like this locally and I had no idea what numbers to get. Thank you so much for sharing this, you have no idea how happy this makes me!
Awesome! I am so in love with this!!
Thank you so much for this video. I was seriously considering driving to a class in Ohio to learn to make these flowers. All of your work is beautiful. Thank you for all you share.
Thank you all so very much for your comments! I'm so glad that you like the video.
@Brigitte~ I haven't tried making the flowers from royal and drying, but I don't see why it wouldn't work! Let us know how it goes! ;0)
I am another member who has wanted to know how to do these flowers...a huge thank you to you, Melissa and Bebe, for bringing us this info.
I am having a problem with the petal end breaking off forming sort of a U shape rather than a nice rounded petal shape. I opened the tip quite a bit already. Does anyone have any suggestions? This is a Wilton 403 - I have some Ateco 403s and 401s ordered if that should make a difference.
Hi Melissa: This video was wonderful - and so worth the price of your membership. I'm looking forward to viewing all your other videos and new ones you'll be posting. Thank you for sharing your recipe for the flower icing too. Great job!
@Helen-- Thanks, I'm so happy that you liked it!
@SweetS- (I saw your question beneath the frosting recipe & so I'm copying my answer here also!)
I’m sorry that you are having trouble with your edges. Some of the petals on my flowers are a little ragged…but for the most part, this frosting gave me a nice look. (When we tried these flowers with our usual American Buttercreams like the “Classic” and “Fluffy” recipes, we had very ragged edges.)
However, one thing that I did notice was that if my piping bag had been sitting out for a while (maybe an hour or so), the texture changed a bit and the edges were more likely to be imperfect. I found that I needed to stir my frosting and start fresh with a new bag when this happened.
Also, re: the petal shape, some of my petals do have a “u” shape. If you look at the petals on my large pink flower in the video, the petals in the center are piped almost vertically and do have more of a “u” shape. Some of the other petals are piped with more of a curve at the end (slight twist of the wrist) as I pull away.
I piped lots of flowers before getting the hang of it and so don’t give up! Let us know if you have any more questions!
**Let us know if you find that the Ateco tips work better for you- I think they may. I had read that Wilton no longer made the equivalent to the Ateco 403...and so I've never worked with that style.
Thanks again for your response, Melissa!