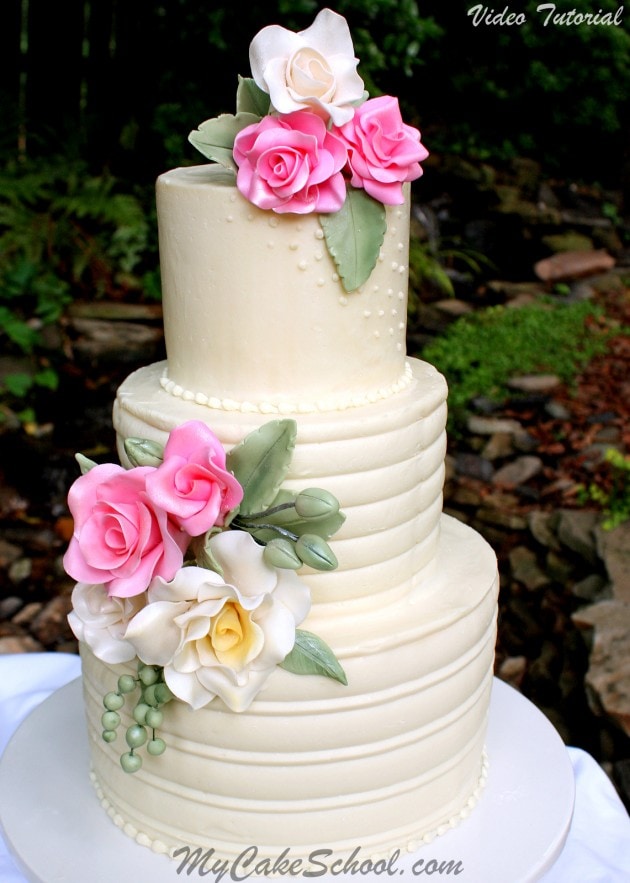
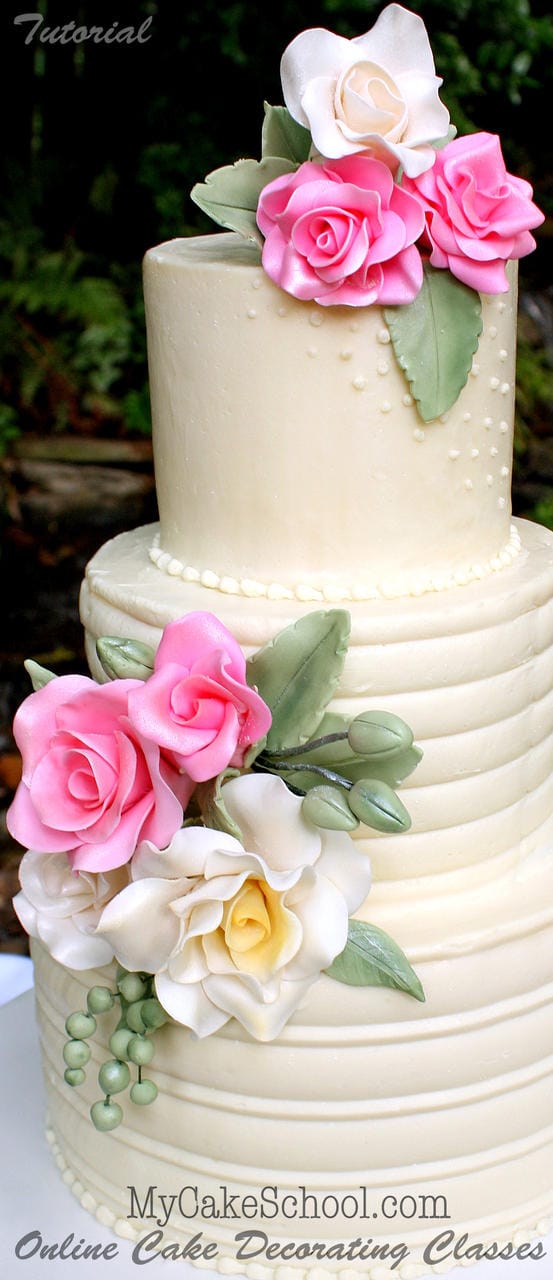
Gum Paste Roses Cake Tutorial
Today, I'm going to show you how to make gum paste roses in this cake decorating video tutorial!

These add such a touch of elegance and although they look difficult to master, I think that you'll find them to be one of the simpler flowers to learn.
When our site first began, I created a rose tutorial which will be replaced by this one. While some of the techniques are the same, I've adjusted my method over the years in favor of a much simpler, less rigid, and therefore less stressful approach.
However, the final outcome of this simpler method is every bit as elegant (and in my opinion, more elegant) than my past roses!
I'll demonstrate creating the roses using three different methods-- it's always good to have options! ;0)
1) Using a set of petal cutters
2) Using a couple of round cutters
3) Using a 5 petal rose/blossom cutter (JEM easy rose cutter)
I'll also demonstrate combing our white-chocolate ganache frosted tiers, and also how to attach your roses and a few filler flowers/leaves to your cake. I hope that you enjoy the tutorial!
Table of Contents
We have divided our Video into Two Parts:
PART ONE: Learn to create roses using the petal cutters and round cutters. I also demonstrate creating and wiring leaves, applying petal and pearl dusts.
PART TWO: The second half of our video focuses on the third method of building a rose-- with a 5 petal leaf cutter. I'll also demonstrate frosting/combing our ganached cake, & finally applying the roses, leaves, etc. to our cake for a stunning (if I do say so myself) design ;0) --
Materials for Gum Paste Roses:
I made three tiers of cake: 8 inch, 6inch, 4 inch
Frost or cover your tiers as desired. I used white chocolate ganache (3:1 ratio chocolate to heavy cream). I used 2,220g chocolate (I used White Ghirardelli Chips) to 740 g heavy whipping cream (or 78 oz chocolate to 25 oz cream)
Satin Ice Gum Paste (or your gum paste of choice.)
Your cutters of choice (I demonstrate with petal cutters, round cutters, and a 5 petal JEM easy rose cutter)
Ball Tool
Cel Pad aff. link (The yellow pad you'll see in the video)
Cel Board-aff link (This board has grooves to make wiring your leaves and petals easier)
Foam Pad (optional. Mine was Wilton)
Cup/bowl with foil to use a former (or flower former of your choice)
Styrofoam
20 gauge and 22 gauge floral wire
Floral Tape
Sugar/Tylose Glue (or your glue of choice)
Paint brushes and Petal Dusts (My dusts are: Watermelon, Moss Green, Buttercup, and Super Pearl Dust)
Cones for your centers (either plastic/store bought or gum paste)
Kitchen Rack for drying your roses
Cake Comb(s) - Optional--I used a Wilton set.
...and then everything else...A cake board for each tier to rest on, bubble tea straws or supports to support the tiers--(I used 4 bubble tea straws within the 8" tier, and 4 within the 6"), and pedestal or base of your choice.
** Whenever possible, work days in advance. As you saw in our tutorial, our gum paste dried very quickly but in some locations it will take several days for your flowers to firm up. It's best to work at least a few days in advance to be on the safe side...especially if you are new to making gum paste flowers and are not sure of the dry time to expect. Dry your flowers (and store any leftovers) out of direct sunlight or fluorescent lights to prevent fading. Also, store your flowers in a container that can breathe (like a bakery box for instance)

Enjoy the Tutorial!

Hi Terri--I'm sorry, you were probably watching for a reply here but instead I had e-mailed you a few days back. (We receive comment alerts by e-mail and sometimes I just hit reply & answer that way.) - Just forwarded that e-mail to you but here is what it said:
"I think that you will be fine either way! Two fat layers will probably give you close to a 4 inch tall cake which is standard. I've done cakes closer to 5" tall as well with no issues. Much taller than that though and you have to worry about stability (and very large slices!)-- for 6" or taller I go with a double barrel construction which I don't think is in your plan ;0) --
I guess I focus more on the total height of the cake than I do the number of layers (as layer thicknesses can vary) - I usually keep my cakes in the 4-5 inch tall range. Hope this helps!"
Hi Melissa,
I have to show you the cake! I did it!!! You said it would be fine! Thank you! Thank you! Thank you!!! I will download in the photo section! Can't wait for your comments!
Just curious, which method of cutters do you prefer??
Hi Melissa fantastic tutorial throughly enjoyed it beautiful roses and cake, you make it look so easy thank you.
Hi Melissa, thank you for all the tutorials. This is my second year as a member and sooo happy with all the techniques I learned from your video.
Oh...and I need help on pricing wedding cakes or any regular cake. Hope you can help me.
Hi Sweety09, Melissa and I appreciate that you have stayed with the site a second year and your nice compliment about the site. Pricing is a frequent topic on the Forum. Here is a link to one that I think is good, https://www.mycakeschool.com/message-boards/cake-business/pricing-dilemma MsGF (one of our cake advisors) makes 3 helpful comments in this post. It is a good idea to call one or more bakeries in your area to find out their prices. Set a price per slice, multiply by the number of servings the cake will give you and you will have a base price for your cake. Extra charge for toppers, expensive ingredients or any additional decorations. On the homepage, above Melissa's picture you will see Member Resources, click on Helpful Links and you will find the Wilton Party Serving Chart that will give you the number of slices you should get from each size cake. Also if you enter the word, Pricing in the Search Bar you will find other opinions on pricing. Good Luck!
They look so real
This is a stunning cake! Now I know how to actually use the pink rose maker pedal cutter. Your method is so simple. Thank you also for demonstrating how to achieve beautiful results with the big icing combs. :)
Hi Susan, Thank you for your review of this video, we are happy you found it helpful.
Hi Melissa, could you please mention the size of the JEM cutter, there are many different sizes available.
Thanks in advance
Hi Urooj, Melissa used the JEM 5 petal rose/blossom cutter that is the 100mm size (4 inches from petal tip to petal tip) Here is a link