How to Create Striped Buttercream! -A Cake Decorating Video Tutorial
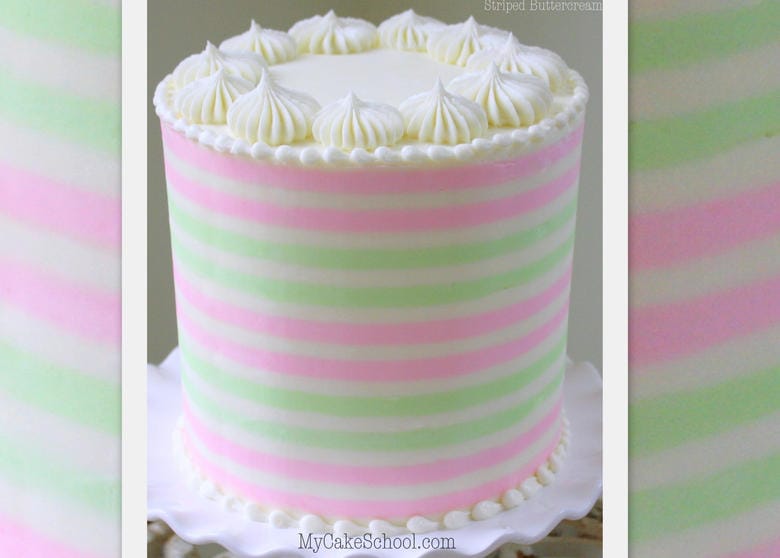
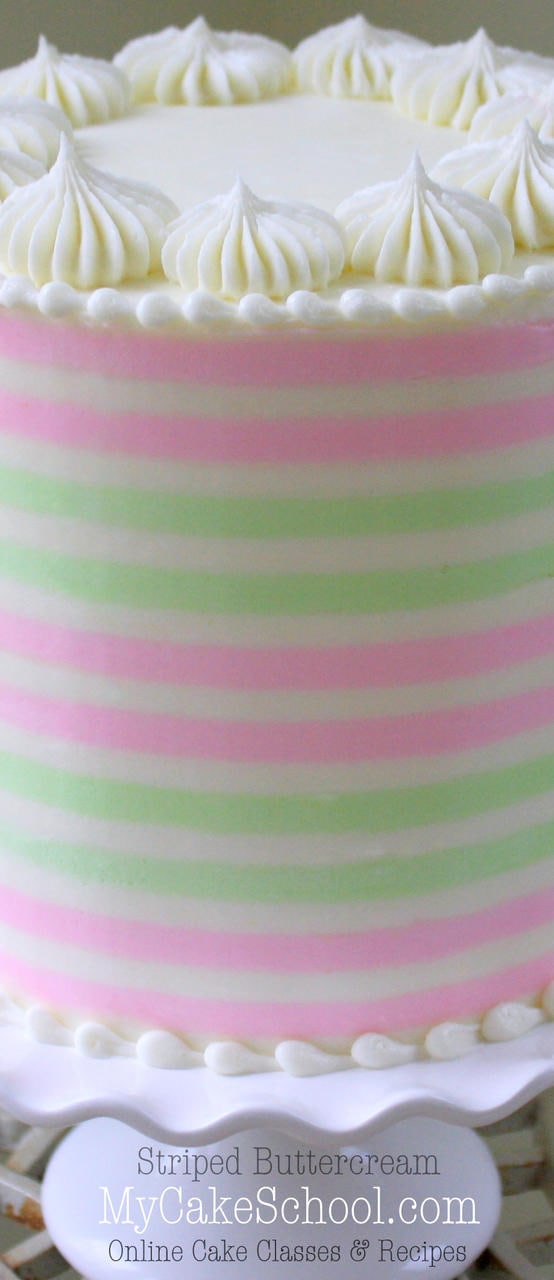
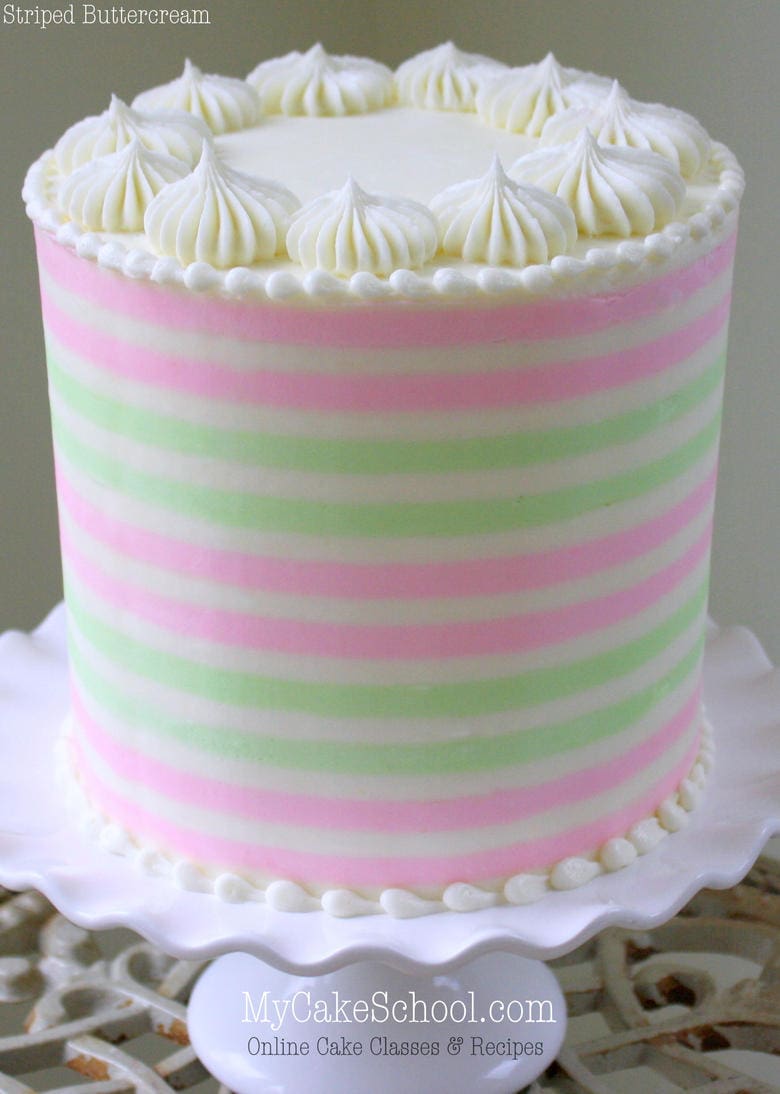
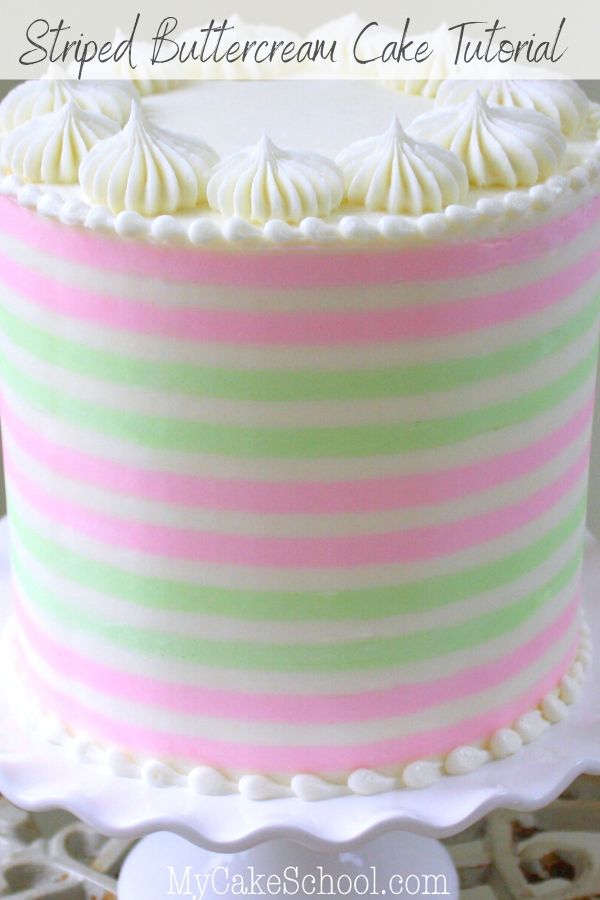
In this tutorial, you will learn how to create beautiful, perfect buttercream stripes on your cakes!
This striped buttercream design would be impossible to do with freehand piping, but we've figured out a way to to create the look with a simple cake comb!
Table of Contents
How to Make Striped Buttercream
The key players in this tutorial are a butter-based buttercream (like our classic vanilla buttercream recipe), a cake comb, and a bench scraper.
You could try using a spatula instead of a bench scraper, but I am a huge fan of bench scrapers in general for getting a smooth, even coating of frosting around the sides of the cake (and for this method, they are especially helpful).
Don't forget to see our materials & notes below. Enjoy the video!!
Tips for making Perfect Buttercream Stripes
- Choose a butter-based buttercream (rather than shortening-based) so that when you chill the combed cake, the frosting will become very firm. This makes piping the contrasting colors and smoothing (without distorting the design) so much easier.
- Use a comb that has fairly spaced out grooves since you are going to have to go back in and fill all of those impressions with buttercream stripes... this can be time consuming, and you'll want to pipe quickly so that you can smooth over the design while the buttercream is still chilled.
- I like that the cake comb that I used today created fairly deep impressions. This gives you a little wiggle room when you go back in and smooth over your design.
During the process of smoothing with a hot bench scraper, you will be removing some of the frosting from the cake and so with the deeper impressions, you don't have to worry about accidentally removing too much and losing your stripes.
- Have a pot of hot water on standby for heating your metal bench scraper. As we explain in the video, it is much easier to smooth over your design when you are working with a heated bench scraper. That top layer of frosting melts just enough to give it a flawless finish.
nbsp;
Additional Notes
There are a couple of shortcuts that you may be able to take for this method.
For instance, after applying a generous layer of frosting to your cake, you may be able to comb the cake with no worries of catching crumbs, etc.
I had to chill mine before adding the final coat but you may not. (*Final coat of frosting remains soft so that you can easily comb.)
Also, in our trial run of this method, I did not have to dip my bench scraper in hot water. But for the video version, I had to.
So, it's best to have a hot pot of water on standby in case your bench scraper doesn't easily glide over & smooth your frosting.
As I mentioned in the video, it is very important that your combed cake is well chilled before piping your lines.
It needs to be firm so that you can do all of your piping and bench scrape the soft frosting into the ridges while the ridges are firm.
I hope that you have fun with this technique!!
Enjoy the Video!
We hope that you have fun with this beautiful technique! The options are endless- you can change things up dramatically based on the colors and cake combs that you choose!
How to Create Striped Buttercream! -Free Cake Decorating Video Tutorial
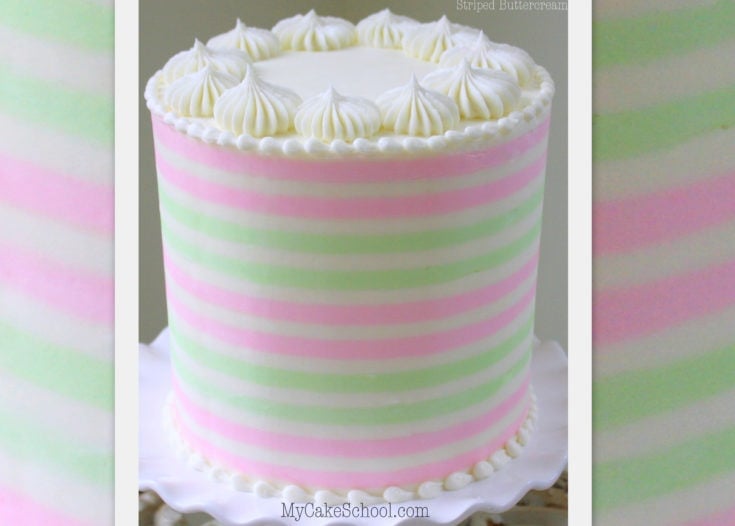
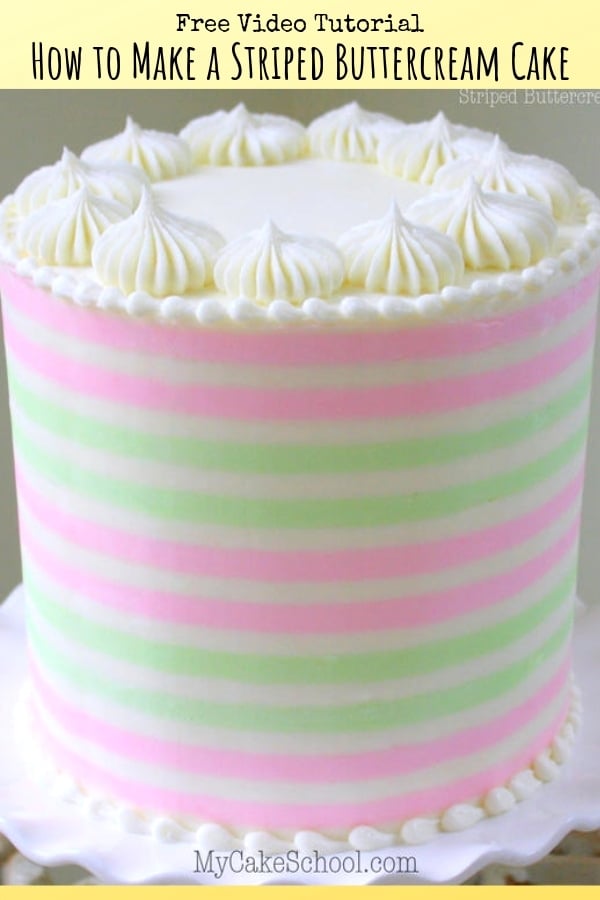
Learn to make PERFECT buttercream stripes on your cakes in this video tutorial!
Materials
- This method can be used on any size of cake. We used a 6 inch double barrel cake, frosted with our Classic Vanilla Buttercream recipe and combed with a Wilton Cake Comb.
- Cake Comb- I prefer combs with fairly deep impressions and ridges that are fairly spaced apart (Less stripes to make!) We used a Wilton cake comb but there are many options!
- Buttercream-Needs to be butter-based (not shortening) like our Classic Vanilla buttercream recipe. Butter becomes much firmer when chilled.
- Bench Scraper
- Coloring Gels: We used Wilton Rose & Wilton Leaf Green
- Piping Tips: Wilton 10 and Ateco 869 for piping on top (You can substitute with a Wilton 2D or other large star tip if you don’t have a large french tip), Wilton tip 4 (Bead Border)
Instructions
- Crumb coat the cake in a (preferably) butter-based frosting.
- Freeze for 10 minutes to firm up the frosting, then apply a second coat of frosting and comb the cake.
- Chill again to firm up in the freeze for about 15-20 minutes.
- Pipe within the ridges using a contrasting color of buttercream. Scrape away the excess with a bench scraper. Fill in any spaces or imperfections as needed and smooth with a bench scraper. (I find heating the bench scraper to use against the cold frosting is helpful in fine tuning.)
- Repeat the chilling/smoothing process until you're happy with the cake. Be careful not to remove too much of your buttercream- you don't want to lose your stripes ;0) -
Notes
A butter-based buttercream (rather than all-shortening) works best with this technique because the buttercream will firm up much more quickly when chilled, and will stay firm a little longer as you work.
Recommended Products
As an Amazon Associate and member of other affiliate programs, I earn from qualifying purchases.
-
 Bench Scraper (For frosting around sides of cake- Note that this one is 6 inches.)
 -
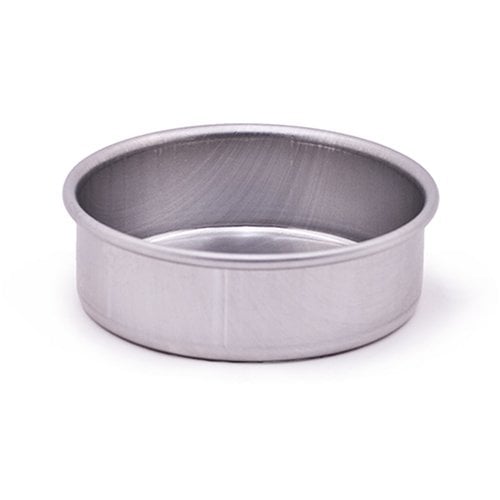 Magic Line Pan- 6 inch x 2 inch
 -
 Ateco 869 Pastry Tube - French Star - Size 9
 -
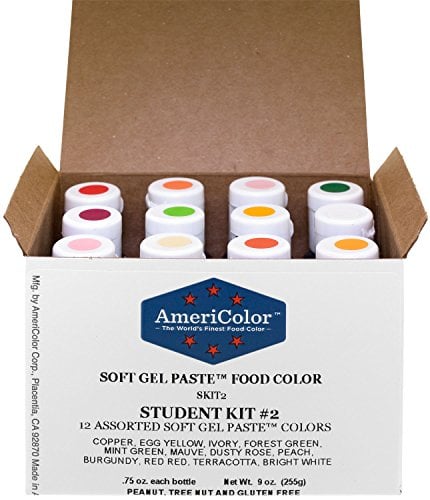 Americolor Coloring Gels Set (Check box for list of colors. Colors are sold individually also.)
 -
 Wilton Disposable Piping Bags- 12 inch
 -
 Wilton Offset Spatula- 9 inch
 -
 Wilton Icing Smoother Comb Set-3 Piece, White/Purple

Forgot to add picture
Hello Fanny! By your description I was afraid to look at your photo, lol but it is cute!! I see what you mean about some of the colors going into the next but I still like the look ;0) - Let's see....did you happen to have the same Wilton comb that I used in the video? If not, any comb should work as long as the teeth/impressions are fairly deep. This will allow you to have plenty of wiggle room to clean things up later when it's time to remove the excess frosting. You can scrape more away with your bench scraper, revealing clean lines.
I guess with this technique the best advice is to use a comb with fairly deep ridges, make sure to chill the combed frosting until firm, and make sure to hold your bench scraper nice and level/straight as you rotate the turntable. You'll want to clean off your bench scraper too whenever there's buildup. I hope something in here is helpful to you for next time!! I feel like you're so close to having perfect stripes! xo
THANK YOU FOR THIS TUTORIAL! Do you think it could work on a dummy cake also? I am using Perma Icing do you think I can get the same look even if the perma icing is slightly soft and not completely dried and hard?
Hi Leah, We have never used Perma Icing so I am not sure it would be firm enough to add the the colored icing in the ridges. I would give it a test run on just a small area of your cake dummy to see if it works.
I will try this technique this Sunday. My only thing is my household loves chocolate not vanilla--but I'll compromise and make the cake in chocolate with vanilla buttercream. Will let you all know how it turns out. Have a great weekend all!
This is beautiful and I will try asap. I love the French Star tip. I have one and it's one of my favorites. Beautiful Melissa!!
@Edmonia- Glad you're going to try it!
@Paula- Thanks, and I love the French tips too! So much fun ;0)
LOVE this technique! So simple and easy, and such a stunning result. Thanks so much!
@Shalana- I'm so glad you gave it a try, your cake is fabulous!! xoxo
Hi! I live in a very hot weather. If we use a butter base buttercream it will melt. That is the reason we mix it with shortening. Have you ever try with this type of buttercream with shortening? Thanks!
Hi Carmen- I would do a test run with your preferred shortening-based frosting & see how it goes. I think it could still work. It helps the stripes keep their shape if the combed cakes have been chilled & firmed up first...shortening based frostings will firm up eventually but it just takes longer than butter based.
As a test run, you could frost, comb, and chill a cake board or cake layer with your preferred frosting, add stripes and smooth with a bench scraper....and then try again without chilling at all and see what you think. My guess is that if you had to skip the chilling step, the cake would still look nice after smoothing, but the colors may be a little more likely to overlap.
Let us know how it goes!
Love this. Thanks