How to Make a Bride and Groom Cake Topper
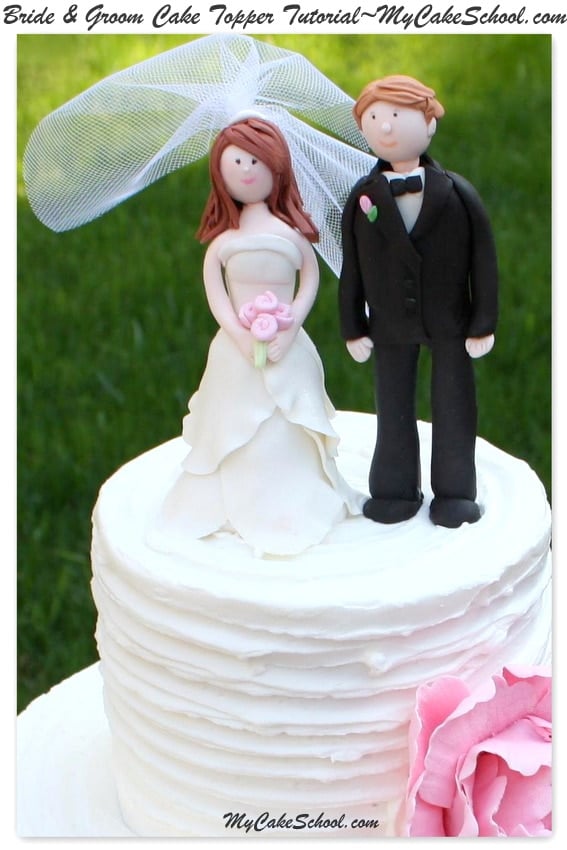
Today, I'm going to show you how to make bride and groom cake toppers for your cakes.
These simple toppers are sure to bring smiles!
Table of Contents
Why We Love It!
We just love these sweet bride and groom cake toppers!
Being able to personalize someone's bridal shower or even wedding cake with a custom cake topper is really special.
You can easily use the techniques from today's tutorial to create cake toppers for other special occasions as well!
I think that you will find the bride and groom cake toppers surprisingly doable, even for someone new to the world of figure modeling. Have fun with it, and make sure to allow yourself plenty of time to model and dry the gum paste pieces before assembling.
Materials: Bride and Groom Cake Toppers
Here is a quick rundown of our Materials used!
Bride Topper
White gum paste (I used Satin Ice)
Coloring Gel (I used Americolor copper (skin), Chocolate brown (hair), Leaf green & Deep Pink (bouquet) )
Toothpicks or Dried Spaghetti noodles (internal support)
Pink petal or luster dust (rosy cheeks)
Black food coloring pen/or real pen (I used a Sharpie, my coloring pen is frayed!)-this is for the eyes
Pink food coloring pen (mouth) -alternatives: "real" pen or colored pencil, or paint with a fine tipped brush using coloring gel/vodka "paint"
Oval cutter, Ball Tool, Foam Pad --These are option, but used these three tools to create the ruffled layers of the dress
Tulle & Floral Wire- Used for creating the veil (Alternative: You could just use white gum paste)
Sugar glue (tylose/water), piping gel, or your glue of choice
Misc Measurements: *Use these as a rough guide--go by what you feel looks most proportional for your figure.
Skirt-55g, (1 ⅞ oz) gum paste
Bodice- 8 g (¼ oz) gum paste
Head- 5g (approx ¼ oz)
Arms/Neck- 3 g. ⅛ oz
Tulle- (Veil) - 7x5 ½" wide before folding
**Please make sure to give yourself at least a few days to make this bride. The more time that you have, the better. Make sure to give each piece a chance to dry before assembling.
Can't wait to see your brides! :0)
HOW TO MAKE A GROOM TOPPER
In this video, you will learn how to make a handsome groom. He is the perfect match for our sweet bride that we made in another video tutorial.
The basic idea for my groom is very similar to how I’ve made gum paste men in past tutorials (“Gum Paste Guy” video) — However, I suspect that the demand for a groom video is all about the tuxedo :0)
So, in this video, you’ll learn how to make and assemble the body (in case you need a refresher), and you’ll also learn how to dress him to impress!
Materials for the Groom Cake Topper
Black “gum paste” (I used pre-colored Satin Ice black fondant and kneaded in tylose powder until it reached a good modeling consistency)–For jacket, bow tie, pants & shoes
White gum paste (For shirt, and to tint for hair and skin)
Coloring Gel- I used Americolor Copper for his skin, Chocolate Brown for his hair, & a tiny bit of deep pink & leaf green for his boutineer
Anchor for leg-I used a thin wooden skewer but you could also use a lollipop stick or stiff floral wire. If using floral wire, feed through a thin stir straw before pushing into cake.
Toothpick/Dry Spaghetti- Use these to piece body parts together
Tylose/Sugar Glue or your glue of choice
Measurements given in video: *Yours may vary, just go with what looks proportional.
Head- 5g. (¼ oz) gum paste
Pants- 19g.
Shirt- 12 g (⅜ oz)
Jacket– Roll gum paste very thin & cut out a 3 ½″ x 2″ rectangle (Again, go with what looks right. You want to be able to wrap the piece of gum paste around the body & create a slight overlap.)
*Allow at least a few days of dry time to be on the safe side, although he may be dry sooner.
More Bridal Shower Cakes
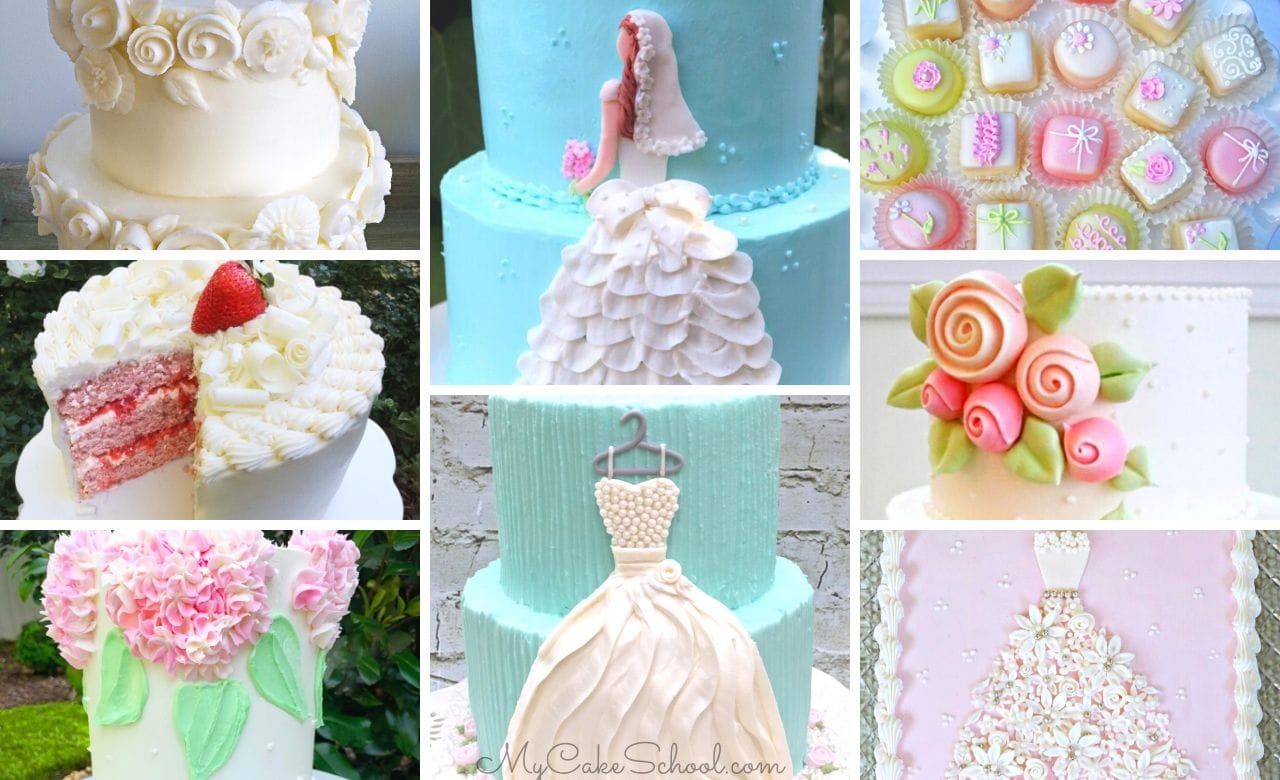
If you're looking for more bridal shower cake inspiration, don't miss our roundup of Bridal Shower Cakes!
These free tutorials are all available on our site-- form beautiful floral cakes to wedding dress cakes and more!


So cute!!! Thanx so much! =)
THANK YOU, THANK YOU, THANK YOU! LOVE IT :)
love it!!!! such details like always u did a wonderful job!!!
Awesome tutorial. This was so very helpful. Thanks Melissa, you're amazing!!!
I just loved it very easy to follow and detailed going to try and do it i thought it was very hard to do one but now i know how its done . thank you very much awesome Maria
Thank you, so well demonstrated. Can't wait to try it.
Di
Hi Melissa,
How would you add sleeves to your dress if they ask lfor them do you do them before you do the neck and arms or do you do them separate i would really like to know Thank you for the tutorial really great
Hi Maria– Good question. For sleeves, you would just make white gum paste arms rather than flesh colored. Then, just glue on some little hands :0)
YOU SERIOUSLY JUST SAVED MY LIFE WITH THIS VIDEO!! Thank you so much!
Great Tutorial... I loved it and found it so informative. Can't wait to make a bride and groom. The video has certainly helped me out for a wedding cake that I am doing in a couple of months... :) Thank you again, keep up the great work!!
She is so cute. Hope I can accomplish this. Thanks
Hi Melissa
Have you ever shipped this topper? If so, how did you do it? hELP!,:0