Loopy Gum Paste Bow for Cakes
Today I'm going to show you how to make a big loopy bow from gum paste for your cakes!
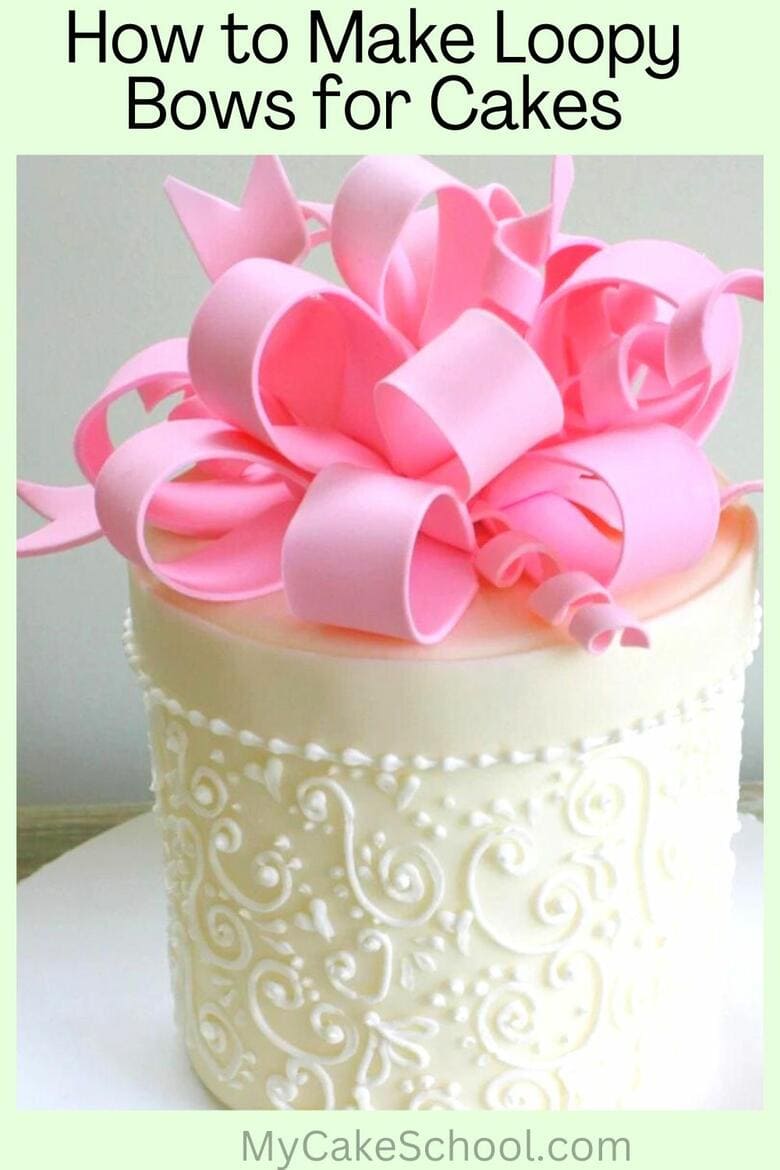
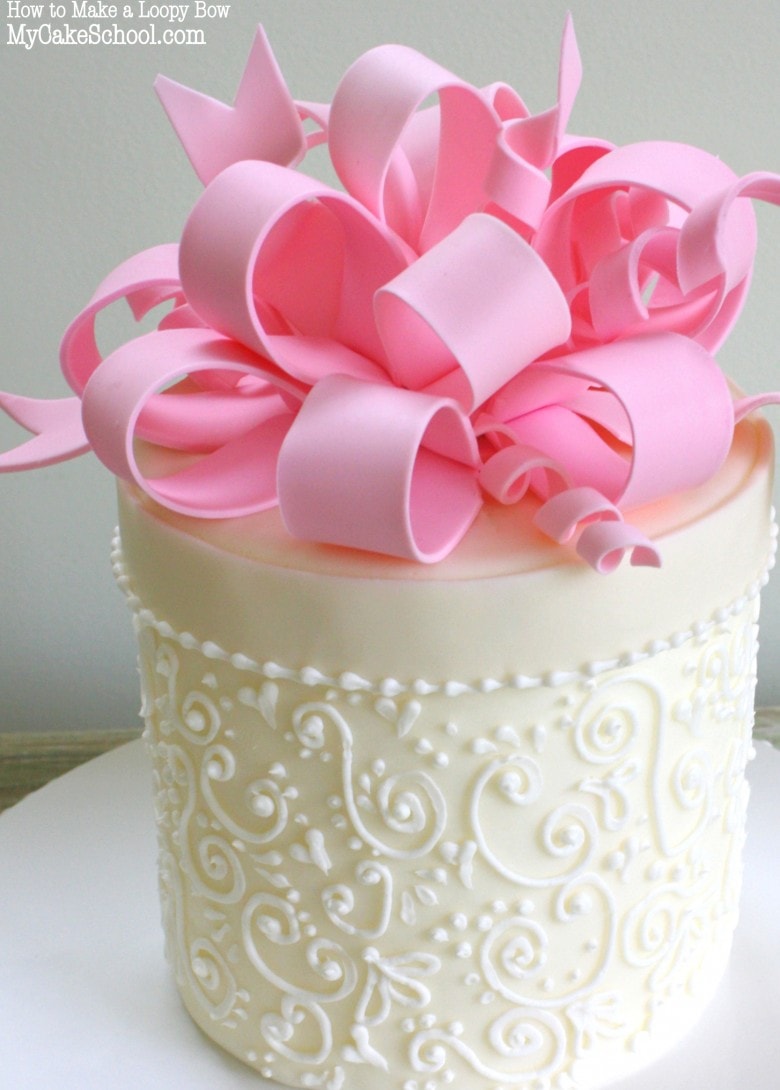
I just love the look of bows on cakes, and I especially love the impressiveness of a full, loopy bow! Gum paste bows are a wonderful cake decorating technique to learn because loopy bows are perfect for all occasions, from birthdays to weddings!
Once you've learned our method for a gum paste loopy bow, the real fun begins. You can experiment with different colors, use multiple colors of loops in one bow, sprinkle with pixie dust for added sparkle, use impression mats, piped cornelli lace, the options are endless!
Today I am sharing my favorite way to create these gum paste loopy bows which is perfect for all levels of cake decorating. Enjoy!
Table of Contents
Materials for Loopy Bow
{We used a double barrel six inch cake for this tutorial which was covered with Liz Marek fondant}
For the bow...
218 g (7 ⅝ oz) Gum Paste- We used Satin Ice gum paste. If you do not have gum paste, you can create your own by kneading tylose powder into fondant. A commonly used ratio to give you an idea is 1 rounded tablespoon of tylose to 1 pound fondant. Adjust accordingly to the amount that you need.
Coloring Gel: Wilton Rose
Buttercream: We used our crusting fluffy vanilla buttercream for the scrollwork.
Misc: Piping Gel, waxed paper, shortening, circle cutter (we used a 2 inch circle), paper towels, bubble tea straws or drinking straws for shaping the curls.
FMM Multi Ribbon Cutter (aff.) spaced at 1 inch (or you can simply cut your strips of gum paste by hand)
Piping Tip: I used a small round Wilton 3 tip for the scrollwork.
Notes:
Make the loops, allow to dry, and assemble the bow before decorating your cake ;0)
My bow had 14 loops total. Seven on the bottom, six on the upper row, and one center loop. I also used 4 tails & 4 curls. Don't worry of your bow needs a couple of more or less than my bow. You'll know when it looks finished! ;0)
Before rolling out your gum paste, make sure that you've prepared your countertop to prevent sticking. I used a light coating of shortening. I rolled my gum paste to approximately ⅛ inch.
The strips of gum paste for my loops were cut to seven inches long.
Make a few more loops and curls than you think you'll need just in case anything breaks! If you haven't worked with gum paste before, it's best to make your loops at least 3-4 days in advance to make sure that they have plenty of time to harden. Humidity can have an effect on the dry time. In my case, the loops were dry within 24 hours...but dry times can vary greatly depending on the brand of gum paste, humidity, etc.
Make a few more loops and curls than you think you'll need just in case anything breaks!
**I used the wax paper transfer method for the lid. However, if you'd rather go with a different method, you can allow your strip of fondant to dry for a few minutes until you can safely pick it up.
Then, roll it up, and then unroll as you wind it around the cake (use a bit of piping gel as your adhesive if your cake is covered in fondant. If covered in buttercream, use a bit of fresh buttercream as your adhesive.)
If you have any additional questions, please let me know!
More Birthday Cakes!
Bows are the perfect way to top off a birthday cake! In addition to today's bow tutorial, don't miss our huge collection 100+ Birthday Cake Ideas! You'll find tons of fun, free cake video tutorials and delicious recipes in this roundup.
More Bow Cakes!
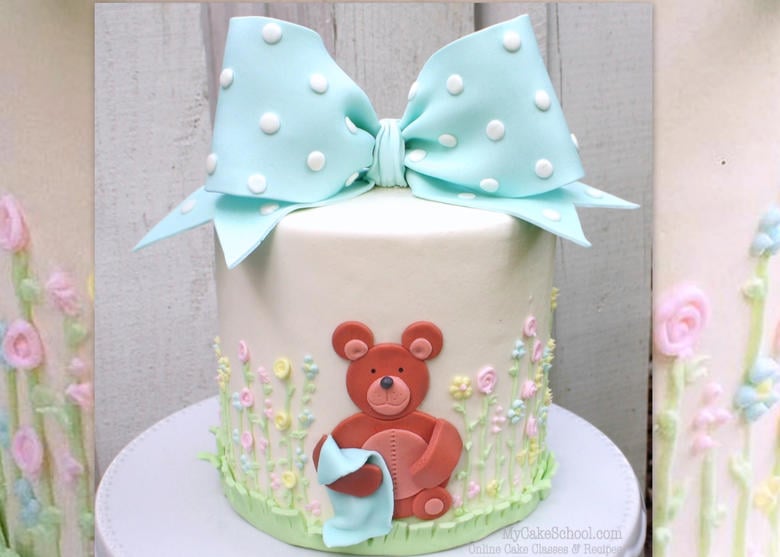
If you love bows as much as we do, make sure to check out these other bow tutorials as well! We are listing a couple of our favorites below. You may also enjoy our simple buttercream gift box & lid cake!
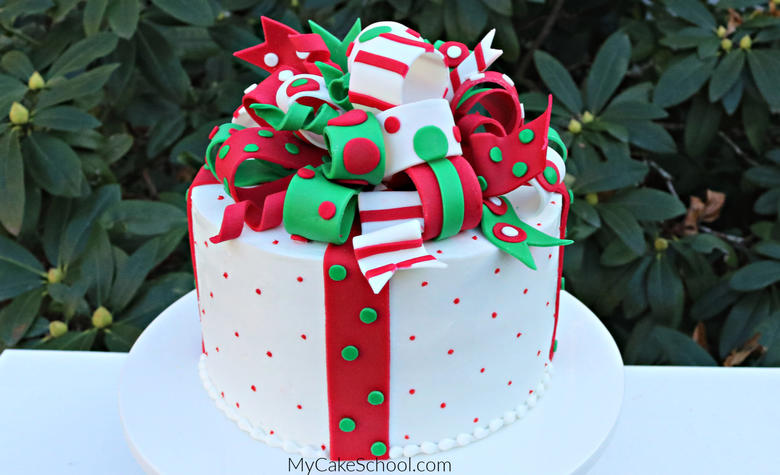
 We also have a Christmas version of our Loopy Bow! You can find the video tutorial here: Christmas Loopy Bow Tutorial
Enjoy the Video!
Thanks so much for stopping by! We hope that you enjoy this Loopy Bow cake video tutorial. If you give this gum paste bow a try, we would love for you to leave a comment and photo below!

Very pretty! I love it! Simple but impressive looking! I teach these bows all the time but have never used one on a cake. I think I need too :)
@MsGF- Thanks!! That is too funny that you've never used one on a cake although you teach the class, haha ;0) I'm sure yours are beautiful!
So very pretty!!!
Can I put one on a BC cake?
@Joan- Yes, you can place on a buttercream cake! If it is not a crusting buttercream, I would place on the cake shortly before the event just to be on the safe side because of the additional moisture.
@Tammy- I'm glad that it is working for you now! ;0)
At last Melissa ive watched it and another brill tutorial x
@an1t4~ Great! So glad that you liked it ;0) xo
Thank you so much for this tutorial! I have to make a bow for a cake in August and Inwas having major anxiety about it! Lol.
@CakesontheLane- I'm so happy that the tutorial helped ;0) - If you'd like, you can make the bow weeks in advance, and it will be just fine as long as you keep it in a box that can breathe, and out of direct sunlight or fluorescent light (which can alter the color). I'm sure that it will be beautiful! ;0)
love this made today and came out AWSOME! so easy and sooooooo impressive
Hi Adina- Yay! I'm so glad you made one!;0)