How to Make CUTE Baby Booties!
Today I'm going to show you how to make cute Baby Booties for your cakes! These ADORABLE bunny baby booties cake toppers are so easy to make, and perfect for young birthdays and baby showers!
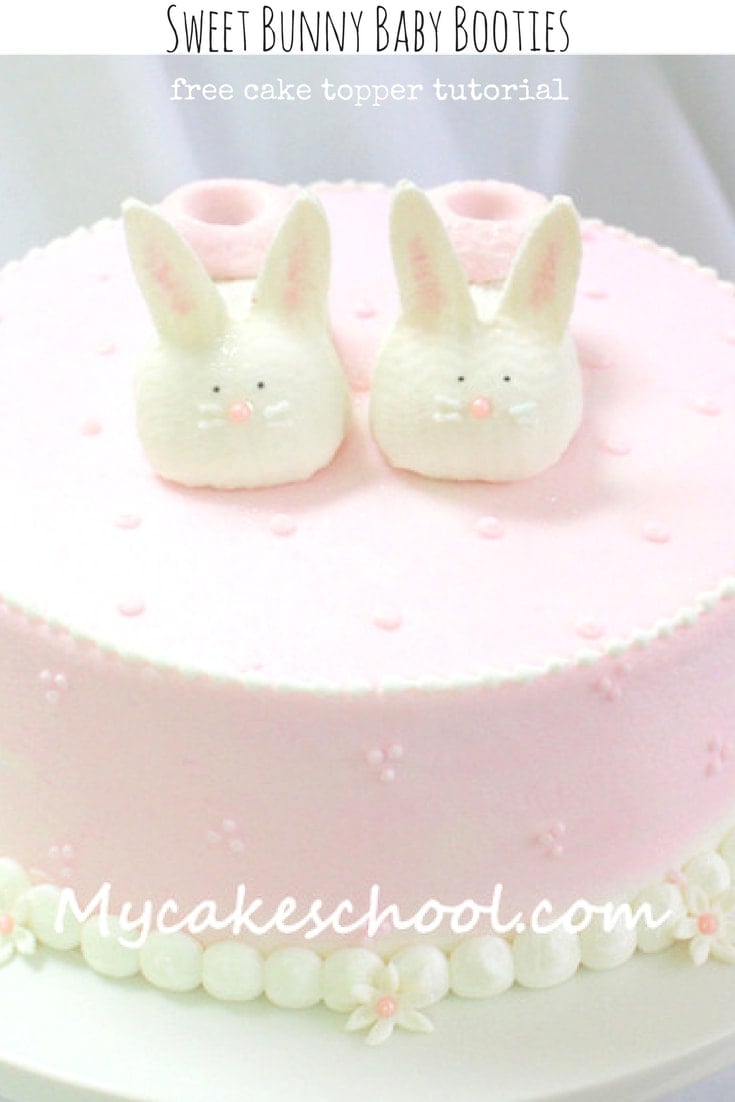
This adorable cake topper is so easy to make, and perfect for young birthdays and baby showers!
There are lots of adorable templates floating around online for gum paste booties, but I wanted to show you how you can make them using rice cereal treats & fondant (and in a fraction of the time!)

Table of Contents
Using Rice Krispies Treats in Cake Decorating
Have I ever mentioned that I love rice cereal treats? I love to eat them of course, but that's just an added bonus. What I REALL love about rice cereal treats is how easily you can use them in cake decorating. If you've followed our page for a while, I'm sure you've seen all sorts of cereal-treat-filled decorations!
They are the PERFECT foundation for cake toppers because you can easily squish and compress them into just about any shape in minutes. I always keep the pre-made Rice Krispies Treats oh hand for this very reason.
There's no worry of sagging fondant or gum paste toppers, or needing hours for them to dry, as with fondant or gum paste modeled figures. Just cover the prepared cereal treats with a layer or two of fondant and you've got yourself a cake topper!
Now, let's get down to the business of these sweet bunny booties!
How to Make Cute and Easy Baby Booties for Cake Toppers
First, I compressed and shaped about 1 ½ rice cereal treats into the shape of each baby shoe. I used the pre-made 22g. bars but of course you can make homemade rice cereal treats if you would rather!
We always keep the individual bars on hand for quick and easy cake toppers!
Here's a closer look. The cereal treats should compress fairly easily. It's a good idea to make them as smooth as possible so that they can easily be covered with fondant without bumps showing through.
To give the shoes a little depth, I used my ball tool, but you can also use a paintbrush handle or whatever you may have around the kitchen that will give you a small round impression.
By applying just a little bit of pressure, these sweet rice cereal treat shoes began to take shape!
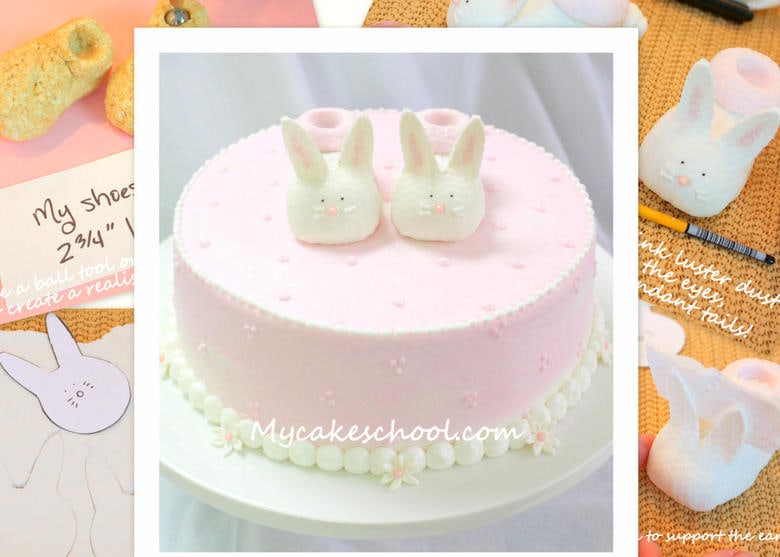
These shoes are approximately 2 ¾ inches long, but feel free to play around with the size to fit the cake that you are working with.
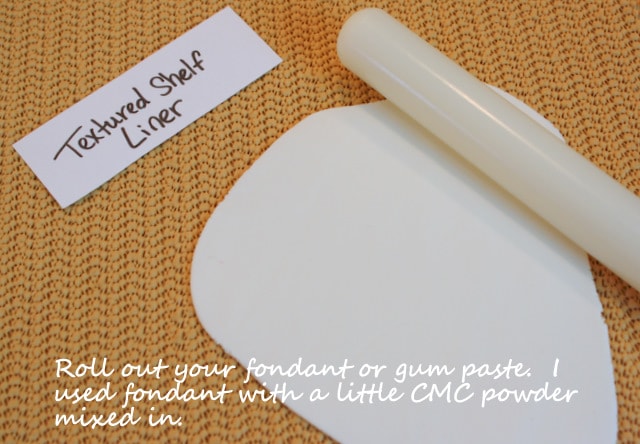
Next, I rolled out my fondant over some textured shelf liner. This step is completely optional but I love the realistic woven look that it gives to the fondant!
You could also create texture with what you have on hand, for instance a stitching wheel, embossed roller, crumpled aluminum foil, or even criss cross marks with a fork! Ha!
There's really no right or wrong. If you prefer a smooth look, that's fine too!
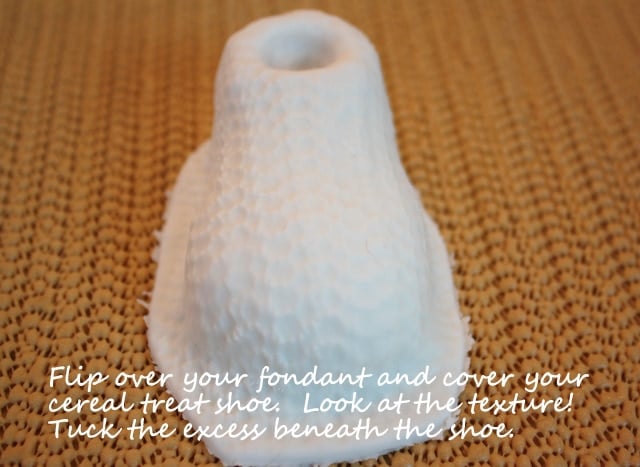
Next, I covered the rice cereal treat baby shoes with a light coating of vegetable shortening before covering with our textured rolled fondant. Use a knife or pizza wheel to trim away the excess fondant.
Here's a close up! By the way, I rolled my fondant to about ¼ inch thickness. I kneaded in a little CMC powder (or tylose powder would work too).
The tylose/cmc just speeds up the drying process and makes it a bit firmer. However, since the shaped rice cereal treat is such a sturdy base, using straight fondant or even gum paste is fine!
Next, I cut out two pink fondant textured circles and layered them onto the shoes over the holes that we created. This adds a bit of color to our shoes and really makes them look more realistic! Oh the cuteness!
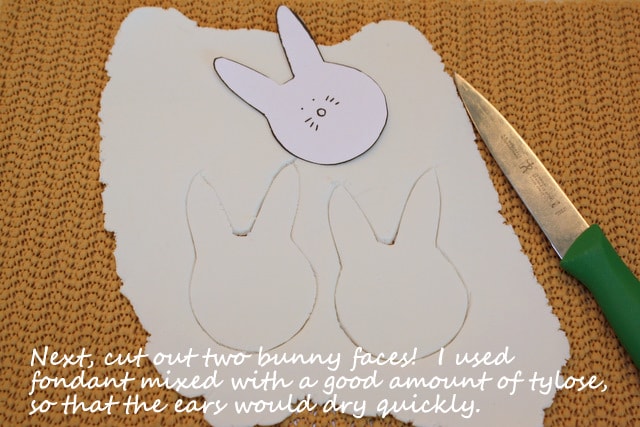
It's time for bunny faces! These sweet bunnies really send the cute factor off the charts! You can experiment with other simple animal faces but bunnies are so sweet and simple, and I wanted to keep our pink and white color scheme going.
Just as before, I'm working with fondant with a bit of tylose kneaded into it. We want those bunny ears to dry quickly and so fondant with tylose or gum paste is the way to go.
If you don't have time for the bunny ears to dry, floppy bunny ears could work too- ha!
You can draw your own little bunny template--but here is the one that I drew: BunnyFace
I attached the bunny faces to the baby shoes with a little light corn syrup. Use your adhesive of choice! Piping gel works great too.
I used bits of paper towel to support the ears until they had time to dry.
Since I rolled my bunnies nice and thin, and since I had also kneaded in some tylose powder into the fondant for strength, I was able to remove the paper towels after about 45 minutes.
I had pink sprinkles on hand for little bunny noses, and dusted pink onto the ears with a little pink petal dust.
If you don't have petal dust, you can create a paint with pink piping gel mixed with vodka or just layer on bits of pink fondant!
You can use a little buttercream or royal icing for whiskers!
...And we're finished!! I just LOVE how these sweet bunny baby shoes came out, and they are so easy to make!
Details about the cake...
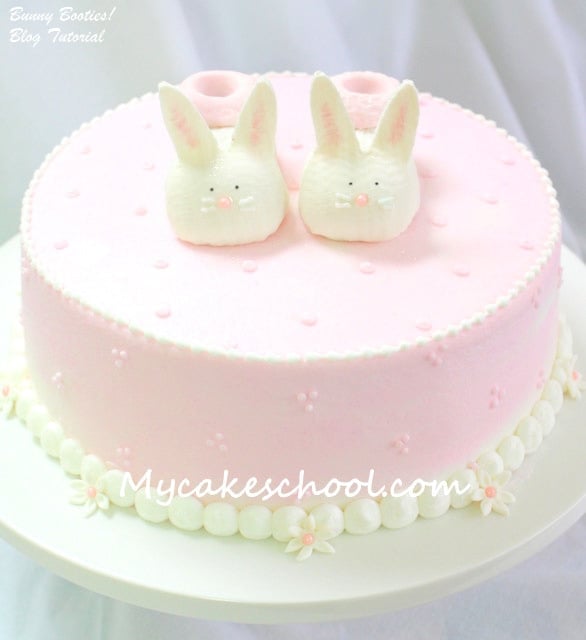
This cake is an 8 inch frosted in Classic Vanilla Buttercream tinted with a touch of Americolor Deep Pink. The tiny bead border around the top as well as the tiny dots are piped with a Wilton Tip 3.
The ball border around the base is piped with a Wilton tip 12. We threw in a few fondant daisies just because. ;0)
Thank you for stopping by! We hope that you enjoyed this tutorial! For even more fun & creative free tutorials, don't miss our Free Tutorials Section! Also, for our full collection of FAVORITE cake and frosting recipes, visit our Recipes Section of tried and true recipes!
More Baby Shower Cake Ideas for Girls
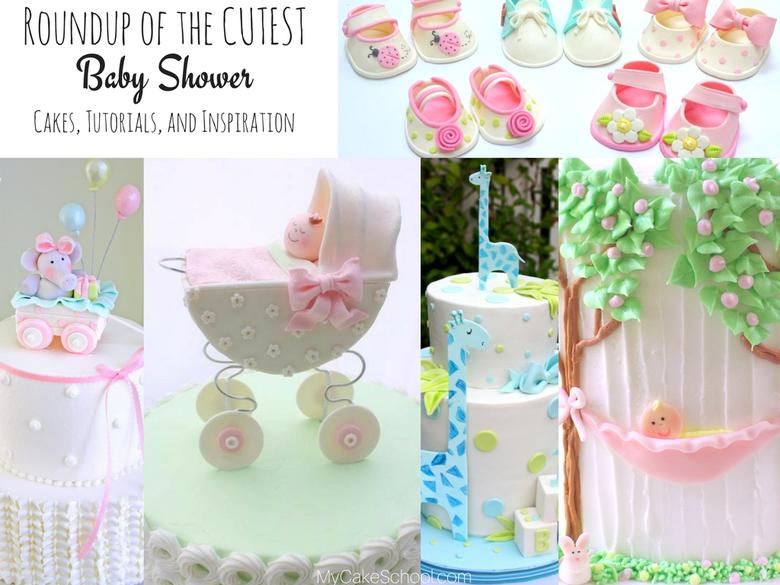
If you loved this cake tutorial, we have many more ideas to share! Don't miss our roundup of Baby Shower Cake ideas for Girls, which features many of the tutorials that we've created on our site.
Whether you're looking for quick and easy baby shower cake ideas, or something a little more involved, you are sure to find something in this roundup! OR, you also check out our Full Roundup of Baby Shower Cake Ideas here: The CUTEST Baby Shower Cakes






I'm not sure........let us know if you give it a try
worked just fine!
Great!! Thanks for letting us know.
Just what I was looking for, fantastic tutorial, many thanks x
Oh my goodness! Thats the cutest thing I've seen in a long time!
Hi Melissa......love love love these cuteee booties. I made these for a baby shower cake for a co-worker expecting their first child. Thank you so much for the tutorial. Your instructions were perfect. I have posted the link so you can see the pic....hopefully it works. Thanks again
Deb Hughes, Ontario Canada
Cake Box Fantasy
Beautiful!!
Hi Melissa,
Just want to check, I couldn't find rice cereal treat in my place. What can I use to replace the rice cereal treat?
Thanks
Hi Esther, we had a post from a member in Australia that she uses LCM's. I don't know if this is available to you. In a comment dated Nov. 4, 2011, Kelly says she used cake pop dough with success.
I just stumbled across your blog, I have always, always wanted to learn to decorate cakes likes this. I can't wait to see more. You are so talented and so very kind to share your skills with all of us. Thank you.
Awesome thanks
I saw your ruffle cake and its pretty. When I saw your bunny booties. They are beautiful and adorable.
You are a very creative person. Thanks for the tutorials.