Carved Ganache Cake Tutorial
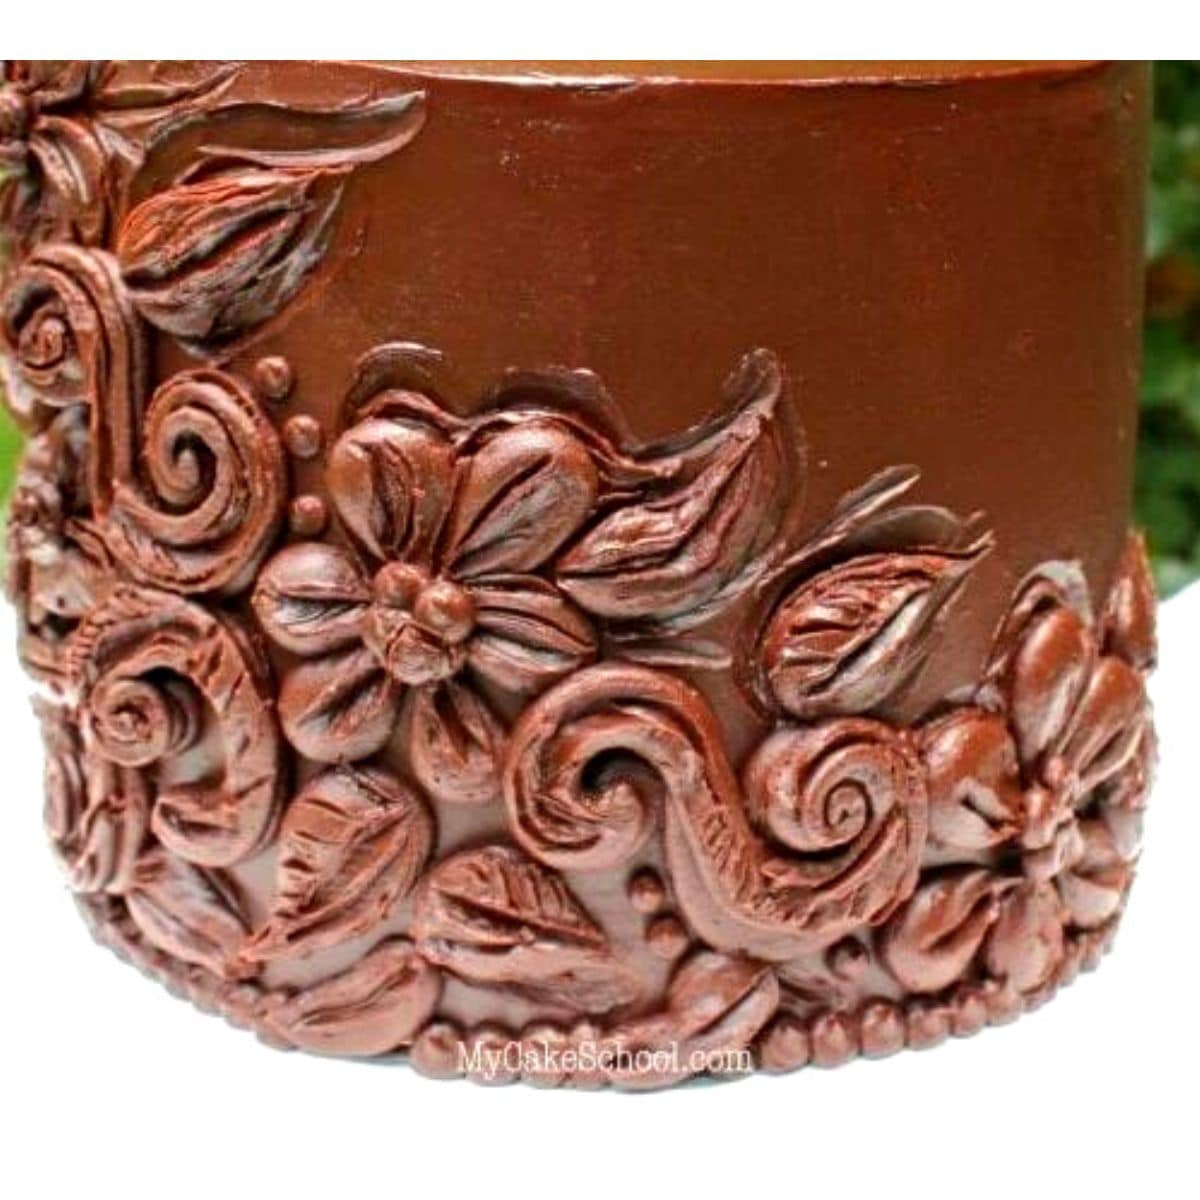
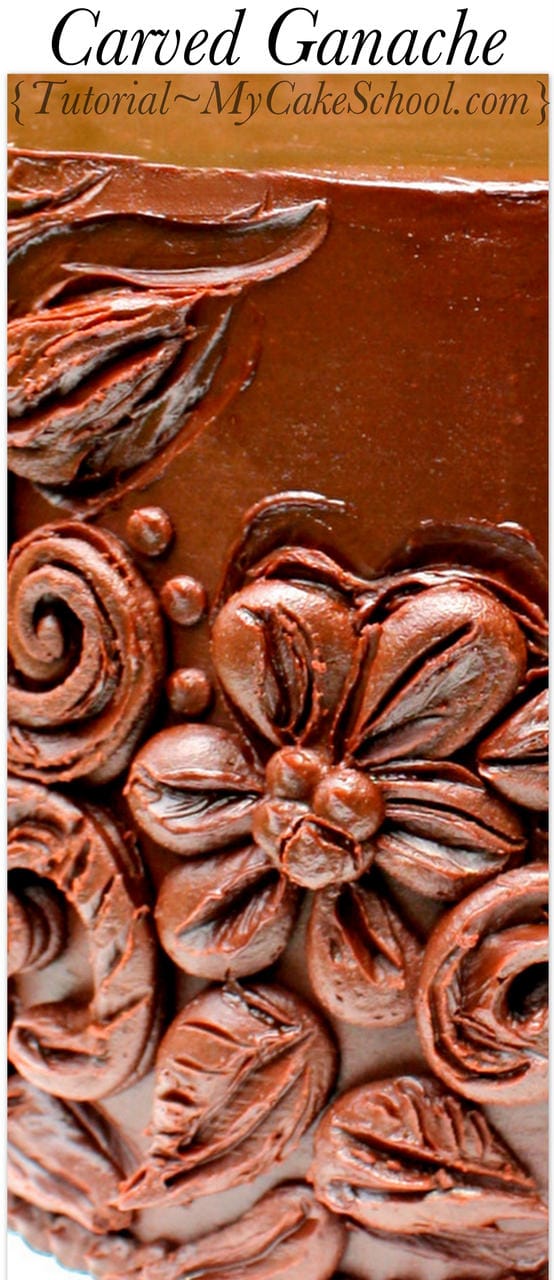
In this free cake video, you will not only learn how to make chocolate ganache, but you'll also learn a wonderfully simple and elegant technique for decorating the cake with a carved ganache effect.
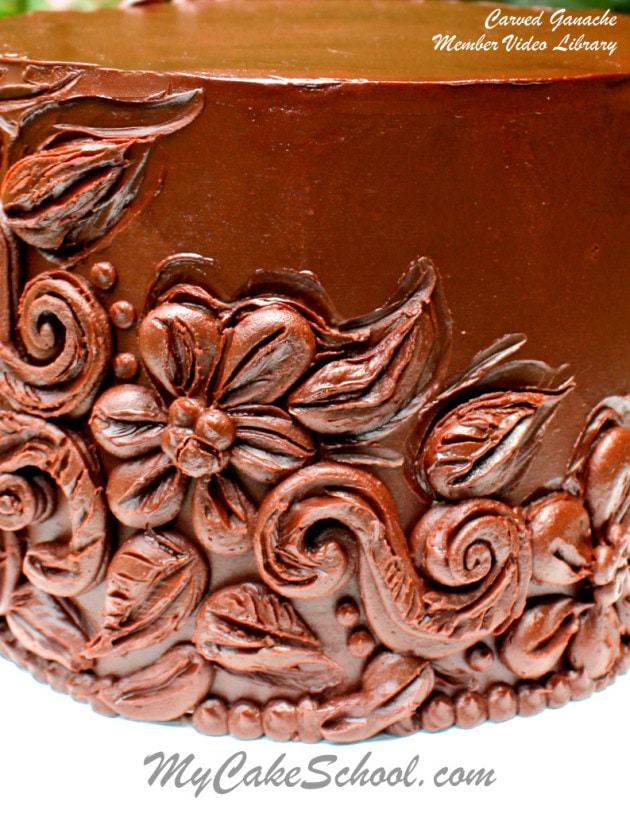
Table of Contents
Carved Ganache Cake Design
This "carved ganache" technique is one that I had never experimented with before. While we often use ganache as a foundation beneath our fondant, it was really nice to let the ganache be the star of the show for a change!
I was inspired over a year ago by a "Carved Ganache Cake" which was featured on TheCakeBlog.com, and was created by Sweet Ruby Cakes. (Click here to see!) -- While I don't know the details on how she created her beautiful cake, I was definitely inspired to see ganache in a different light.
How to Create a Carved Ganache Effect
The cake that I will demonstrate is much simpler than you would think, because the dramatic, raised look is achieved simply by piping.
The "carved effect" comes together very quickly afterwards, with the use of simple tools. While I use gum paste/clay tools in my tutorial, my first practice run on a paper plate was done with toothpicks. So, there's definitely room to improvise!
I hope that you enjoy the tutorial! Please check beneath the video for additional tips and a list of materials.
Materials for Carved Ganache Cake
My cake is 6 inch, 3 layer cake which is filled & frosted with "Simple Spreadable Ganache" ( which we demonstrate in the video).
Our chocolate & cream measurements are based on our 6" cake. A great resource for figuring out needed ganache & cream amounts is the Ganacherator. A simple google search will lead you to this free excel download.
Dark Chocolate (we used 22 oz.) - We used Trader Joe's which has 54% cocoa solids.
Heavy Cream (11 oz)
Digital Scale- We love our digital scale and prefer to weigh our ingredients. This is true with most recipes, but we find it especially helpful when making ganache because we are working with ratios of chocolate to cream.
Gum Paste/Clay Tools (optional) -- I used a set that I bought at Michael's on the clay aisle, but it is so easy to improvise with toothpicks, knives, etc.
Piping Tips- This will vary with your design...but I used a Wilton tip 10 (medium round tip) for my flower petals, leaves, and scrolls. I used a Wilton tip 3 for the centers of my flowers, misc. dots, and misc. accents on the scrolls.
Helpful Tips for Working with Ganache
Cocoa Solids, Cacao, etc.
We have best results with chocolates containing higher than 54% cocoa solids or cacao.
The higher the cocoa butter content, the firmer the chocolate is going to set up (which is especially nice when your ganache will be a foundation for your fondant.)
In the video, we demonstrate with Trader Joe's Dark Chocolate (54% cocoa solids)....but we also show another batch that we made which sets up even firmer due to it's high cacao percentage (60%) -- Bittersweet Ghirardelli chips.
Ratios for Different Types of Chocolate
For dark chocolate, a 2:1 ratio of chocolate to cream works well for a frosting consistency.
For white chocolate, 3:1 ratio works well...(but you can increase the amount of chocolate even more for firmer results).
What Does it Mean when Chocolate Seizes?
If any water finds its way into your melted chocolate, it will seize...becoming grainy, thick, and impossible to work with.
Eliminate Remaining Bits of Chocolate in your Ganache
If you have any pieces of chocolate that do not melt completely after combining with the hot cream, you can microwave for a few seconds at a time (stirring in between), until all chocolate is melted.
Another popular alternative is to use an immersion blender to take care of any remaining pieces.
Using Chocolate Chips in Ganache
Chocolate chips do not melt quite as easily as chopped chocolate bars, although we still use them from time to time (Ghirardelli brand for example).
Make sure that you heat your heavy cream to the boiling point before pouring over your chocolate. This helps with the melting and also makes the ganache less perishable.
Can You Make Ganache in the Microwave?
Yes you can! We have had good luck with microwaving the chocolate and cream together in small increments until the chocolate is almost completely melted. You can find more information on this technique in our Ganache Drip Video (although we use a 1:1 ratio of chocolate to cream in this tutorial)
How to Store Ganache
Storage: After making the ganache, we allow it to sit/rest overnight an thicken up a bit. If frosting a cake with it, I frost the cake and allow it to set up/firm up overnight before then covering with fondant.
Ganache can be stored at room temperature (in our experience) for two days. Opinions on this vary-- some sites say longer. Ganache can be frozen for at least 3 months in an airtight container.
For our ganache carving...I frosted the cake and did my piping & carving all in the same day.
Elegant Cakes
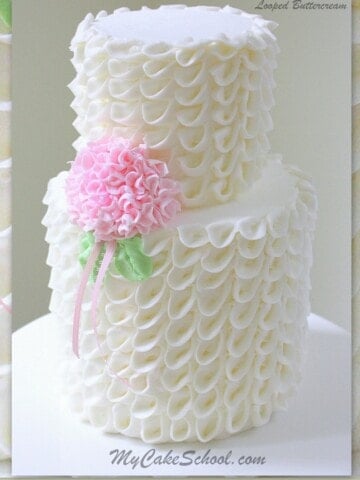
We have even more elegant cakes for you to choose from in our Cake Decorating Tutorials section!
We also have some other delicious chocolate cakes including easy Chocolate Mousse Cake, Chocolate Cake from Scratch, German Chocolate Cake, and Black Forest Cake!
We hope that you enjoy this two-part video! Thanks so much for stopping by!
Have you made this? We would LOVE for you to leave a ⭐️ rating as well as a comment and photo below! We really appreciate your feedback!
Part One: Making the Ganache & Applying it
Part Two: Demonstrating the "Carved" Design

Mellisa what do you mean you put a weight on the cake to settle? Please explain. Thanks love the video...♥
Wonderful cake Melissa! Very stunning. I so can't wait to add this little detail to my chocolate ganached cake! Thankyou.
Very beautiful Melissa. The extra carving made the detail work look so elegant. You are so talented.
Thank you all so much for your comments and kind words! So happy that you like this cake and I hope that you will try it.
@Sarah- We bought our Trader Joe's chocolate at Trader Joe's...and the Ghirardelli chips we used were bought at Harris Teeter. If you have a Fresh Market, they carry good quality brands as well (Guitard is another popular one.) For best results (a ganache that will set up nicely) look for Cacao or Cocoa Solids percentages of 53% or greater. I'm sure that there are more stores that carry good chocolate--I just haven't looked beyond my usual places. Maybe others will chime in with their favorite brands or stores!
@Tammy-- I've very often heard that white and milk chocolate ganache call for a ratio of 3:1. I've had good results with this ratio for white chocolate...but I've never tested the milk chocolate. (I always make dark, semisweet, or white) -- I need to try it out!
@PaulaM - Yes, just as Georganne said! Cutting is no problem--not necessary to heat the knife. I've never tried piping ganache onto a buttercream cake....it seems like it could work though ;0) - I am curious to try the "carved" effect with a buttercream frosted cake.
@Martha- My favorite way to prevent the filling from creating bulges after the cake settles is to settle the cake in advance with a weight of some sort. I use a thick magazine or thin book---something that will give a steady (not crushing) pressure for a few hours or overnight. Then I proceed with frosting. I discuss this a bit in my crumb coating video if you'd like to see! --
@Joan- The clay tools that I bought came in a black zipper case. There is no brand name listed anywhere and I've thrown away the packaging. I would just check out the clay or gum paste tools at your local craft shop. I definitely have more tools in my set than I will ever use ;0) -- I like the scriber needle...and hook shaped tools. While I prefer the tips to be metal because I like to heat them up, (mine are metal with a wooden handle)--those are often going to be labeled as clay tools. You can find many more online that you can buy individually or in a set.
A great video as always! But I have a question, if using toothpick we won't be able to heat that. Is it going to work fine while doing the carving effect?
I will definitely give it a try. Thanks!
Hi Sadia-- When I did my practice run the night before making this video, I did it on a paper plate with toothpicks (all of my gp tools are at Mom's)! ;0) --
The outcome was actually pretty similar to what you see in my video. The ganache is firmer after being chilled but not so firm that it is difficult to carve with a toothpick. The advantage of heating the tools is that it glides more easily through the chocolate...and because it melts the chocolate a bit as you go, you have less little shavings here and there.
Because I piped my chocolate, and immediately chilled it to firm it up (rather than letting it set up overnight), the ganache does soften as it gets back to room temp. You may find the softer ganache easier to mark with your toothpick....much like running a toothpick through a buttercream piped accents would be.
Thanks for all the great info Melissa!! (and Georganne). :-)
How does this Ganache stand up to humidity and heat ? 80 percent of my cakes are made for outdoor events.
Beautiful.....love Ganache. Question, what do you do with these tutorial cakes? You must not eat them as your so thin!
Love this way of working with ganache and piping flowers and designs onto the cake. My question is ...are there any issues with putting the first coating of ganache onto the cake like when frosting with buttercream we need to first do a crumb coat ?
This is so creative! Thank you for the video. I'm really learning a lot from your website and videos.
Hi Bernice, Melissa did not have any problems with applying a thicker layer of ganache and then smoothing away the excess with a hot bench scraper. If your first layer of ganache has crumbs or imperfections, you can always chill and apply another thin coat of ganache as needed.