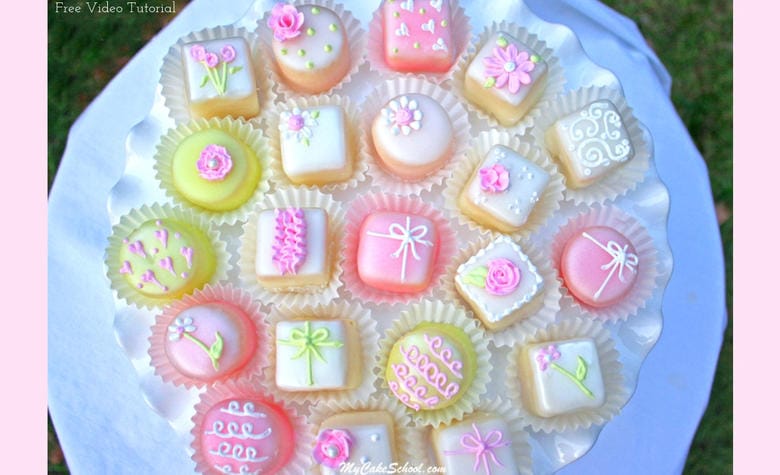
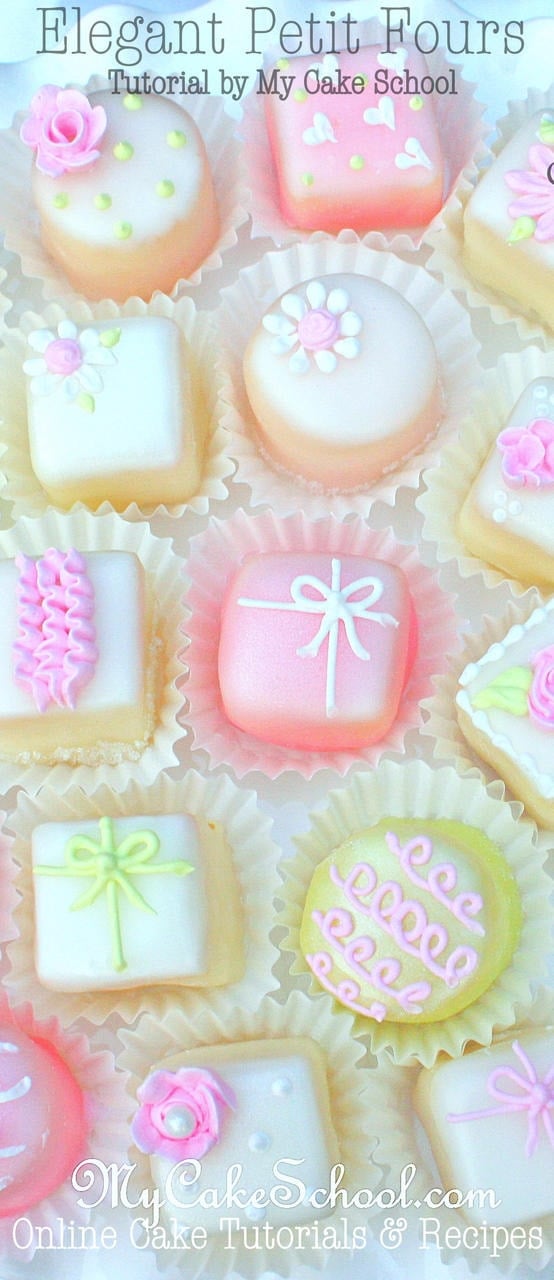
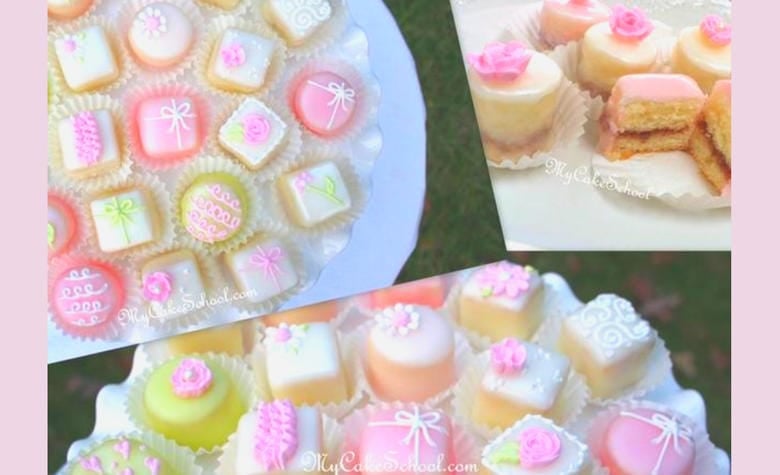
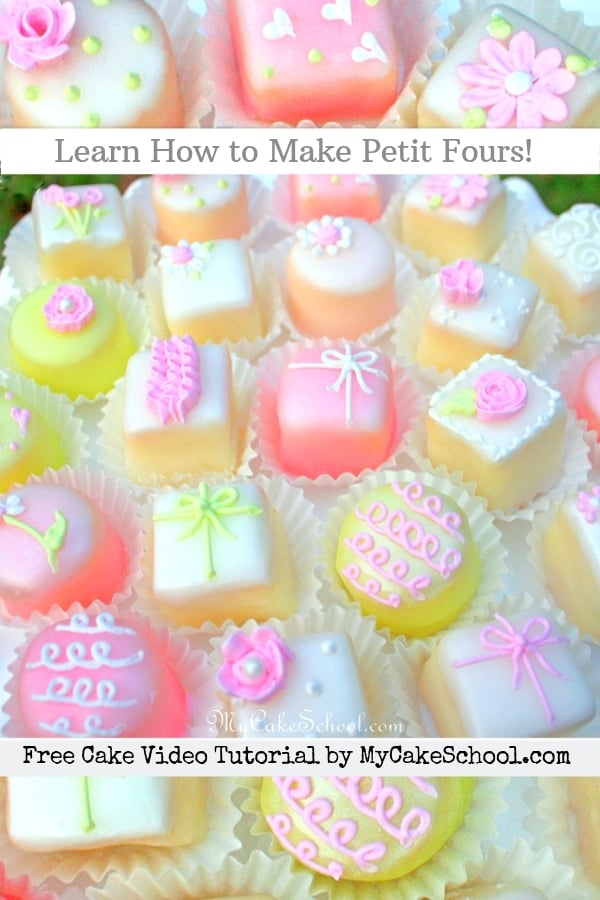
How to Make Petit Fours~A Video Tutorial!
Hi everyone, today I'm going to show you how to make petit fours!
I really wasn't sure if this day would ever come, because until very recently, my petit fours always seemed to fall short. We're happy to share a much simpler way to make these tiny cakes!
Table of Contents
The Challenge of Making Petit Fours
Before I had an easy method for making petit fours (which I share in the video), they were NOT fun for me to make. Who would guess that such tiny little cakes could be so difficult?
Either they were too bumpy, or they weren't uniform when they were sliced, or they fell apart when they were glazed, the kitchen was a disaster afterwards... the list goes on!
So, whether you've never attempted petit fours, or you've tried and sworn them off a long time ago, I hope that you will watch this video and give these little cakes a try! ;0)
The Perfect Petit Four Icing
There are two petit four icings that I like. One, which was already in the recipes section (and that I discuss in our video on glazing cupcakes) is called King Arthur Flour Poured Fondant.
I really love the flavor of this recipe, which includes a little white chocolate.
However, in today's video, I tried another commonly used petit four glaze recipe, and it has become our FAVORITE. This is the one that we'll refer to in the Recipes section as Classic Petit Four Glaze.
It is very similar to a Martha Stewart recipe that we found online, but also very similar to many other glaze recipes. (Not sure who to credit for this one).
Anyway, this traditional glaze is even whiter than the King Arthur Flour Poured Fondant recipe, and for us, it coated a little more smoothly and was a little whiter in color. It does dry firmer though.
So, it comes down to personal preference (as I say so often!) ;0) -- I did really like this "traditional" recipe a lot...the key is not to make your icing too thick. Otherwise, you will have a very firm "sugar shell" to bite thorough (which some may like...others may find too sweet.) We kept our icing thin.

What Kind of Cake to Use for Petit Fours
The other important factor in successful petit fours is your cake! We used a pound cake recipe that we really like, and we will put in our recipes section.
You want to use a dense cake which can be easily cut without creating a ragged edge. You also want to work with frozen cake, so that you will eliminate almost all crumbs and the cakes will not be fragile.
These two tips alone are going to make petit fours so much easier!
How to Prepare the Petit Fours for Glazing
In the video, we demonstrate a few methods of coating the petit four squares which I like, and also how to fill your cakes with a filling if you would like that extra layer of flavor.
While some people make petit fours with a thinly rolled layer of marzipan just beneath the icing, we chose to use a thin layer of buttercream.

Our Easy setup for Glazing Petit Fours
With a little trial and error, we rigged up a funny setup for seamless petit four glazing, but it works SO well!
Basically, we needed to figure out an easy way to remove the petit fours from the skewer in a way that would allow the excess glaze to drip away from the cakes rather than pool around the bottom, and we also wanted an easy way to remove the cakes from the skewer without touching them!
As you'll see in the video, elevating our cooling racks was the key to making this all work! Hooray! I'll never make petit fours another way.
Materials:
11x15 inch pan (This is what we used for the height that we liked, however any pan or even a jelly roll pan would work well.)
Buttercream- We used a thin layer of our "fluffy vanilla" recipe. Any frosting will do! Rolled marzipan or fondant are alternatives to the frosting beneath the petit four glaze.
Royal Icing (for piped decorations)
Mini Liners (optional, but they do give a nice finishing touch)
Skewer (I used a wooden skewer which I snapped to make shorter)
Cooling rack
Colors: Your colors of choice. I chose Americolor Deep Pink & Americolor Electric Green
Super Pear Dust (or PME or Wilton pearl spray) --Optional for adding a little shimmer
Paint Brush (if dusting your petit fours with pearl dust)
Piping Tips: I used a Wilton Tip 2 for my lines, scrolls, dots, hearts & daisies, A Wilton 59 petal tip for ruffles or any small petal tip will do, Wilton 102 (or any small petal tip) for roses.
Sugar Pearls- Optional for decoration or centers
Clear Sanding sugar- Optional. I demonstrate using sanding sugar on edges of petit fours
Sugar/Tylose glue- Optional "glue" used when demonstrating how to decorate the bottom edge
Candy Thermometer- Optional. You could also just eyeball it. My icing was approximately 115 degrees F...but I show what the desired consistency looks like in the video.
Metal bowl that will fit over a pot of simmering water--This is ideal and makes life easier than having to keep rewarming the icing in the microwave when it becomes too thick & cool.
Tools: Sharp knife for scoring and cutting squares, Ruler for measuring, Round cutter (or desired shapes) if you'd like to have variety. My round cutter was 1 ¼ inches wide and 1 ½ inch tall.
Cake Board- optional but is helpful if splitting your layers.
Long knife for leveling or splitting layers. (You may opt not to split your layers. I demonstrate both ways.)
Preserves/Jam/Desired filling or frosting if you would like to fill your petit fours.

Additional Notes on our Petit Four Tutorial
- After filming our video, we decided to go back and add one more demonstration of the process splitting of the cake layer to add preserves/jam.
- Many petit fours are layered in this way, and it is nice to have an extra layer of flavor! This does add another degree of difficulty though.
- I love the way the solid cake squares came out also, so don't feel pressure to do this step! If you do add a layer of raspberry as we did for some of our cakes, just be aware that you will be able to see the pink stripe through the glaze. This doesn't ruin the effect at all for me, in fact, it adds a little interest. But, I wanted you to be aware.
- If you don't like the visible stripe of filling, you could individually cut into each petit four square and pipe a dot of raspberry in the center, so that it doesn't reach the edges.
This would take a lot longer though. The other option is a thicker glaze, which would add a lot of sweetness and a thick shell to your petit four (which is not my preference). Or finally, you could just go with a filling that is lighter in color! ;0)
- Something else that I noticed is that the white frosting layer showed through ever so slightly with the petit fours that were coated with pink and green glaze.
The remedy for this if it bothers you is to frost your petit fours with tinted frosting before glazing. Again, this did not bother me but I wanted to point it out.
- Frozen cake is really key in successfully cutting, dipping, or coating your cakes! Remember to chill/freeze your cakes after frosting them so that the frosting will not melt or slide when dipped!
Please let me know if you have any questions! Good luck with your petit fours! I'd love to hear how they come out!


Hello and thank you so much for the recipe and the tutorial my husband is absolutely thrilled I was able to make them from the first trial!
but I have some questions...
first of all my cake was torn when I tried to take out from the pan-I used the pound cake recipe-maybe I didn't let it cool enough?
and the other problem was with the glaze. I used the one you recommended. After I had to reheat it 2 times it started thickening more than desirable so the last ones had a very thick glaze..should I add more water or corn syrup?
thanks again!
Hi Thomais, we let our cake cool about 15 minutes before turning out. If your pan was greased, floured and also had waxed paper in the bottom that was greased and floured it should turn out with no problem. If heating your glaze over simmering water does not thin it enough you could add hot water a small amount at a time until it is the consistency you want. We are happy that you gave the recipe a try and had success.
Thank you so much for this video. Ive been wanting to try these and always been a little bit intimidated lol. I know whats on my weekend list :)
Great! This method, cake, and icing combination makes them so much easier! ;0) --Have fun experimenting!
I am unable to open the video. Is there another link I can use to get this video?
Hi Angela, I have made an adjustment, can you see the video now?
Wow! I just watched your video and I love the skewer method! Brilliant! Thanks for sharing!
Thank you Jeanne!
Hi Melissa thank you so much for this tutorial. So looking forward now to making these. I have 50 to make next weekend for an 18th Birthday High Tea so will let you know how I go! Feeling inspired!!
So glad to hear it, Karenina! Good luck!
Melissa I am planning my daughters babyshower and I was wondering if I can make these ahead of time with icing and store them in the freezer her shower is September 27 have you had anyone who have tried this before and how did it work any help or suggestions will be much appreciated! We are wanted to do these as favors
Thanks
Beverly
Hi Beverly, We have not frozen our petit fours, I wish we had thought to do that after making the video. My thought is that it would be fine to freeze them. To freeze, place in an air tight container and then wrap in aluminum foil. My only concern would be that the colors of the piped decorations on top would bleed slightly when thawing, though I don't think they would. You could freeze them, let them thaw completely the day before the party and pipe on the final decoration then. You could do a trial run using a small bought pound cake( such as Sara Lee small frozen pound cake) and half the glaze recipe just to do a few
that are complete with final decorations ......just for testing purposes. Good Luck