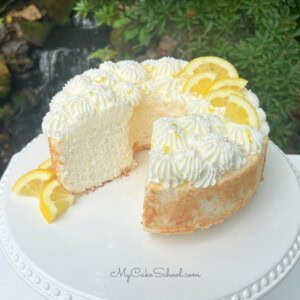
Lemon Angel Food Cake
If you love angel food cake recipes, this light and airy Lemon Angel Food Cake recipe is for you! Keep it in mind for your spring and summer entertaining.
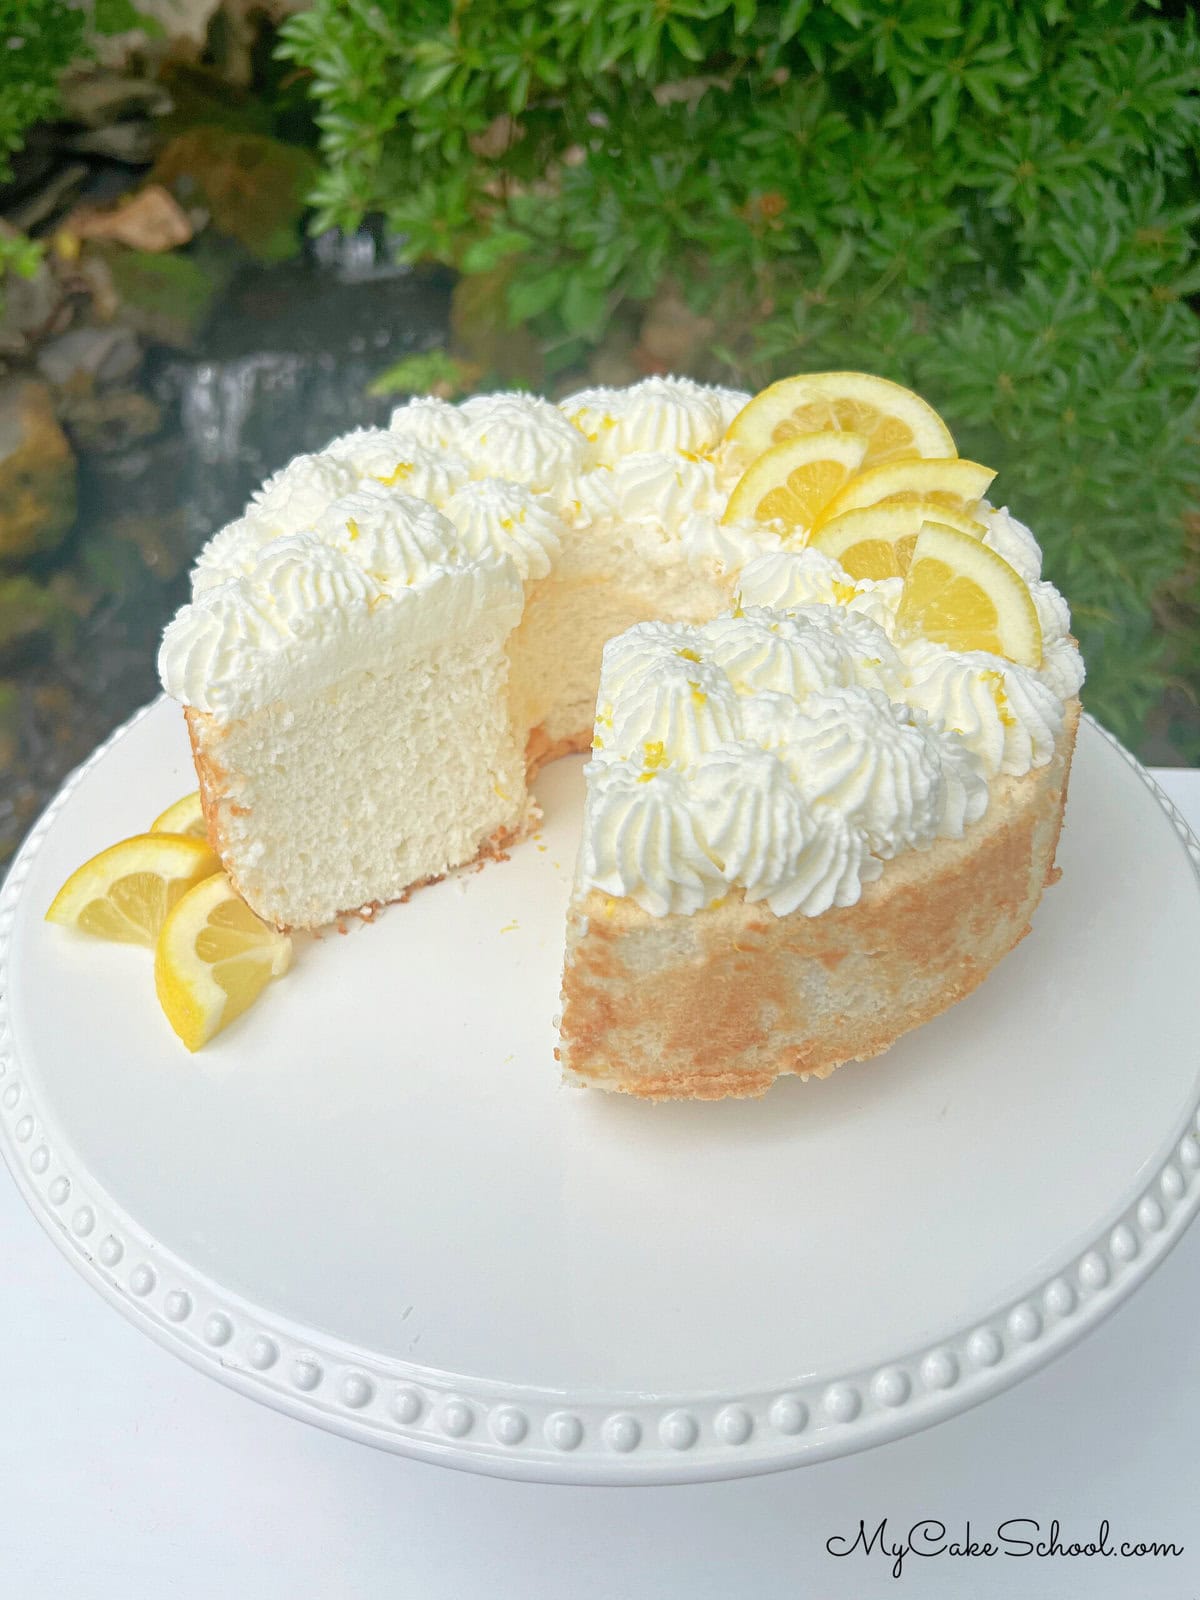
Table of Contents
Why we Love It
There are many reasons to love this cake- here are just a few!
- Light and airy
- We love lemony desserts, and are happy to have another to add to our list!
- Makes a great birthday cake recipe, shower cake recipe, potluck recipe, and more!
- Perfect with berries and whipped cream or a scoop of vanilla ice cream!
How to Make Lemon Angel Food Cake
You can find the full, printable cake recipe at the bottom of this post. Here is a quick look at our steps!
- Use an (ungreased, non-stick) straight-sided tube pan or angel food cake pan. Lower the oven rack to a low position-we used the next to last position. Do not preheat the oven.
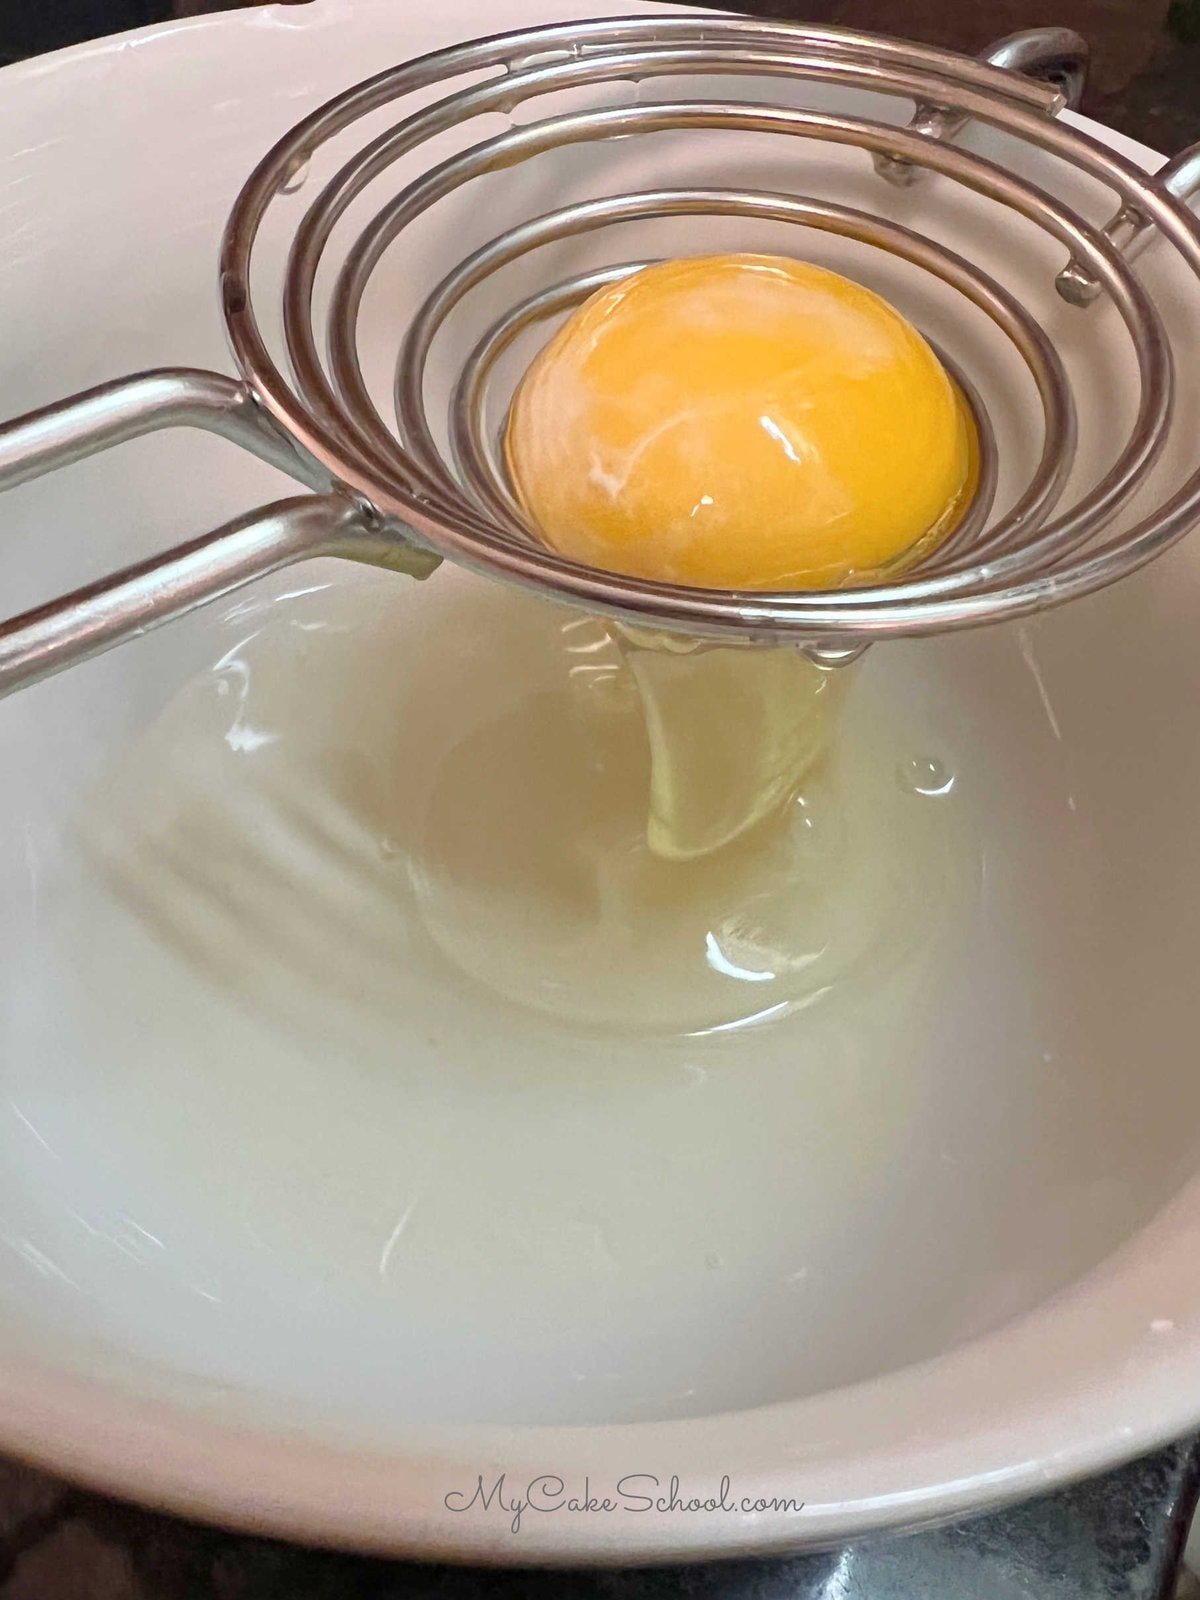
- One at a time, carefully separate each egg over a small bowl, allowing the white to fall into it (no yolks in this recipe). Transfer each egg white one at a time to the mixing bowl as you work. Even a trace of egg yolk may prevent the egg whites from whipping properly. We prefer to use an egg separator for this step.
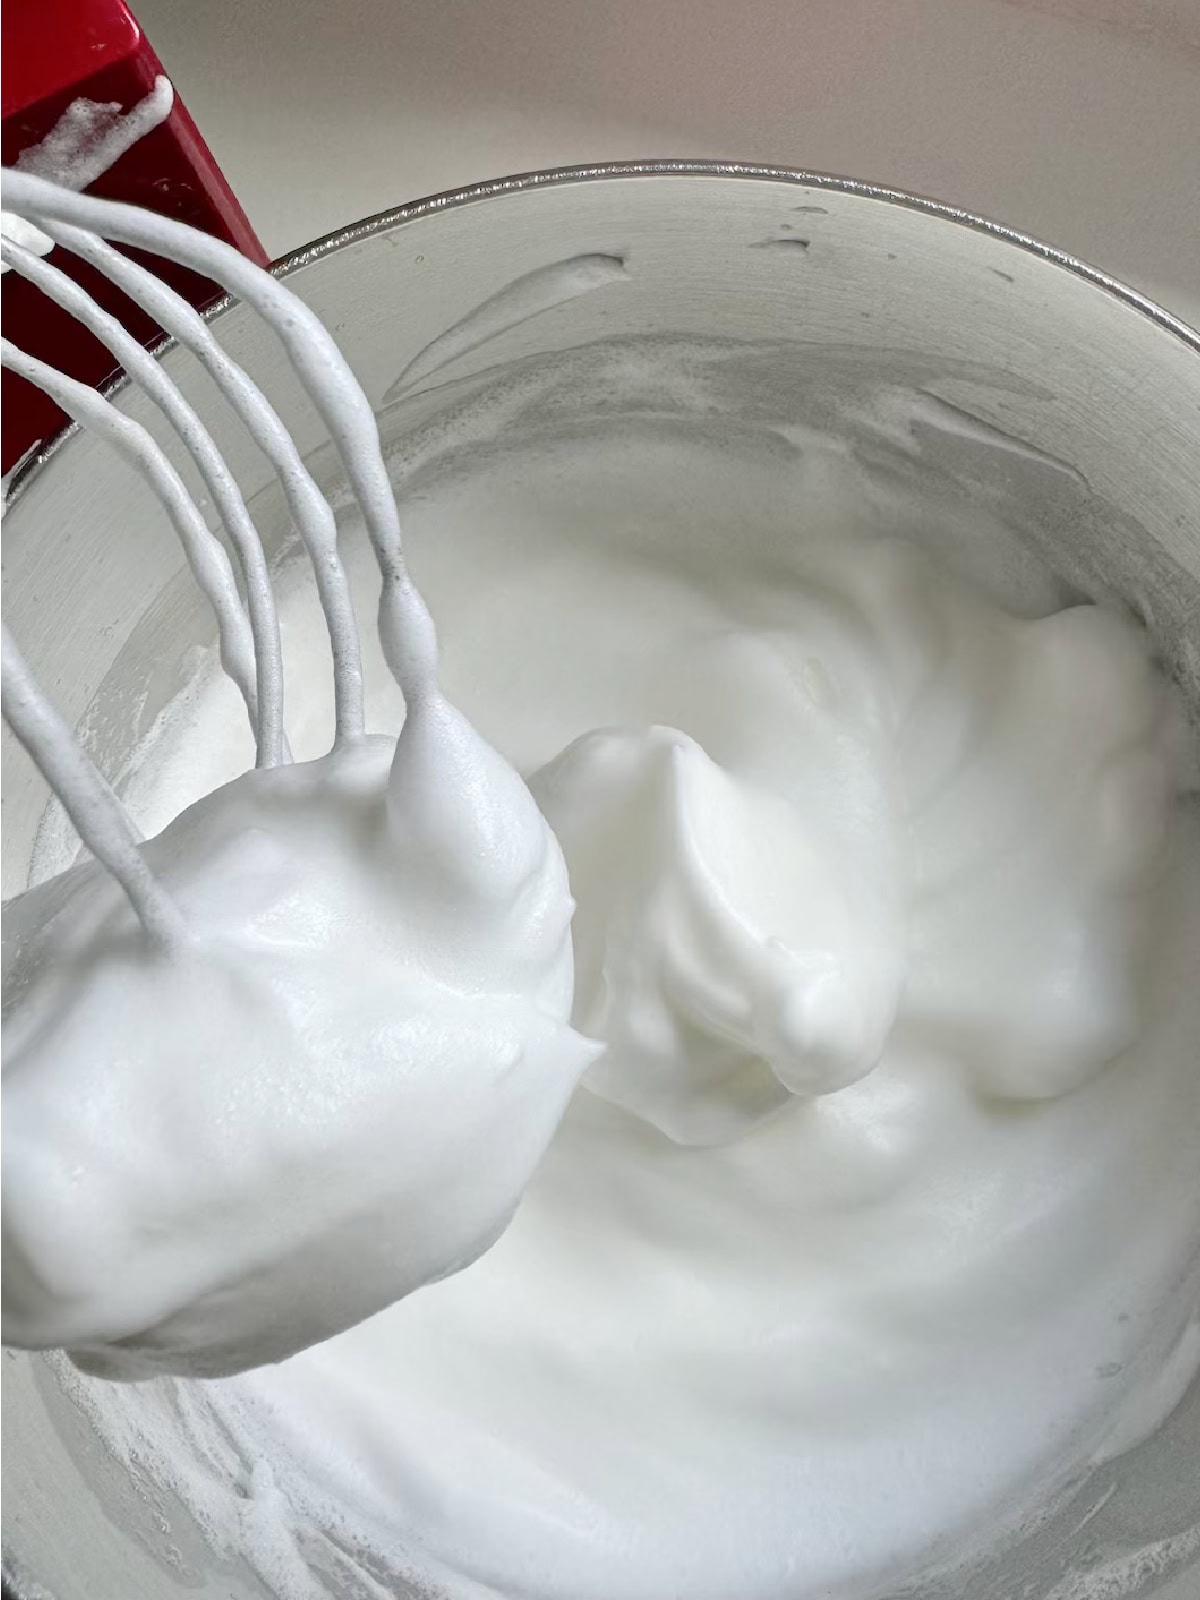
- Then, in the bowl of your mixer, combine the egg whites, cream of tartar, and lemon extract. Mix on medium speed using a whisk attachment (if using a stand mixer) until stiff peaks form. Set aside.
- In a separate bowl, add the flour, sugar, lemon zest, and salt. Whisk this for at least one minute.
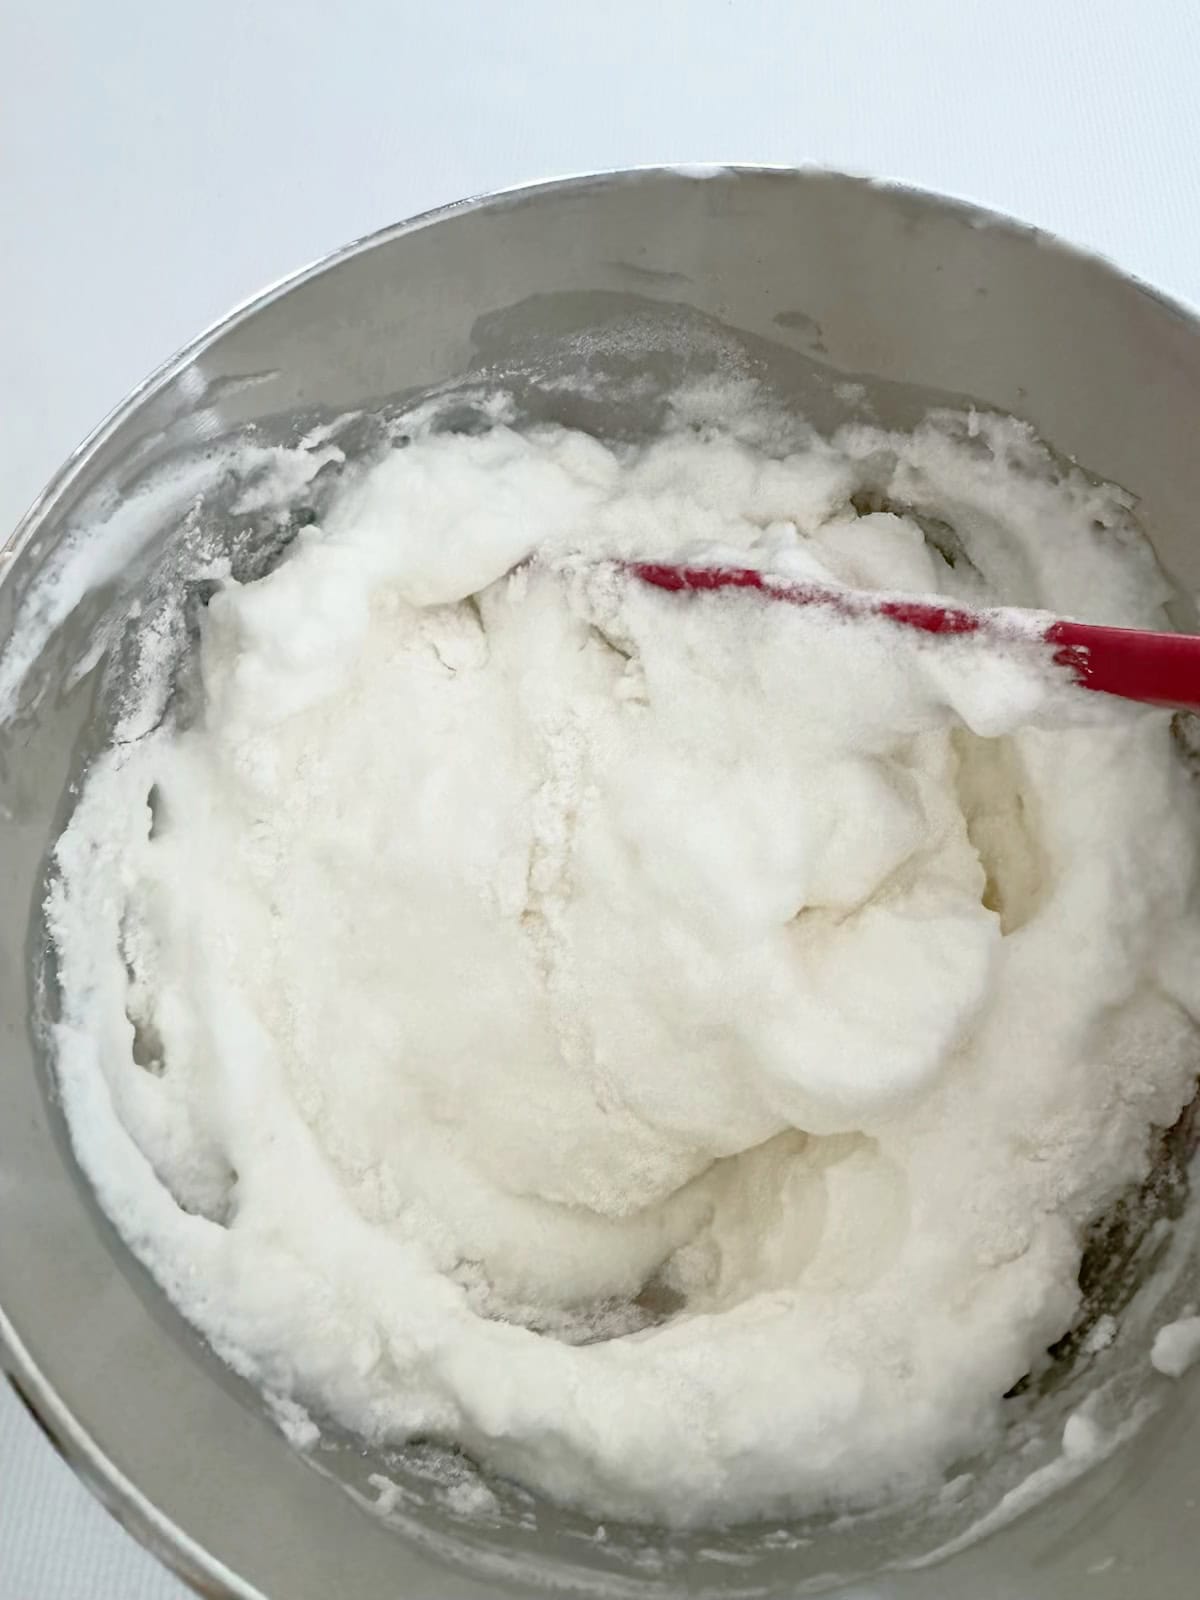
- Using a spatula, fold in the flour mixture into the whipped egg whites ¼ cup at a time. Lift and fold from the bottom of the mixing bowl to be sure that all is blended.
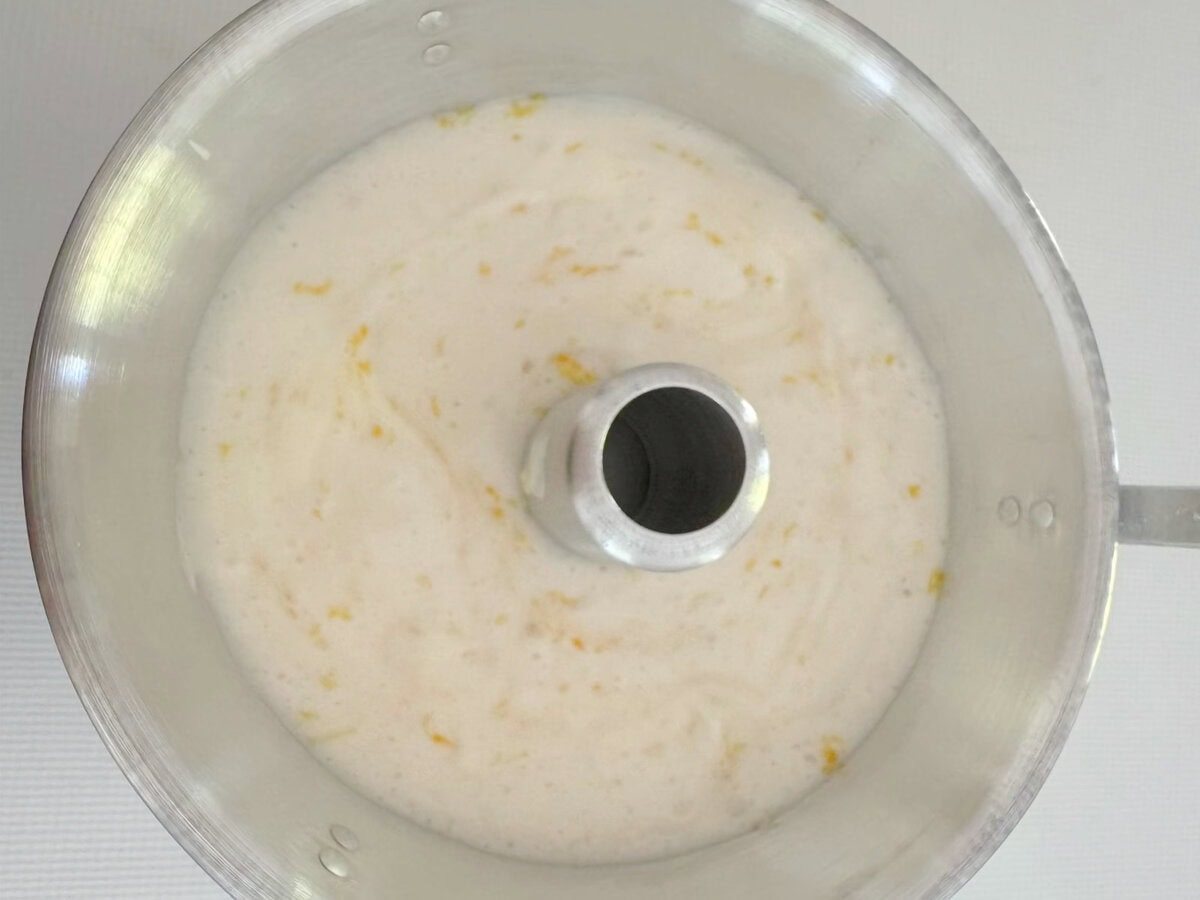
- Spoon the batter into an ungreased tube pan, moving the batter around to eliminate air pockets. Once in the pan, lightly smooth over the top of the batter with the back of a spoon.
- Lower the oven rack to a low position if you haven't already. Put the pan into the cold oven.
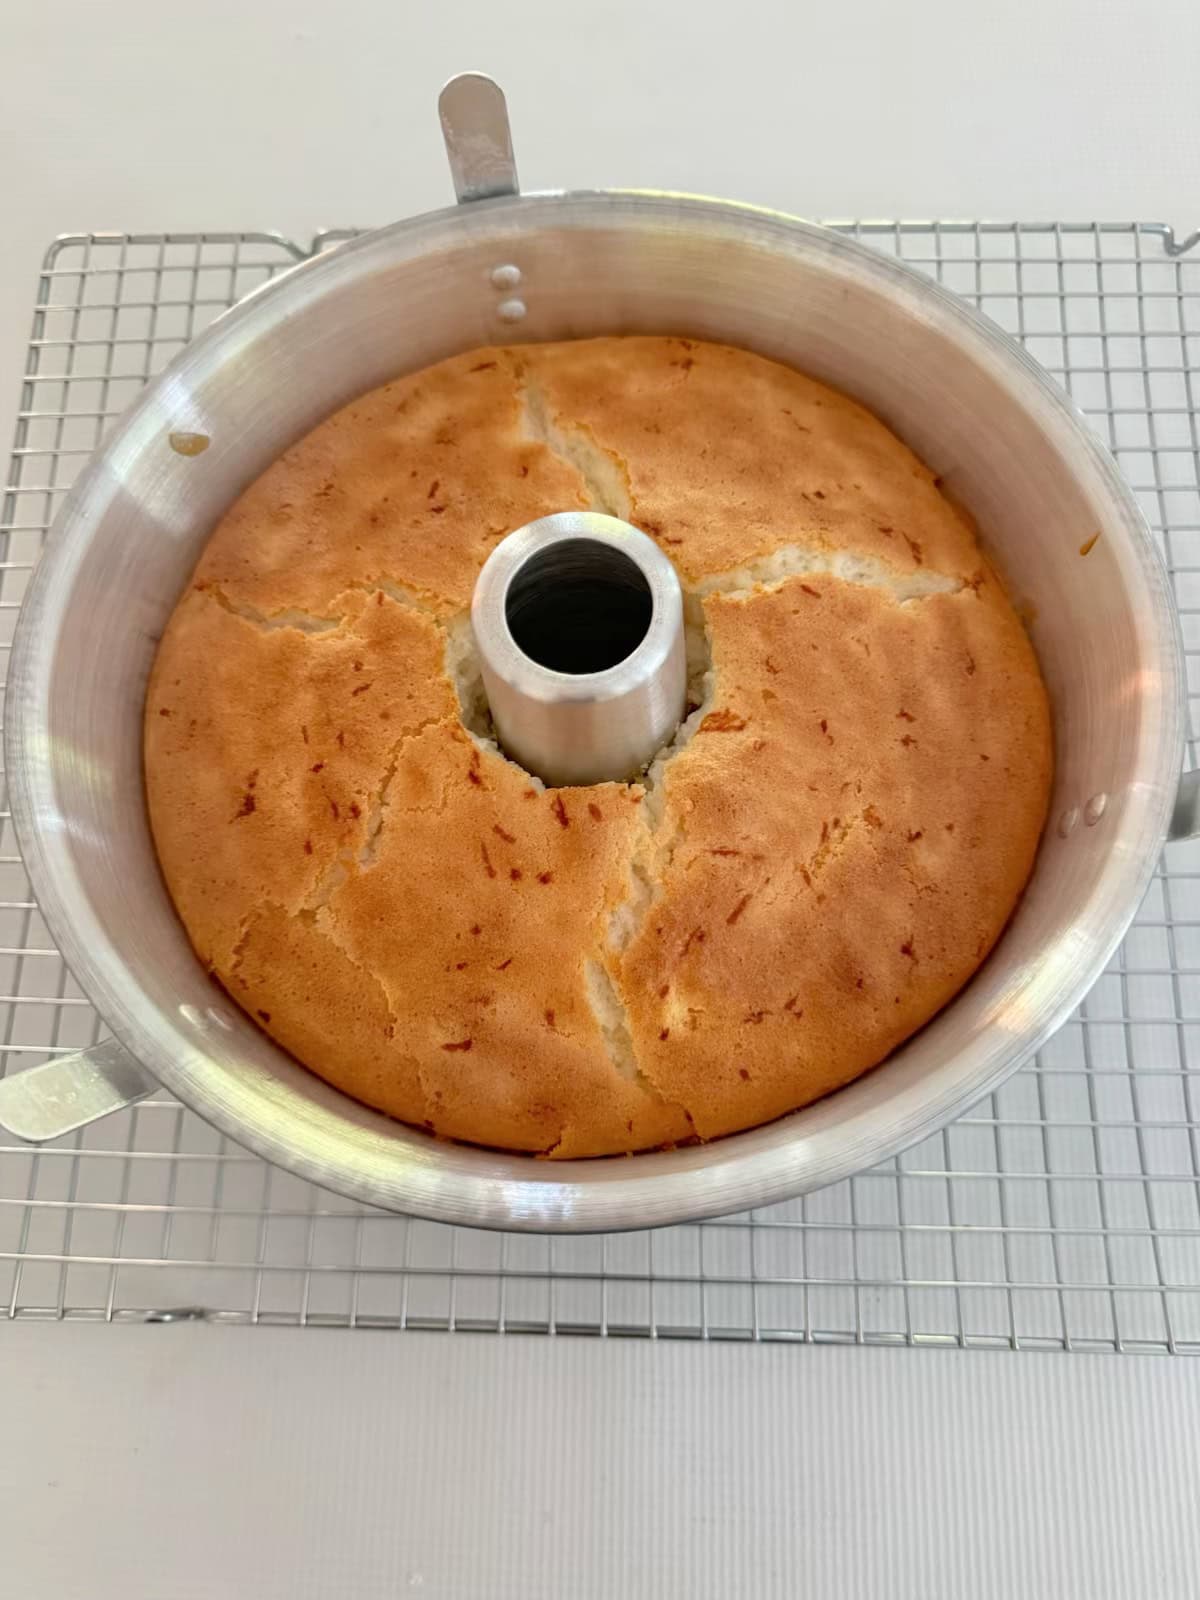
- Turn the temperature to 325℉. Bake until the cake becomes golden brown and a skewer inserted into the center comes out clean. This will take approximately 45 minutes to one hour. If the top becomes too brown before it is done, loosely cover with aluminum foil.
- Once done, remove the cake from the oven and turn the angel food cake pan upside down on the countertop for about 1-1½ hours. When completely cooled, use a thin knife around the sides of the cake to loosen in the pan. If using a two-part Angel Food Cake pan as we did (which has feet and a removable bottom/core), you will then, lift off the pan. You will also need to run a knife around and lift off the bottom/core of the pan as well.
- We topped it with lemon whipped cream!

Recipe FAQs
More Lemon Cakes
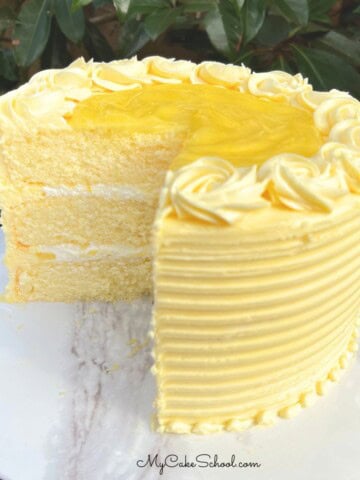
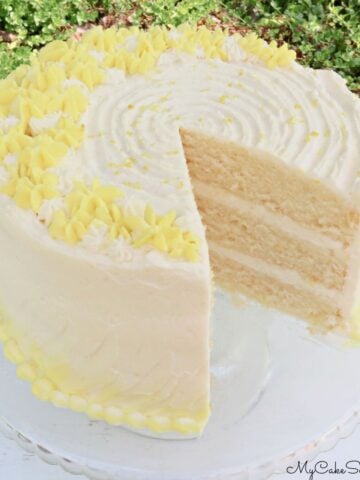
We have so many more Lemon Cakes to share with you! If you are looking for a bundt cake that is a bit more rich, you must try our Lemon Pound Cake recipe! It is always a favorite. You will also love our Lemon Velvet Cake, Lemon Buttermilk Cake, and Lemon Coconut Cake recipes!


Have you made this? We would LOVE for you to leave a ⭐️ rating as well as a comment and photo below! We really appreciate your feedback!
Angel Food Cake
Ingredients
- 1½ cups egg whites from 10 or 11 large eggs (Don't use liquid egg whites in carton)
- 1 teaspoon cream of tartar (3g)
- 2½ teaspoons lemon extract (10g)
- zest of two lemons
- 1¼ cups cake flour (143g)
- 1½ cups white sugar (300g)
- ¼ teaspoon salt
For the Sweetened Whipped Cream
- 1 ½ cups heavy cream (360g)
- ¼ cup powdered sugar (29g)
- 1 teaspoon lemon extract (4g)
Instructions
- Use an (ungreased, non-stick) straight-sided tube pan or angel food cake pan. Lower the oven rack to a low position-we used the next to last position. Do not preheat the oven.
- One at a time, carefully separate each egg over a small bowl, allowing the white to fall into it (no yolks in this recipe). Transfer each egg white one at a time to the mixing bowl as you work. Even a trace of egg yolk may prevent the egg whites from whipping properly. We prefer to use an egg separator for this step.
- Then, in the bowl of your mixer, combine the egg whites, cream of tartar, and lemon extract. Mix on medium speed using a whisk attachment (if using a stand mixer) until stiff peaks form. Set aside.
- In a separate bowl, add the flour, sugar, lemon zest, and salt. Whisk this for at least one minute.
- Using a spatula, fold in the flour mixture into the whipped egg whites ¼ cup at a time. Lift and fold from the bottom of the mixing bowl to be sure that all is blended.
- Spoon the batter into an ungreased tube pan, moving the batter around to eliminate air pockets. Once in the pan, lightly smooth over the top of the batter with the back of a spoon.
- Lower the oven rack to a low position if you haven't already. Put the pan into the cold oven.
- Turn the temperature to 325℉. Bake until the cake becomes golden brown and a skewer inserted into the center comes out clean. This will take approximately 45 minutes to one hour. If the top becomes too brown before it is done, loosely cover with aluminum foil.
- Once done, remove the cake from the oven and turn the angel food cake pan upside down on the countertop for about 1-1½ hours. When completely cooled, use a thin knife around the sides of the cake to loosen in the pan. If using a two-part Angel Food Cake pan as we did (which has feet and a removable bottom/core), you will then, lift off the pan. You will also need to run a knife around and lift off the bottom/core of the pan as well.
For the Lemon Whipped Cream
- Chill the mixing bowl and beaters/ whisk attachment in the freezer for 10 minutes.
- Pour the whipping cream, powdered sugar and lemon extract into the chilled mixing bowl, begin beating on low speed gradually increasing to medium high speed.
- Mix until stiff peaks form. (This will take about 1 ½-2 minutes).
- We applied our whipped cream using a large french tip 869, and topped with lemon wedges.
- If you add whipped cream as we did, the cake should be refrigerated in an airtight container (preferably) or under a cake dome or sealed bakery box until within an hour or two of serving.
This sounds amazing! Have you any recommendations for the left over yolks?
I have a very old tube pan and I always line it with parchment paper. Should I line the pan with parchment paper for this angel food cake?
Light, fresh, lemon and whipped cream can't get any better! :-) Love it!
yolks freeze well and can be used to make frozen custard and pudding.