Lots of Love Cake Tutorial
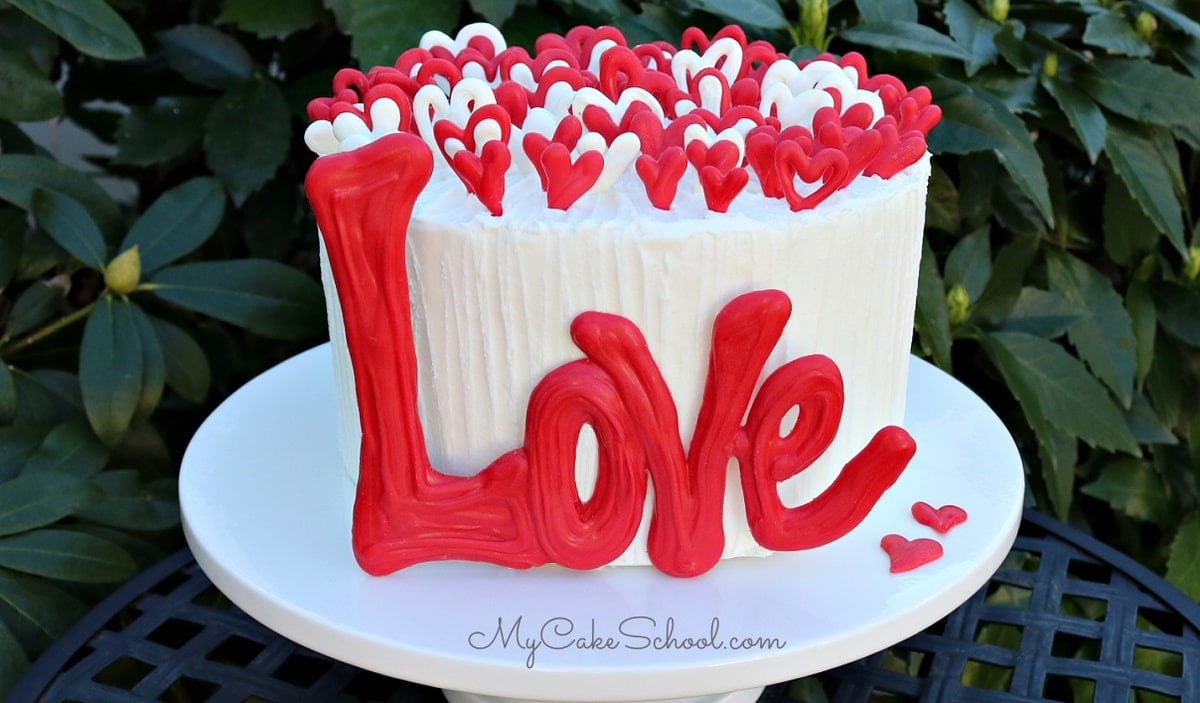
In this cake tutorial, we're going to show you how to create a cute and easy love-themed cake with melted candy coating!
This "Lots of Love" cake design makes a perfect Valentine's Day and anniversary celebrations! Sometimes the simplest cake designs are my favorite.
We created a similar Valentine's Day cake design in our blog years ago as a step by step photo tutorial. We thought it would be fun to recreate the design as a video tutorial- only this time we've added a really big and bold "LOVE" plaque to the front! I love this cake even more than the first- and it is surprisingly simple to create!
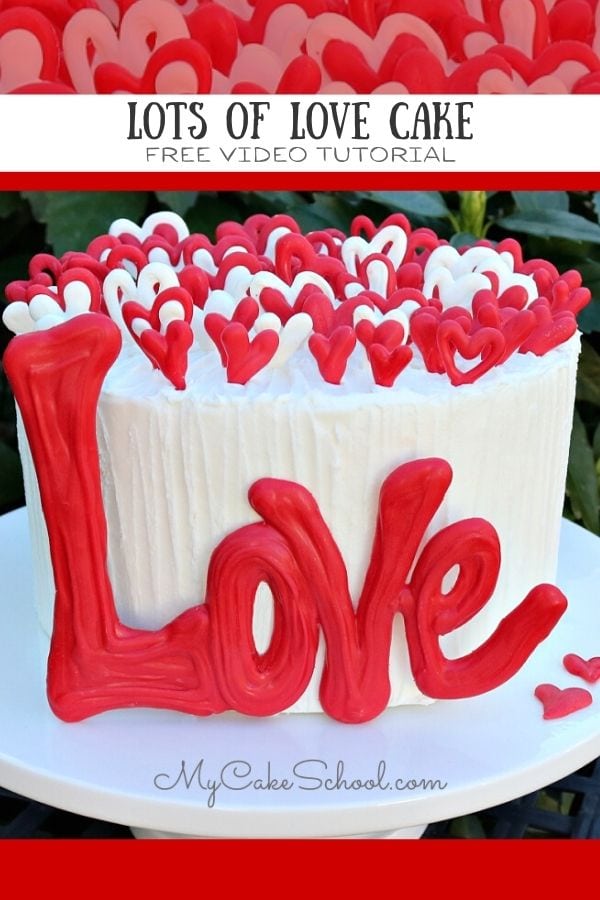
Table of Contents
How to Make a Love-Themed Cake with Candy Coating
For this cake design, we decorated an 8 inch tier frosted with our Fluffy Vanilla Buttercream frosting. Our Classic Vanilla Buttercream is a good option too. Use whatever size cake you like- this design would also be very cute on top of a sheet cake!
- To create the chocolate candy coating decorations, we lined a cookie sheet with wax paper. We slid the "Love" template beneath the wax paper on a cookie sheet and traced over the template using melted red candy coating.
- We then piped lots of solid hearts, open hearts, and two-toned red and white hearts across the wax paper lined cookie sheet.
- The decorations will set up at room temperature but you can also speed-set them in just a few minutes by placing them in the refrigerator or freezer for a few minutes.
- After frosting the cake and texturing the buttercream with my small tapered offset spatula, I applied the candy coating decorations (using buttercream as my glue for the "Love" plaque).
Tips on Working with Candy Coating
Candy coating is one of my favorite mediums to work with! I love the dimension that candy coating designs can add to a cake, and unlike stand-up fondant or gum paste decorations, they can be made, chilled, and applied in minutes.
How to Melt Candy Coating
We melt our candy coating in the microwave. Be careful not to overheat! We warm ours in the microwave in smallish increments (30 seconds or less), and once the candy melts or candy coating appear mostly melted, we give them a gentle stir and usually any remaining pieces melt away. (If not, heat just a few more seconds).
How to Tint Candy Coating
For today's project we used Sweet Tooth Brand Pre-Colored Red Candy Coating (as well as for our White Coating). I've never used this brand before but loved how easily the coating melted. (Some brands melt much more easily than others) ;0) - I found them at Michael's.
If you do not have pre-colored candy melts, you can also tint your melted white candy coating (such as Candiquik) using oil-based candy coloring. (Do not use regular coloring gel as it often causes the coating to thicken or seize).
Chilling the Candy Coating Pieces
I always chill my candy coating pieces just before applying them to my cakes. I simply place the tray/cookie sheet with the piped candy coating designs into the freezer for about 5 minutes or just until the pieces have firmed up. You can also do this in the refrigerator.
Chilling the chocolate designs makes them much less fragile.
The Thicker the Candy Coating Decorations, the better
You can see that the "Love" plaque in this video is nice and thick. I like the chunky look, but also, it makes the piece less fragile! So along with chilling your candy coating pieces, it is a good idea when possible to make them a little thicker.
How to Create a Smooth/Flat Candy Coating Design
In the video I mentioned that my "Love" plaque has a textured surface from all of the piping. I like this raised and textured look, but if you prefer a smoother finish, you can achieve this as well. With many candy coating designs, you can simply pipe, chill, and use the reverse side which will be very smooth.
However, with letters, simply flipping over the "Love" plaque to reveal the smooth side won't work because the writing will be backwards! The easiest fix for this is to outline my template in marker and flip it over before placing it beneath the wax paper so that the reverse image is visible for tracing.
Candy Coating too Soft? Too Thick?
If your candy coating is super runny and it is flowing from the piping bag way too fast, you can let it rest for a minute or two and try again. It is likely a little too warm.
If your candy coating has been left out for too long and becomes too thick, you can reheat it in small increments in the microwave until it is fluid again.
It's a good idea to melt your colored candy melts as you need them so that you don't have a bowl of melted candy coating sitting around too long and cooling off. However if you happen to have a warming tray, heating pad, or other product to keep the bowls/piping bags of coating warm, that will make your candy coating projects even simpler!
More Candy Coating Cake Designs
We've created several Candy Coating cake designs over the years. In addition to today's Lots of Love cake design, make sure to check out these other favorites!
Some of our most popular are our Elegant Chocolate Flowers Cake and Painted Buttercream Cake with Chocolate Spheres!
Cake Recipes
We have so many cake recipes that would be perfect for today's cake design! Anything goes. Make sure to check out our favorite Valentine's Day Cake Recipes roundup!
Here are just a few of our favorites: Pink Velvet Cake, Red Velvet Cake, Raspberry Cake, White Velvet Cake, and Chocolate Cake from scratch.
Don't miss our full collection of Cake Recipes, including our favorite cake recipes from scratch as well as cake mix recipes!
We also have hundreds of cake decorating tutorials to share with you for all sorts of occasions.
More Valentine's Day Cakes
We've made tons of cake designs and recipes over the years that would be perfect for Valentine's Day and anniversaries. Don't miss this roundup of favorites: Best Cake Ideas for Valentine's Day
"LOVE" Template for Lots of Love Cake
Enjoy the Video!
Have you made this? We would LOVE for you to leave a ⭐️ rating as well as a comment and photo below! We really appreciate your feedback!
Enjoy the Video!
Lots of Love Cake- A Free Cake Tutorial
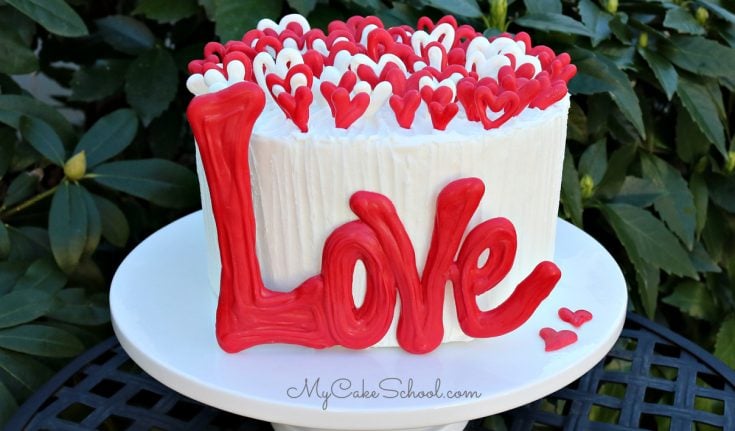
Learn how to create this CUTE and festive love-themed cake with candy coating decorations in our free cake video tutorial! We love this cake for Valentine's Day and anniversaries! You can use these techniques for all sorts of candy coating designs also!
Instructions
- Frost the cake however you like- we textured our frosted cake using a small tapered offset spatula.
- Place "Love" template on a cookie sheet beneath a sheet of wax paper.
- Melt red candy coating (careful not to overheat). Spoon into a disposable piping bag and snip the tip away. Pipe the melted candy melts onto the wax paper, following the template beneath. Pipe additional red and white hearts in varying sizes and designs.
- When it's time to decorate the cake, chill the tray of decorations briefly to firm up the designs- maybe 5 minutes or so in the freezer...or a few minutes more in the refrigerator.
- Peel away/lift off the "Love" plaque and attach to the cake with a bit of buttercream. This plaque is heavy enough that the bottom should rest on the pedestal for added support.
- Lightly push the other chilled hearts into the top of the cake.
Notes
If you are not working with pre-colored candy coating, you can tint white candy coating using candy coloring gels. Candy colors are oil-based. Regular coloring gels will cause the melted chocolate to thicken or seize.

Love, so cute can't wait to try!
I Love the look of that! So simple and fun as always! :-)
Thank you ladies!! xoxo
How do you achieve a smooth look? I did not find anything indicating the process.
Hi Robin, I most often smooth my frosting using the "hot knife method", which is just a matter of using a hot metal bench scraper. Here is a video from our member section if you'd like to see!
https://www.mycakeschool.com/video-tutorials/hot-knife-method/
Another option is the Viva Paper Towel method of smoothing which works with crusting buttercream frostings: https://www.mycakeschool.com/video-tutorials/viva-method-of-smoothing/