Marble Cake
Today I'm sharing the BEST Marble Cake recipe from scratch that belongs in your recipe box!
The layers are so moist and tender with wonderful flavor (not to mention beautiful swirls). Everybody needs a go-to marble cake recipe, don't they? This has become one of our most popular layer cakes!
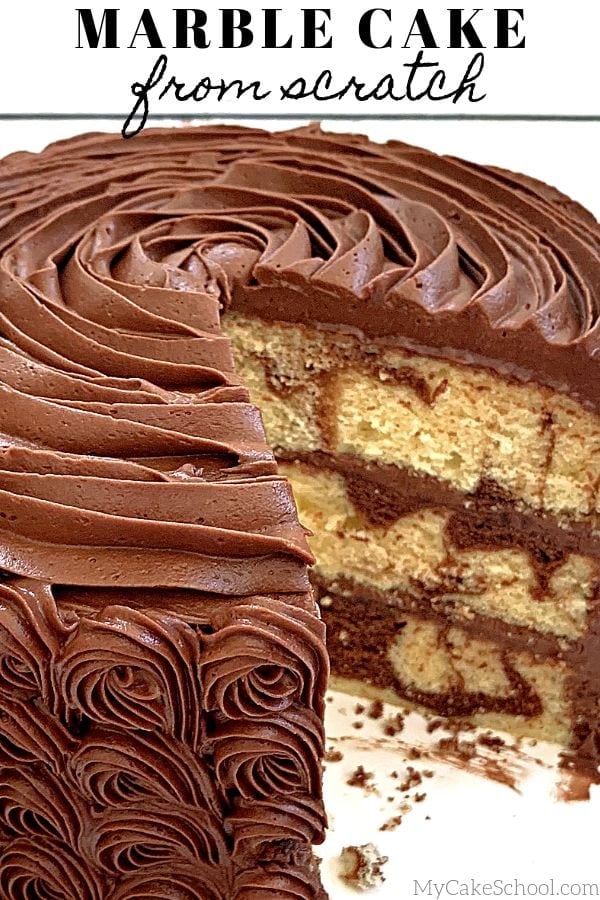
Why choose between a delicious chocolate and a delicious yellow cake when a marble cake can give you the best of both worlds? This is a dessert that never disappoints.
It is the perfect balance of yellow cake with swirls of chocolate, makes beautiful cake layers as well as cupcakes, and it is sturdy enough to hold up well to fondant too. (We have a Marble Cake Mix version as well!)
We love to pair marble layer cakes with our rich Chocolate Buttercream. So good!
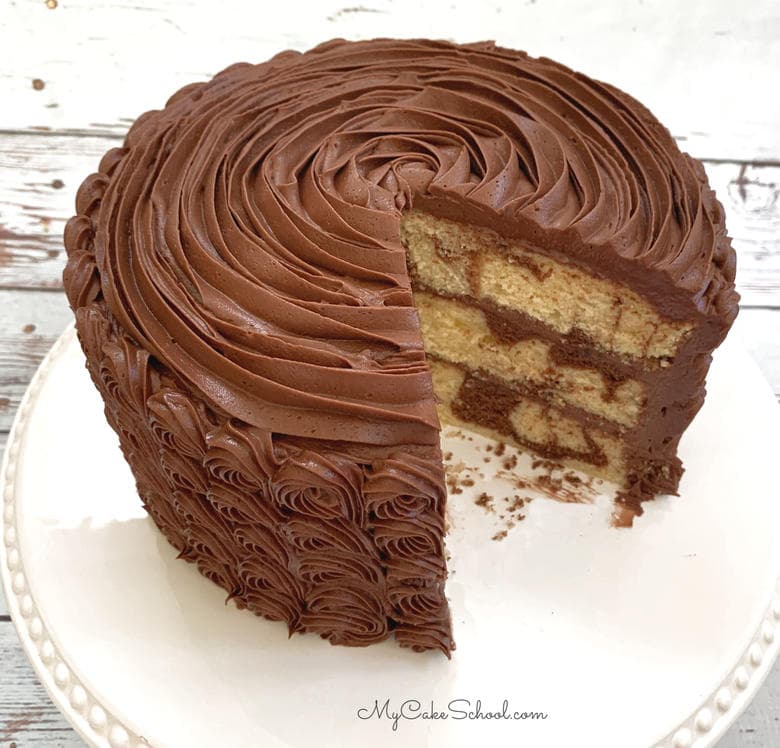
Table of Contents
What is Marble Cake?
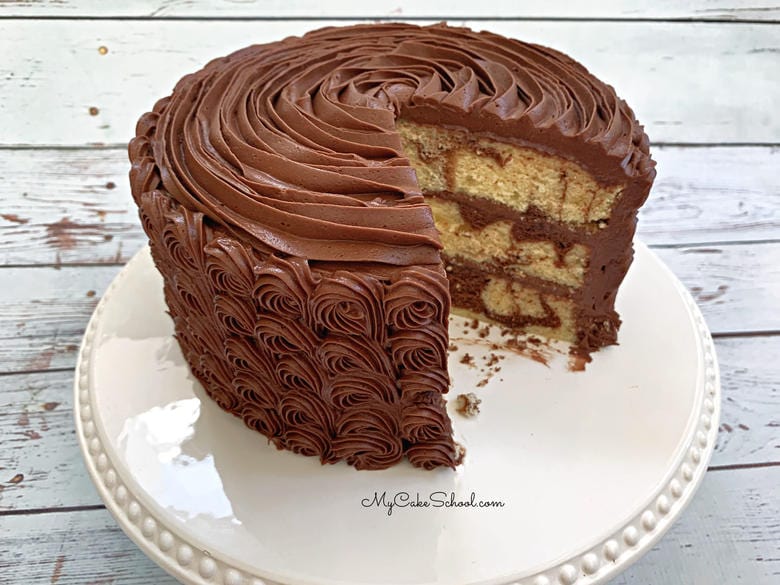
Marble cake is a type of cake that has contrasting swirls of batter, giving a fun marbled or swirled pattern to your slices.
The contrasting swirls may be from a different flavor of batter, or simply batter that has been tinted. Once the two types of batter are in the pan, you can lightly drag a knife through the batter to create the marbled effect.
Years ago, when making marble cake, I used to prepare a chocolate cake recipe and a yellow cake recipe separately and then combined them. That's just too much work and too much batter. Other recipes call for melted chocolate.
With this Marble Cake technique, simply choose your favorite yellow or white cake recipe, and reserve a little to combine with cocoa powder for your swirls- what could be easier?
I just LOVE the combination of yellow cake with chocolate and so this recipe is based on our favorite scratch Yellow Cake.
However, no matter what recipe you are using (whether yellow or white cake), you can follow the same technique!
How to Marble Cake Batter
- To create a marbled effect with your cake batter you first need to make your white or yellow cake batter.
- Next, dissolve cocoa powder into hot water.
- Scoop some of your cake batter into a small bowl (see recipe for details) and combine with the chocolate mixture to create chocolate batter.
- Next, scoop spoonfuls of batter into the pans, alternating between the yellow and chocolate batter. You can see how we did this in our video tutorial. For me, I added yellow cake batter to each pan first, then added spoonfuls of chocolate batter, gave it a swirl, then added additional yellow and chocolate batter and gave it another swirl.
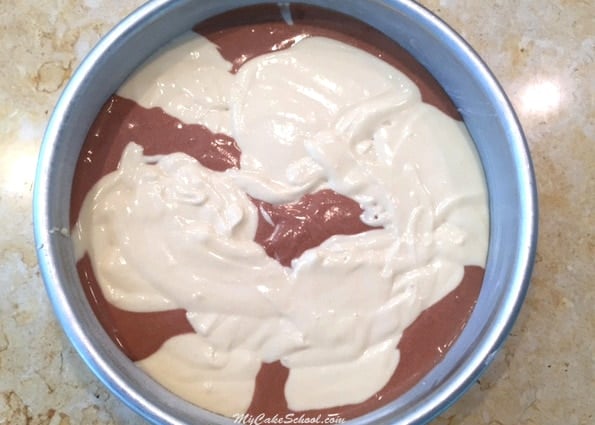
- It's up to you how marbled you make it, although you have to stop yourself from having too much fun or you'll loose your beautiful swirls!
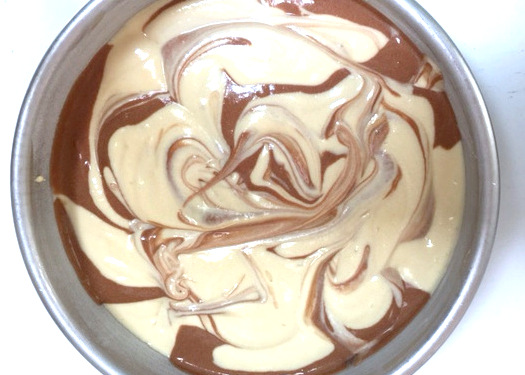
That's all there is to it! Bake, fill, frost, and enjoy! We hope that you love this recipe as much as we have. It's guaranteed to please any crowd.
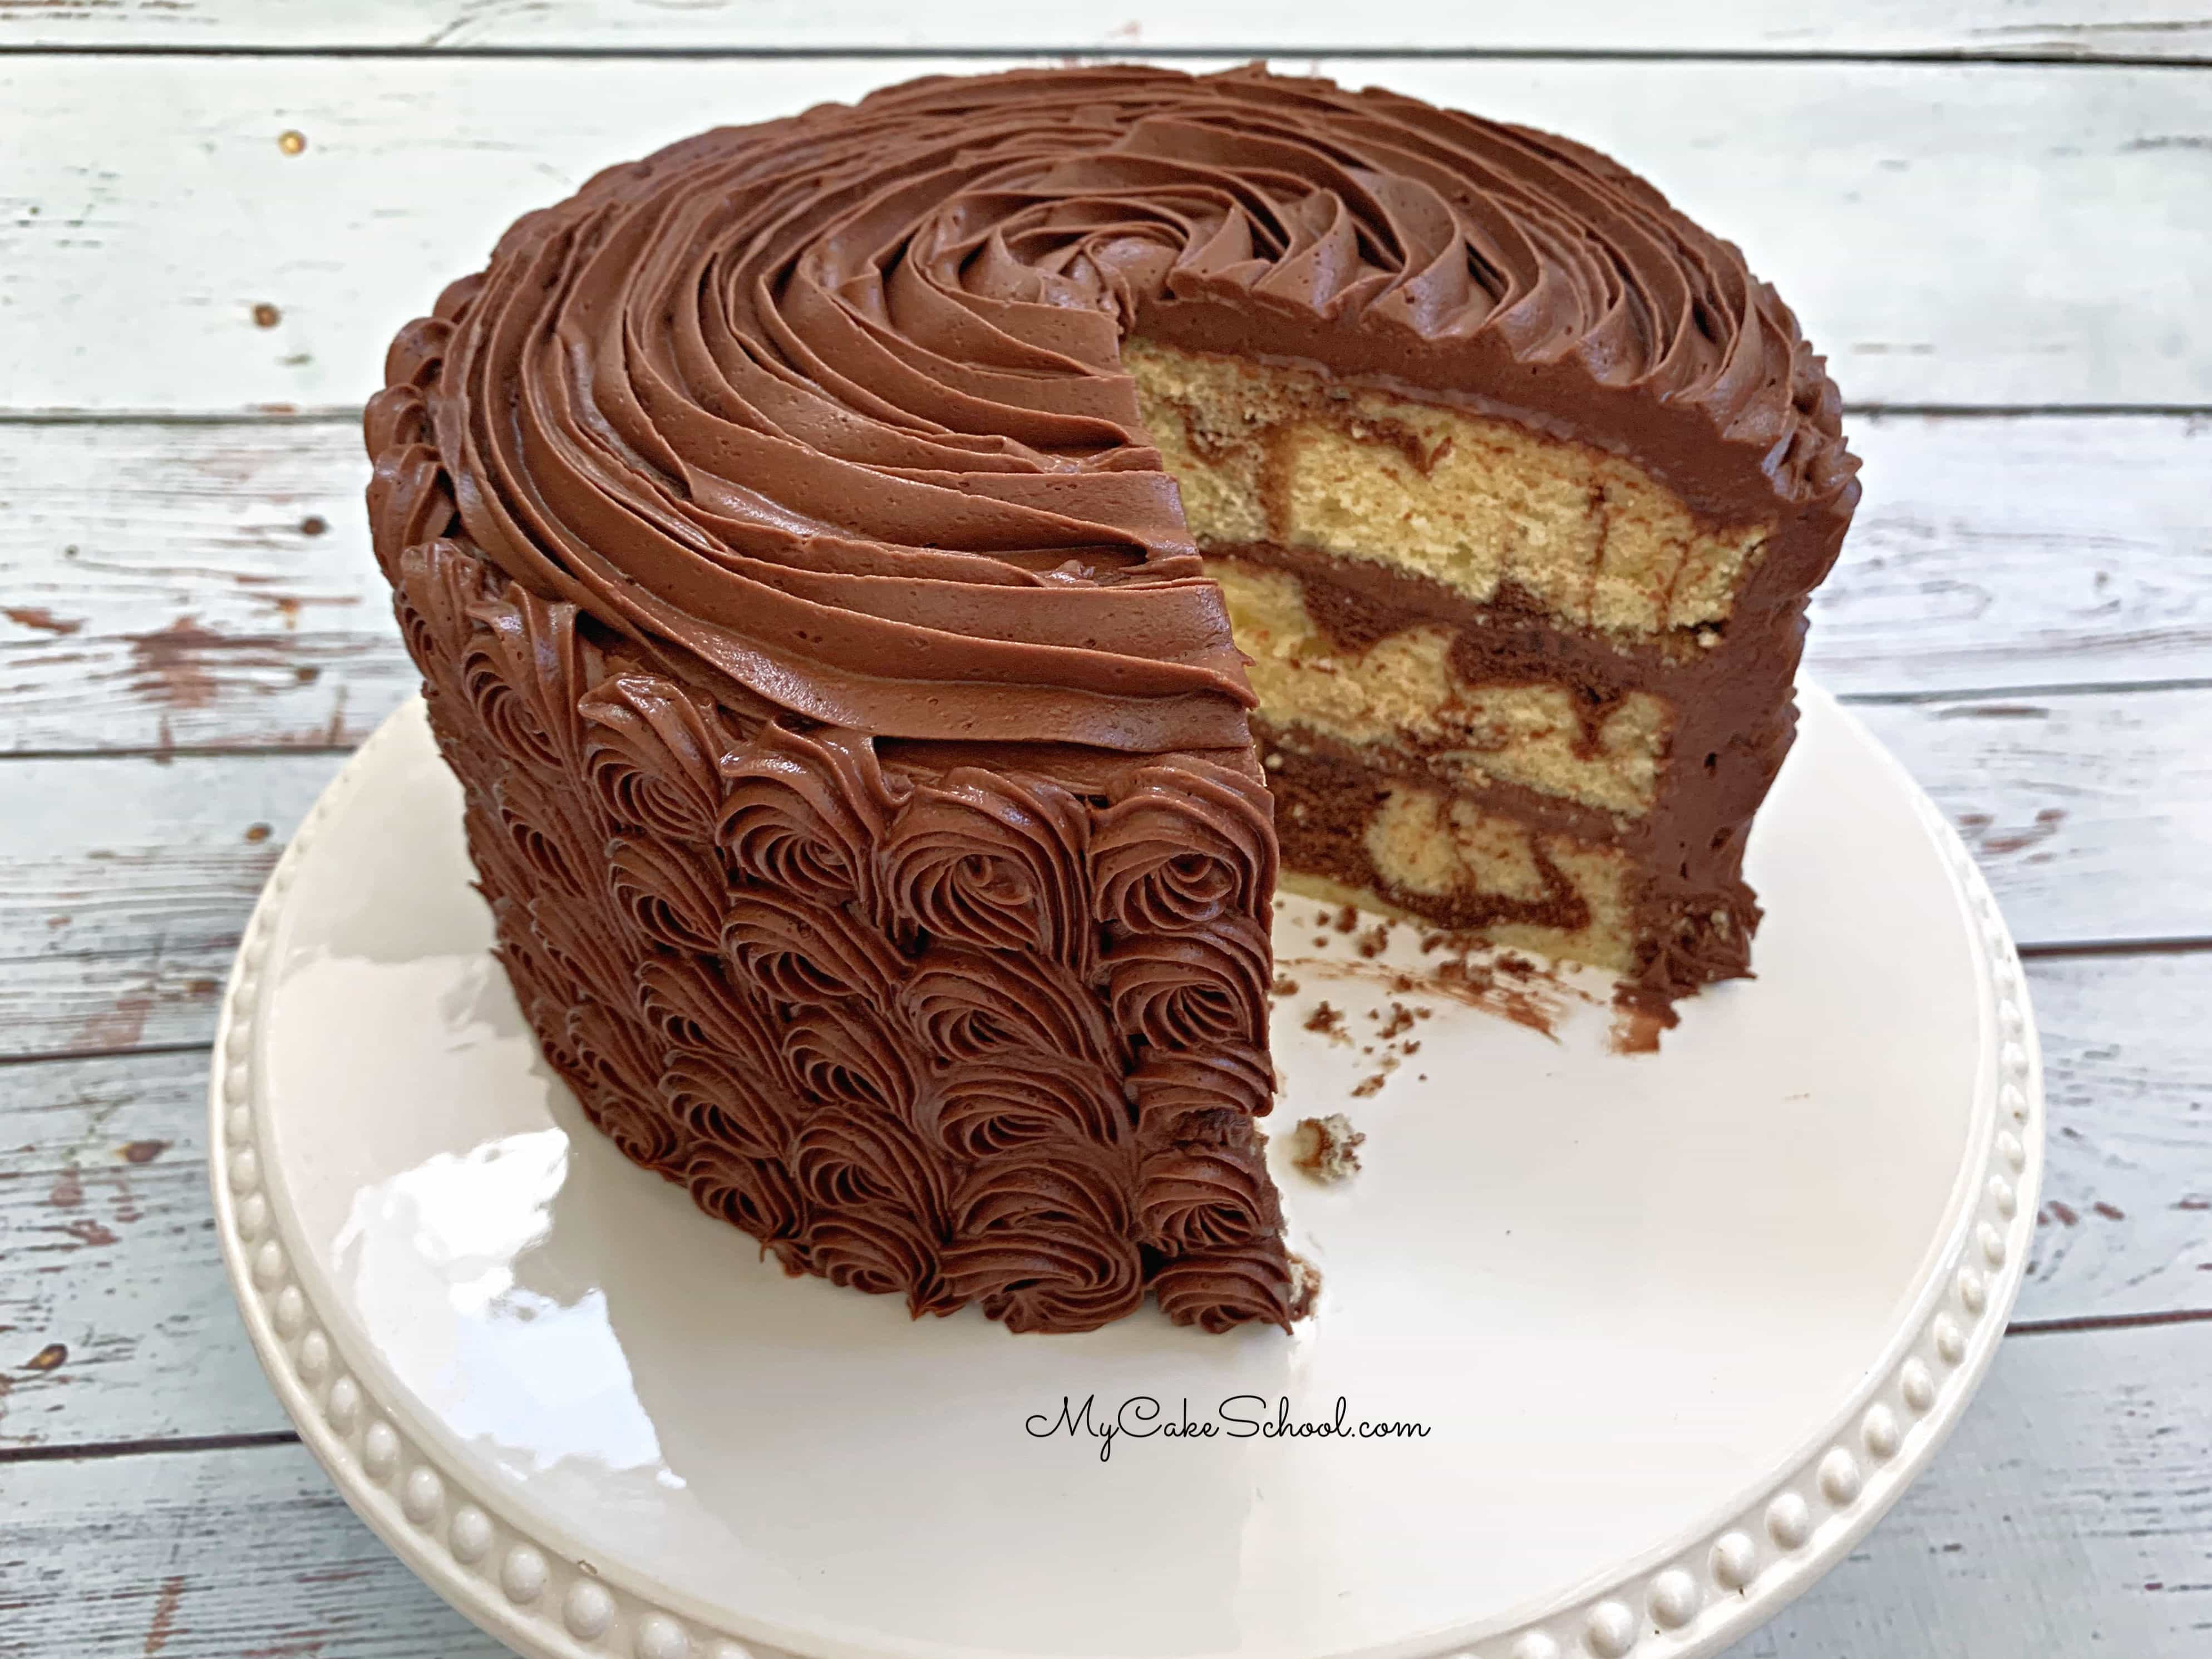
Zebra Cakes and Checkerboard Cakes!
If you love Marble Cake, you should try changing this up a bit with Zebra Cake! It is the same idea as marble cake, only with a zebra print patter. You can find our step by step tutorial here: Zebra Cake Tutorial.
Our checkerboard cake is another fun alternative to marble cake, but with the same wonderful combination of flavors! How to Make a Checkerboard Cake.
Recipe FAQs
More Classic Cake Recipes
In addition to our Yellow Cake Recipe which this recipe is based on, there are several more classic cake recipes that you must try!
Some of our most popular are our Carrot Cake Recipe, German Chocolate Cake, Strawberry Cake, and Italian Cream Cake. Here are a few more:
Enjoy the Recipe
Thanks so much for stopping by! If you give this marble cake a try, we would love for you to leave a comment and photo below! Also, don't miss our Marble Cake Mix recipe as well as our Marble Pound Cake and recipe for Marble Cupcakes!
Also, if you are a fan of homemade cake recipes, don't miss our full collection of scratch cakes!
Have you made this? We would LOVE for you to leave a ⭐️ rating as well as a comment and photo below! We really appreciate your feedback!
Marble Cake from Scratch
Equipment
Ingredients
- 3 cups (342g) cake flour
- 2 cups (400g) sugar
- 2 teaspoons (8g) baking powder
- ½ teaspoon (3g) baking soda
- ½ teaspoon (3g )salt
- 2 sticks (226g) unsalted butter, softened.
- 4 large eggs, room temperature.
- 1 ¼ cup (299g) buttermilk *If you do not have buttermilk see note below.
- 1 Tablespoon (12g) vanilla extract
- 4 Tablespoons unsweetened cocoa powder measure then sift + 3 to 4 Tablespoons very hot water (for marbling)
Instructions
- Preheat the oven to 325 degrees. Grease and flour three 8x2 inch round cake pans. Place a piece of parchment in the bottom of each pan. (Note that we used three layers- this recipe has been updated since our photos were taken. We will update the photos soon!)
- Put the first 5 ingredients into the bowl of your mixer. Mix on low speed for at least 30 seconds to combine.
- Add the softened butter (cut into pieces) mix on low speed just until it looks like coarse sand. The dry ingredients will be moistened/coated by the butter and will stick to together if you press some between two fingers. Don't over-mix or it will turn into a large dough-like ball.
- Add the eggs 1 at a time, mixing until blended.
- Add the vanilla to the 1 ¼ cup buttermilk. With the mixer on lowest speed gradually pour into the mixer. Increase the speed to #2 or # 3 (on a KitchenAid mixer). Mix for about 2 minutes, batter will be smooth and fluffy. If you are using a hand mixer rather than a stand mixer, mix a bit longer.
MARBLING INSTRUCTIONS
- Mix 4 Tablespoons unsweetened cocoa powder with 3 to 4 Tablespoons very hot water. Stir until smooth & set aside.
- Put 1 ½ cups cake batter into a medium sized bowl and stir in the chocolate mixture to create chocolate batter. Set aside.
- Put about a cup of yellow batter into each of the three pans & spread, then add a few dollops of chocolate batter by the spoonful to each of the pans. Swirl with offset spatula or knife (we usually use something about ½ inch wide). Add more yellow batter by the spoonful, adding chocolate batter here and there until finished. Swirl this newly added yellow and chocolate. Be careful not to over-swirl- you'll lose the contrasting colors.
- Bake at 325 degrees for 25-30 minutes or until a toothpick inserted in the center comes out clean. Let the cake cool in the pans 5-10 minutes, then turn out.

Hi Stania, Thank you for your nice comment on Melissa's tutorials. Yes, the cake batter is very slightly curdled when mixing. This is because the butter and eggs are not the same temperature, making it more difficult for the fats in the yolks and butter to blend with the water in the egg whites. It does not affect the outcome of the cake, so all is good. We don't have experience using pans with removable bottoms. Below is a website I found that I think you will find helpful for your leaky pans.
https://www.cakeflix.com/questions/leaky-cake-tins
Hi BeBe, thank you so much for your speedy reply!! I really appreciate it. I just wanted to share another issue. When I bake my buttermilk cakes they are, in my eyes, the ideal texture the day the cake is baked. Moist but fluffy at the same time. The next day and the day after the cake texture becomes ever so slightly dense though.It still tastes great and feels light. It's as if the moisture seeped over time into the cake slightly affecting the texture. ( In some recipes so much so that customer asked whether it's cooked. It's all perfectly cooked but some parts develops what is quite similar to "gluten streaks".) It bothers me slightly and wondering if it's something I can prevent or whether it naturally happens to all moist cakes. Would a standard creinv method prevent it? I'm attaching a picture of my marble cake baked yesterday so you know what I'm talking about. Basically I don't know whether it's in my head or it's normal Thank you so much. You've been very helpful do far.
Hi BeBe, thank you so much for your speedy reply!! I really appreciate it. I just wanted to share another issue. When I bake my buttermilk cakes they are, in my eyes, the ideal texture the day they are baked. Moist but fluffy at the same time. The next day and the day after the cake texture becomes ever so slightly dense though.It still tastes great and feels light but it's as if the moisture seeps over time into the cake and slightly affecting the texture. ( In some recipes so much so that customer asked whether it's raw. It's all perfectly cooked but some parts develops what is quite similar to "gluten streaks". On day 1 it's perfect but on day 2 there is only so slightly slightly rubbery texture, mainly at the bottom of the layers ) It bothers me slightly and wondering if it's something I can prevent or whether it naturally happens to all moist cakes. Would a standard creaming method prevent it? Basically I don't know whether it's in my head or if it's normal. Thank you so much. You've been very helpful so far.
How do you get your cake layers so flat? Mine always have a dome top. Please answer thank you
Hi Jean, Cake mix cakes always seem to have a higher dome than scratch cake recipes. Baking at 325 degrees rather than 350 will help to bake more even layers. You could also use bake even strips around the sides of the pan, many bakers have success with the strips. Another option is using a rose nail or heating core in the center of the cake pan. You might want to buy a oven thermometer to see if your oven is heating to the correct temperature. If your oven is running hot, that can also lead to doming problems. Using a serrated knife to slice off the dome is also fine.
Just made this cake. Upon making the batter decided to only make two (instead of 3) 8” pans. Each cake was only 1” high ( after baking) and appears to be quite dense. Weighed, instead of measured my ingredients, instead of measuring, & followed instructions to a tee. Very disappointed.
Hi Laura, I am sorry there was a problem, that is so disappointing. Did you "zero out " the bowl when weighing the ingredients? I think there must have been a mistake in weighing or the reverse creaming method caused a problem for you. Did you watch Melissa's video (link below)
Yes, I did “zero out” 5e bowl before weighing my ingredients. I have never done the reverse creaming method but I followed the video. I used cake flour as well instead of all-purpose flour. I live in Canada so not sure if the cake flour may be different here from the country you are.
any reason why I couldn't use the standard mixing method rather than the reverse creaming method? I've not used it before so am somewhat reluctant to attempt since the cake is for Christmas. Thanks
How many batches would I need for 3 12 inch cakes and will it be sturdy enough for a few fondant pieces such as headphones?
Hi Cheryl, The recipe makes 6 1/2 to 7 cups batter for a 2 layer cake in 8 inch pans. This amount is just a guideline. We put the batter in three 8 inch pans filling them about 1/2 full because we wanted more filling per slice. For one 12 inch round pan 2 inches deep you will need 7 1/2 cups batter. Below is a chart that will help you with batter amounts and baking times for various size pans.
If your fondant topper has any weight and just to be on the safe side, you should push a bubble T straw or a regular drinking or dowel under the fondant piece. If not supported, the headphone could begin to sink into the cake.
Hi Nancy, I am sorry I missed your question. Yes, you can use the standard mixing method for this recipe.
Did you even out the cake before putting frosting on the inside?