Marble Cake
Today I'm sharing the BEST Marble Cake recipe from scratch that belongs in your recipe box!
The layers are so moist and tender with wonderful flavor (not to mention beautiful swirls). Everybody needs a go-to marble cake recipe, don't they? This has become one of our most popular layer cakes!
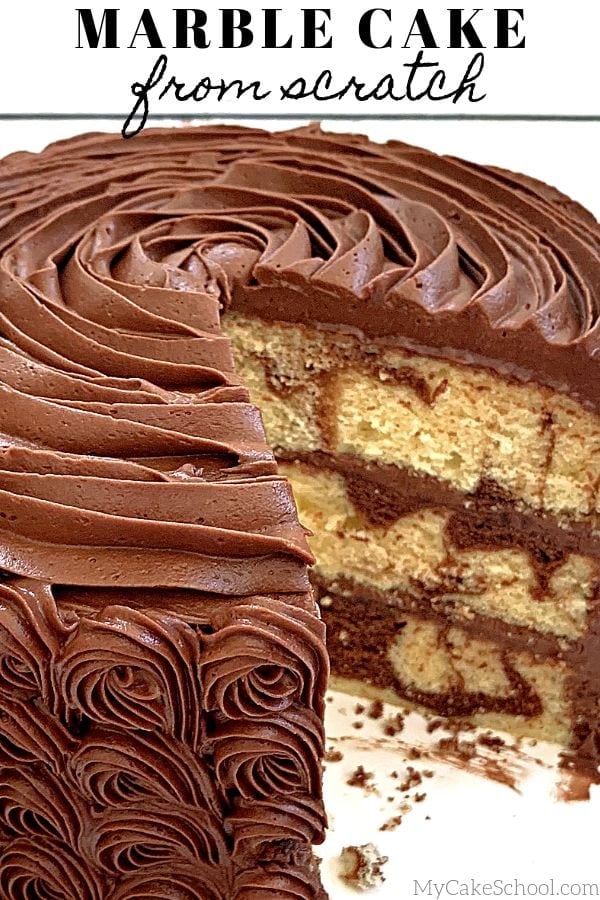
Why choose between a delicious chocolate and a delicious yellow cake when a marble cake can give you the best of both worlds? This is a dessert that never disappoints.
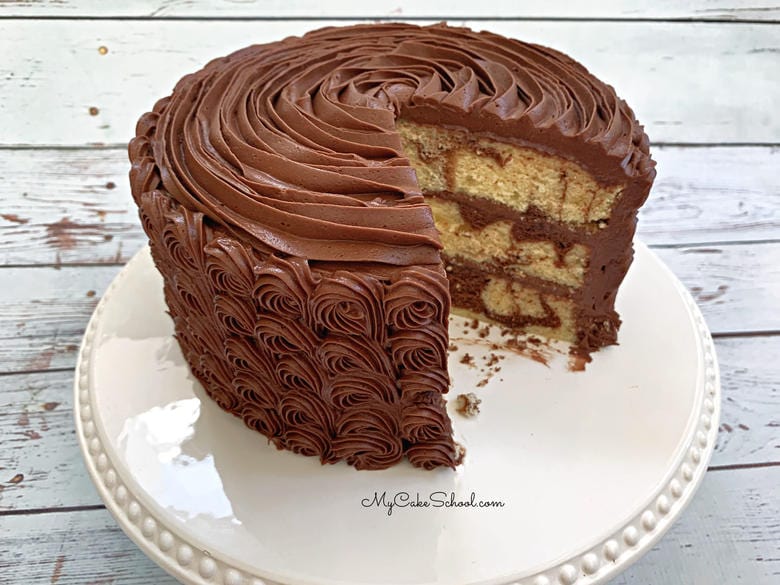
It is the perfect balance of yellow cake with swirls of chocolate, makes beautiful cake layers as well as cupcakes, and it is sturdy enough to hold up well to fondant too. (We have a Marble Cake Mix version as well!)
We love to pair marble layer cakes with our rich Chocolate Buttercream. So good!
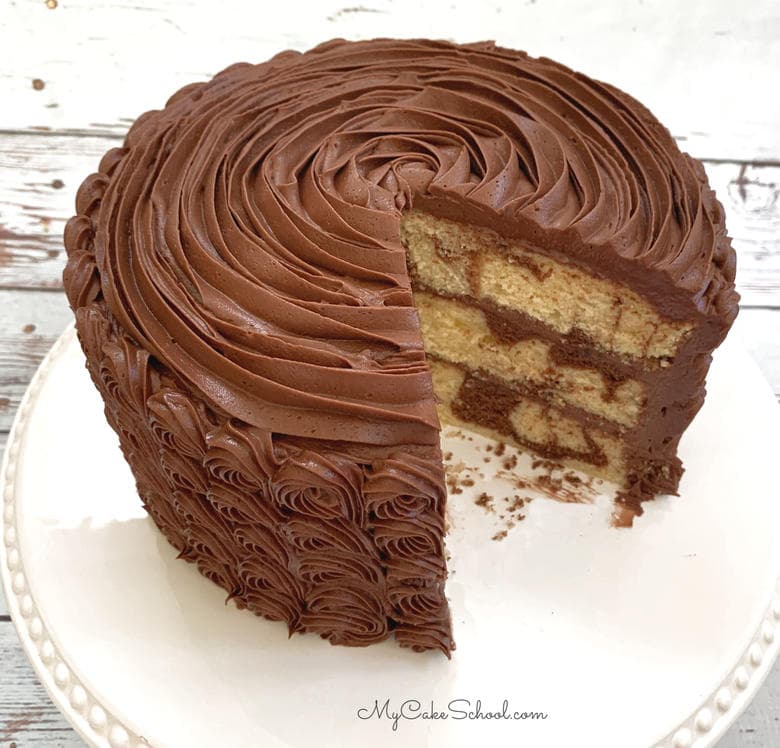
Table of Contents
What is Marble Cake?
Marble cake is a type of cake that has contrasting swirls of batter, giving a fun marbled or swirled pattern to your slices.
The contrasting swirls may be from a different flavor of batter, or simply batter that has been tinted. Once the two types of batter are in the pan, you can lightly drag a knife through the batter to create the marbled effect.
Years ago, when making marble cake, I used to prepare a chocolate cake recipe and a yellow cake recipe separately and then combined them. That's just too much work and too much batter. Other recipes call for melted chocolate.
With this Marble Cake technique, simply choose your favorite yellow or white cake recipe, and reserve a little to combine with cocoa powder for your swirls- what could be easier?
I just LOVE the combination of yellow cake with chocolate and so this recipe is based on our favorite scratch Yellow Cake.
However, no matter what recipe you are using (whether yellow or white cake), you can follow the same technique!
How to Marble Cake Batter
- To create a marbled effect with your cake batter you first need to make your white or yellow cake batter.
- Next, dissolve cocoa powder into hot water.
- Scoop some of your cake batter into a small bowl (see recipe for details) and combine with the chocolate mixture to create chocolate batter.
- Next, scoop spoonfuls of batter into the pans, alternating between the yellow and chocolate batter. You can see how we did this in our video tutorial. For me, I added yellow cake batter to each pan first, then added spoonfuls of chocolate batter, gave it a swirl, then added additional yellow and chocolate batter and gave it another swirl.
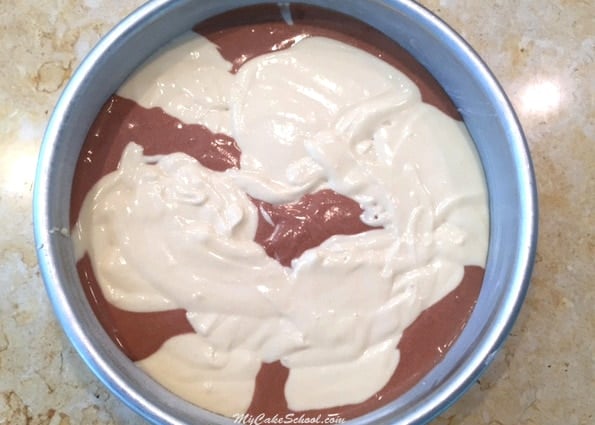
- It's up to you how marbled you make it, although you have to stop yourself from having too much fun or you'll loose your beautiful swirls!
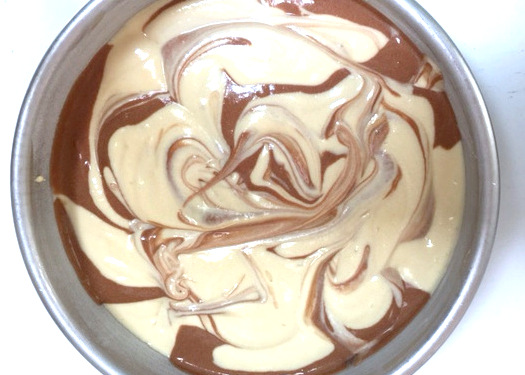
That's all there is to it! Bake, fill, frost, and enjoy! We hope that you love this recipe as much as we have. It's guaranteed to please any crowd.
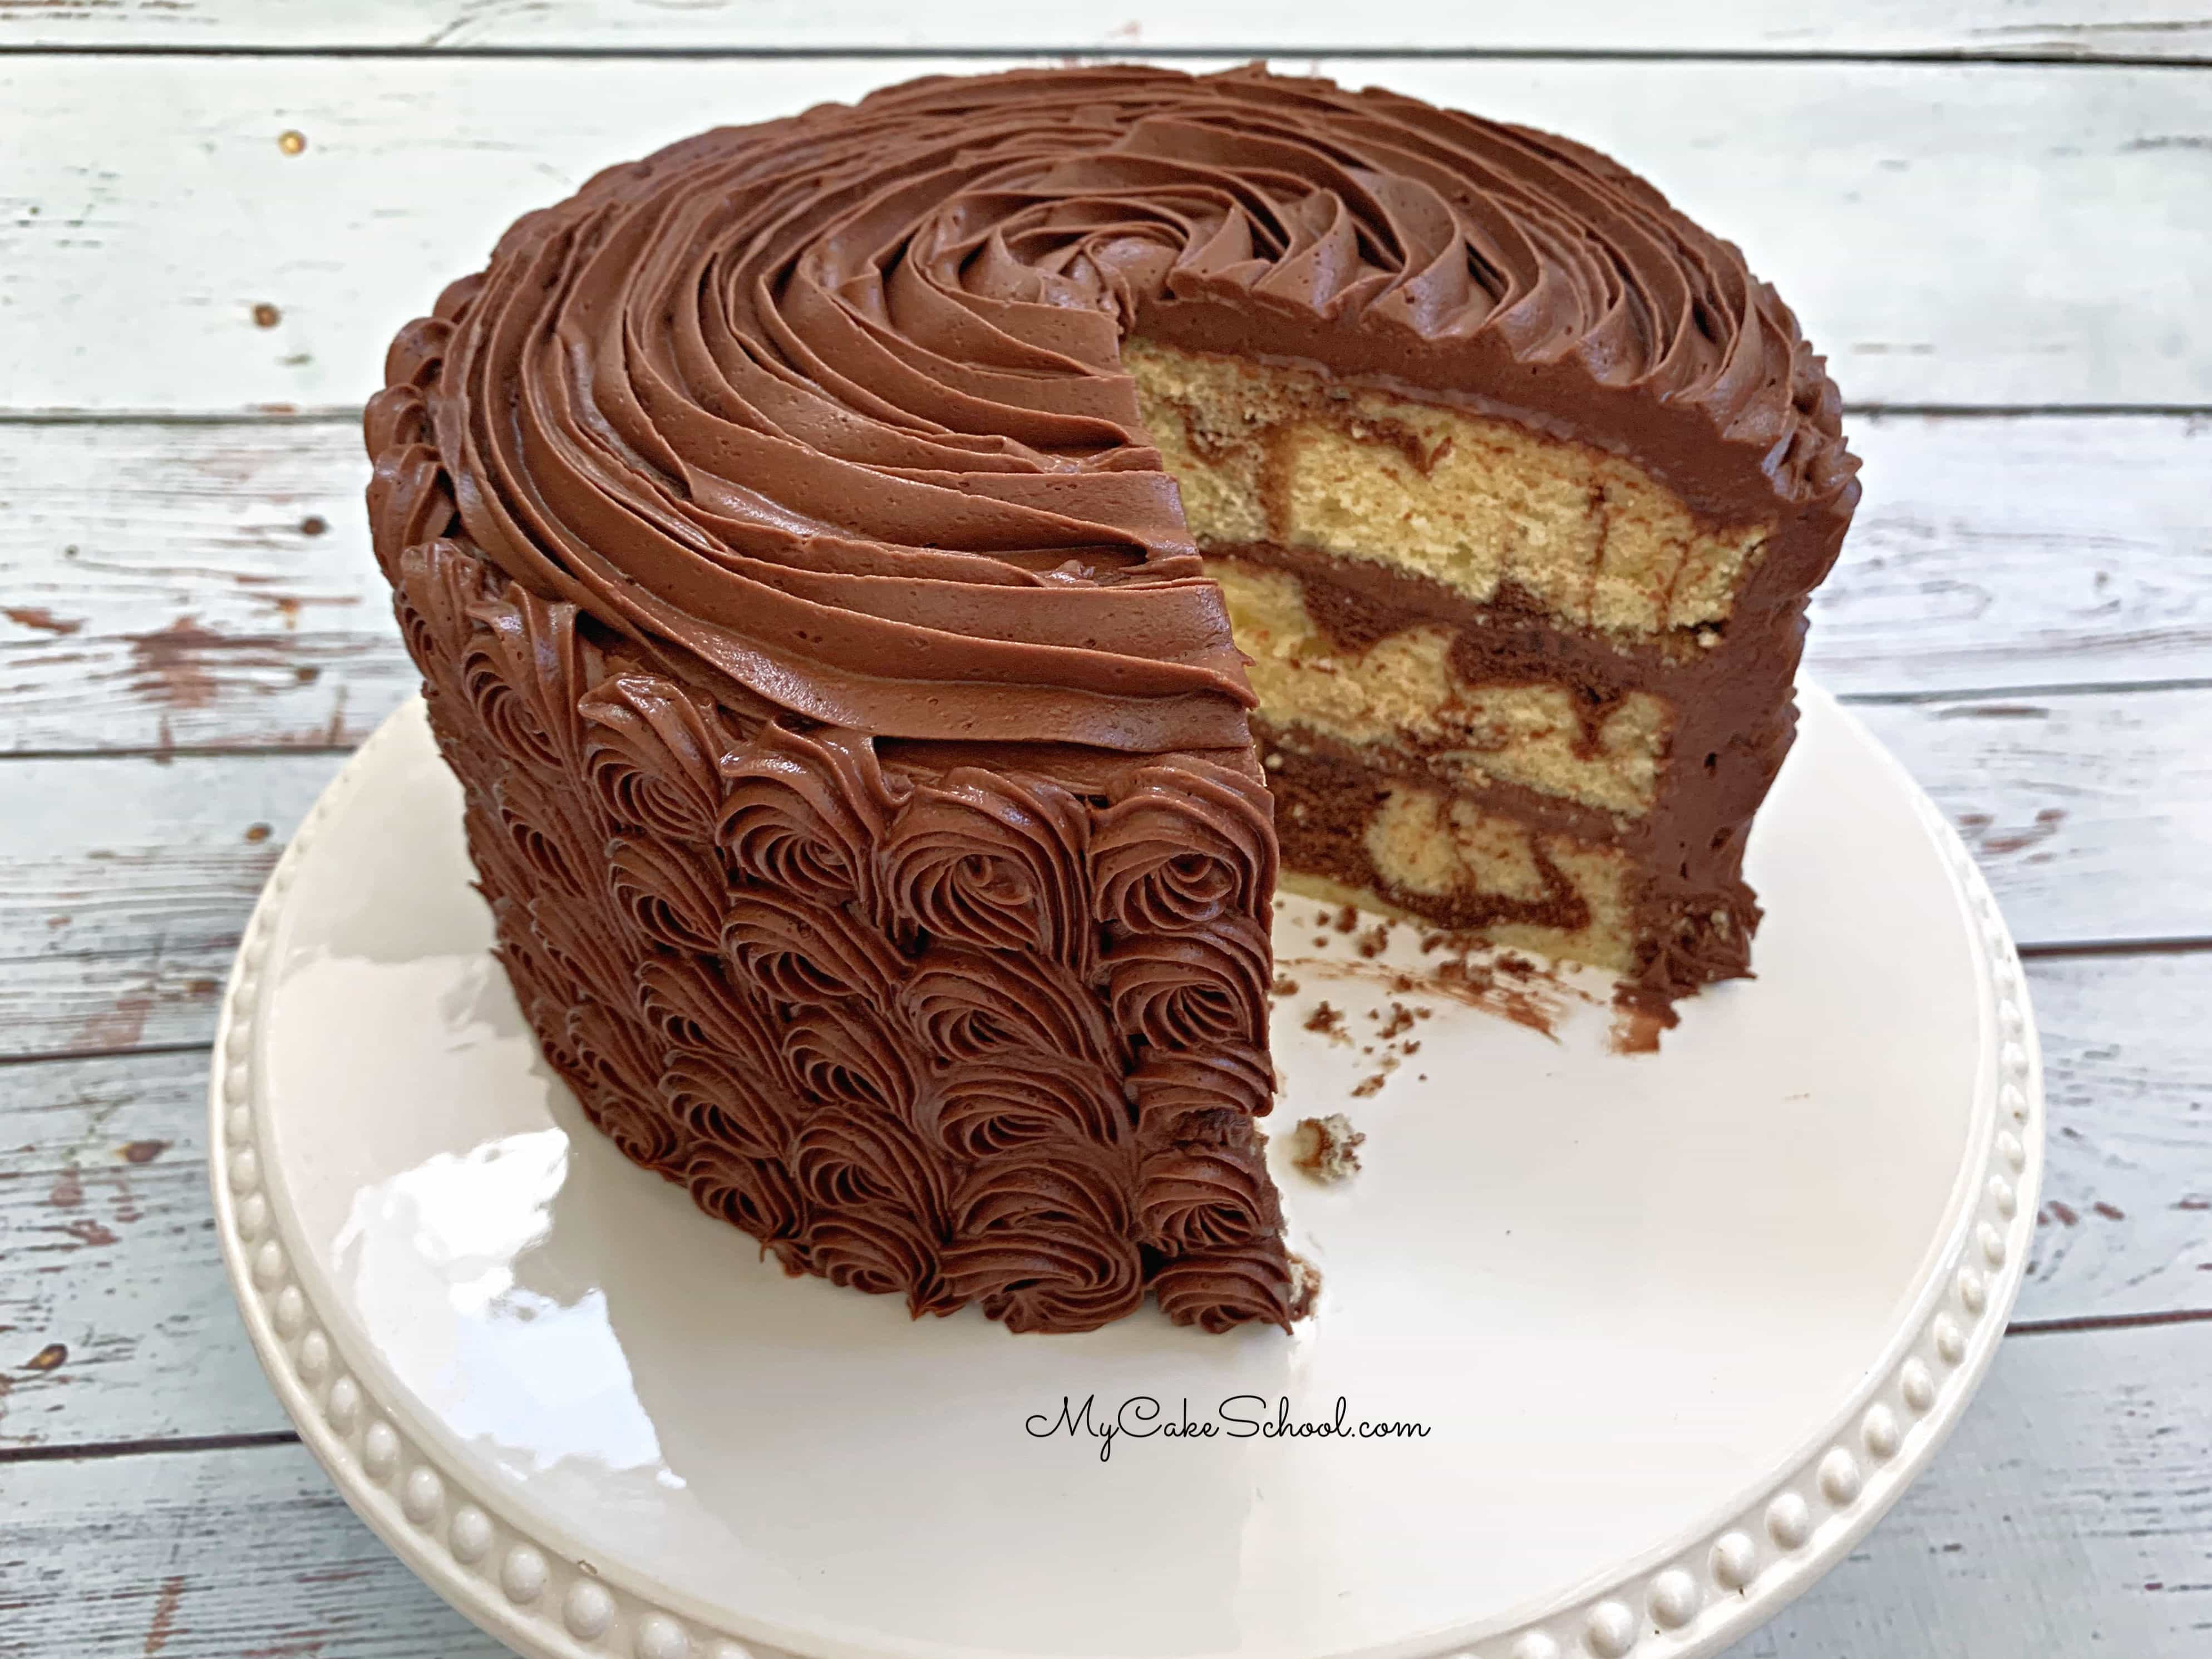
Zebra Cakes and Checkerboard Cakes!
If you love Marble Cake, you should try changing this up a bit with Zebra Cake! It is the same idea as marble cake, only with a zebra print patter. You can find our step by step tutorial here: Zebra Cake Tutorial.
Our checkerboard cake is another fun alternative to marble cake, but with the same wonderful combination of flavors! How to Make a Checkerboard Cake.
Recipe FAQs
More Classic Cake Recipes
In addition to our Yellow Cake Recipe which this recipe is based on, there are several more classic cake recipes that you must try!
Some of our most popular are our Carrot Cake Recipe, German Chocolate Cake, Strawberry Cake, and Italian Cream Cake. Here are a few more:
Enjoy the Recipe
Thanks so much for stopping by! If you give this marble cake a try, we would love for you to leave a comment and photo below! Also, don't miss our Marble Cake Mix recipe as well as our Marble Pound Cake and recipe for Marble Cupcakes!
Also, if you are a fan of homemade cake recipes, don't miss our full collection of scratch cakes!
Have you made this? We would LOVE for you to leave a ⭐️ rating as well as a comment and photo below! We really appreciate your feedback!
Marble Cake from Scratch
Equipment
Ingredients
- 3 cups (342g) cake flour
- 2 cups (400g) sugar
- 2 teaspoons (8g) baking powder
- ½ teaspoon (3g) baking soda
- ½ teaspoon (3g )salt
- 2 sticks (226g) unsalted butter, softened.
- 4 large eggs, room temperature.
- 1 ¼ cup (299g) buttermilk *If you do not have buttermilk see note below.
- 1 Tablespoon (12g) vanilla extract
- 4 Tablespoons unsweetened cocoa powder measure then sift + 3 to 4 Tablespoons very hot water (for marbling)
Instructions
- Preheat the oven to 325 degrees. Grease and flour three 8x2 inch round cake pans. Place a piece of parchment in the bottom of each pan. (Note that we used three layers- this recipe has been updated since our photos were taken. We will update the photos soon!)
- Put the first 5 ingredients into the bowl of your mixer. Mix on low speed for at least 30 seconds to combine.
- Add the softened butter (cut into pieces) mix on low speed just until it looks like coarse sand. The dry ingredients will be moistened/coated by the butter and will stick to together if you press some between two fingers. Don't over-mix or it will turn into a large dough-like ball.
- Add the eggs 1 at a time, mixing until blended.
- Add the vanilla to the 1 ¼ cup buttermilk. With the mixer on lowest speed gradually pour into the mixer. Increase the speed to #2 or # 3 (on a KitchenAid mixer). Mix for about 2 minutes, batter will be smooth and fluffy. If you are using a hand mixer rather than a stand mixer, mix a bit longer.
MARBLING INSTRUCTIONS
- Mix 4 Tablespoons unsweetened cocoa powder with 3 to 4 Tablespoons very hot water. Stir until smooth & set aside.
- Put 1 ½ cups cake batter into a medium sized bowl and stir in the chocolate mixture to create chocolate batter. Set aside.
- Put about a cup of yellow batter into each of the three pans & spread, then add a few dollops of chocolate batter by the spoonful to each of the pans. Swirl with offset spatula or knife (we usually use something about ½ inch wide). Add more yellow batter by the spoonful, adding chocolate batter here and there until finished. Swirl this newly added yellow and chocolate. Be careful not to over-swirl- you'll lose the contrasting colors.
- Bake at 325 degrees for 25-30 minutes or until a toothpick inserted in the center comes out clean. Let the cake cool in the pans 5-10 minutes, then turn out.

Hi Cher, It should be fine for cupcakes
Hola, Se ve delicioso suave que se pierde en el paladar ,Muchas gracias por compartir que el Dios lo bendiga.
Yummy! I baked this cake and froze the layers a couple of weekends ago. Yesterday I frosted using the classic chocolate buttercream and it is delicious. Very moist and flavorful! I also used the "modern basket weave" piping technique which was easy and fun then piped a big sunflower on top. The basket looked great...the sunflower so great!
How many cups of batter does this recipe make? I’m making a 1/2 sheet cake.
Hi Angel, this recipe makes 7 1/2 cups batter
The sunflower NOT so great! Lol
Melissa, will this cake hold up under fondant.
Hi Rosangel, yes it will! ;0)
Can't wait to try! Would this recipe work with 9" rounds instead of 8"?
Hi Lynn, You could bake it in 9" round pans, it would just not be quite as tall. I would also check for doneness a few minutes sooner.
Can I substitute the cake flour with all purpose flour ??? Thanks
Hi Francesca, Yes, you can use all purpose flour. It will not be quite as tender, but still very good. This is the substitution, for each cup of cake flour, use 1 cup all purpose flour plus 2 more Tablespoons flour. The recipes calls for 2 1/2 cups cake flour so you will use 2 1/2 cups all purpose flour plus 5 Tablespoons more all purpose flour.
Thank you so much
I used this recipe last week. The batter came together very nicely. However I struggled with the cocoa/water mixture. When I mixed the 3 tbsp of cocoa and 2 tbsp of hot water it became a giant clump. The cocoa absorbed all the water, and I still had some dry cocoa left in my bowl. I tried to work it in, but it just became harder. Then I made the mistake of thinking I could just mix it into the separated cake batter, hoping it would dissolve. Well it just broke into smaller pieces. I had chunks of it in the batter. So what I did was pass the "chocolate" batter through a sieve. I did have a lot of chocolate clumps left in the sieve. I continued to press it through. I baked it. The yellow sections were nice and spongy, but the chocolate marbling seemed dry. I tasted a small piece from the side and there was a noticeable difference in texture between the yellow and the chocolate. But the flavor was good. Made no difference to the party guests.
Thinking back, I probably should have added more hot water to the cocoa. Perhaps a 1/2 tbsp at a time? I tend to follow a recipe to the T my first time around.