Marble Cake
Today I'm sharing the BEST Marble Cake recipe from scratch that belongs in your recipe box!
The layers are so moist and tender with wonderful flavor (not to mention beautiful swirls). Everybody needs a go-to marble cake recipe, don't they? This has become one of our most popular layer cakes!
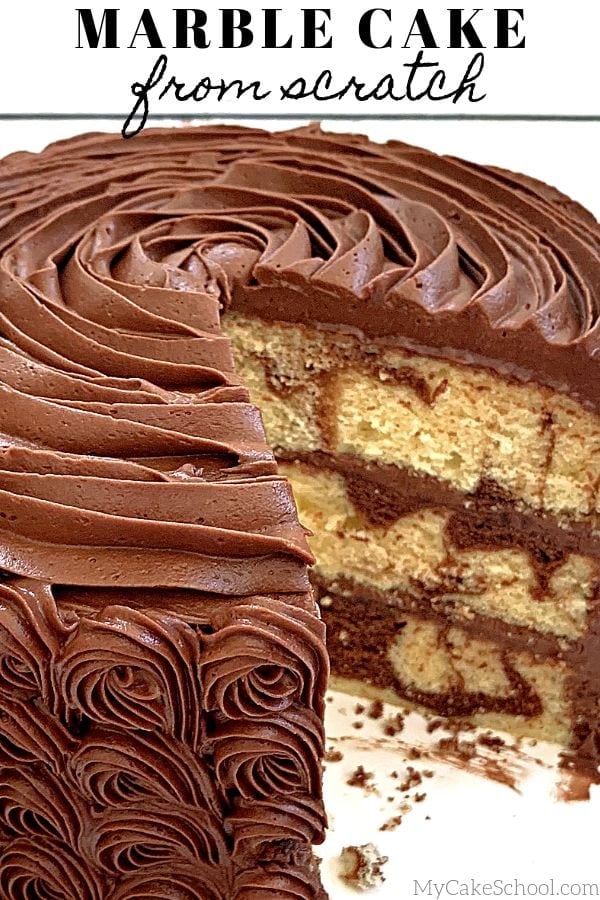
Why choose between a delicious chocolate and a delicious yellow cake when a marble cake can give you the best of both worlds? This is a dessert that never disappoints.
It is the perfect balance of yellow cake with swirls of chocolate, makes beautiful cake layers as well as cupcakes, and it is sturdy enough to hold up well to fondant too. (We have a Marble Cake Mix version as well!)
We love to pair marble layer cakes with our rich Chocolate Buttercream. So good!
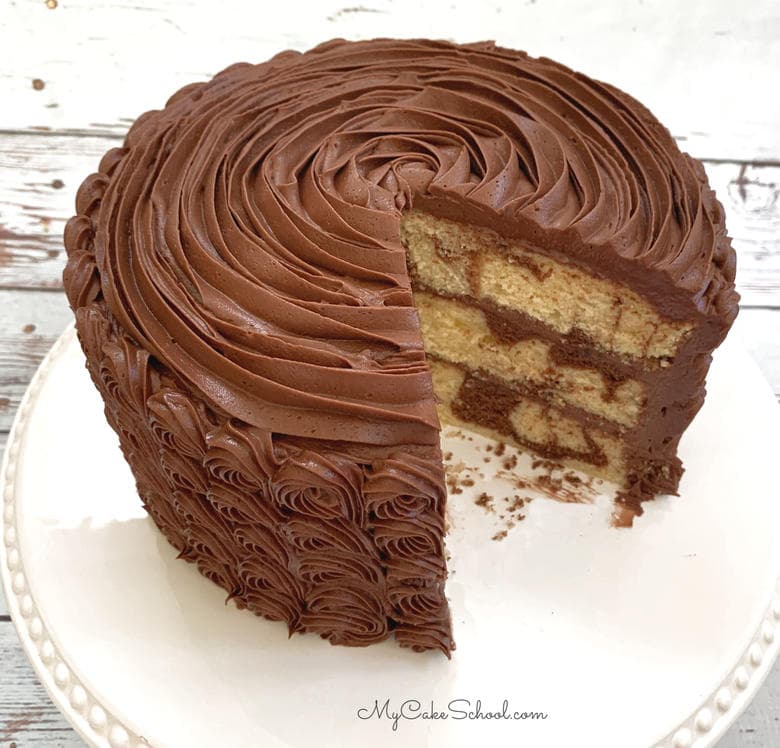
Table of Contents
What is Marble Cake?
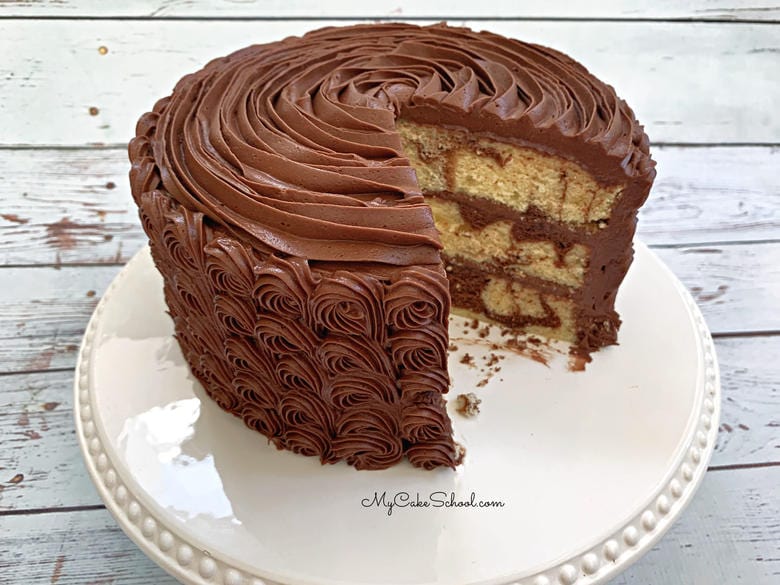
Marble cake is a type of cake that has contrasting swirls of batter, giving a fun marbled or swirled pattern to your slices.
The contrasting swirls may be from a different flavor of batter, or simply batter that has been tinted. Once the two types of batter are in the pan, you can lightly drag a knife through the batter to create the marbled effect.
Years ago, when making marble cake, I used to prepare a chocolate cake recipe and a yellow cake recipe separately and then combined them. That's just too much work and too much batter. Other recipes call for melted chocolate.
With this Marble Cake technique, simply choose your favorite yellow or white cake recipe, and reserve a little to combine with cocoa powder for your swirls- what could be easier?
I just LOVE the combination of yellow cake with chocolate and so this recipe is based on our favorite scratch Yellow Cake.
However, no matter what recipe you are using (whether yellow or white cake), you can follow the same technique!
How to Marble Cake Batter
- To create a marbled effect with your cake batter you first need to make your white or yellow cake batter.
- Next, dissolve cocoa powder into hot water.
- Scoop some of your cake batter into a small bowl (see recipe for details) and combine with the chocolate mixture to create chocolate batter.
- Next, scoop spoonfuls of batter into the pans, alternating between the yellow and chocolate batter. You can see how we did this in our video tutorial. For me, I added yellow cake batter to each pan first, then added spoonfuls of chocolate batter, gave it a swirl, then added additional yellow and chocolate batter and gave it another swirl.
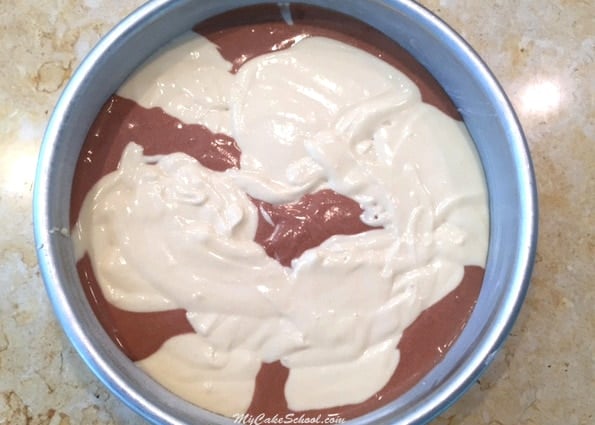
- It's up to you how marbled you make it, although you have to stop yourself from having too much fun or you'll loose your beautiful swirls!
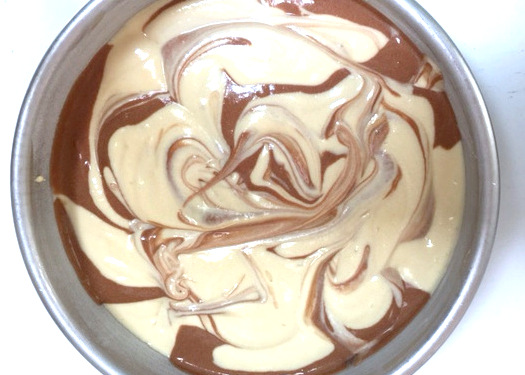
That's all there is to it! Bake, fill, frost, and enjoy! We hope that you love this recipe as much as we have. It's guaranteed to please any crowd.
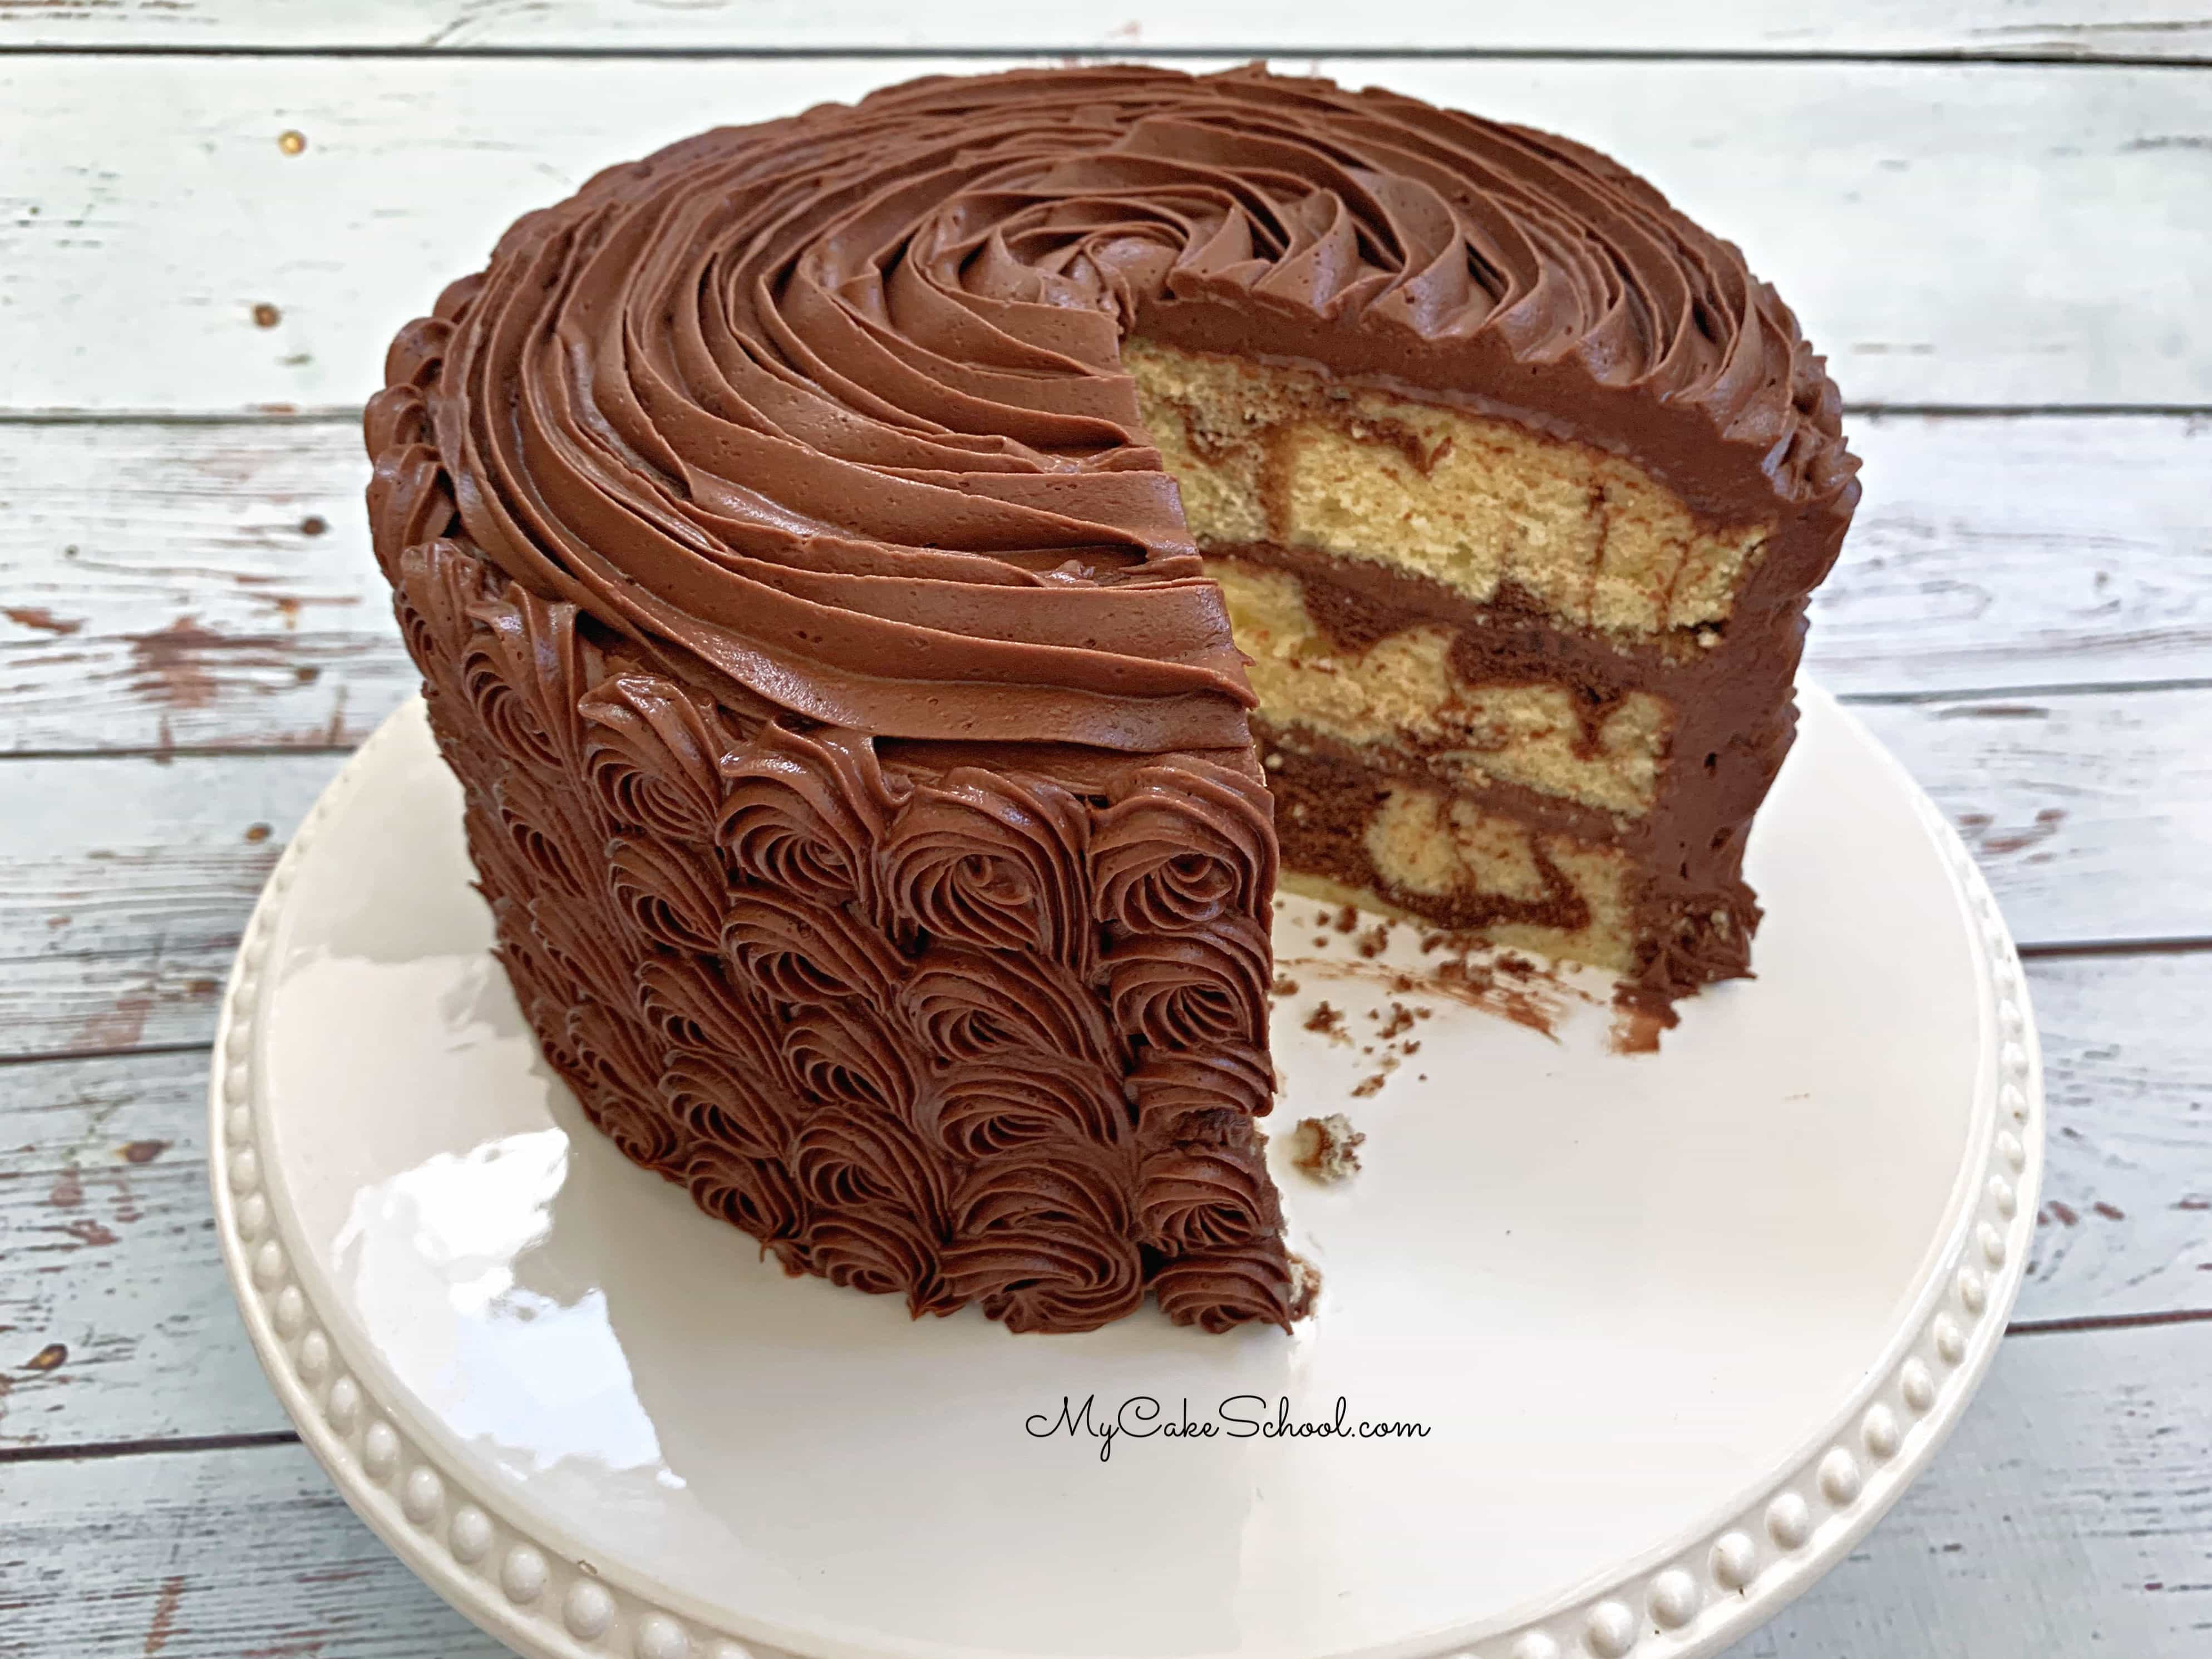
Zebra Cakes and Checkerboard Cakes!
If you love Marble Cake, you should try changing this up a bit with Zebra Cake! It is the same idea as marble cake, only with a zebra print patter. You can find our step by step tutorial here: Zebra Cake Tutorial.
Our checkerboard cake is another fun alternative to marble cake, but with the same wonderful combination of flavors! How to Make a Checkerboard Cake.
Recipe FAQs
More Classic Cake Recipes
In addition to our Yellow Cake Recipe which this recipe is based on, there are several more classic cake recipes that you must try!
Some of our most popular are our Carrot Cake Recipe, German Chocolate Cake, Strawberry Cake, and Italian Cream Cake. Here are a few more:
Enjoy the Recipe
Thanks so much for stopping by! If you give this marble cake a try, we would love for you to leave a comment and photo below! Also, don't miss our Marble Cake Mix recipe as well as our Marble Pound Cake and recipe for Marble Cupcakes!
Also, if you are a fan of homemade cake recipes, don't miss our full collection of scratch cakes!
Have you made this? We would LOVE for you to leave a ⭐️ rating as well as a comment and photo below! We really appreciate your feedback!
Marble Cake from Scratch
Equipment
Ingredients
- 3 cups (342g) cake flour
- 2 cups (400g) sugar
- 2 teaspoons (8g) baking powder
- ½ teaspoon (3g) baking soda
- ½ teaspoon (3g )salt
- 2 sticks (226g) unsalted butter, softened.
- 4 large eggs, room temperature.
- 1 ¼ cup (299g) buttermilk *If you do not have buttermilk see note below.
- 1 Tablespoon (12g) vanilla extract
- 4 Tablespoons unsweetened cocoa powder measure then sift + 3 to 4 Tablespoons very hot water (for marbling)
Instructions
- Preheat the oven to 325 degrees. Grease and flour three 8x2 inch round cake pans. Place a piece of parchment in the bottom of each pan. (Note that we used three layers- this recipe has been updated since our photos were taken. We will update the photos soon!)
- Put the first 5 ingredients into the bowl of your mixer. Mix on low speed for at least 30 seconds to combine.
- Add the softened butter (cut into pieces) mix on low speed just until it looks like coarse sand. The dry ingredients will be moistened/coated by the butter and will stick to together if you press some between two fingers. Don't over-mix or it will turn into a large dough-like ball.
- Add the eggs 1 at a time, mixing until blended.
- Add the vanilla to the 1 ¼ cup buttermilk. With the mixer on lowest speed gradually pour into the mixer. Increase the speed to #2 or # 3 (on a KitchenAid mixer). Mix for about 2 minutes, batter will be smooth and fluffy. If you are using a hand mixer rather than a stand mixer, mix a bit longer.
MARBLING INSTRUCTIONS
- Mix 4 Tablespoons unsweetened cocoa powder with 3 to 4 Tablespoons very hot water. Stir until smooth & set aside.
- Put 1 ½ cups cake batter into a medium sized bowl and stir in the chocolate mixture to create chocolate batter. Set aside.
- Put about a cup of yellow batter into each of the three pans & spread, then add a few dollops of chocolate batter by the spoonful to each of the pans. Swirl with offset spatula or knife (we usually use something about ½ inch wide). Add more yellow batter by the spoonful, adding chocolate batter here and there until finished. Swirl this newly added yellow and chocolate. Be careful not to over-swirl- you'll lose the contrasting colors.
- Bake at 325 degrees for 25-30 minutes or until a toothpick inserted in the center comes out clean. Let the cake cool in the pans 5-10 minutes, then turn out.

Hi! Your cakes look delicious im a new baker and your blog really helps a lot
I want to make a two layer cake, but I want to use to use two 10 inch cake pans. How much batter do I need to double the recepie. Do I need to change to baking time?
Hi Yadira, Doubling the recipe will give you enough batter. Each 10 inch pan will need 6 cups of batter. Bake at 350 degrees for 35 to 40 minutes or until a toothpick inserted in the center comes out clean. You might want to use a rose nail in the center of the pan for more even baking. Are you familiar with using the Reverse Creaming Method? If not, you could watch Melissa's video. She has a link to it under the picture of the cake. Hope all goes well.
Hi Mellisa, I need to make 2 tier birthday cake and I came across your recipes. I will have to do 2x 10'inch and 2x 8'inch. How much batter shall I make?
Hi Katerina, this Wilton chart is a good one to refer to as it has a specific column for batter amounts. Here is the link:
http://www.wilton.com/cake-serving-guide/cms-baking-serving-guide.html
They recommend 6 cups of batter for each 10 inch pan (for a 2 layer cake that stands 4 inches high), and 4 cups of batter for each 8 inch pan.
These are estimates but a good point of reference. You'll fill your pans approx 1/2-2/3 full. Hope this helps!
Hi Melissa I have tried you cake at least 3 times and it does not come out like your picture it comes out like all the liquids to the bottom of the cake I have followed your instructions and even watch your video to see what I'm doing wrong don't know what else to do
Hi Alicia, I am sorry you have had this problem. The darker streak at the bottom of the cake means that you are mixing your cake too long or the speed of the mixer is too high. Do not mix higher than medium speed with your mixer. I hope this will solve the problem for you.
Hey doing a scratch cake for my wife's Mom's Birthday tomorrow. I'm pretty good with general cake but this recipe intrigued me. Was totally paranoid while mixing
Brain to self:"Dude, this is so weird the texture is off, you gotta add something !"
Self to Brain: Trust the recipe...! right? .. I hope ?"
Brain to self:this is not right, it's nor pouring, it does not move right, just add some liquid !"
Self to brain: " If this does not go we can always do a mix tomorrow really quick[which coming from me is almost like baking blasphemy.
Anyway, I followed the recipe, I now have two nice looking layers cooling on my cook top, and a version of the white chocolate raspberry gnauche in my fridge.
Hopefully these will become a harmonious whole tomorrow.
Thanks for enlarging my experience of cake and caking [yes I just verbed cake]
If all goes well, I'll try to get some assembly photos.
Hi Mike, I enjoyed reading your post! Yes, the reverse creaming method is so different from the conventional method that it seems wrong. So glad you gave it a try and I hope you love the cake, the chocolate raspberry ganache sounds wonderful!! Thanks for posting!!
Well the cake was a success. THe one lesson learned is simply that the filling I chose was not quite dense enough for a cake filling. first cut went well, successive cuts got a little sloppy, but No one cared.
I asked people for honest opinions and they [including two moms who were life long cooks] were quite pleased with the flavors and texture of this recipe.
Since my lovely wife was kind enough to let me sleep til 10, I did not make time to take assembly pictures.
All's well that ends well.
Thanks so much for your feedback. I'm happy to hear that everyone approved! I'm sure it was delicious, even if the filling didn't behave during slicing. At that point, everyone is just happy to dive in anyway! ;0)
My granddaughter and I just made this cake for her parents for Valentines Day. It is fantastic! Even not waiting as long as I would normally to frost it, it held up beautifully. It was moist and delicious. Definitely a keeper! Thanks!