Marble Cake
Today I'm sharing the BEST Marble Cake recipe from scratch that belongs in your recipe box!
The layers are so moist and tender with wonderful flavor (not to mention beautiful swirls). Everybody needs a go-to marble cake recipe, don't they? This has become one of our most popular layer cakes!
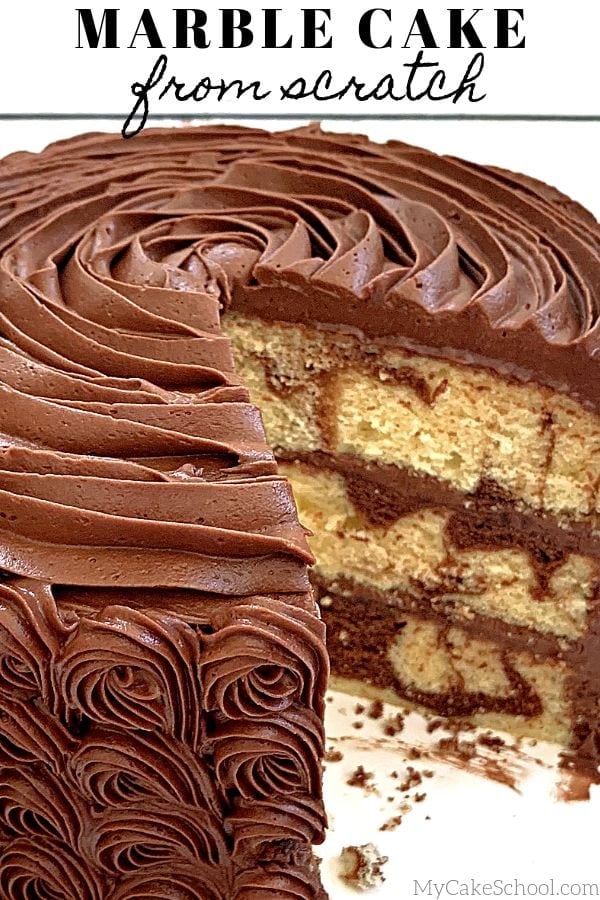
Why choose between a delicious chocolate and a delicious yellow cake when a marble cake can give you the best of both worlds? This is a dessert that never disappoints.
It is the perfect balance of yellow cake with swirls of chocolate, makes beautiful cake layers as well as cupcakes, and it is sturdy enough to hold up well to fondant too. (We have a Marble Cake Mix version as well!)
We love to pair marble layer cakes with our rich Chocolate Buttercream. So good!
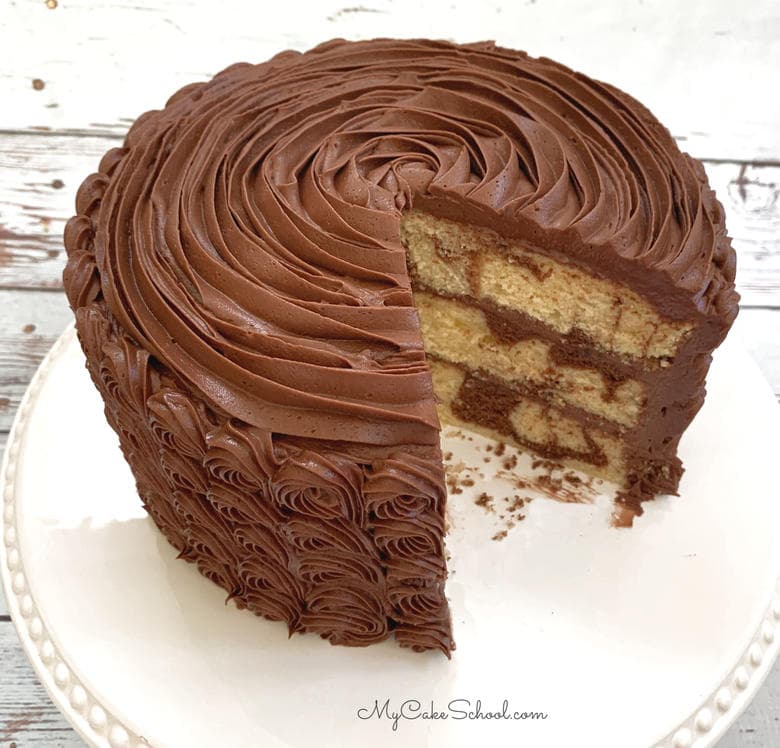
Table of Contents
What is Marble Cake?
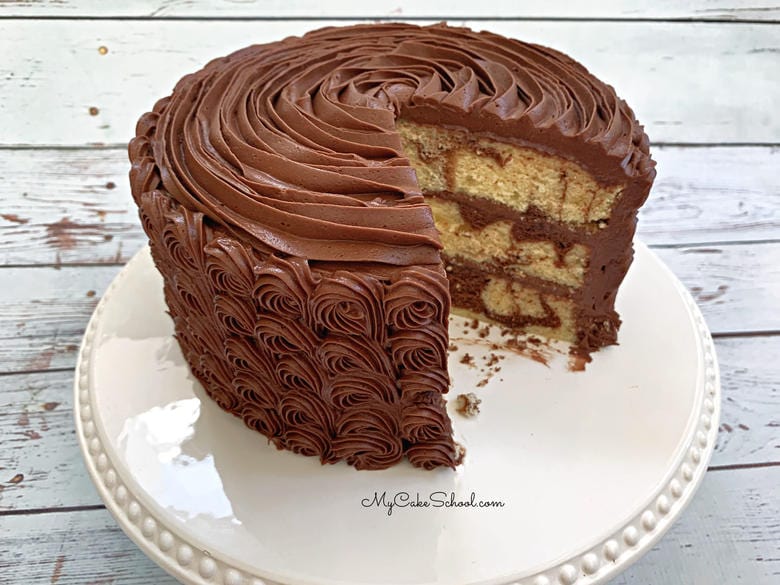
Marble cake is a type of cake that has contrasting swirls of batter, giving a fun marbled or swirled pattern to your slices.
The contrasting swirls may be from a different flavor of batter, or simply batter that has been tinted. Once the two types of batter are in the pan, you can lightly drag a knife through the batter to create the marbled effect.
Years ago, when making marble cake, I used to prepare a chocolate cake recipe and a yellow cake recipe separately and then combined them. That's just too much work and too much batter. Other recipes call for melted chocolate.
With this Marble Cake technique, simply choose your favorite yellow or white cake recipe, and reserve a little to combine with cocoa powder for your swirls- what could be easier?
I just LOVE the combination of yellow cake with chocolate and so this recipe is based on our favorite scratch Yellow Cake.
However, no matter what recipe you are using (whether yellow or white cake), you can follow the same technique!
How to Marble Cake Batter
- To create a marbled effect with your cake batter you first need to make your white or yellow cake batter.
- Next, dissolve cocoa powder into hot water.
- Scoop some of your cake batter into a small bowl (see recipe for details) and combine with the chocolate mixture to create chocolate batter.
- Next, scoop spoonfuls of batter into the pans, alternating between the yellow and chocolate batter. You can see how we did this in our video tutorial. For me, I added yellow cake batter to each pan first, then added spoonfuls of chocolate batter, gave it a swirl, then added additional yellow and chocolate batter and gave it another swirl.
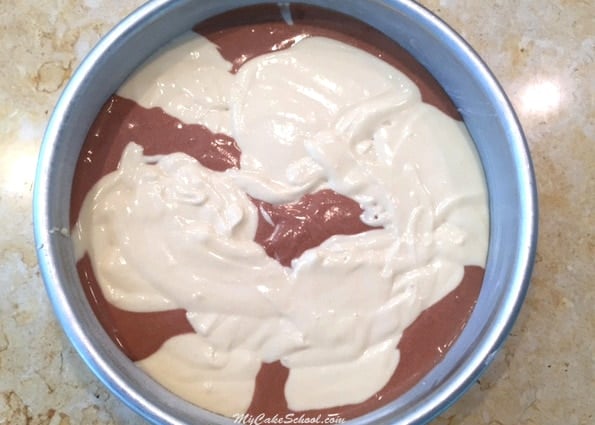
- It's up to you how marbled you make it, although you have to stop yourself from having too much fun or you'll loose your beautiful swirls!
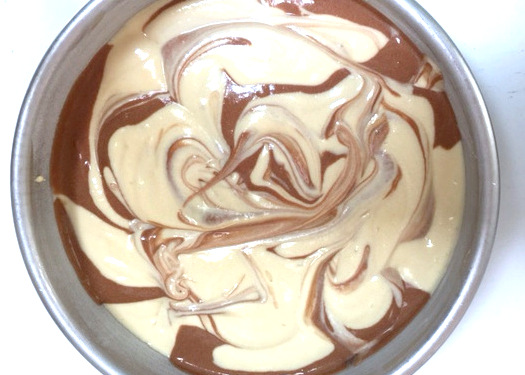
That's all there is to it! Bake, fill, frost, and enjoy! We hope that you love this recipe as much as we have. It's guaranteed to please any crowd.
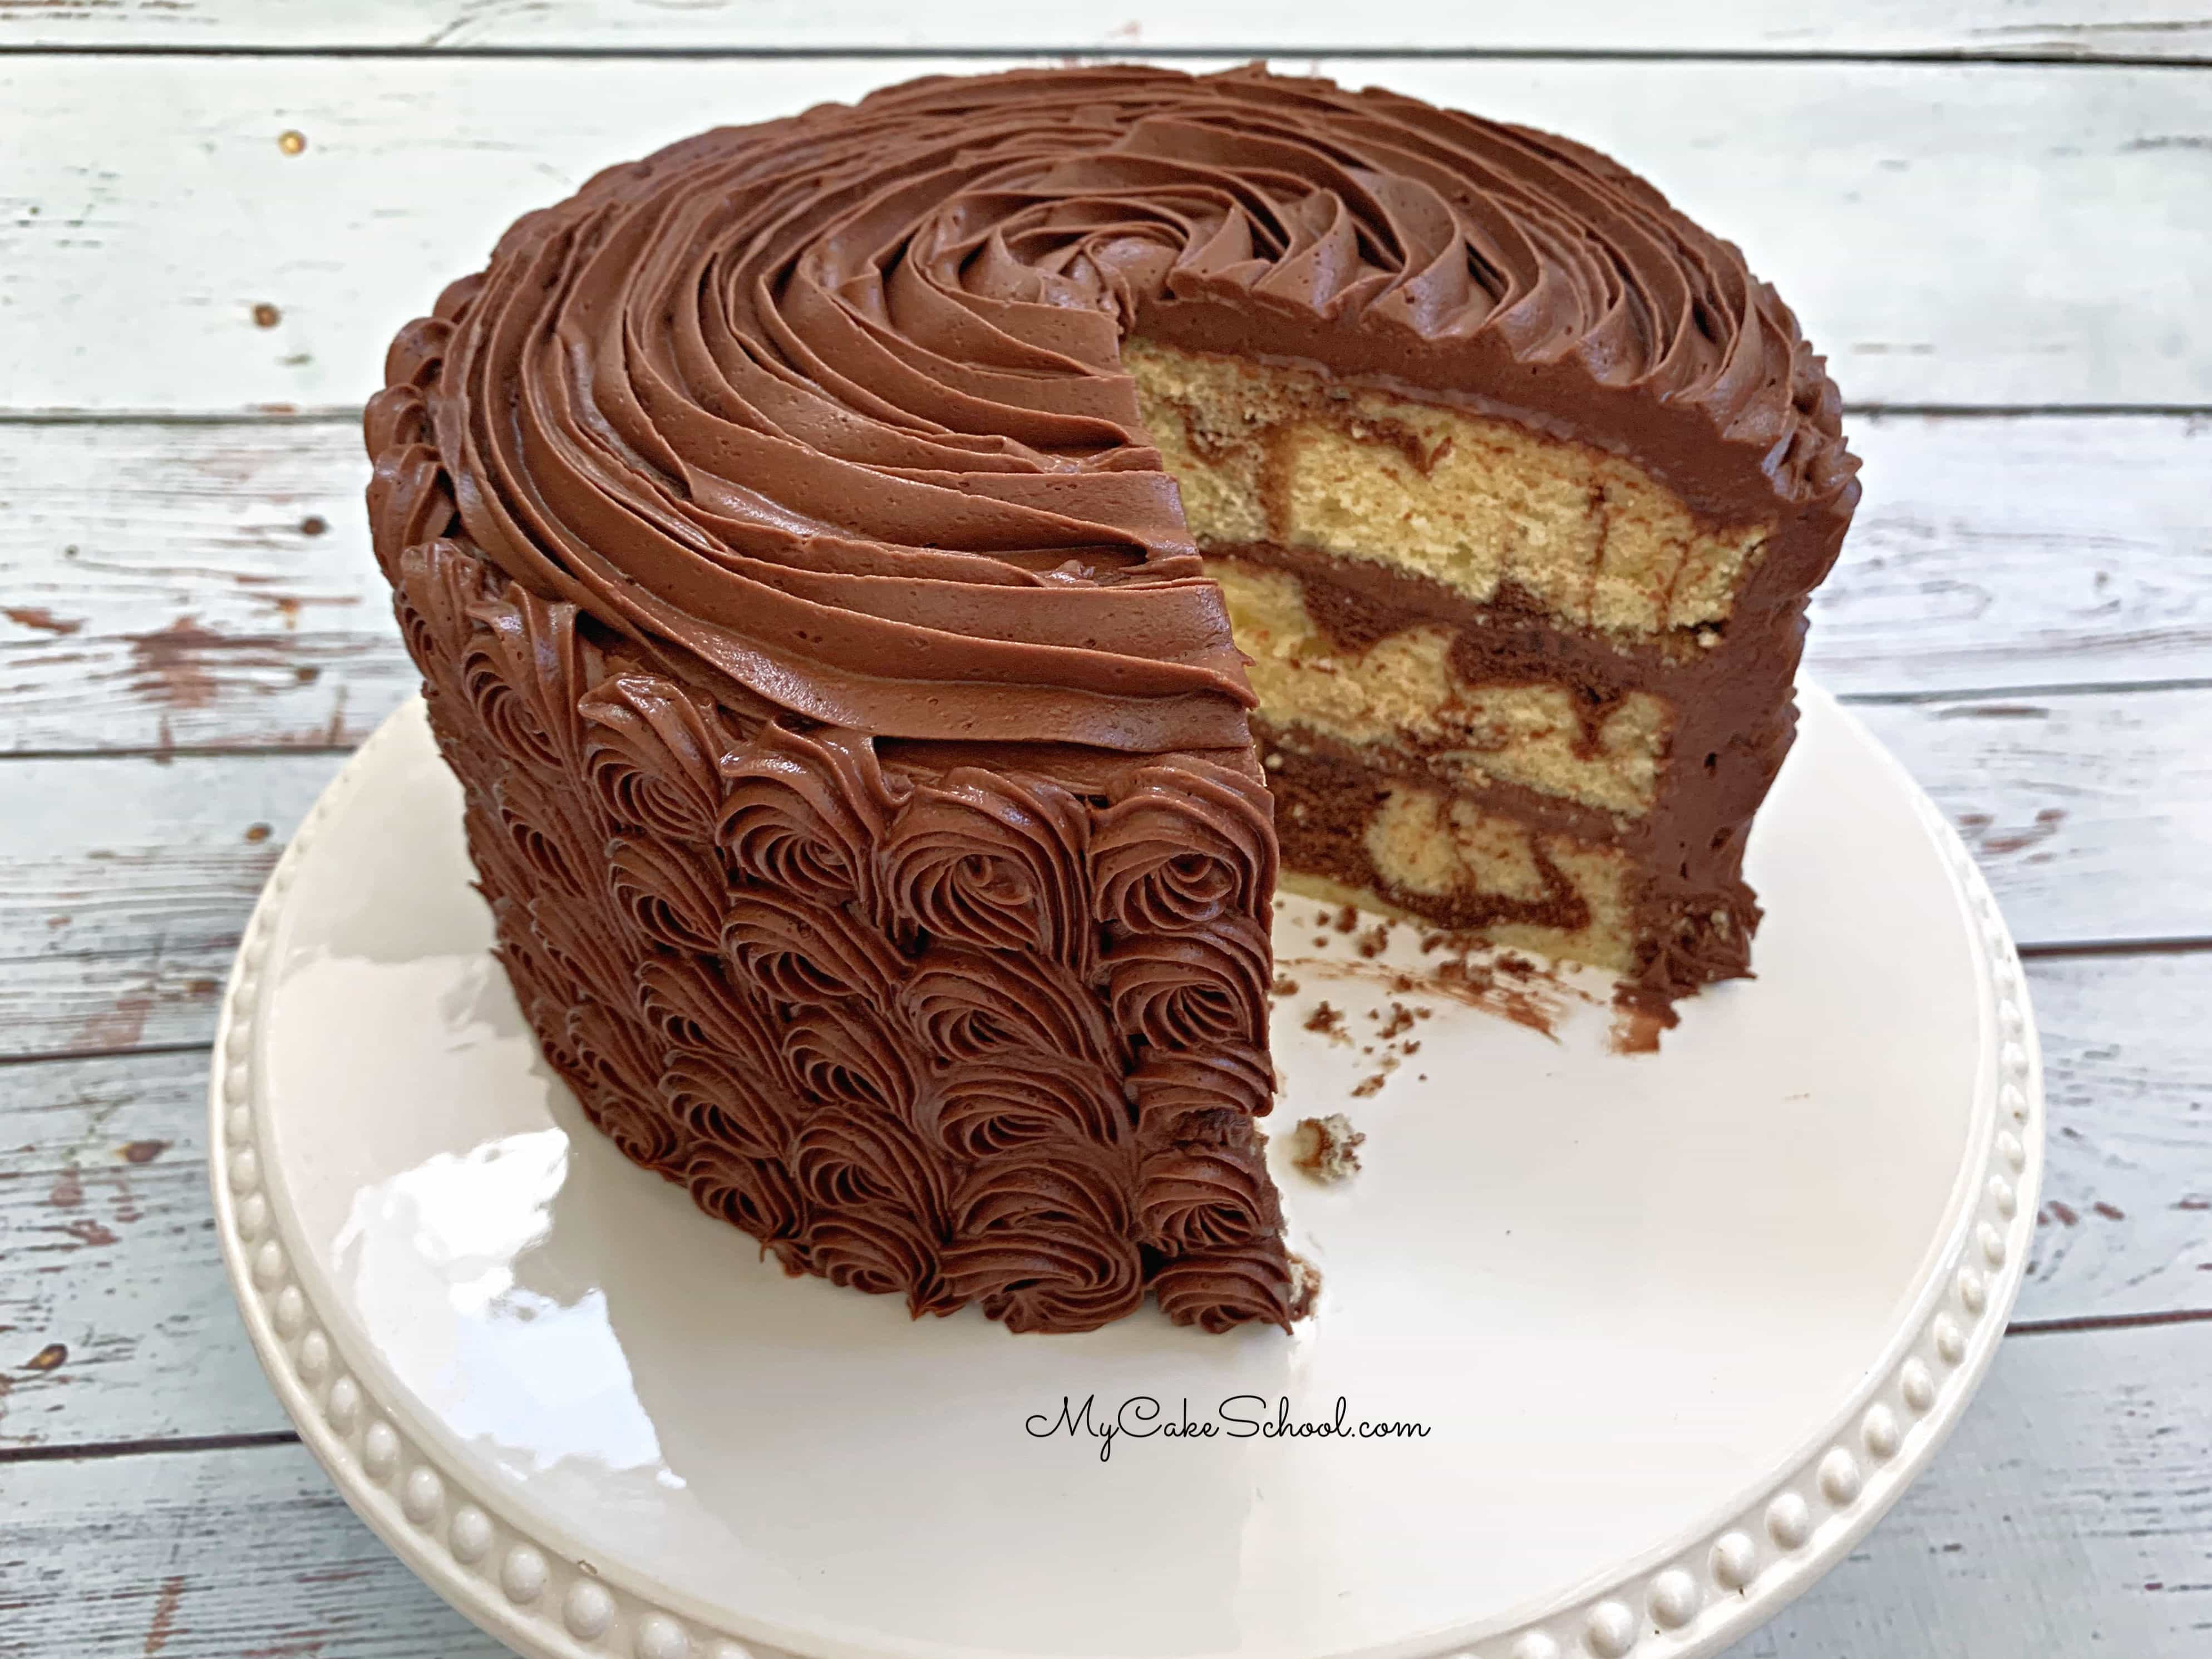
Zebra Cakes and Checkerboard Cakes!
If you love Marble Cake, you should try changing this up a bit with Zebra Cake! It is the same idea as marble cake, only with a zebra print patter. You can find our step by step tutorial here: Zebra Cake Tutorial.
Our checkerboard cake is another fun alternative to marble cake, but with the same wonderful combination of flavors! How to Make a Checkerboard Cake.
Recipe FAQs
More Classic Cake Recipes
In addition to our Yellow Cake Recipe which this recipe is based on, there are several more classic cake recipes that you must try!
Some of our most popular are our Carrot Cake Recipe, German Chocolate Cake, Strawberry Cake, and Italian Cream Cake. Here are a few more:
Enjoy the Recipe
Thanks so much for stopping by! If you give this marble cake a try, we would love for you to leave a comment and photo below! Also, don't miss our Marble Cake Mix recipe as well as our Marble Pound Cake and recipe for Marble Cupcakes!
Also, if you are a fan of homemade cake recipes, don't miss our full collection of scratch cakes!
Have you made this? We would LOVE for you to leave a ⭐️ rating as well as a comment and photo below! We really appreciate your feedback!
Marble Cake from Scratch
Equipment
Ingredients
- 3 cups (342g) cake flour
- 2 cups (400g) sugar
- 2 teaspoons (8g) baking powder
- ½ teaspoon (3g) baking soda
- ½ teaspoon (3g )salt
- 2 sticks (226g) unsalted butter, softened.
- 4 large eggs, room temperature.
- 1 ¼ cup (299g) buttermilk *If you do not have buttermilk see note below.
- 1 Tablespoon (12g) vanilla extract
- 4 Tablespoons unsweetened cocoa powder measure then sift + 3 to 4 Tablespoons very hot water (for marbling)
Instructions
- Preheat the oven to 325 degrees. Grease and flour three 8x2 inch round cake pans. Place a piece of parchment in the bottom of each pan. (Note that we used three layers- this recipe has been updated since our photos were taken. We will update the photos soon!)
- Put the first 5 ingredients into the bowl of your mixer. Mix on low speed for at least 30 seconds to combine.
- Add the softened butter (cut into pieces) mix on low speed just until it looks like coarse sand. The dry ingredients will be moistened/coated by the butter and will stick to together if you press some between two fingers. Don't over-mix or it will turn into a large dough-like ball.
- Add the eggs 1 at a time, mixing until blended.
- Add the vanilla to the 1 ¼ cup buttermilk. With the mixer on lowest speed gradually pour into the mixer. Increase the speed to #2 or # 3 (on a KitchenAid mixer). Mix for about 2 minutes, batter will be smooth and fluffy. If you are using a hand mixer rather than a stand mixer, mix a bit longer.
MARBLING INSTRUCTIONS
- Mix 4 Tablespoons unsweetened cocoa powder with 3 to 4 Tablespoons very hot water. Stir until smooth & set aside.
- Put 1 ½ cups cake batter into a medium sized bowl and stir in the chocolate mixture to create chocolate batter. Set aside.
- Put about a cup of yellow batter into each of the three pans & spread, then add a few dollops of chocolate batter by the spoonful to each of the pans. Swirl with offset spatula or knife (we usually use something about ½ inch wide). Add more yellow batter by the spoonful, adding chocolate batter here and there until finished. Swirl this newly added yellow and chocolate. Be careful not to over-swirl- you'll lose the contrasting colors.
- Bake at 325 degrees for 25-30 minutes or until a toothpick inserted in the center comes out clean. Let the cake cool in the pans 5-10 minutes, then turn out.

Hi Krystal, we do not have experience with high altitude baking . Here is a link that might be helpful.
I have the same question as Che Lumigue(above). I love the taste of the this cake but it is a little dense, what causes that?
Hi, I made this recipe and cakes are cooking as I type this. They baked beautifully but once out of the oven they kind of deflated and look thin. I followed the recipe to a T.
Hi Madelyn, I'm sorry you had a problem with your cake. A cake falling when taken out of the oven can be caused by several things. The most common cause is under baking. Always check for doneness by inserting a toothpick into the center of the cake, it should pull out clean or with just a few crumbs attached. Your flour should always be kept in an airtight container. If you are in humid conditions the flour can absorb moisture, creating too much moisture for the cake. The batter could have been mixed at too high a speed. It is best not to mix above medium speed on your mixer. Also, it is a good idea to check your oven temperature to see if it is heating to the temperature you have set. Are you baking at high altitude? Hope this helps
Hi, can i use the regular creaming method for this recipe instead of the reverse creaming method?
Hi Sweetpalms, Yes, it will be fine to use the conventional mixing method for the recipe. I suggest writing out the recipe using that method and counting the ingredients because it is so easy to leave out an ingredient when changing a recipe.
Hi BeBe and Melissa. I made your marble cake and used 2 layers, with a chocolate layer, for a 3 layer cake filled and frosted with ganache. All 3 layers had been baked weeks ago, but wrapped very well and frozen. The marble cake has a great look and taste, but the density and tight crumb made it seem too much like pound cake. Is there a way to adjust the amount of oil so that the texture/crumb is a little fluffier/larger like my chocolate layer (which is all oil, no butter)? Thank you.
Hi BeBe. Thank you for your reply. I am going to try this today. I will use the butter/oil experiment as you suggested. I do have a question: it looks like the baking powder amount you just listed for me using the conventional method is different from the original reverse cream amount. Does the method change the ingredient amount? Thank you.
Hi Paula, Thanks for catching that, it is the same as reverse creaming, I'll make a correction. I proof read and still did not catch that, maybe I was just looking at the gram weight, I'm giving myself an excuse.
Hi Paula, We don’t have a recipe that is mostly oil. If I were experimenting, I would try 1/2 cup oil and 1/2 stick butter. The reverse creaming method that this recipe uses results in a soft but slightly more dense (like pound cake) texture). The conventional mixing method will give you a lighter texture. Maybe you would prefer that mixing method with this recipe. I have posted it below. If you experiment using more oil let us know how it goes.
Marbled Cake (Conventional Mixing Method)
1 1/2 sticks (12T) (169g) unsalted butter, softened
1 1/2 cups (300g) sugar
4 eggs
2 1/2 cups (285g) cake flour
1 tsp. (6g) salt
2 1/2 teaspoons (12g) baking powder
1 cup (242g) milk
2 teaspoons (18g) vegetable oil
2 teaspoons (8g) vanilla extract
3 Tablespoons unsweetened cocoa powder plus 2 Tablespoons very hot water, mixed together for marbling
Preheat the oven to 350 degrees, grease and flour two 8×2 inch round pans
Mix 3 Tablespoons unsweetened cocoa powder with 2 Tablespoons very hot water. Stir until smooth and set aside.
In a medium sized bowl add the cake flour, salt, baking powder. Whisk to blend, set aside.
In another bowl add the milk, vegetable oil and vanilla
Beat the softened butter until smooth, gradually add the sugar and mix on medium speed 4 to 5 minutes until it is light and fluffy.
Add the eggs one at a time, mixing until the yellow of the yolk disappears.
Add the flour mixture and the milk mixture alternately, begin and end with the flour mixture ( 3 additions of flour and 2 of milk). Mix until combined and smooth, do not mix above medium speed or over mix.
Makes 6 1/2 cups batter
MARBLING INSTRUCTIONS
Put 1 1/2 cups cake batter into a medium sized bowl and stir in the chocolate mixture to create chocolate batter. Using a large spoon, place 3 large spoonfuls of vanilla cake batter into each pan, then 3 spoonfuls chocolate batter. Repeat adding more vanilla batter. You will have areas of both vanilla and chocolate batter in your pan. Using an offset spatula or knife ( we prefer something approximately 1/2 inch wide), swirl the two colors together to get a marbled effect. Do not over mix.
Bake at 350 degrees for 30 to 35 minutes or until a toothpick inserted in the cent comes out clean or with just a few crumbs attached. Let the cake cool 5 to 10 minutes then turn out.
OK. Here is my opinion on the changes to oil and butter for this cake........
DON'T CHANGE ANYTHING!! :-/ The texture did change, more to my liking, but.....the flavor!!! It was lost. Looks like you need the butter for flavor and color. That is what I am seeking...the great color and flavor of this cake, just a little fluffier in crumb.
Back to the drawing board!
Paula, I hate that those ingredients were wasted on the experiment.