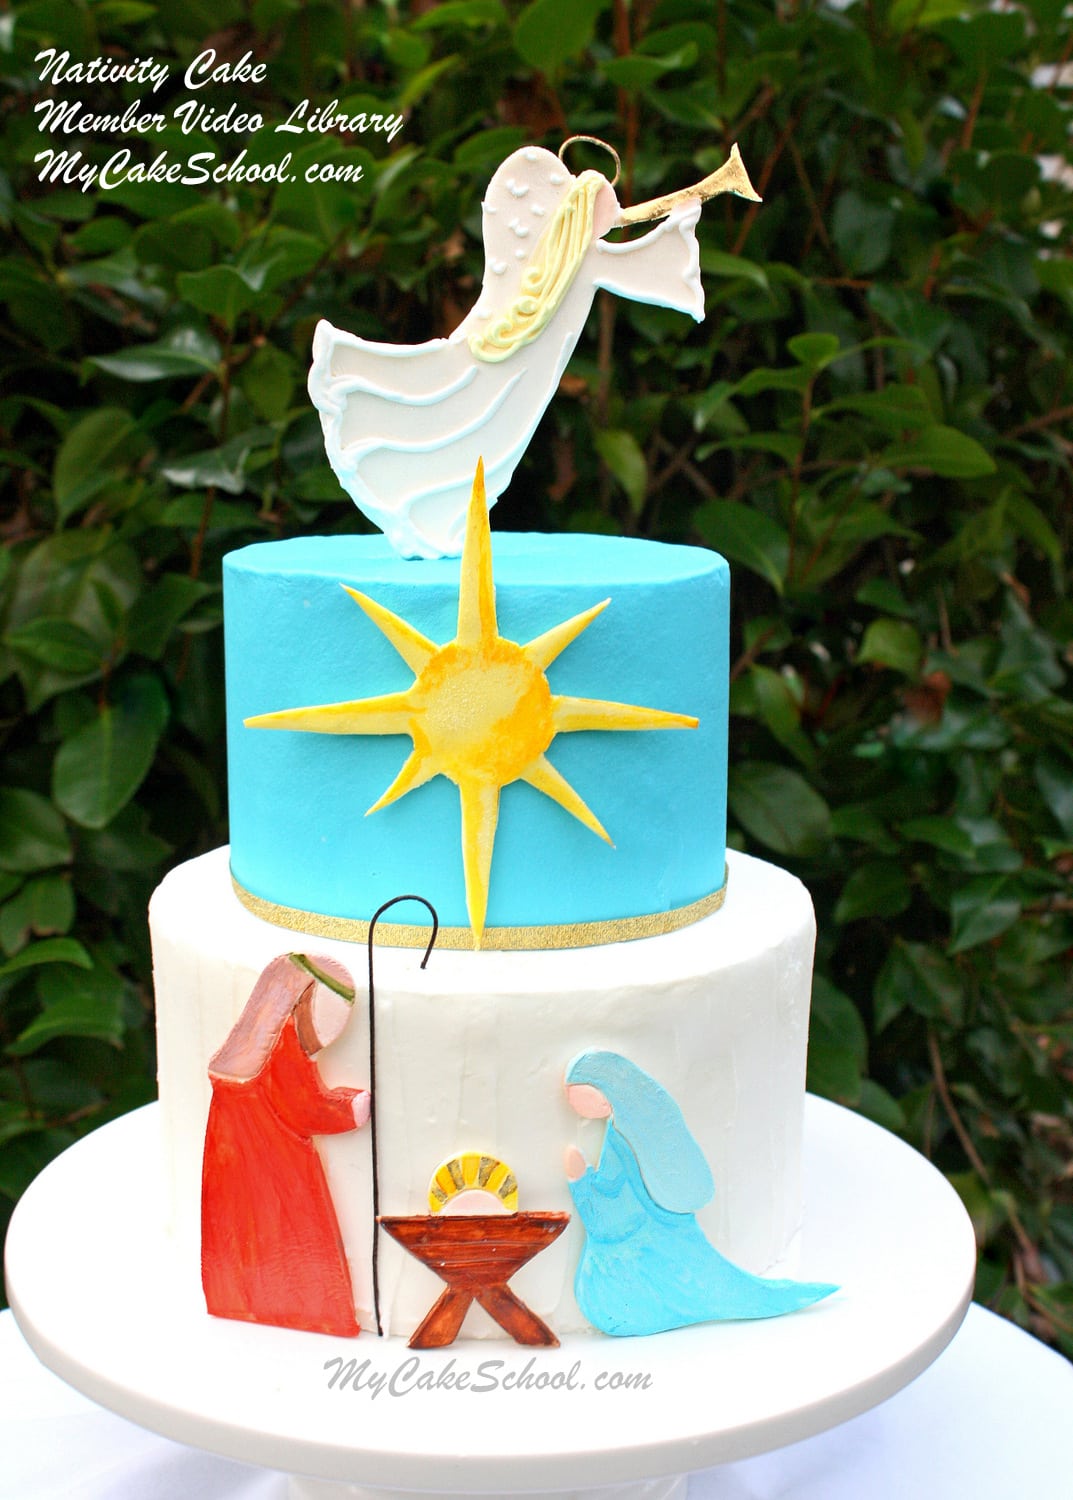
Nativity Cake- A Cake Decorating Video Tutorial
Hi everyone, today we are going to create a beautiful Nativity Cake, just in time for your Christmas gatherings. Because this cake carries such a significant meaning, I wanted to keep the design simple for any skill level, while creating a feeling of warmth and elegance.
I love painted accents for the personal touch that they bring to a design, and I think that the hand painted figures work very well in the nativity. You may even like to expand the nativity to include the wise men, animals, and other figures.
Table of Contents
Materials
In this tutorial, our nativity cake is a basic 8 inch/6 inch stacked construction (supported with 4 bubble tea straws beneath the 6 inch tier.) We frosted the tiers with our fluffy vanilla buttercream recipe. The top tier is tinted Americolor Sky Blue with a touch of Royal Blue. Each tier was on it's own cake board cut to the size of the cake, and then onto the pedestal.
Templates-CLICK HERE FOR TEMPLATES
Xacto or Sharp Knife for cutting out figures
Coloring Gel: Americolor Sky Blue, Royal Blue, Bright White, Copper(skin tone), Chocolate Brown, Avacado Green, Lemon Yellow, Tulip Red (*Don't feel limited to my color choices!)
Gum Paste (or fondant with tylose powder kneaded into it)- I used gum paste for my figures
Royal Icing- I used for accents on my angel. You could also layer on fondant accents instead.
Floral Wire- I used 22 gauge wire-- brown for Joseph's staff, and a small piece of white for my angel. Remember that white wire can be painted brown with coloring gel/vodka "paint"
Vodka & Palette or plate for painting. If you do not want to use vodka, lemon extract (not lemon juice) is a good substitute.
Lollipop Stick or Wooden Skewer- Anchor for our angel topper
Gold Highlighter Dust- Optional. Not edible. I used to paint my angel's horn.
Gold Hologram Dust- Optional. Used on my angel's halo.
Twinkle/Pixie Dust- Optional. Used on my Christmas star.
Gold ribbon- Optional. Used as a bottom border for my top tier.
Small Paint Brushes for painting figures (these need to be reserved for your cake use) ;0)
***
For figures that will become cake toppers, like my angel, allow at least 3 days to dry to be on the safe side. It's also a good idea to make more than one. (I had an extra angel or two just in case mine broke!) For cut-outs that will be partially supported in back by the cake, as with my Mary, Joseph, and manger, 1-2 days of dry time will be fine.
Enjoy the Video!
Thanks so much for stopping by! If you give our nativity cake a try, we would love for you to leave a comment and photo below!
We also have a sweet angel cake topper tutorial from our blog section which would make a beautiful Christmas topper as well.


I love it! Thank you =)
I love it!! I think this is one of my most favorite cakes you'd done. Very nice! Thank you for sharing!!!
Thank you so much!! xo
I love this cake! So simple but dramatic at the same time.
I absolutely LOVE this cake! Beautiful job Melissa. I'm making this cake for my Christmas Eve dinner. Thanks so much!! Merry Christmas...
Thank you!!
slfdillard- I am so happy to hear that!! Merry Christmas to you too!
Beautiful! Just curious, what do you do with all the cakes you decorate? Do you eat them? Because I've made so many in my lifetime, I'm "caked out"!
I love this cake, beautiful, as always!
I love this cake so much!! I'm definitely going to try this one. I have a question, do you have any videos on how you transport these cakes? I'd love to see how you transport and store them. Thank you so much!! brandy