Orange Cake
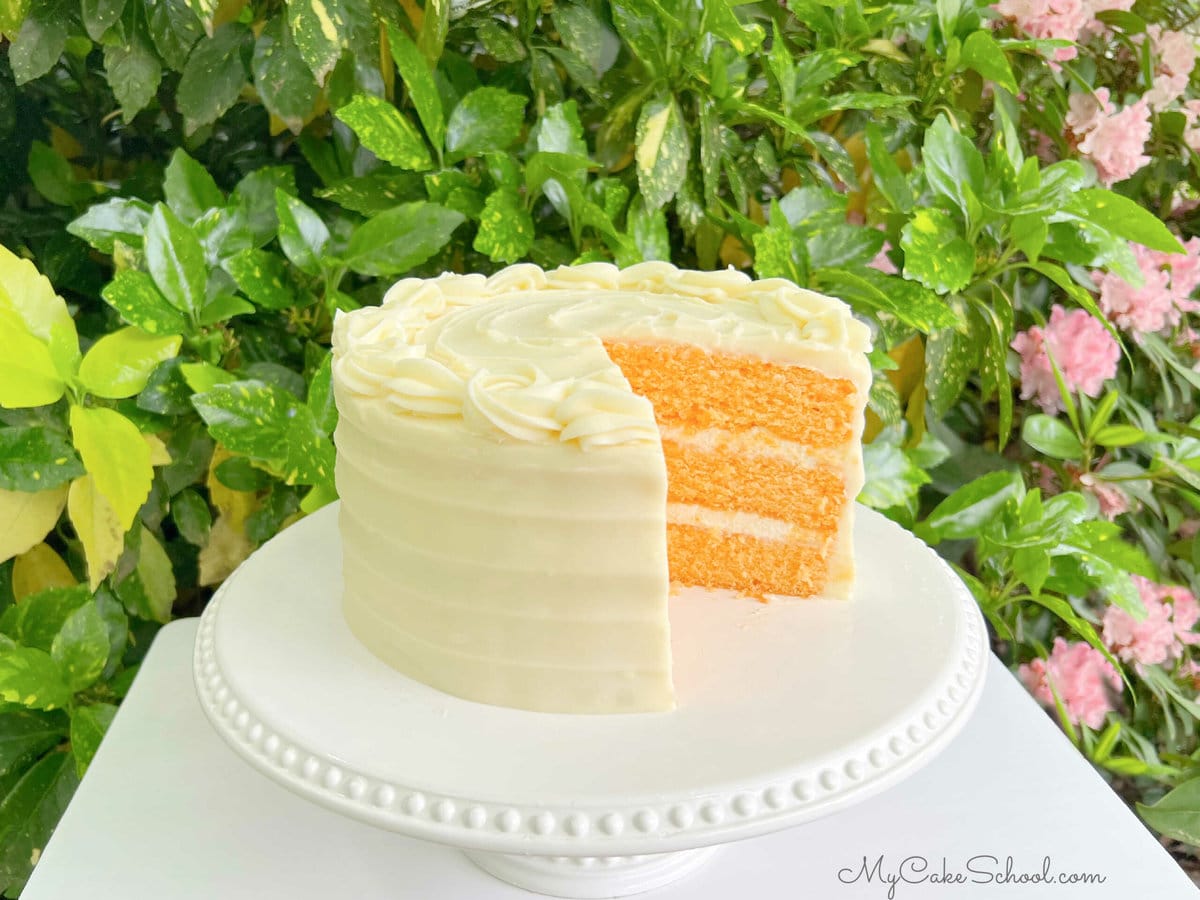
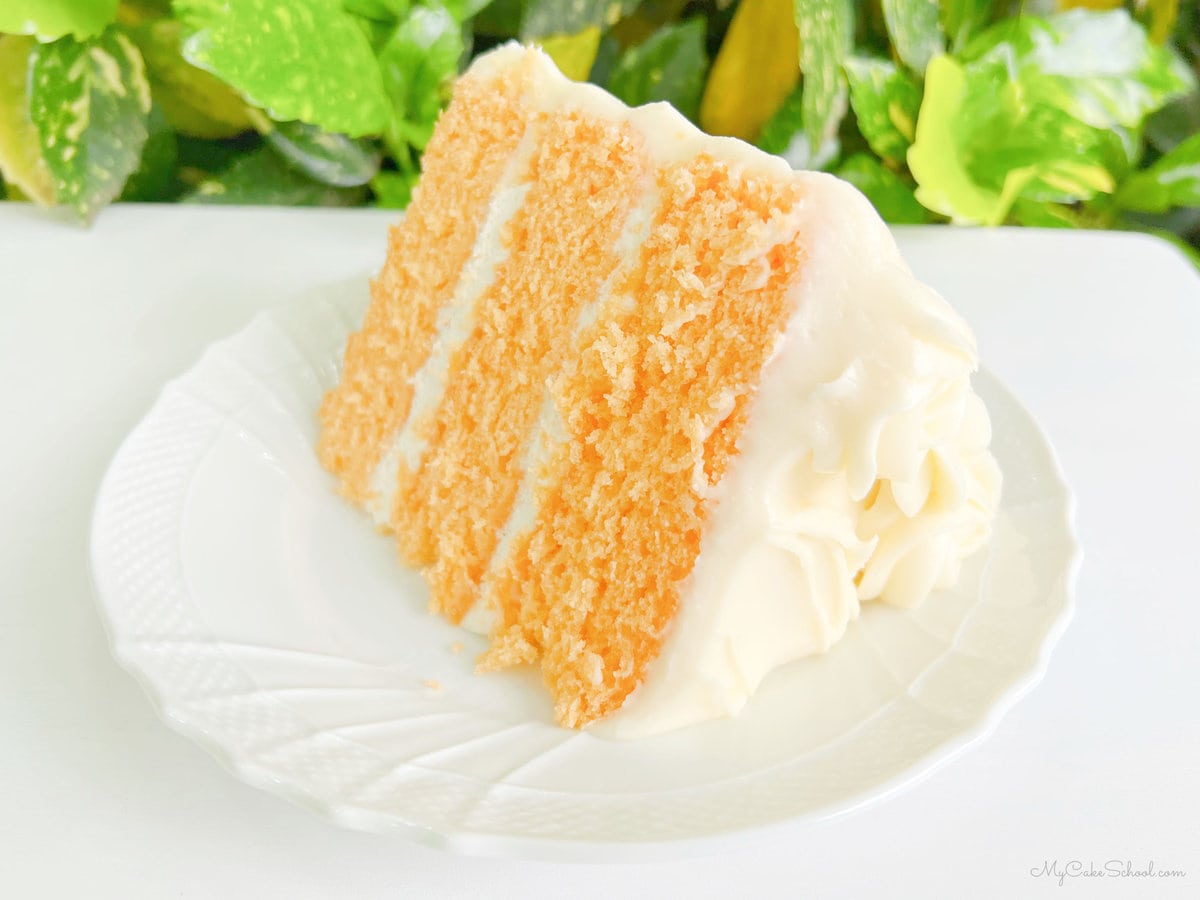
This fluffy orange cake is so moist and flavorful! In this amazing dessert, scratch orange cake layers are filled with a light sweetened whipped cream, and frosted with cream cheese frosting.
If you are looking for the perfect orange cake, look no further- this recipe is sure to please!
Orange cake is a good idea any time of year, but it is especially popular for spring and summer celebrations. This flavorful, tender cake has become an instant favorite at our house. We hope that you enjoy it!
Table of Contents
How to Make an Orange Cake
You can find the full, printable recipe card further down in this post. Here is a quick rundown of our steps!
- Preheat the oven to 325℉. Grease and flour three 8x2 inch round pans. We also like to line the bottom of each pan with parchment paper.
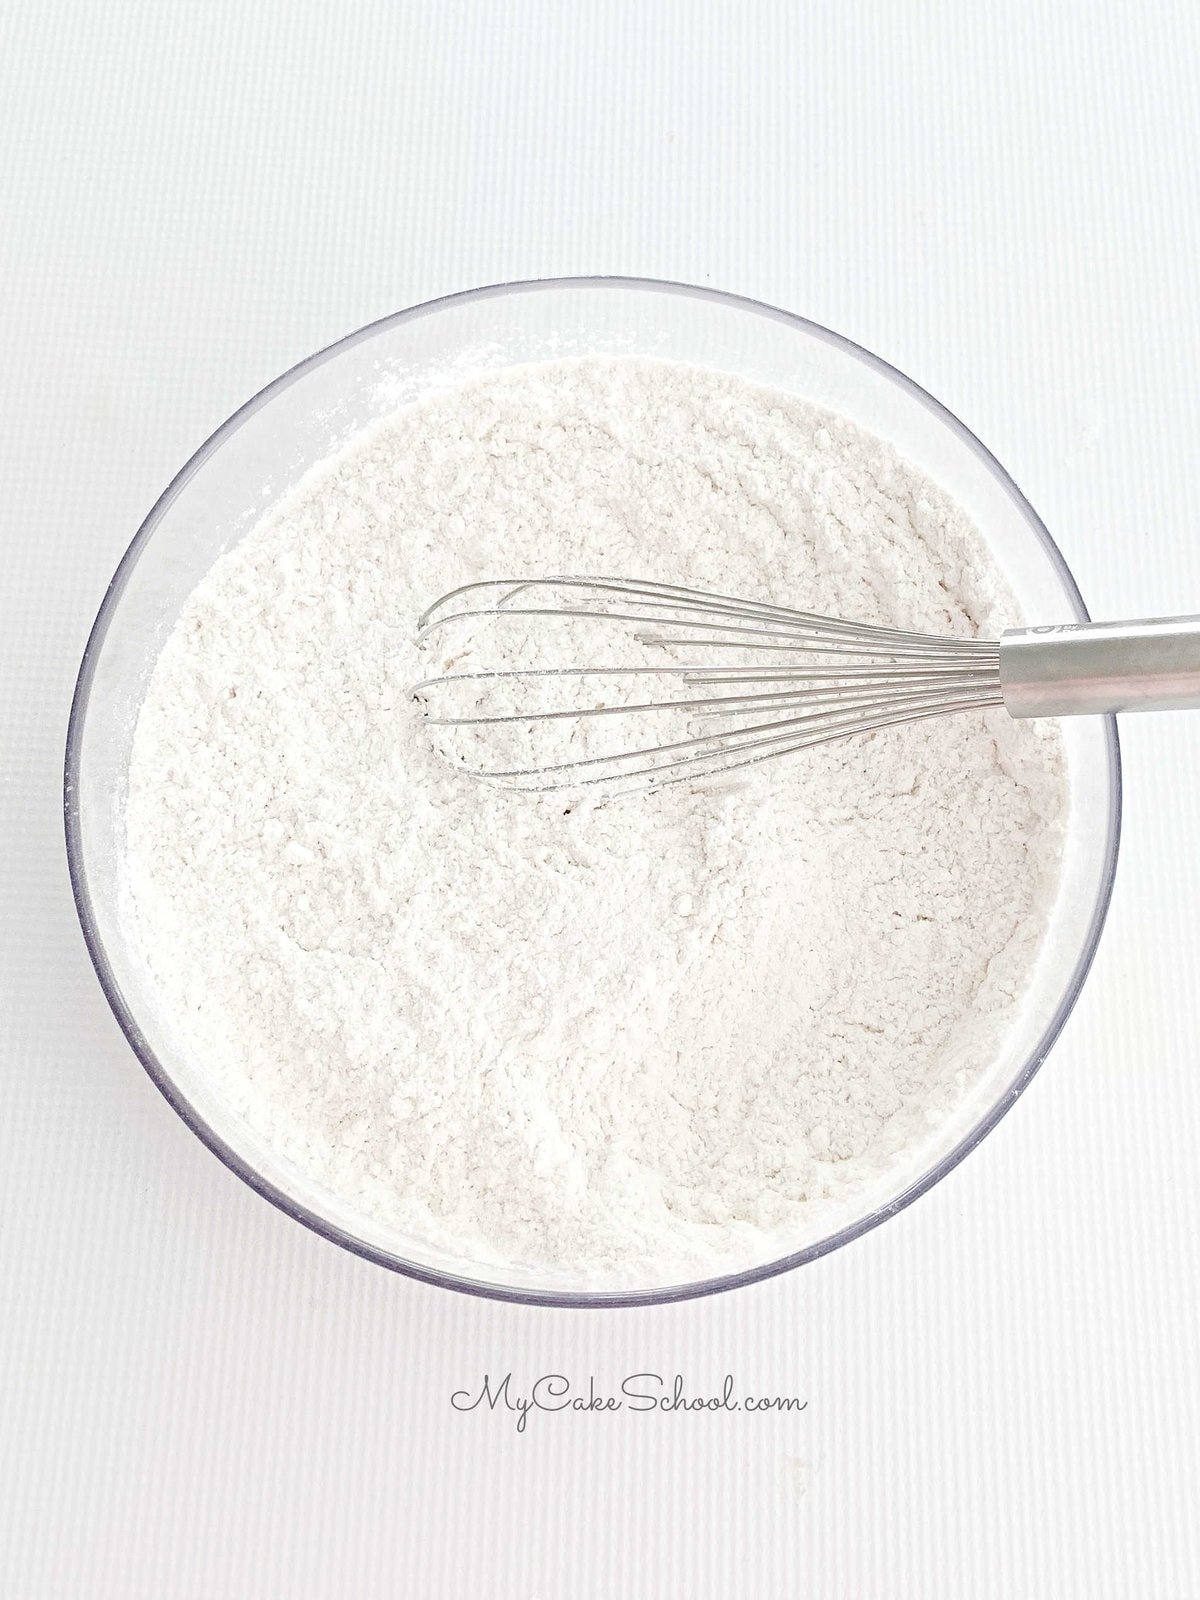
- In a medium bowl, whisk the cake flour, baking powder and salt for 30 seconds. Set aside.
- In another medium bowl, add the ¾ cup orange juice concentrate, vegetable oil, milk and orange extract. Set aside.
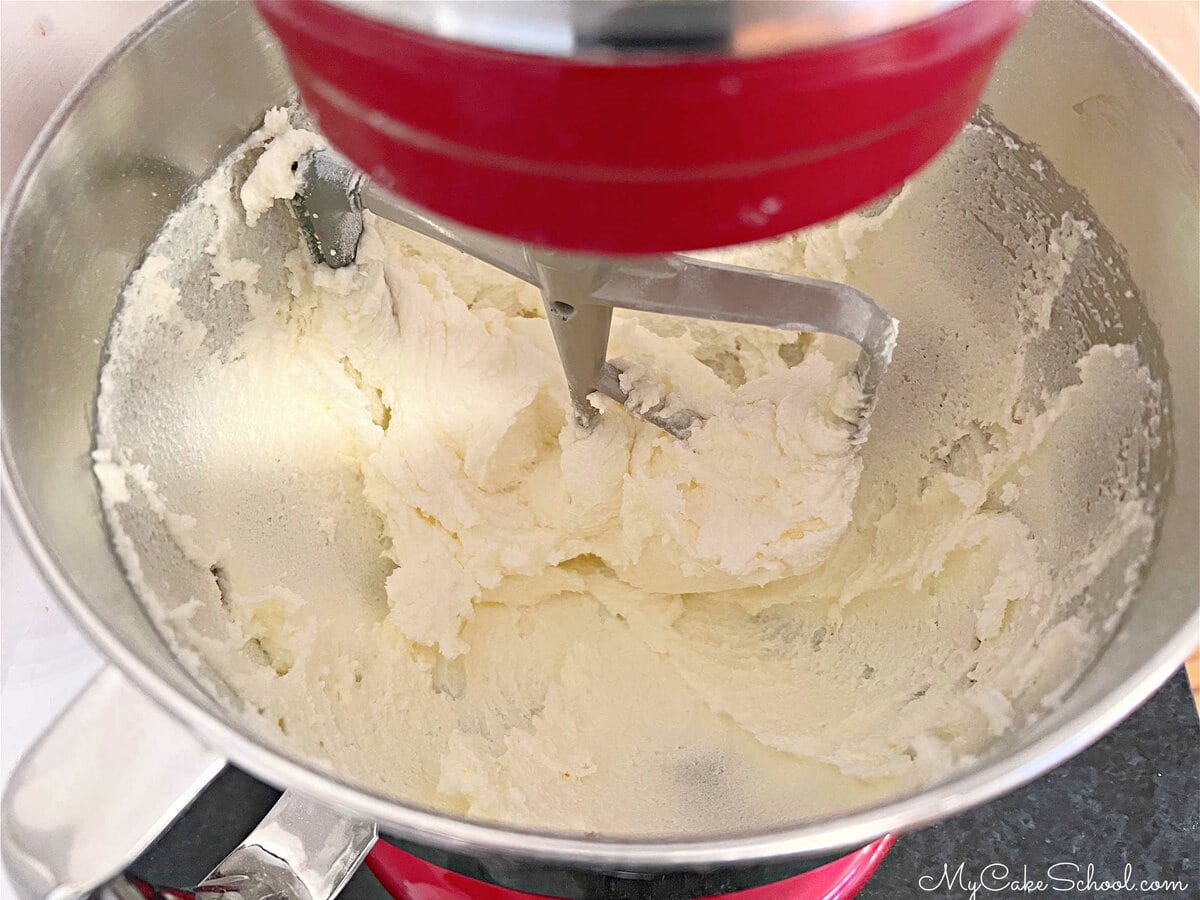
- In the bowl of a stand mixer or handheld electric mixer, add the softened butter and mix at medium speed until smooth. (Use paddle attachment if using a stand mixer). Gradually add the granulated sugar to the mixing bowl and mix for 3 to 5 minutes until lightened in color and fluffy.
- Add the room temperature eggs, one at a time, mixing after each addition until blended.
- With the mixer on low speed, alternately add the flour mixture and the orange juice mixture, beginning and ending with the dry ingredients, that will be (3 additions of dry and 2 of liquid).
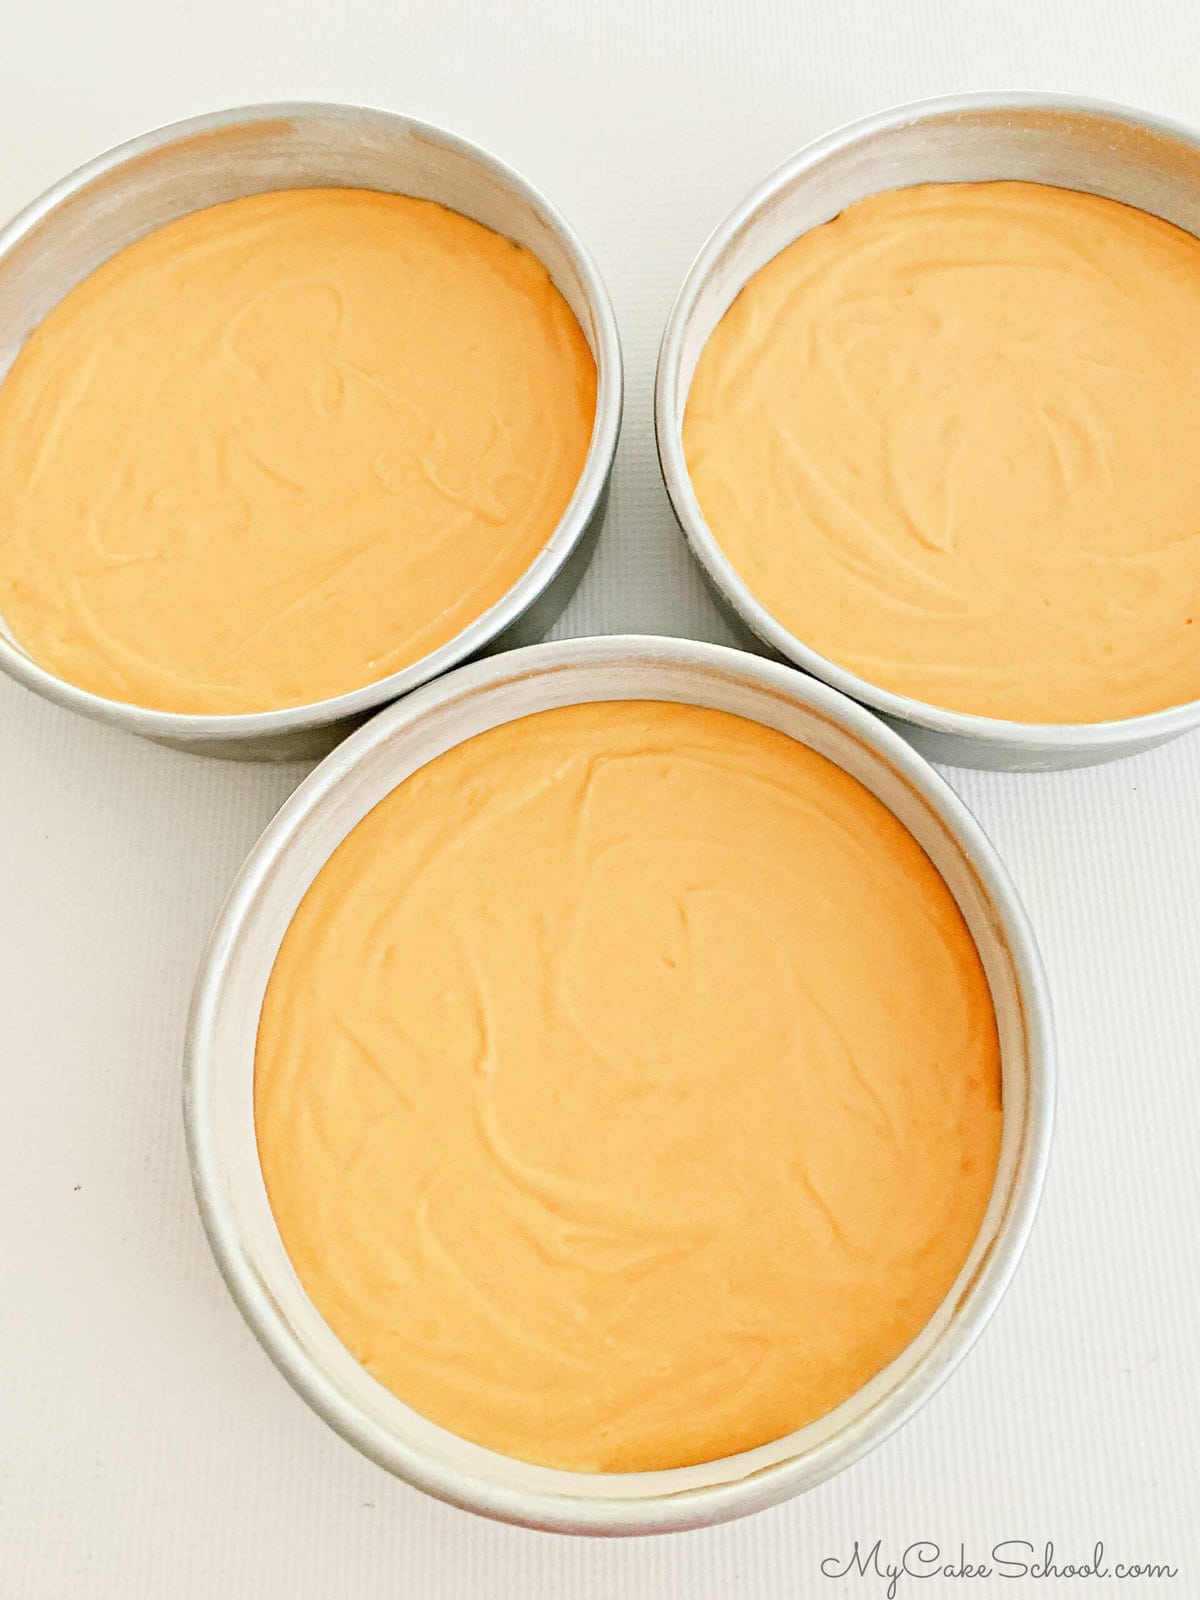
- Divide the orange cake batter between the three prepared cake pans.
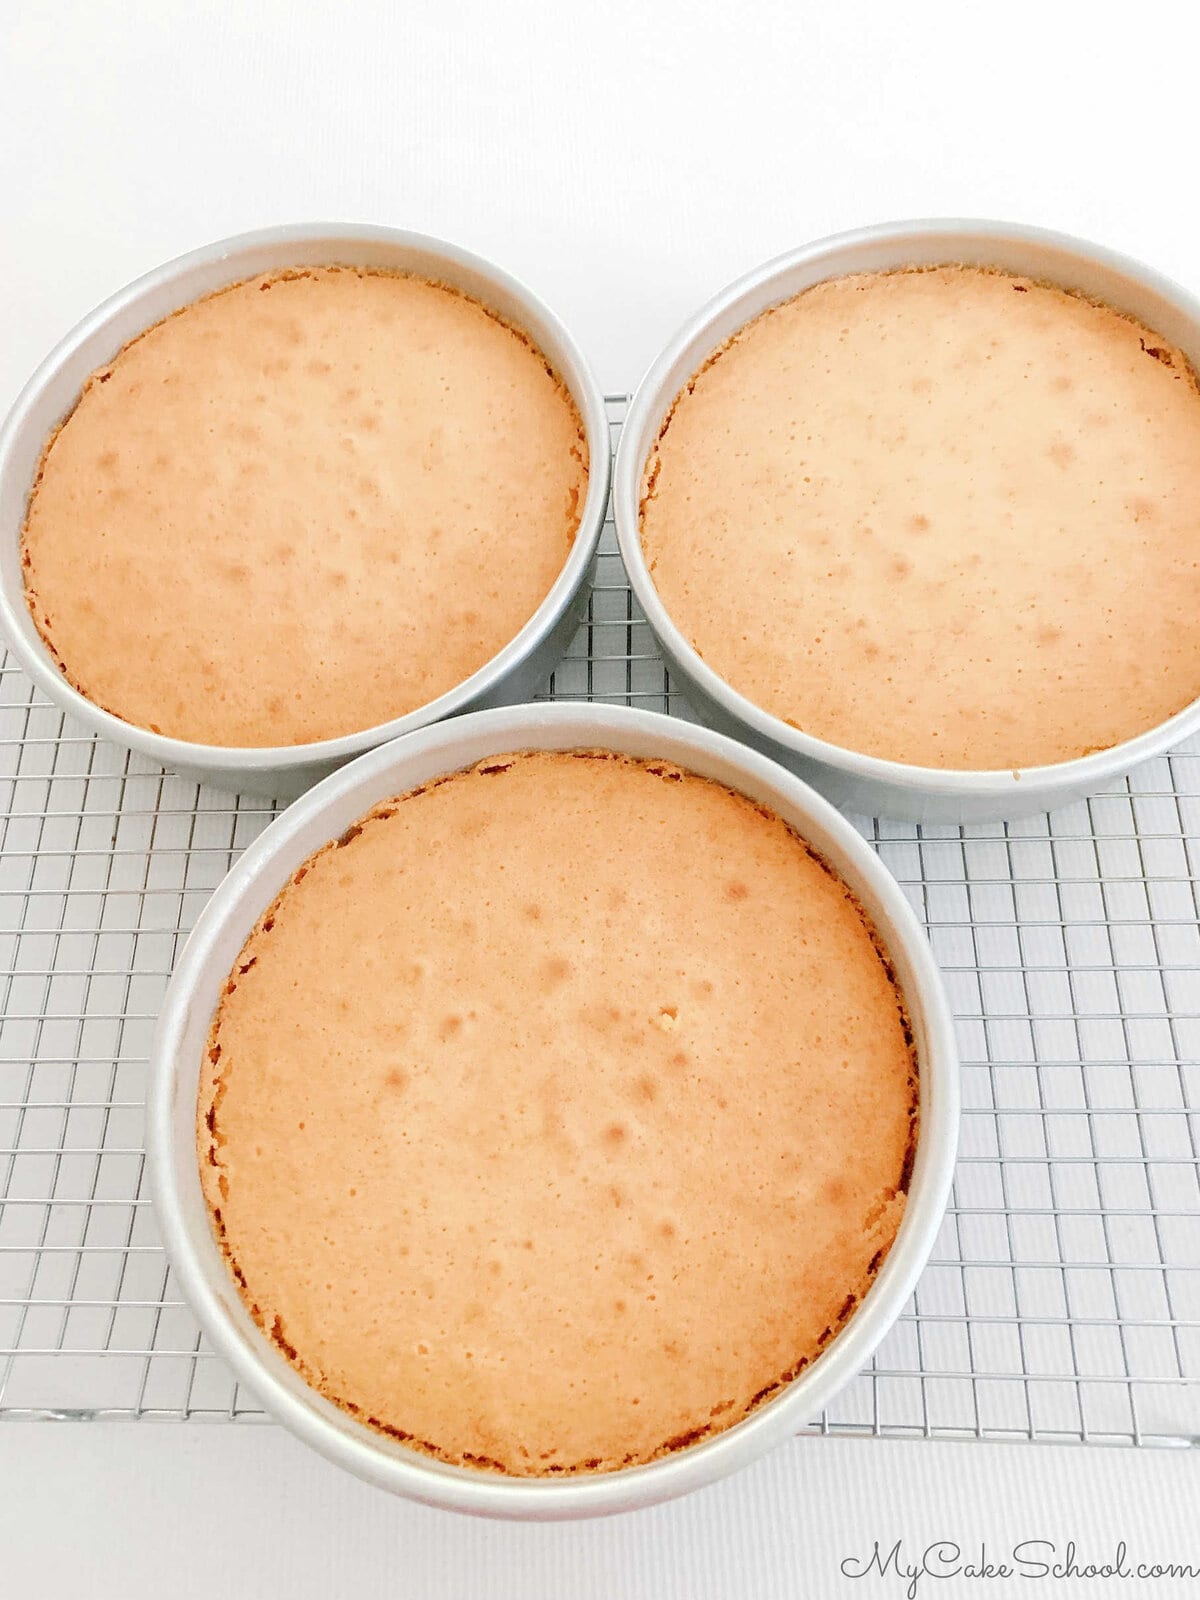
- Bake at 325 degrees for 25 to 28 minutes. Baking times may vary. The cake is done when a toothpick inserted into the center of the cake comes out clean or with just a few crumbs attached. The top will also spring back when lightly touched.
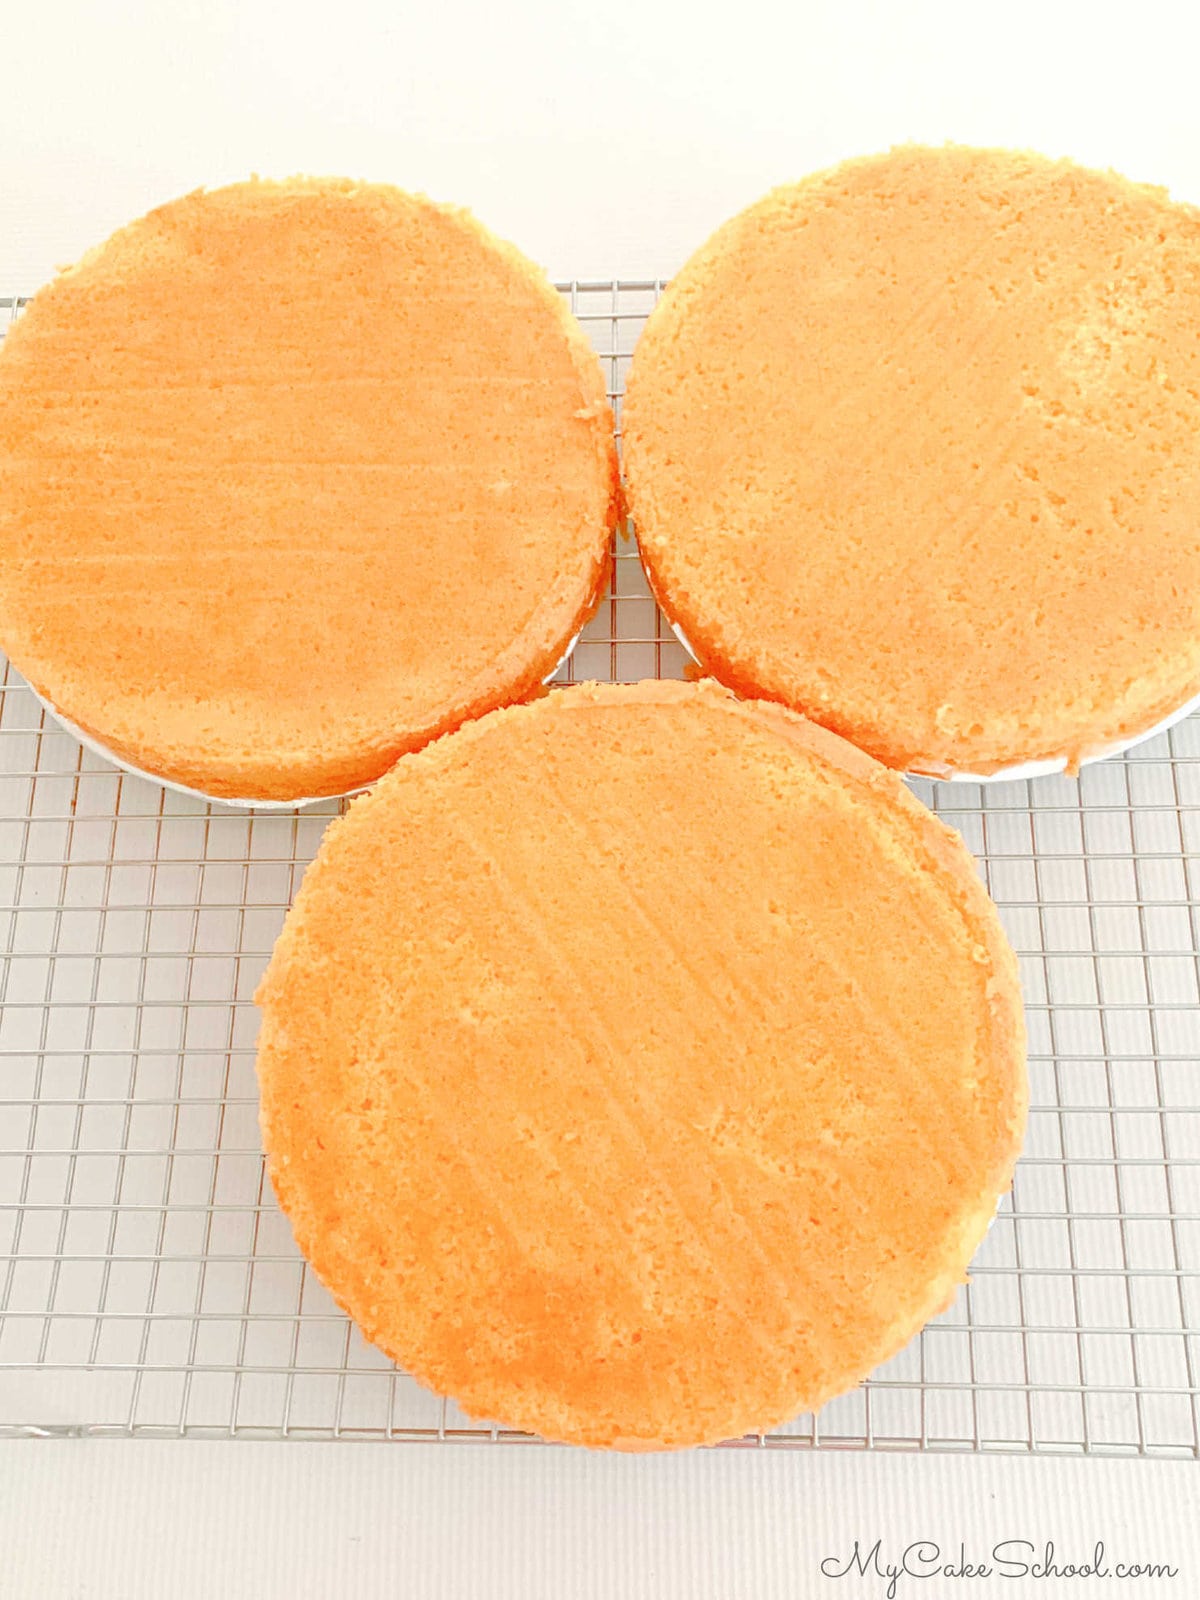
- Let the cake layers cool in their round cake pans for 5 to 10 minutes on a cooling rack before turning out. Placing the cake pans on a wire rack allow them to cool more quickly as the air can circulate beneath them as well.
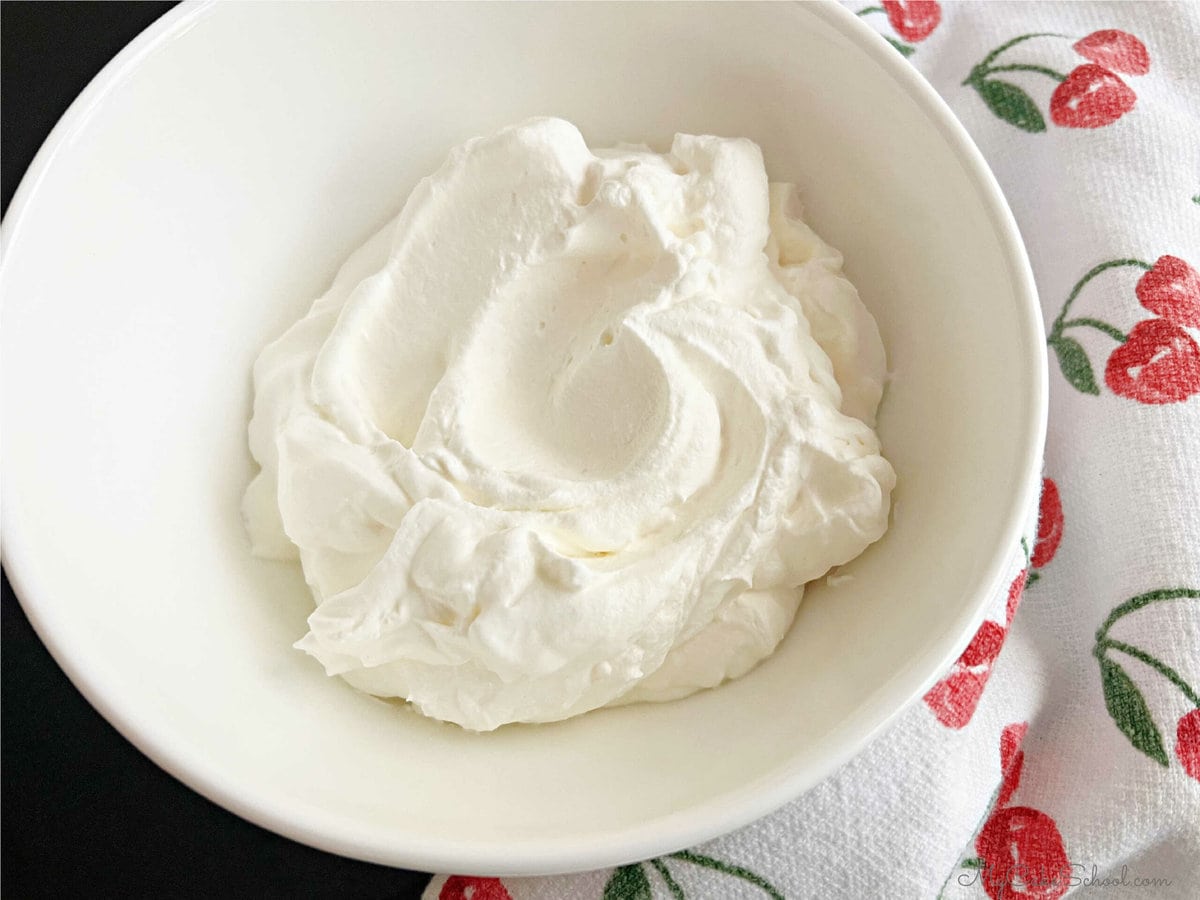
Sweetened Whipped Cream Filling
We decided to use sweetened whipped cream for our filling. This simple, light filling is a combination of heavy cream (or whipping cream), confectioners sugar, and a bit of vanilla extract.
It is best to chill the beaters and bowl in the freezer for 10 minutes before whipping up the cream with an electric mixer. Whip at high speed until stiff peaks form. We used a handheld mixer- if using a stand mixer, you'll want to use the whisk attachment.
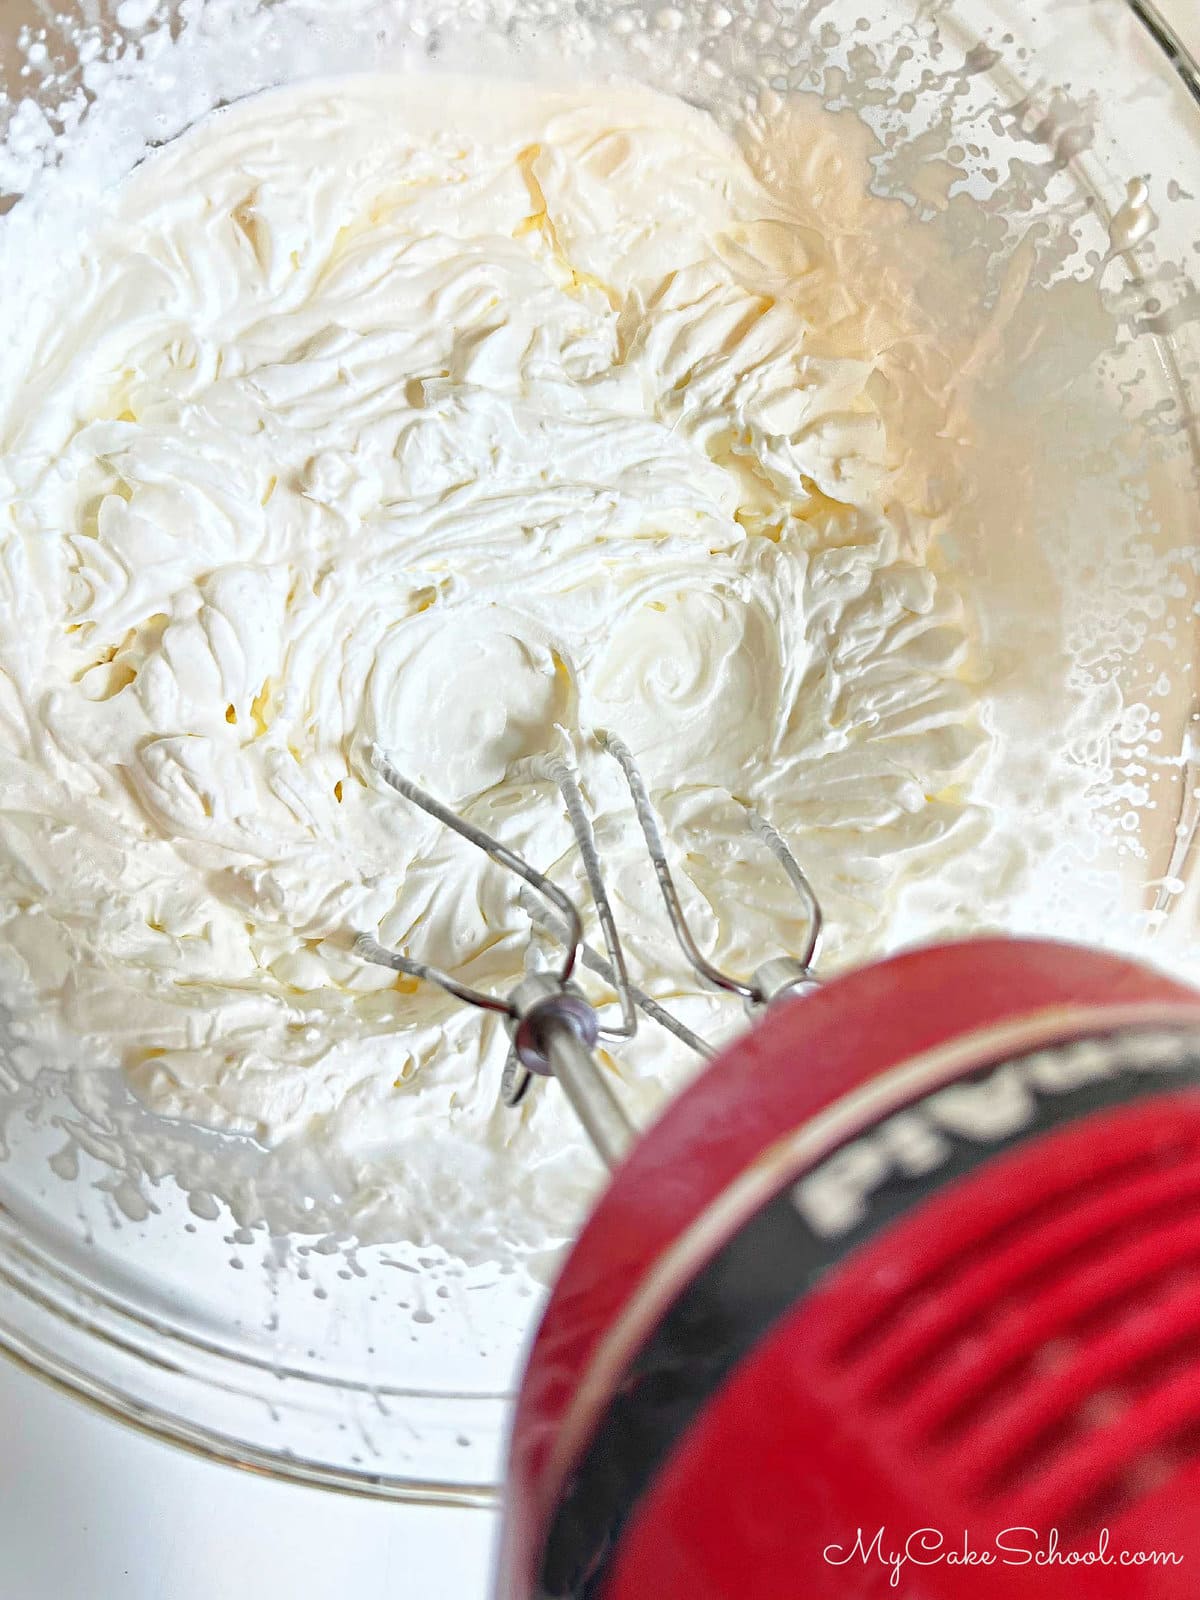
You know that you've reached stiff peak stage when a peak forms and holds its shape when the beaters are lifted from the bowl. Be careful not to over-mix!
*We did not add orange extract or zest to the whipped cream, but you could do this for even more orange flavor!
Frosting for Orange Cake
We love cream cheese frosting and often use it with our layer cakes. It is so creamy and flavorful, with just a hint of tanginess.
We used our usual go-to cream cheese frosting recipe, which is a combination of softened cream cheese, confectioners' sugar, butter, and vanilla extract.
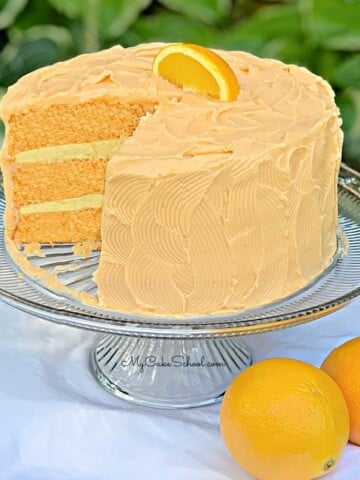
If you would like even more orange flavor, you can add orange extract to the frosting as well to make orange cream cheese frosting. (This is the frosting that we used for our Orange Dreamsicle Cake).
*Cream cheese frosting makes a great filling as well! If you would prefer this over the whipped cream filling, you will have plenty of frosting for both filling and frosting.
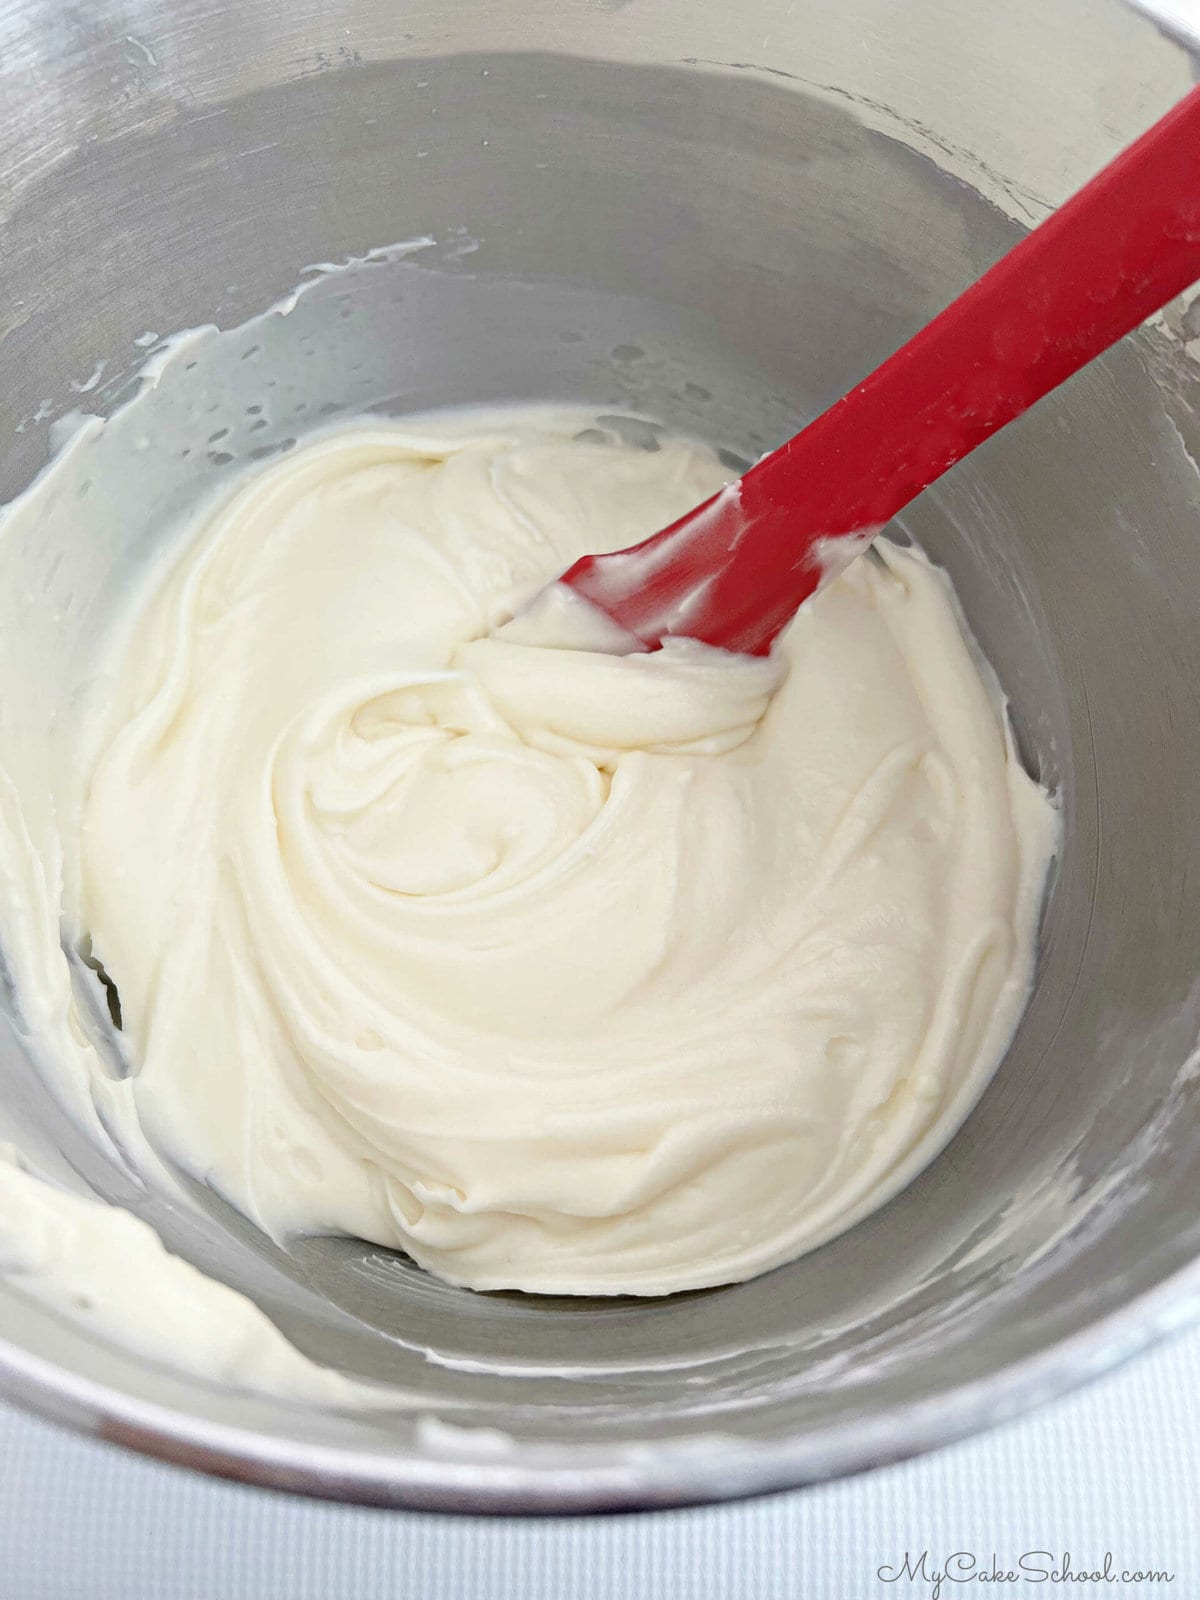
Tips for working with Cream Cheese Frosting
- Cream cheese frosting is softer than most buttercream frostings. For this reason, we like to chill it in the refrigerator for about 15 minutes, just after whipping up a batch. This thickens the consistency, making it easier to work with.
- After crumb coating my cakes with cream cheese frosting, I always take a minute to chill the cake in the freezer for about 10 minutes to firm everything up before moving onto the final layer of frosting.
- If at any time while decorating the cake, the frosting becomes too soft, simply pop the bowl, piping bag, or cake (or all of them!) into the freezer for 10 minutes or so (or longer in the refrigerator) until it reaches the desired consistency.
- This cream cheese frosting makes a great filling and frosting, and pipes perfectly too!
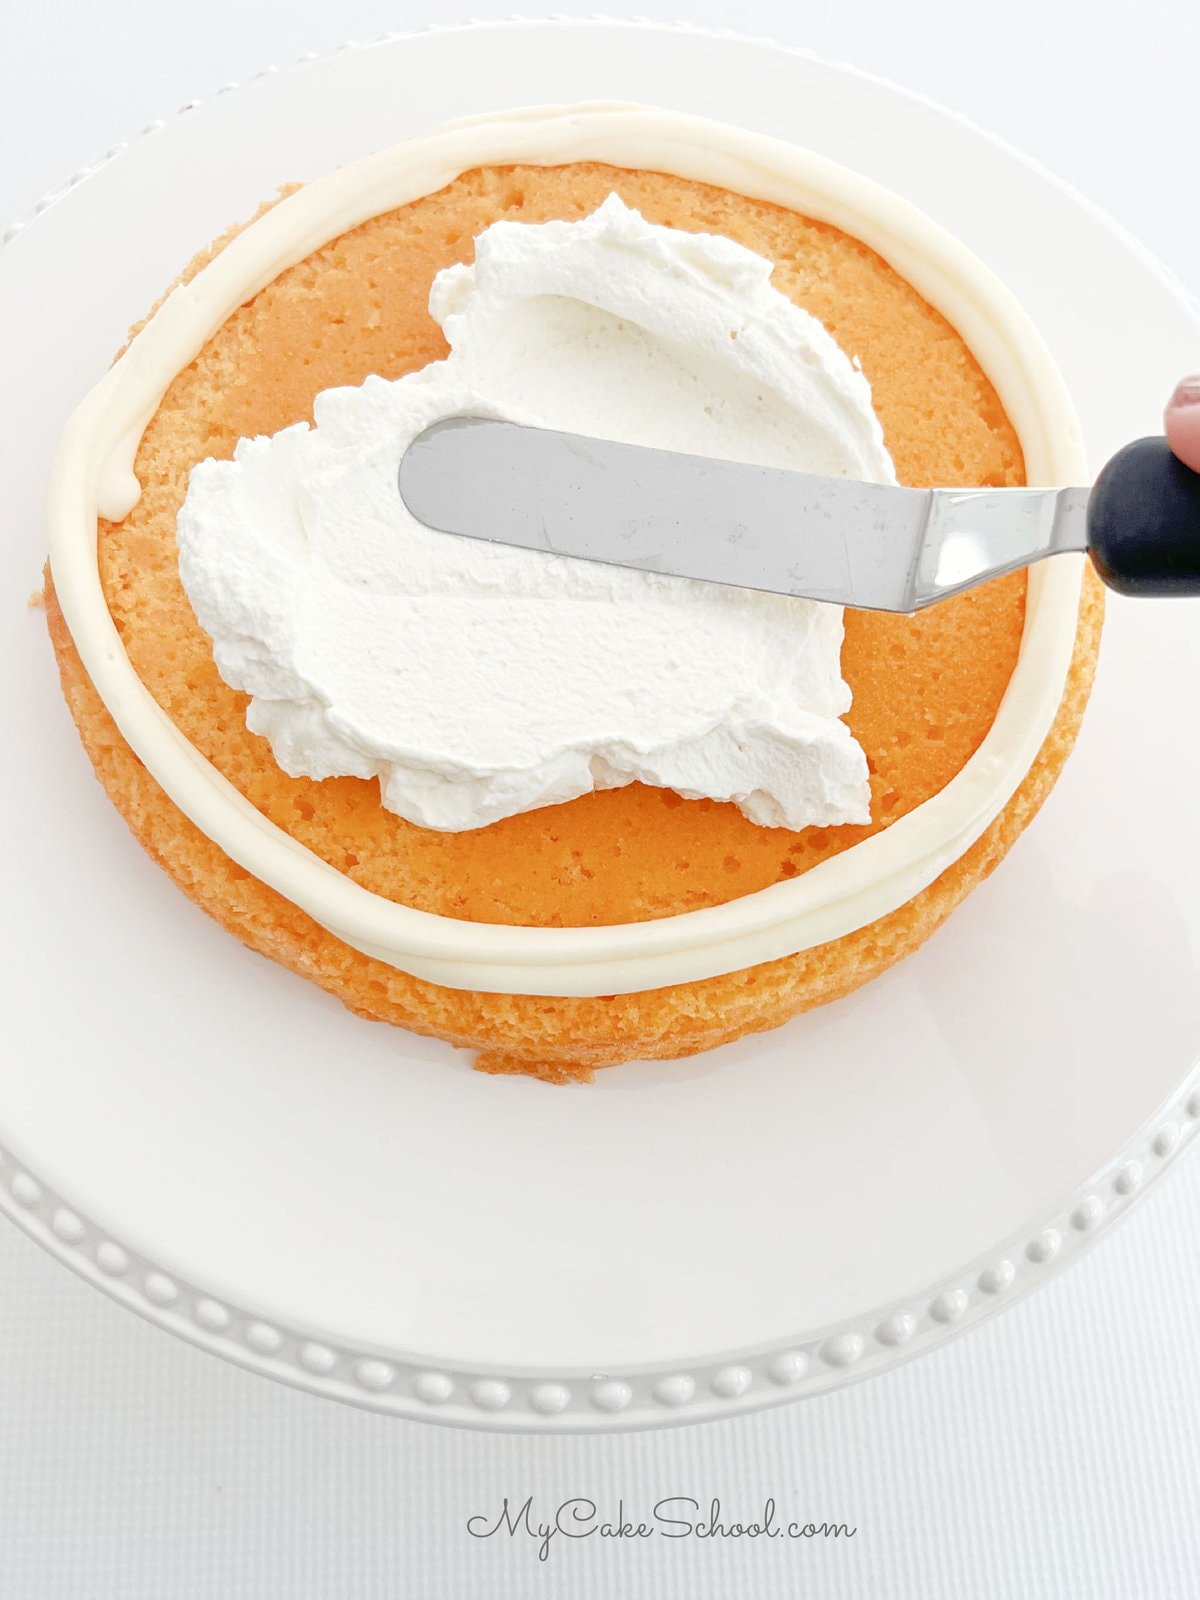
Assembling the Orange Cake
Once the layers are cool, it's time to assemble the cake! Place the first cake layer onto the cake base or pedestal.
Because we are using a soft whipped cream filling, it is best to pipe a dam of frosting around the edge of the cake (about ¼ inch-½ inch from the edge). Then, spread whipped cream filling inside of the dam. Top with the next orange cake layer and repeat.
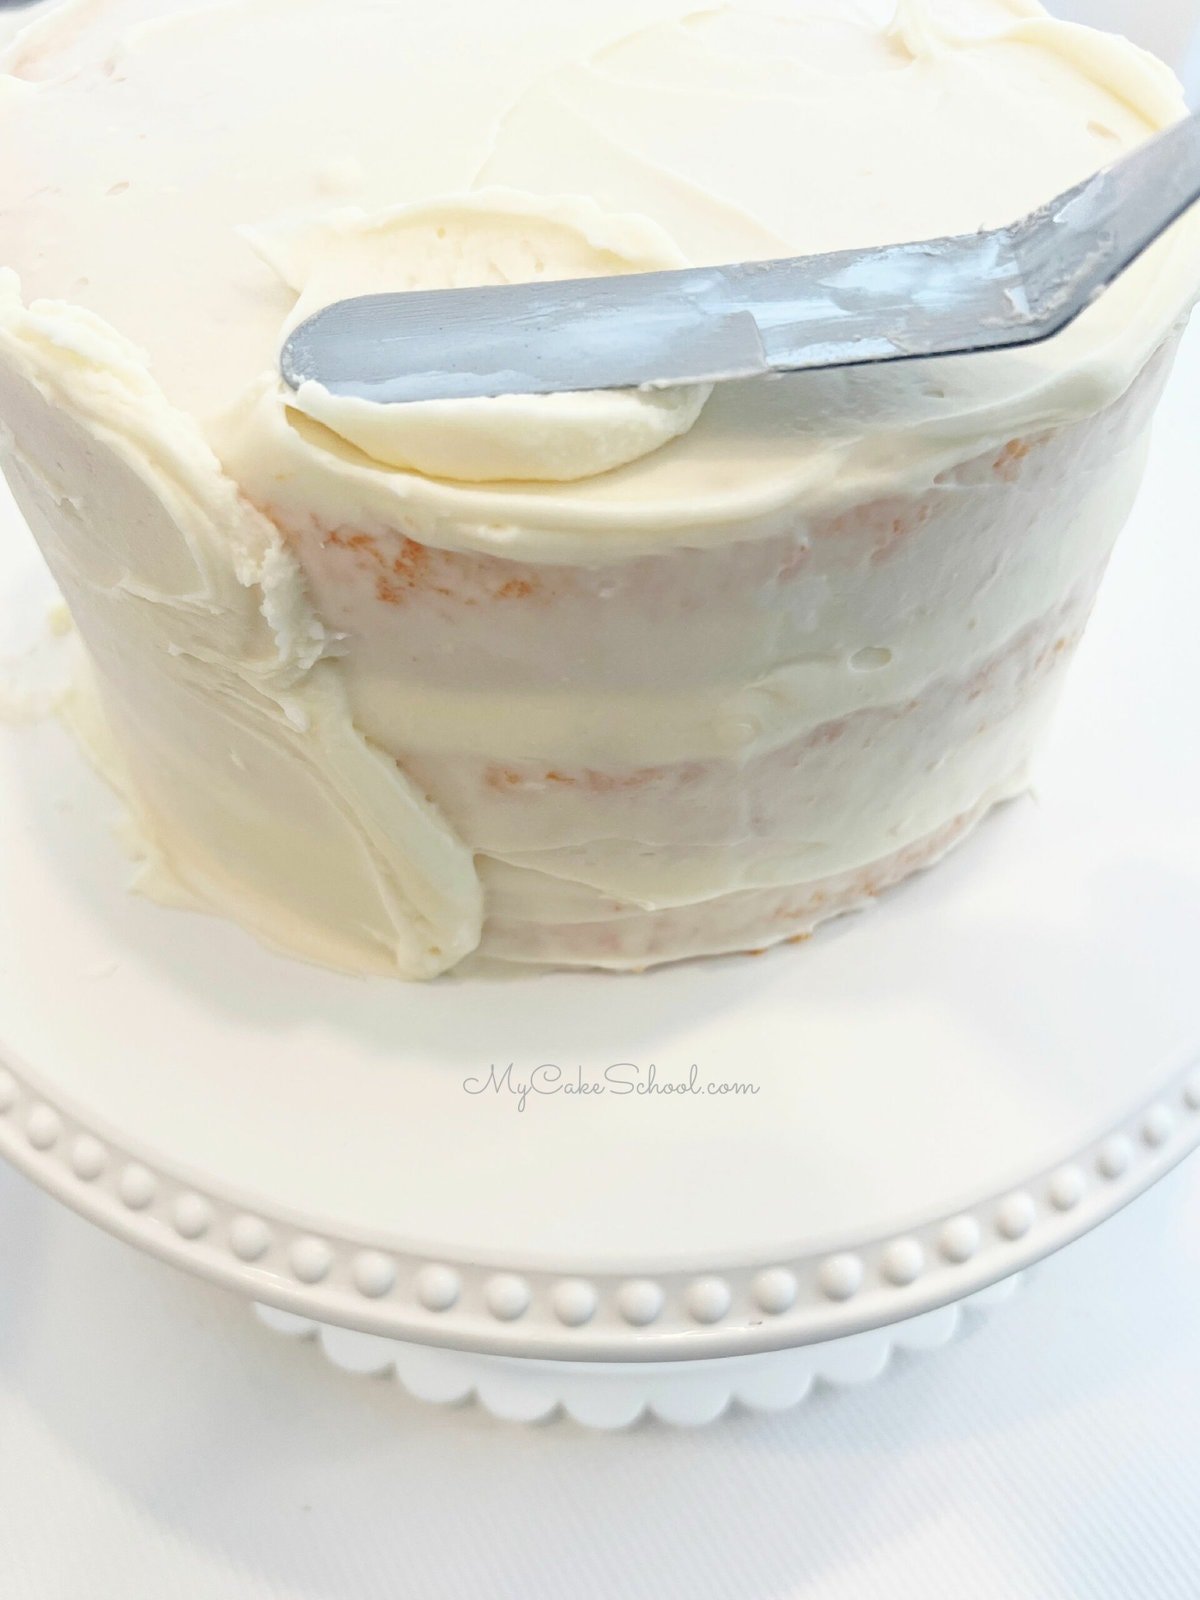
Top with the third cake layer and crumb coat the cake. (The crumb coat is a thin layer of frosting).
After crumb coating my cakes, I like to chill them in the freezer for about 10-15 minutes (or longer in the refrigerator) to firm everything up before applying the second coat of frosting.
Decorating the Cake
Decorate the cake however you like! You'll have plenty of frosting for piped details and more. We kept things very simple with our decoration.
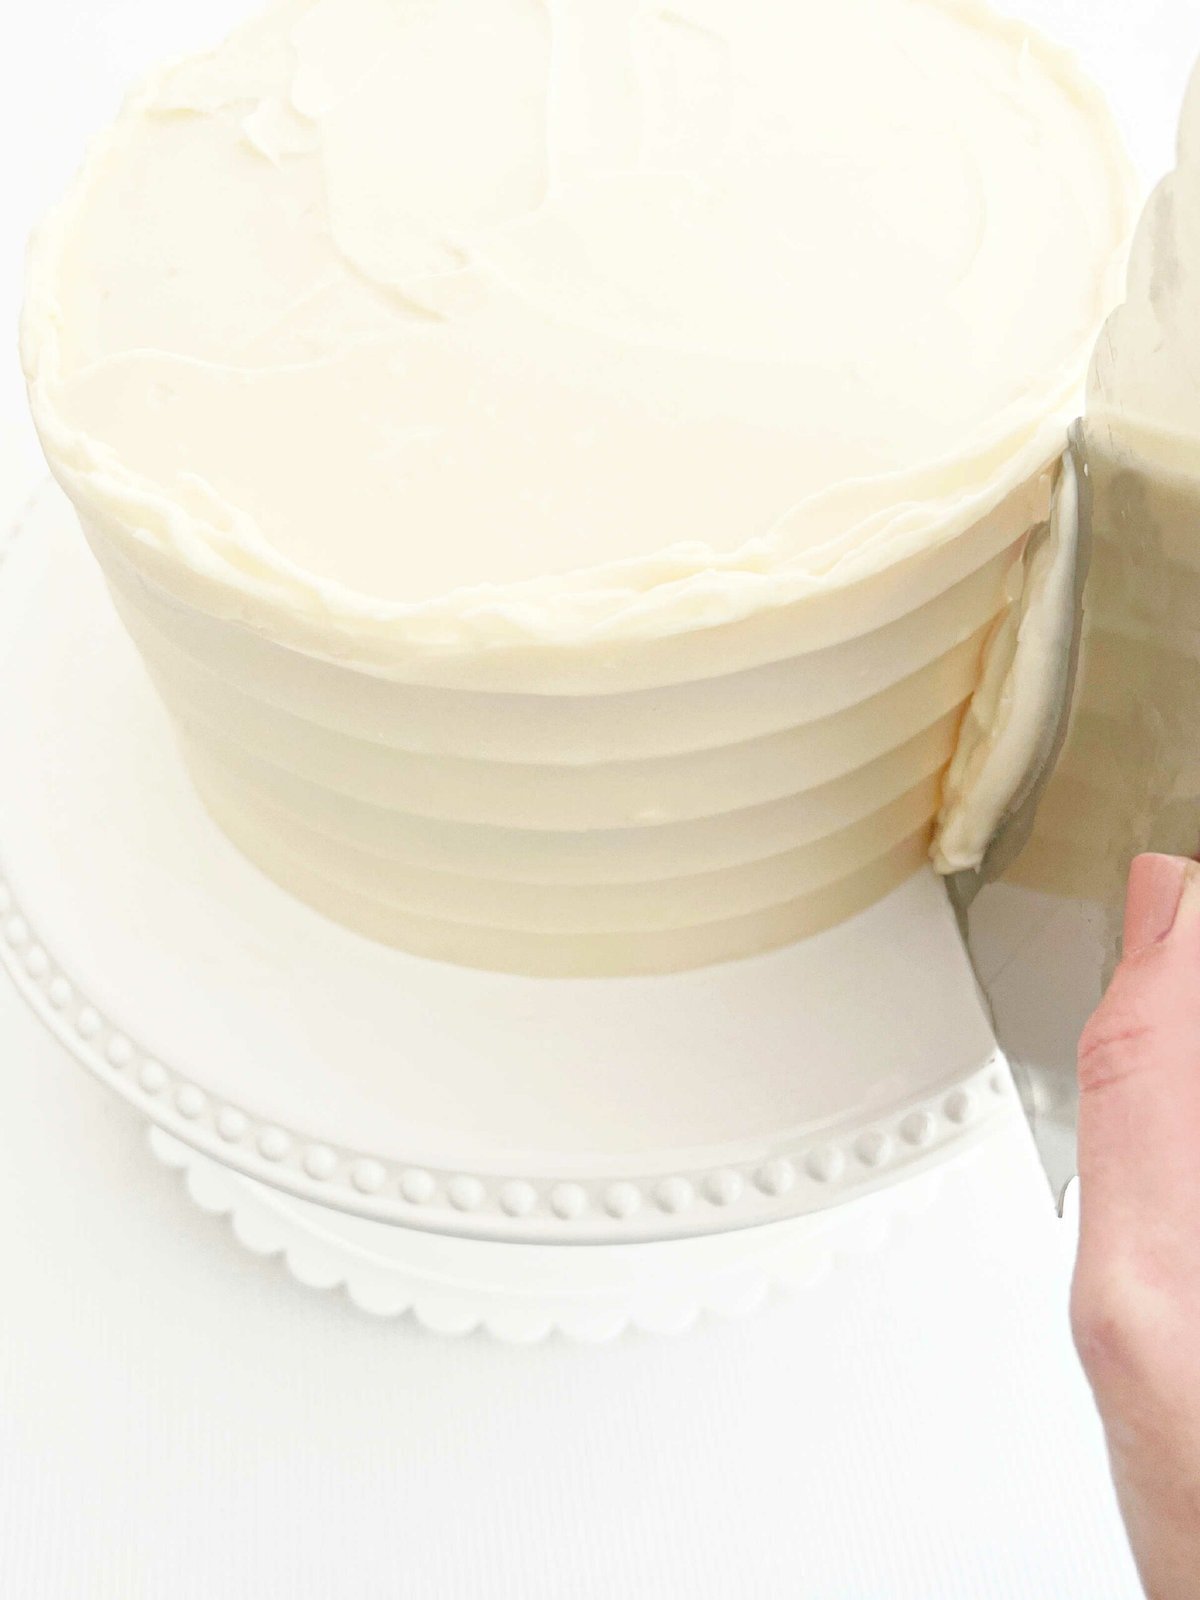
I added more frosting to the top of the cake, creating a swirled texture with my offset spatula.
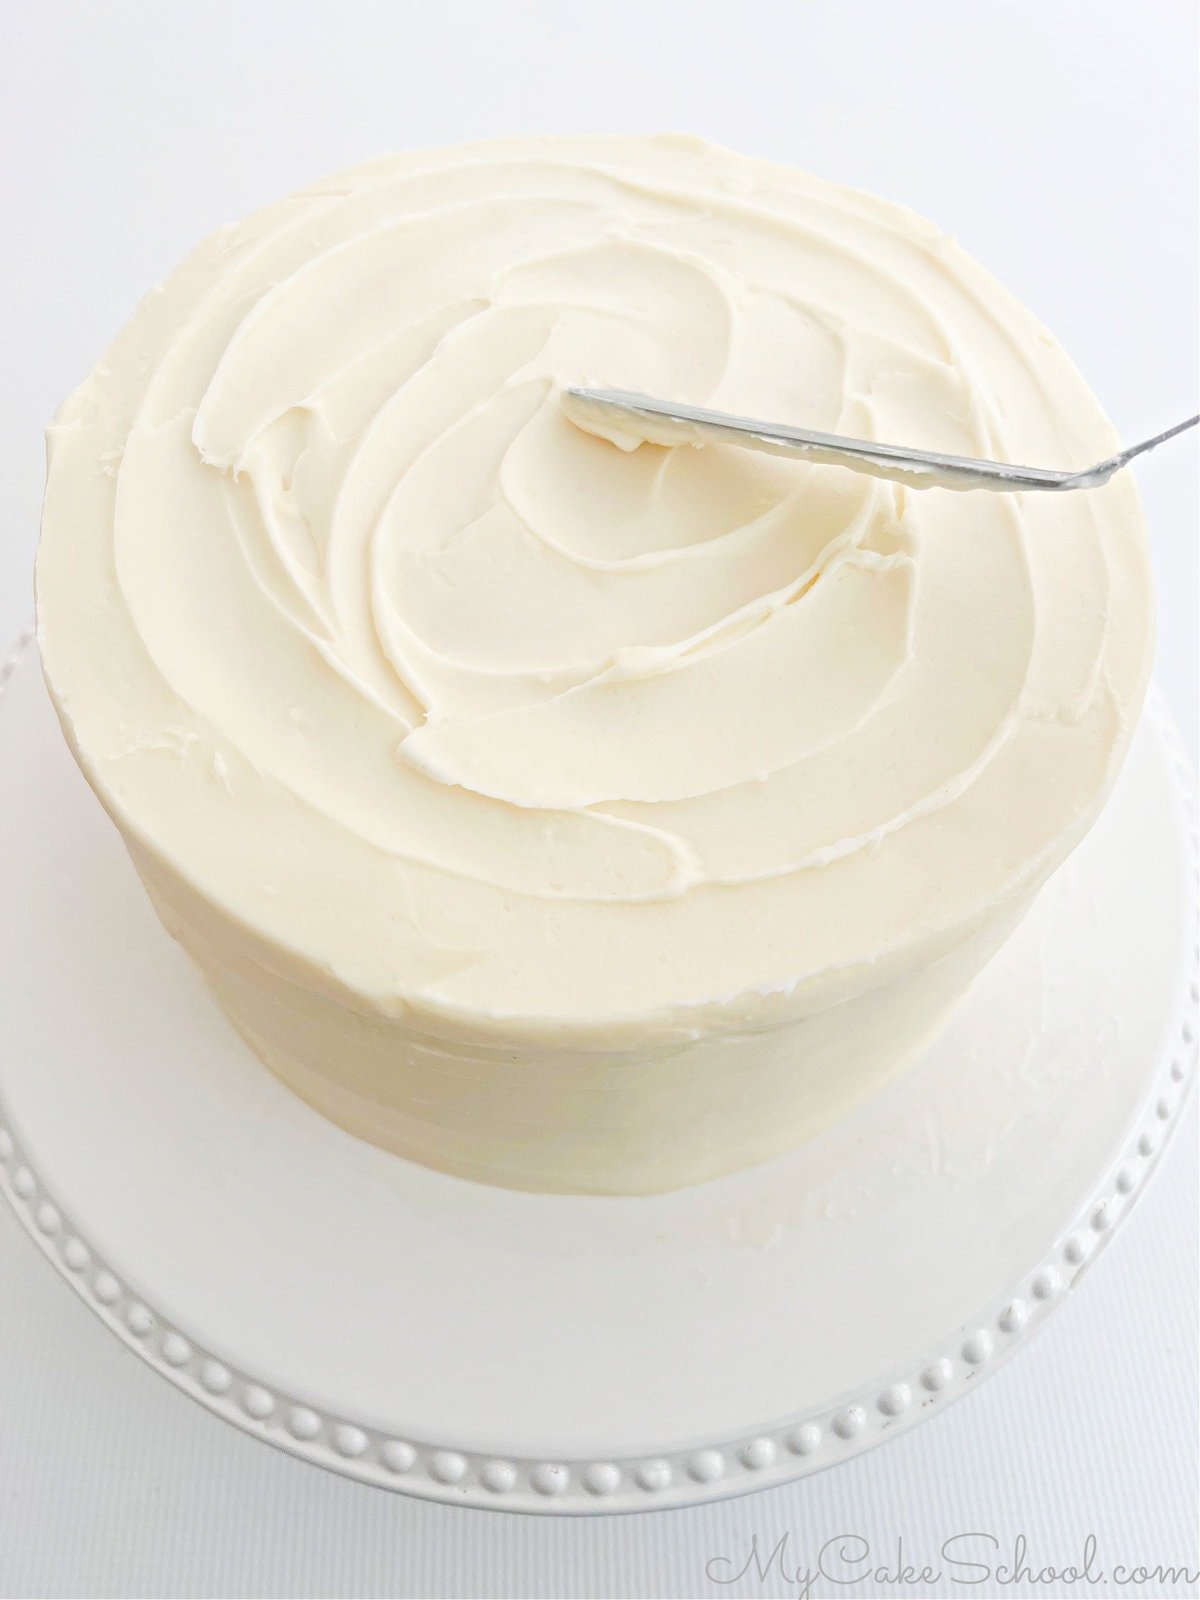
Then, I smoothed over the freshly frosted cake with a metal cake comb to create a pretty ridged design.
Finally, I added a chunky top border of alternating piped rosettes and shells with a large star piping tip (1M).
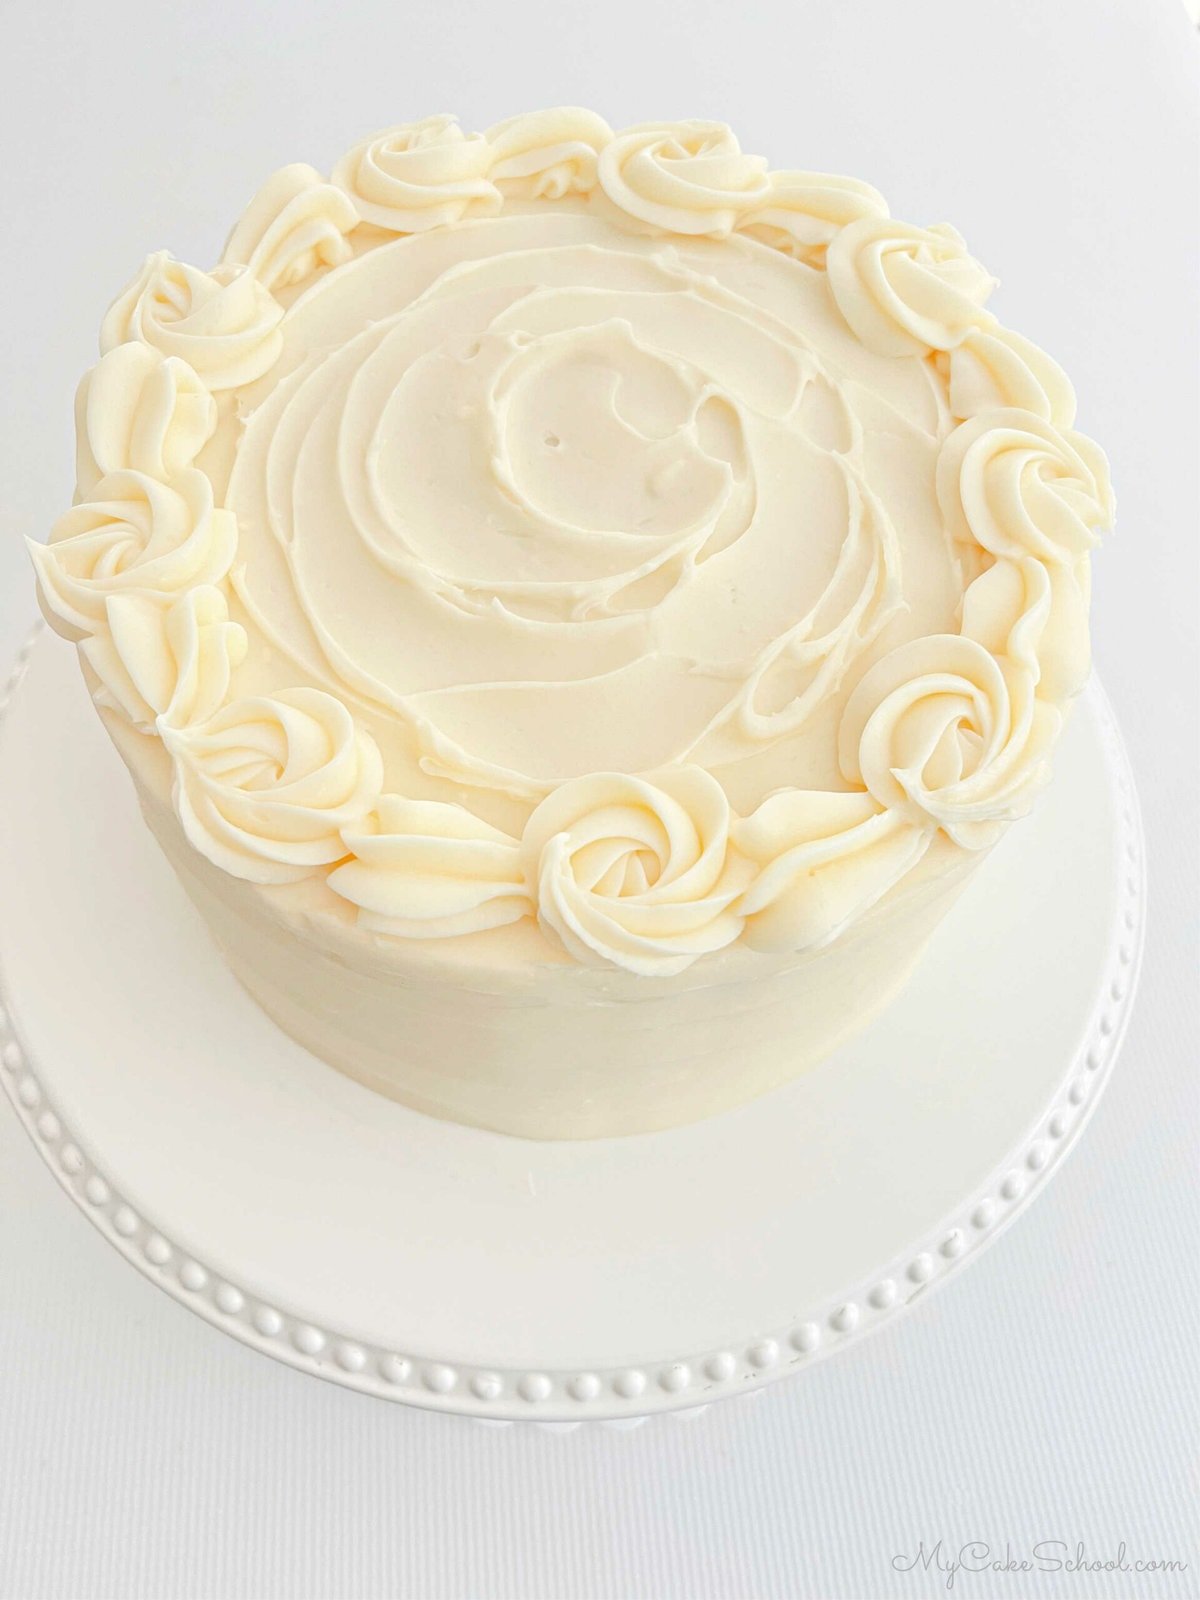
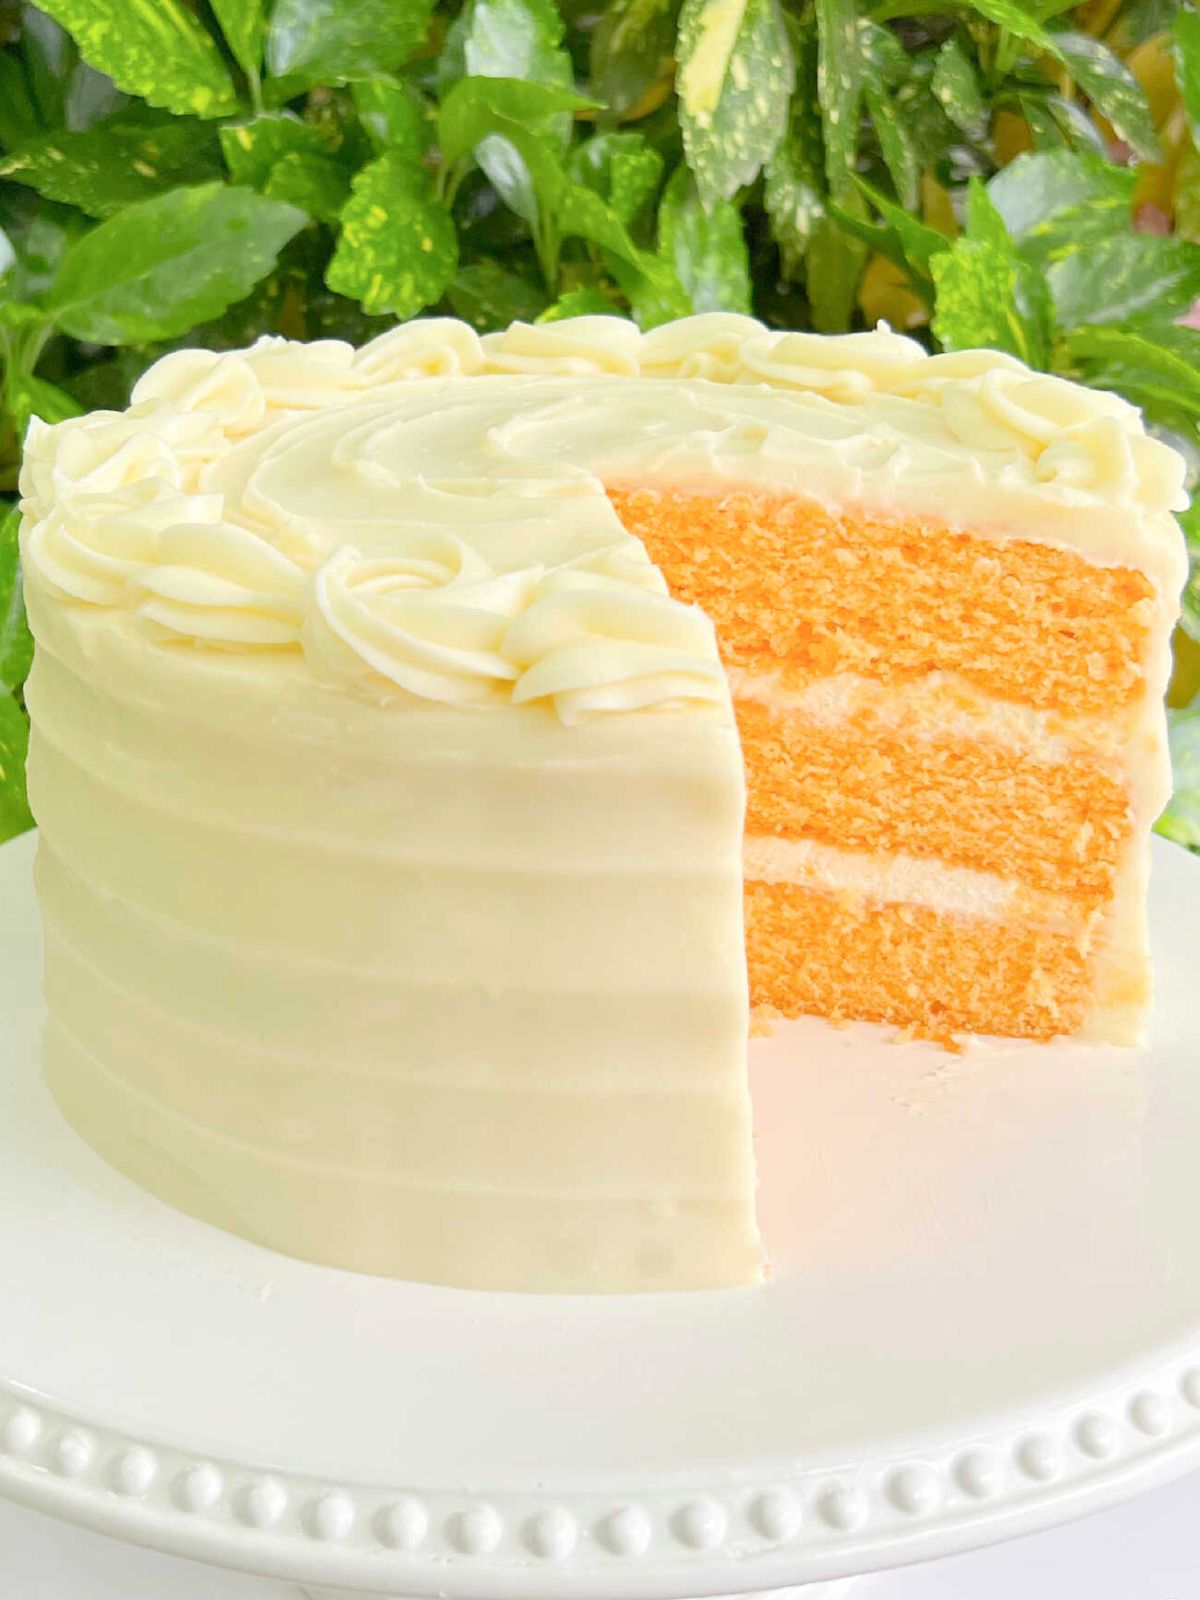
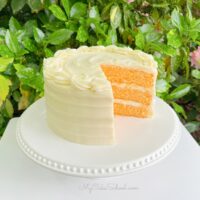
Here is our finished cake! We love how it came out. It is the perfect light and fruity cake for all sorts of special occasions from birthdays to baby showers, or gatherings with friends and family.
Orange Cake FAQs
Yes they can! As with any of our layer cakes, when wrapped properly, the orange cake layers can be frozen for up to three months and will still stay as fresh as the day they are baked.
When baking ahead and freezing, we like to wrap each layer individually. Place the cake on a foil-wrapped cake cardboard, then wrap with plastic wrap and tightly with aluminum foil. (When possible, we wrap and freeze the slightly warm cake layers before they completely cool.)
To thaw, place the wrapped layers on the kitchen counter for 30-45 minutes until condensation has formed. Then, unwrap and continue thawing to desired amount. (Some decorators prefer to decorate their cakes while still partially frozen as the cakes are less fragile).
Yes it does, but only because of the whipped cream filling and cream cheese frosting.
For best taste and texture, remove the cake from the refrigerator about two hours before serving. This will allow the cake to warm and soften.
Yes! This recipe works for cupcakes as well. Check the cupcakes for doneness after 15-18 minutes. They will bake up with little to no dome, as with most of our scratch recipes.
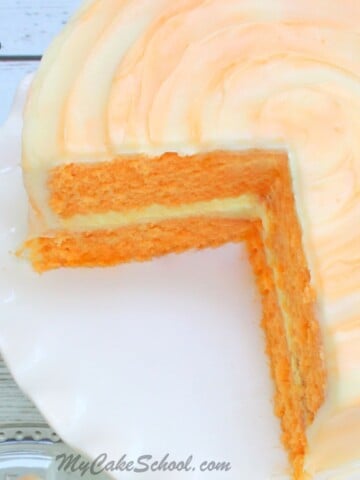
The scratch orange cake layers in this moist cake differ from our popular Orange Dreamsicle Cake and Orange Vanilla Bean Cake because they are fluffier. This is not a dense cake. It has a tender crumb and bright orange flavor. You will love it!
Cake flour has less protein than all purpose flour. This lower protein content results in less gluten development, resulting in a softer, more tender cake.
More Orange Cakes
We've made several orange and citrus cakes over the years! Here are few more that you may like to try! They would be perfect birthday cake recipes and are sure to make any occasion feel more special!
Aside from today's orange cake, we have several other popular cakes with orange!
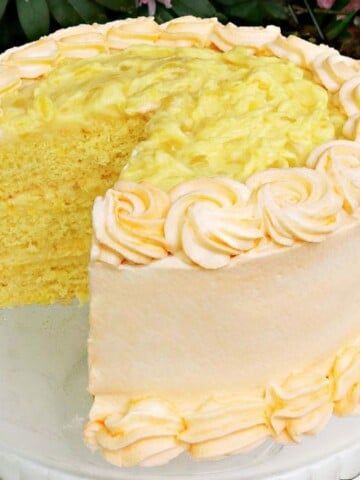
Orange Dreamsicle Cake (as well as Orange Dreamsicle Cake from Cake Mix), Orange Velvet Cake, Orange Pineapple Cake, and Spice Cake are all delicious options. We also have a great Orange Coconut Pound Cake recipe!
Enjoy the Recipe!
Have you made this? We would LOVE for you to leave a ⭐️ rating as well as a comment and photo below! We really appreciate your feedback!
Orange Cake
Ingredients
- ¾ cup (170g) unsalted butter, softened (This is the equivalent of 1 ½ sticks butter)
- 2 cups (400g) sugar
- 4 large eggs, room temperature
- 3 cups (342g) cake flour
- 3 teaspoons (12g) baking powder
- ½ teaspoons (3g) salt
- ¾ cup (190g) frozen orange juice concentrate, thawed
- ¼ cup (54g) vegetable oil (we use canola oil)
- ½ cup (121g) milk (we use whole milk)
- 1 Tablespoon (10g) Orange extract
- A small amount of orange coloring gel (optional)
Sweetened Whipped Cream Filling
- 1 cup (240g) heavy cream
- ¼ cup (29g) powdered sugar
- 1 teaspoon (4g) vanilla extract
Cream Cheese Frosting
- 1 cup (226g) unsalted butter, softened
- 16 oz (452g) cream cheese, softened (Two 8 oz packages. Full fat)
- 2 teaspoons (8g) vanilla extract
- ½ teaspoon (2g) salt
- 6 to 6 ½ cups (690g -747g) powdered sugar
Instructions
For the Cake
- Preheat the oven to 325℉. Grease and flour three 8x2 inch round pans.
- In a medium bowl, whisk the flour, baking powder and salt for 30 seconds. Set aside.
- In another bowl, add the ¾ cup orange juice concentrate, vegetable oil, milk and orange extract. Set aside.
- In the bowl of your mixer, add the butter and mix at medium speed until smooth. Gradually add the sugar and mix for 3 to 5 minutes until lightened in color and fluffy.
- Add the eggs one at a time, mixing after each until the yellow of the yolk has blended.
- With the mixer on low speed, alternately add the flour mixture and the orange juice mixture, beginning and ending with the dry ingredients. (That will be three additions of dry and two of liquid).
- Divide the orange cake batter between the three prepared 8 inch cake pans.
- Bake at 325 degrees for 25 to 28 minutes or until a toothpick inserted into the center comes out clean or with just a few crumbs attached. Let cool 5 to 10 minutes and turn out.
For the Sweetened Whipped Cream
- Chill the mixing bowl and beaters/ whisk attachment in the freezer for 10 minutes.
- Pour the whipping cream, powdered sugar and vanilla into the chilled mixing bowl, begin beating on low speed gradually increasing to medium high speed.
- Mix until the cream thickens (approx. 1 ½ minutes) and stiff peaks form. You've reached the stiff peak stage when the beaters can be lifted from the bowl and a peak of whipped cream forms and holds its shape. Be careful not to over-mix.
- Use immediately as the whipped cream will gradually begin to deflate over time.
For the Cream Cheese Frosting
- Add the softened butter to the bowl of your mixer. Beat on low to medium speed until the butter is smooth.
- Cut the softened cream cheese into pieces and add to the butter, beating at low to medium speed until incorporated. If you are using a hand mixer you may need to soften the cream cheese a bit more.
- Add the vanilla. Gradually add the powdered sugar beating on low speed until blended. Cover the bowl with a towel to keep down the cloud of powdered sugar.
- Increase mixing speed and beat until fluffy. Don't over beat or it will become too soft. If it becomes too soft, just refrigerate a short while to firm it up a bit.
- This frosting will pipe best if used while still chilled. You can make it in advance, refrigerate and when ready to use let it soften slightly (do not microwave) and remix.
Will this cake or the orange creamsicle cake work (without the filling) in a 9x13 or bundt pan?
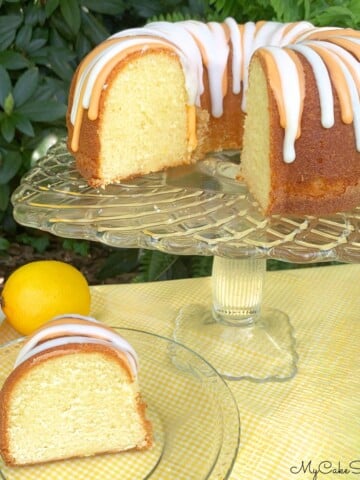
Hi Sharon, either would work for the sheet cake pan. I haven't used this recipe as a bundt cake but it should work- (the texture is often slightly different when comparing layer cakes & bundt cakes from the same recipe because the bundt cakes take much longer to bake).
We also have an Orange Bundt Cake recipe and Orange Pound Cake recipe if you'd like to check those out also.
https://www.mycakeschool.com/orange-pound-cake/
https://mycakeschool.com/orange-bundt-cake/