Orange Coconut Cake
Orange and Coconut are the perfect pair in this light and luscious Orange Coconut Cake. It the perfect dessert for spring and summer!
Shredded coconut is folded into our homemade orange cake batter and baked into fluffy, moist layers that have the perfect balance of citrus and sweet coconut flavor.
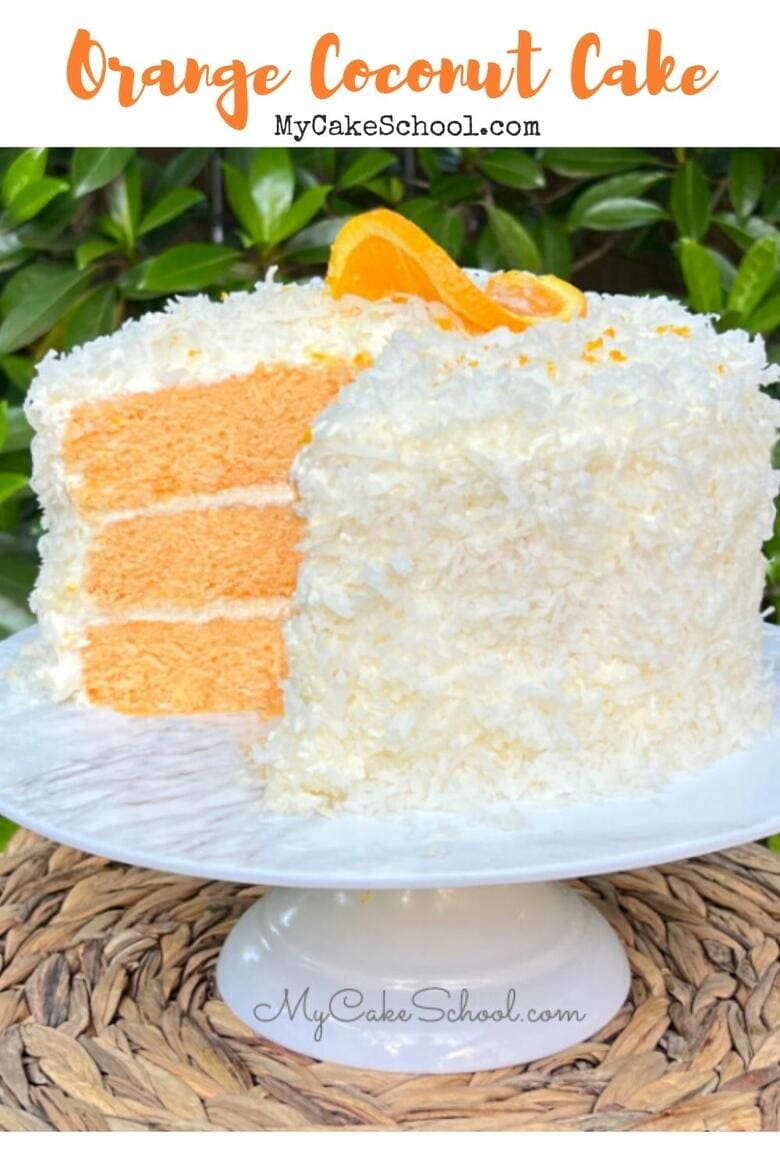
We paired the orange coconut cake layers with a light whipped coconut cream cheese filling and frosting, and then covered the entire cake with a layer of shredded coconut.
This flavor combination is heavenly. We hope that you enjoy the recipe!
Table of Contents
How to Make Orange Coconut Cake
This orange coconut cake is based in part on our scratch Orange Vanilla Bean Cake recipe, but with a few changes including the addition of shredded coconut and coconut extract. It is so flavorful!
You can find the full, printable cake recipe further down in this post, but here is a quick look at our steps.
- Preheat the oven to 325 degrees, grease and flour three 8 inch x 2 inch round cake pans. I also like to line my pans with circles of parchment or wax paper.
- Combine Flour, Leavening and Zest: In a medium sized bowl, add the cake flour, baking powder, salt, and orange zest. Whisk to blend for 30 seconds. Set aside.
- Sour Cream Mixture: In another bowl or measuring cup, combine the sour cream, milk, orange juice concentrate (thawed), coconut extract, and orange extract.
- Butter and Sugar: In the bowl of your mixer, beat the softened butter until smooth. Gradually add the sugar and beat on medium speed for 3-5 minutes until fluffy and lightened in color.
- Eggs: Add the room temperature eggs one at a time, mixing until the yellow of the yolk disappears.
- Alternating Additions of Dry and Wet Ingredients: With the mixer on low speed, add the flour mixture and the sour cream mixture alternately, beginning and ending with the flour mixture (3 additions of dry ingredients, 2 of wet). Add the drops of coloring gel at this time also if you are tinting the batter.
- Careful not to Over-mix: Slightly increase speed and mix batter just until combined, do not mix above medium speed or over-mix.
- Shredded Coconut: Fold in the shredded sweetened coconut.
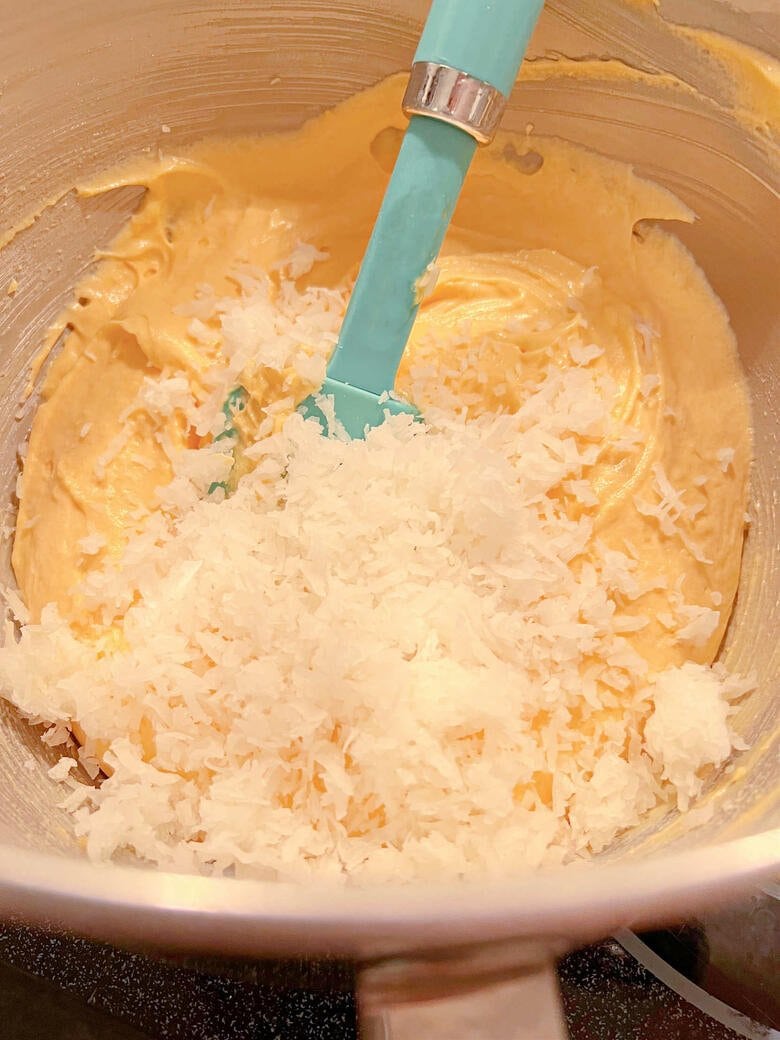
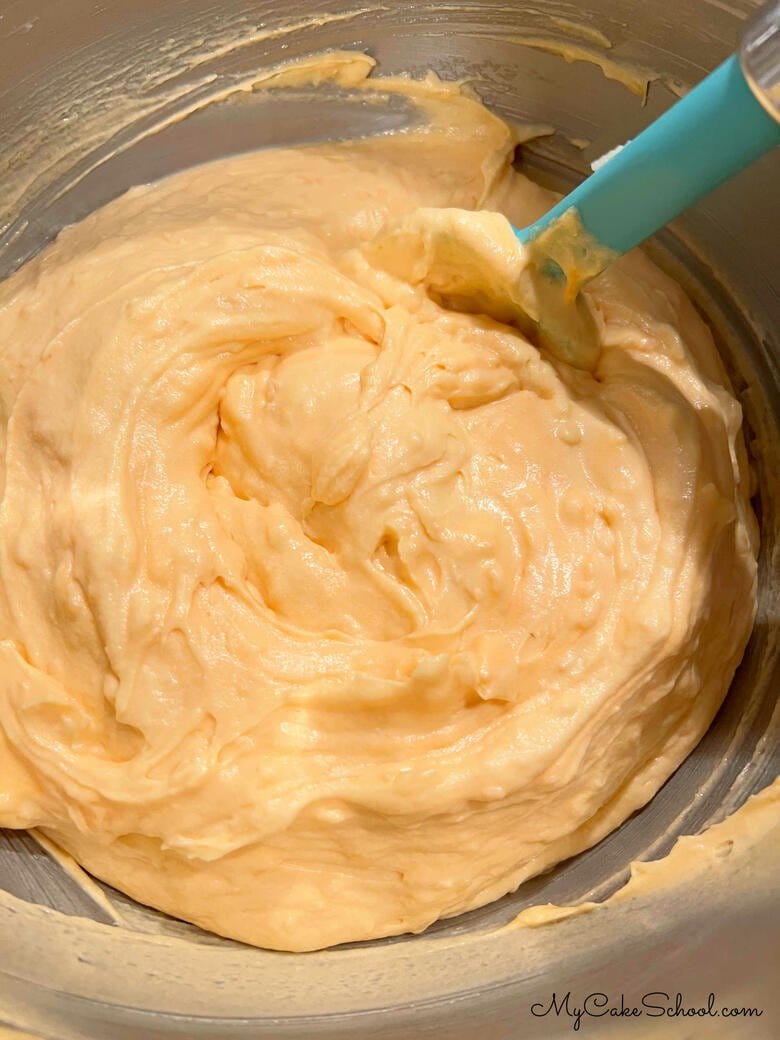
Fill the Pans: Divide the orange coconut cake batter between the three prepared 8 inch round cake pans. The batter is pretty thick.
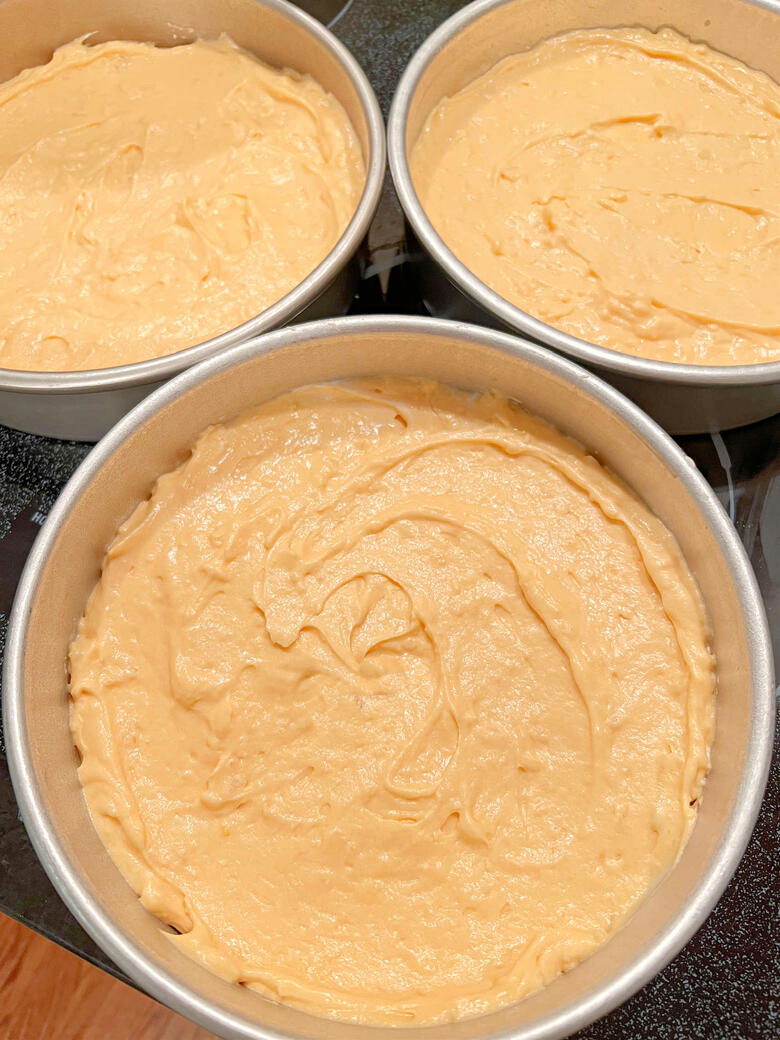
Bake at 325 degrees for 28-30 minutes or until a toothpick inserted into the center comes out clean or with just a few crumbs attached.
**Check on your cakes as you approach the end time, bake times may vary. Let the cakes cool 5-10 minutes, then flip them out.
Delicious Coconut Fillings and Frostings
There are several filling and frosting options that would be delicious with this Orange Coconut Cake. Because orange is the predominant flavor with the cake layers, we decided to go with a coconut filling and frosting.
You could use a coconut buttercream (our classic vanilla buttercream with 1-2 teaspoons coconut extract added), a filling of coconut whipped cream (our sweetened whipped cream with coconut extract to taste), seven minute frosting with coconut extract to taste, the coconut pastry cream filling from our coconut cream cake, and more!
Today we decided to go with one of our favorites- Whipped Coconut Cream Cheese Frosting (also known as Coconut Chantilly Cream- it is similar to the cream from our Berry Chantilly Cake).
This flavorful, soft filling and frosting has the lightness of freshly whipped cream but with a bit more stability from the cream cheese in the recipe.
We love the combination of the sweetened cream and coconut flavor with the light tanginess from the cream cheese frosting.
How to Make Coconut Whipped Cream Cheese Frosting
To prepare the recipe, combine the slightly softened cream cheese with confectioners sugar, coconut extract, and vanilla extract.
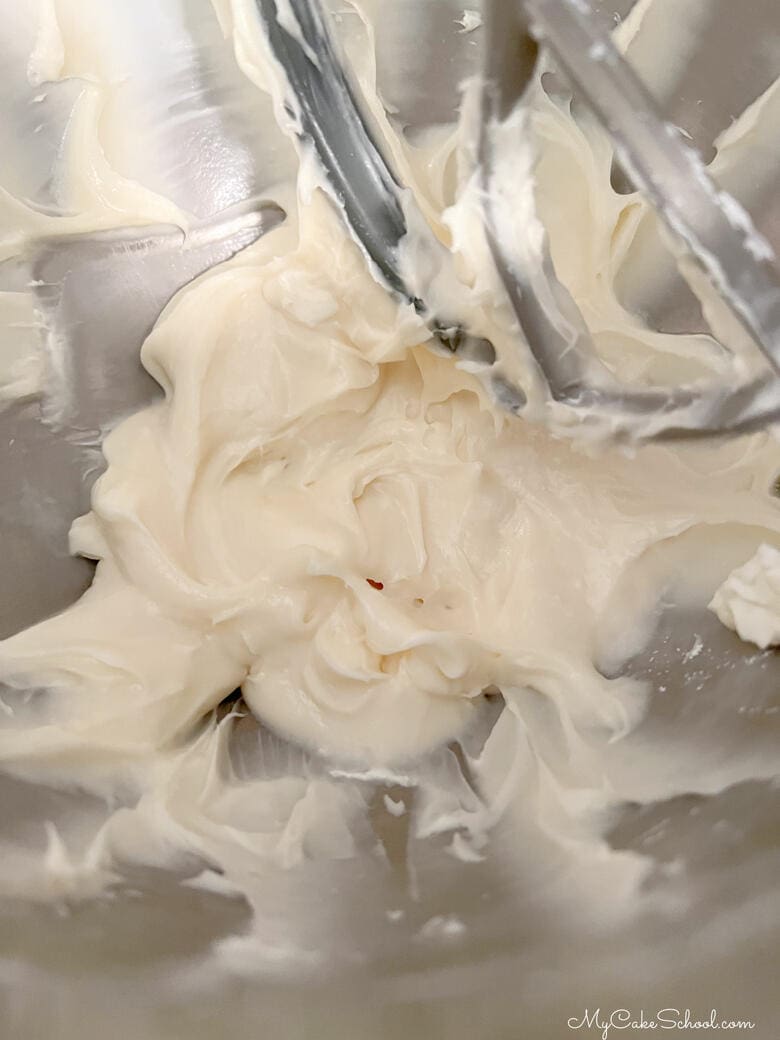
In another chilled bowl, and using chilled beaters if using a hand mixer or a chilled whisk attachment if using a stand mixer, whip up your heavy cream until stiff peaks form.
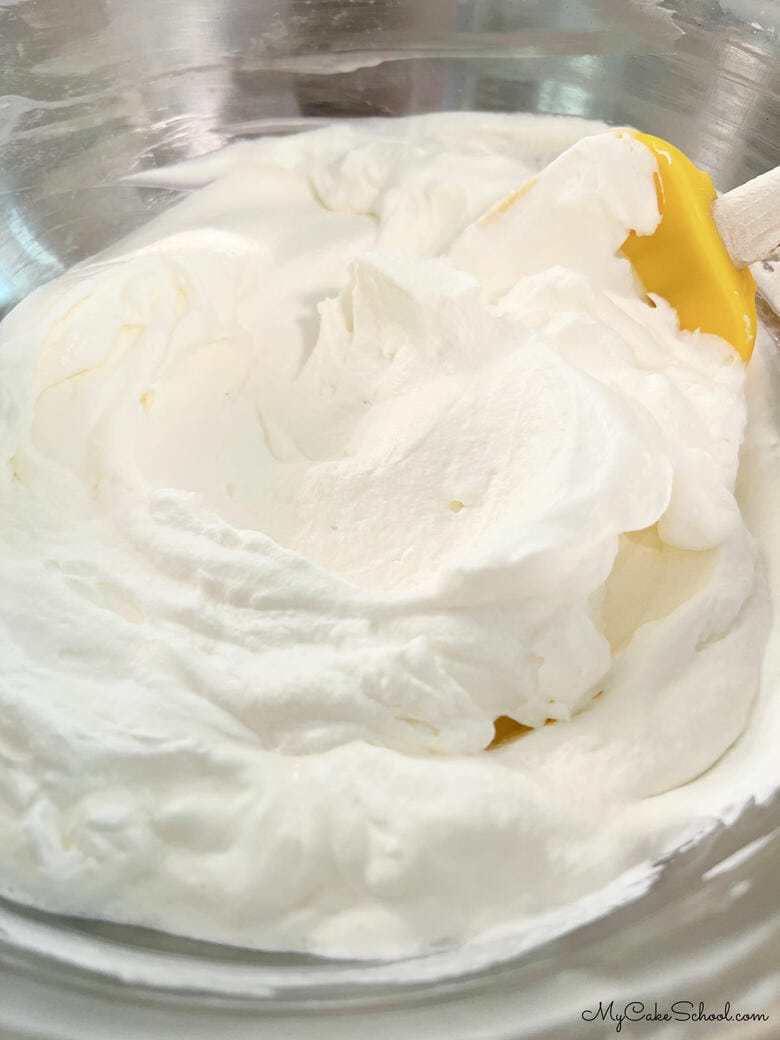
Then fold the cream cheese mixture gently into the whipped cream mixture. That's it! You're going to want to dive right into the bowl- it is so delicious.
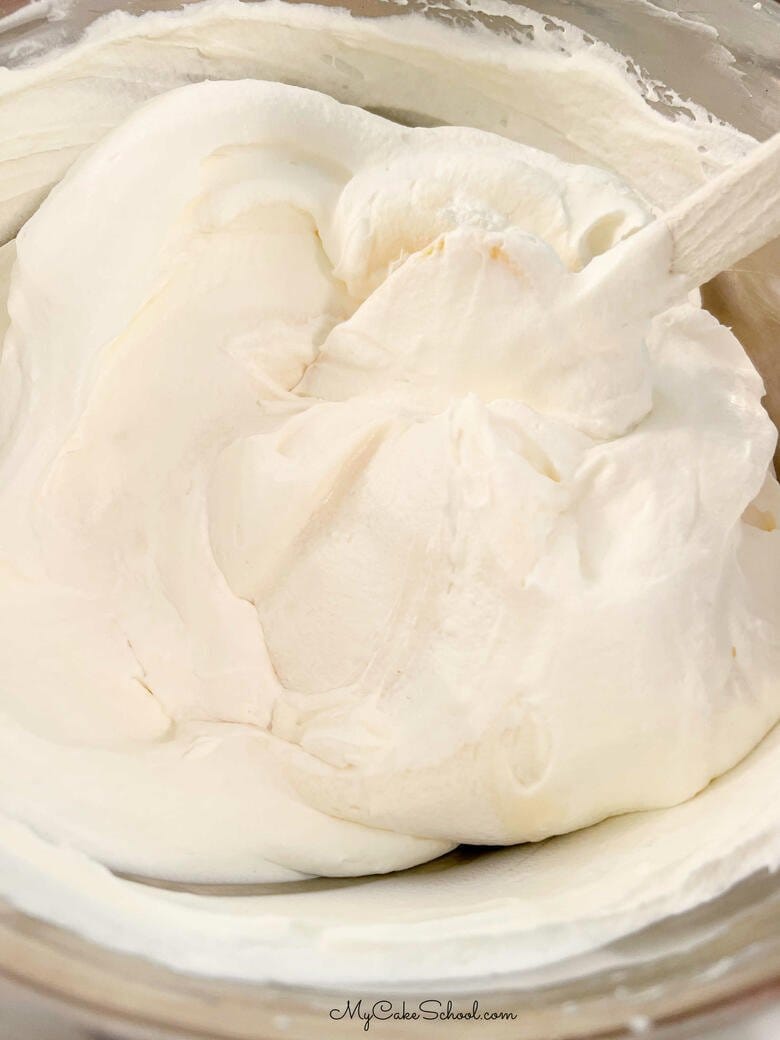
Assembling the Orange Coconut Cake
Now it's time to put our Orange Coconut Cake together!
Place the first cake layer on the cake plate or pedestal. Spread with a layer of frosting. (You don't need to take the filling all the way to the edge of the layer, as it will slightly push out when the other layers are stacked.)
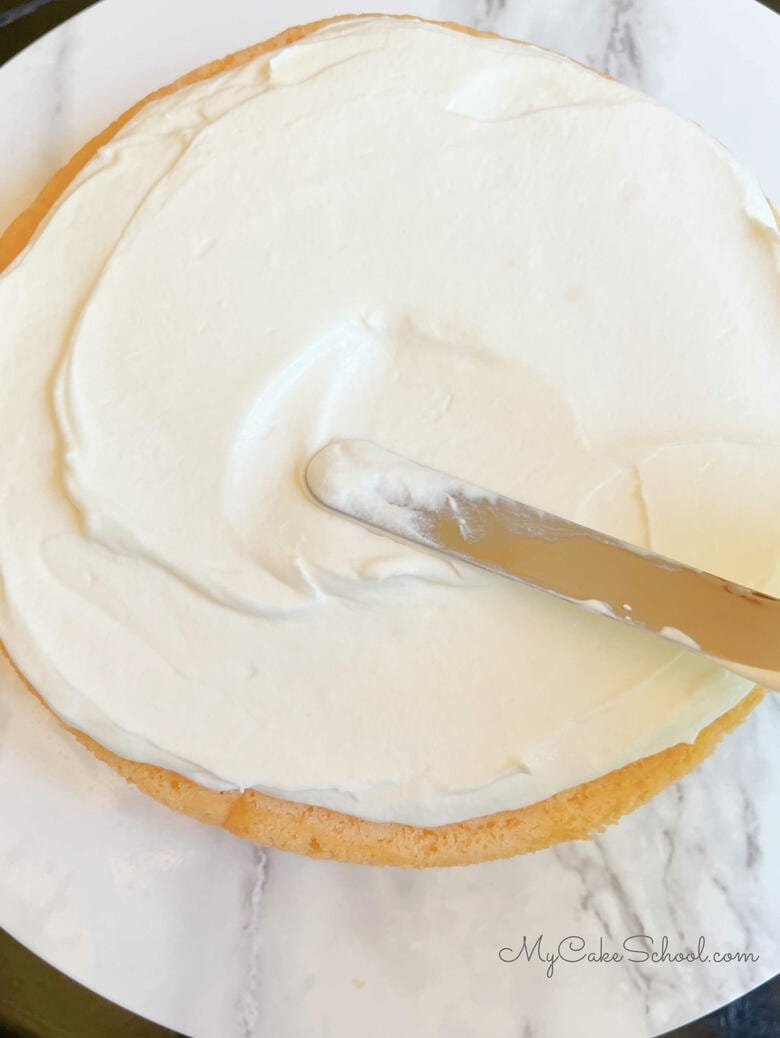
*Optional: You can add a sprinkling of shredded coconut over the top of the filling if you'd like- this is optional as there is already coconut in the batter and on the outside of the cake.
Add the second orange coconut cake layer and spread with filling, followed by the third cake layer. Fill in any gaps between the cake layers with coconut frosting and then crumb coat the cake (thin coat).
Once you've spread on the frosting, you can remove the excess with an offset spatula or bench scraper.
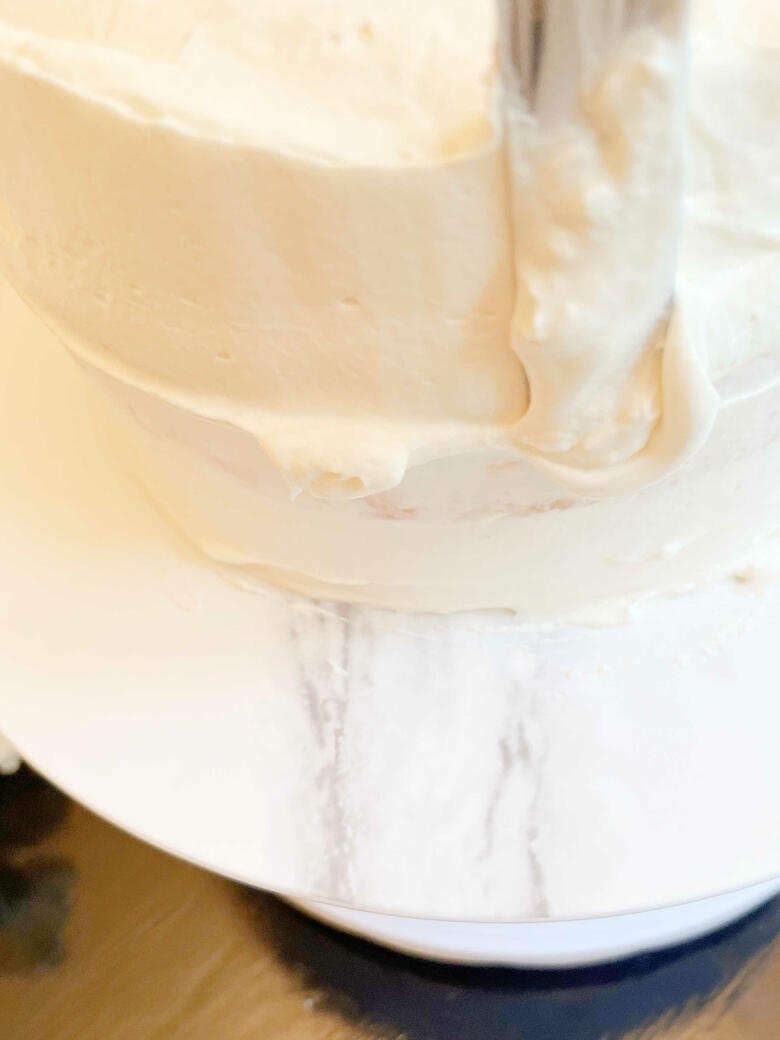
I always chill my cakes after crumb coating to firm everything back up again. This is a softer frosting and so you may find this helpful.
I freeze my filled, crumb coated cakes for about 10-15 minutes before applying the final coat of frosting (you could refrigerate for a bit longer instead of freezing if you'd rather). You can refrigerate the bowl of frosting during this time also.
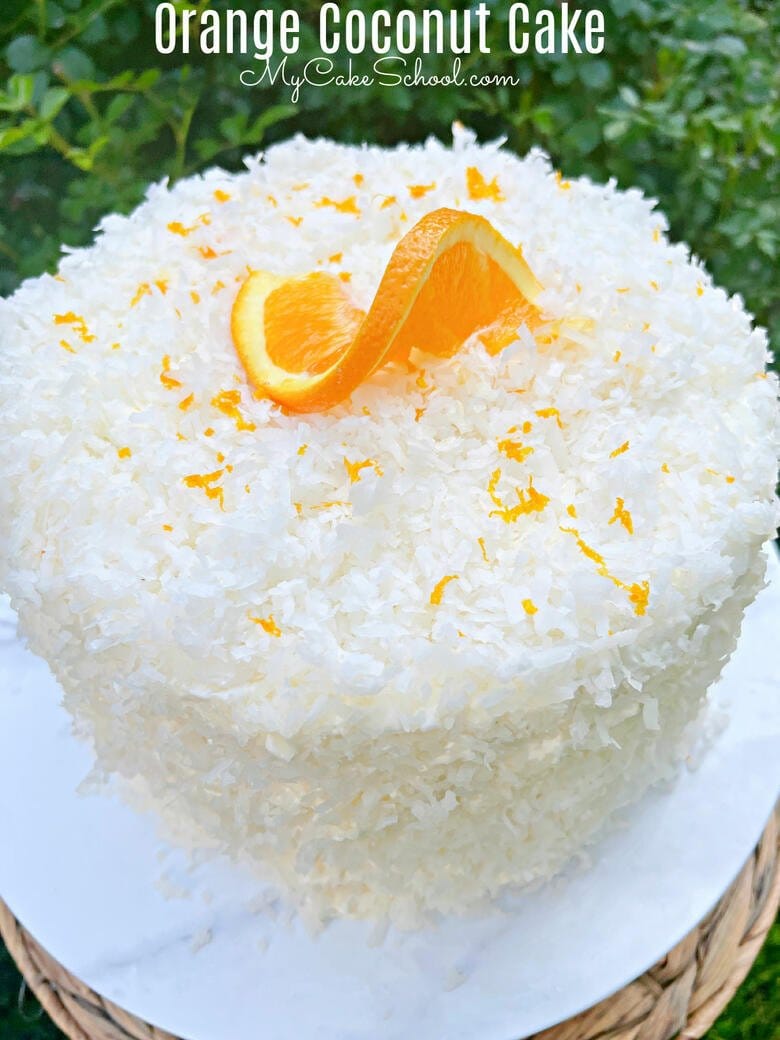
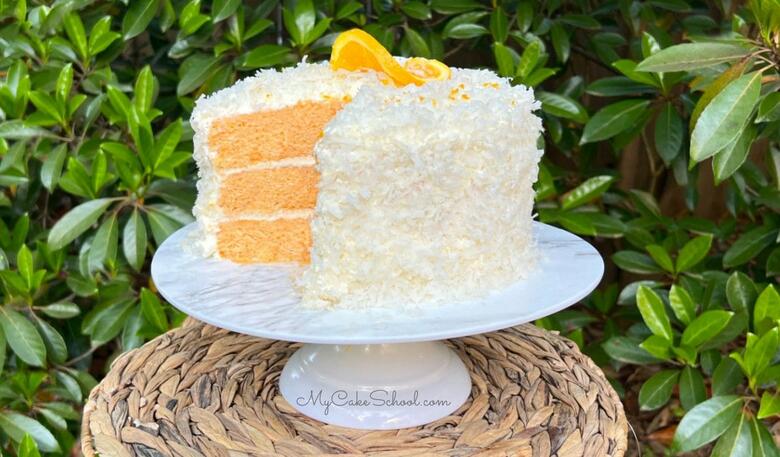
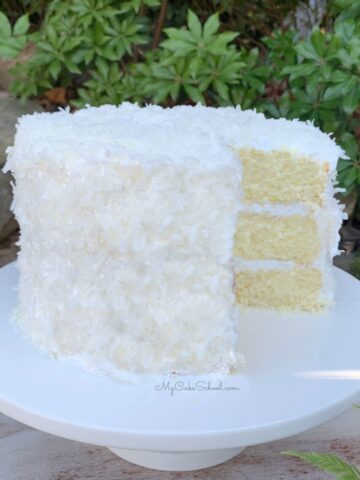
Apply the final layer of frosting, press sweetened coconut all over the outside, and it's finished! I topped mine with a bit of orange zest and a thin, round orange slice which I twisted so that it would slightly stand up.
What is the Difference between Sweetened Coconut and Unsweetened?
We like to use sweetened coconut in our cake recipes because it not only adds a nice sweetness, but it is also moister and softer than from-the-bag unsweetened shredded coconut.
We use Bakers Angel Flake Coconut most often but there are many options.
Thawed, frozen coconut is a good alternative as well. Even though it is usually not sweetened, it has a softer texture than unsweetened, bagged coconut and is close in texture to freshly grated coconut.
More Cakes to Share!
In addition to today's cake, we also have a great Orange Coconut Pound Cake. We have many more cakes with coconut. Here are a few more favorites!
- Coconut Cream Cake
- Almond Joy Cake
- Chocolate Coconut Cake
- Pineapple Coconut Cake
- Lemon Coconut Cake
- Italian Cream Cake
- White Chocolate Coconut Cake
Thanks so much for stopping by today! We hope that you enjoy this moist Orange Coconut Cake. Don't miss our full collection of cake recipes and cake decorating tutorials!
Have you made this? We would LOVE for you to leave a ⭐️ rating as well as a comment and photo below! We really appreciate your feedback!
Orange Coconut Cake
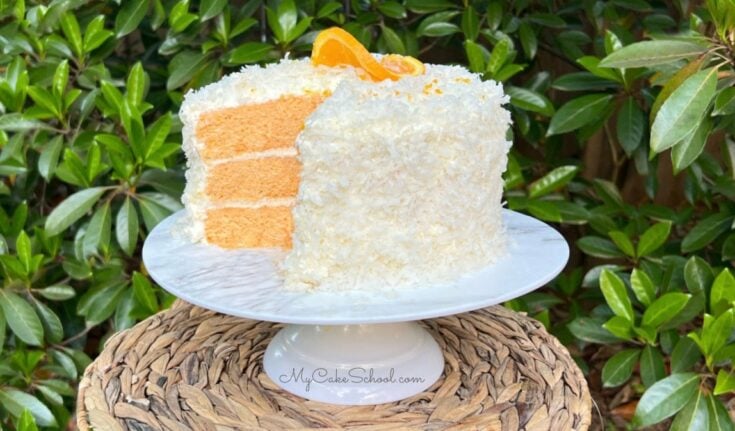
This moist Orange Coconut Cake is bursting with citrus and coconut flavor. It is the perfect dessert for spring and summer celebrations!
Ingredients
- 2 Sticks (226 g) unsalted butter, slightly softened
- 2 cups (400 g) sugar
- 3 large eggs, room temperature (you can add to warm water to bring to room temp)
- 1 cup (242 g) sour cream (we use full fat)
- ⅓ cup (81g) milk (we use whole milk)
- ¾ cup (190g) frozen orange juice concentrate, thawed
- 1 ½ teaspoons (6g) coconut extract
- 1 Tablespoon plus 1 teaspoon (14g) Orange Extract (we used McCormick brand)
- 3 cups (342 g) cake flour *See substitution below
- 3 teaspoons (12g) baking powder
- ½ teaspoon (4g) salt
- zest of one orange
- Orange Coloring Gel (optional. We used a small amount.)
- ¾ cup (59g) Shredded Sweetened Coconut (we like Bakers Angel Flake Coconut)
For the Whipped Coconut Cream Cheese Frosting
- Two 8 ounce (423g total weight) packages cream cheese, slightly softened. It must be full fat, not reduced fat or cream cheese in a tub, those are too soft.
- 2 cups (230g) powdered sugar, measure then sift
- 1 teaspoons (4g) vanilla extract
- 1 ½ teaspoons (6g) coconut extract
- 3 cups (696g heavy whipping cream
Decoration
- We used additional coconut for the outside of the cake. (For the coconut in the batter plus coconut for decoration, we used a 14 oz bag of Baker's Angel Flake Coconut)
- Thin slice of orange on top as well as a light dusting of orange zest
Instructions
For the Cake
- Preheat the oven to 325 degrees, grease and flour three 8 inch x 2 inch round cake pans. I also like to line my pans with circles of parchment or wax paper. (You could use 2 cake pans for slightly thicker layers if you would rather, but we like the additional layer filling.)
- In a medium sized bowl, add the flour, baking powder, salt, and orange zest. Whisk to blend for 30 seconds. Set aside.
- In another bowl or measuring cup, combine the sour cream, milk, orange juice concentrate (thawed), coconut extract, and orange extract.
- In the bowl of your mixer, beat the softened butter until smooth. Gradually add the sugar and beat on medium speed for 3-5 minutes until fluffy and lightened in color.
- Add the eggs one at a time, mixing until the yellow of the yolk disappears.
- With the mixer on low speed, add the flour mixture and the sour cream mixture alternately, beginning and ending with the flour mixture (3 additions of dry ingredients, 2 of wet). Add the drops of coloring gel at this time also if you are tinting the batter.
- Slightly increase speed and mix batter just until combined, do not mix above medium speed or over-mix.
- Fold in the shredded coconut.
- Divide the batter between the three prepared 8 inch cake pans.
- Bake at 325 degrees for 28-30 minutes or until a toothpick inserted into the center comes out clean or with just a few crumbs attached. **Check on your cakes as you approach the end time, bake times may vary. Let the cakes cool 5-10 minutes, then turn out.
For the Whipped Coconut Cream Cheese Frosting
- We like to prepare the frosting when the layers are baked, cooled, and ready to be frosted.
- Freeze your mixing bowl and beaters/whisk attachment 15 minutes before whipping the cream (30 minutes if chilling in the refrigerator).
- Use the whisk attachment for a stand mixer, beaters on your hand mixer. Beat the cream until stiff peaks form. This can happen very quickly and so don't walk away from the mixer. You are at the stiff peak stage when you lift the beater and the cream stands straight up forming a peak. Keep in the refrigerator while completing the next step.
- In another bowl combine the cream cheese, powdered sugar, vanilla, and coconut extract. Mix until very smooth.
- Gently fold the cream cheese mixture into the whipped cream. This frosting should be refrigerated. If it becomes too soft while you are decorating the cake, chill in the refrigerator or freezer for 10 minutes or so to reach a more workable consistency.
Assembling the Cake
- Place orange coconut cake layer on cake plate or pedestal.
- Frost with a layer of the Coconut Frosting. I don't take the filling all the way to the edge as it is more likely to push out when the .layers are stacked. Just take the filling up to about ¼-1/2 inch from the edge of the cake . (*If you would like even more coconut, you can sprinkle some shredded coconut over this layer of filling. )
- Apply second cake layer and repeat. Apply third cake layer and crumb coat the cake with the coconut frosting.
- If it seems very soft, you can chill the filled cake for about 10-15 minutes in the freezer to firm things up. You can refrigerate the bowl of frosting at this time also if needed. Then, apply final coat of frosting and press shredded coconut all over the cake.
- Decorate however your like! I kept things simple and sprinkled the top with orange zest and placed a thin circular orange slice on top that was sliced halfway up and twisted so that it stood upright.
Notes
Substitution for Cake Flour: If you have no cake flour, here is a substitution: For each cup of flour in a recipe, remove 2 Tablespoons of flour and replace with 2 Tablespoons cornstarch (cornflour in the UK). This recipe has 3 cups of flour so you will measure out 3 cups of all purpose flour, remove 6 Tablespoons and replace with 6 Tablespoons cornstarch, whisk to blend.
Recommended Products
As an Amazon Associate and member of other affiliate programs, I earn from qualifying purchases.



Looks pretty! Sounds delish - a very Spring flavour! Love it! :-)
Can this cake be made gluten free.
I'm sorry, Rosie, but we haven't tried a gluten free version of the recipe.
Getting ready to ice cake for a potluck at church. How long can cake icing stay stiff out of refrigerator? Thanks Barbara
Hi Barbara, The frosting is perishable but for best flavor and texture of the cake I would out of the refrigerator about 1 1/2 to 2 hours before
serving. The temperature of the room is also a factor. Hope you will enjoy the cake.
Can this cake be made into a 9x13 pan and if so, what adjustments in ingredients would need to be made? Thank you so much!