Peanut Butter Cake (cake mix recipe)
Today I'm sharing the BEST recipe for easy Peanut Butter Cake from cake mix! This ultra moist peanut butter layer cake is so simple and delicious.
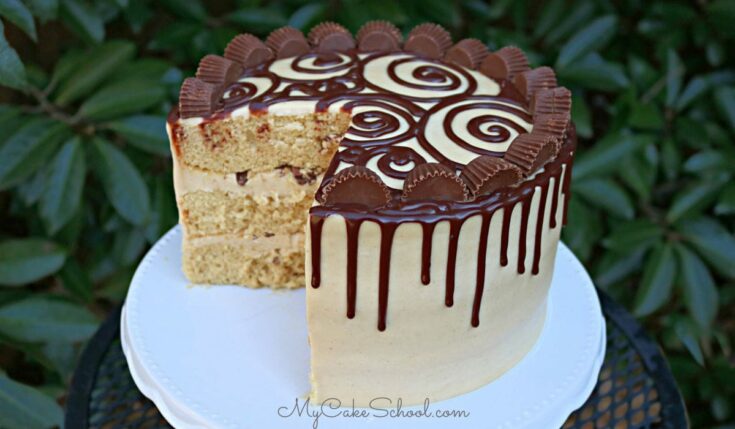
It consists of three fluffy peanut butter cake layers filled and frosted with creamy Peanut Butter Cream Cheese Frosting, plus Reese's Cups and a decadent chocolate drip.
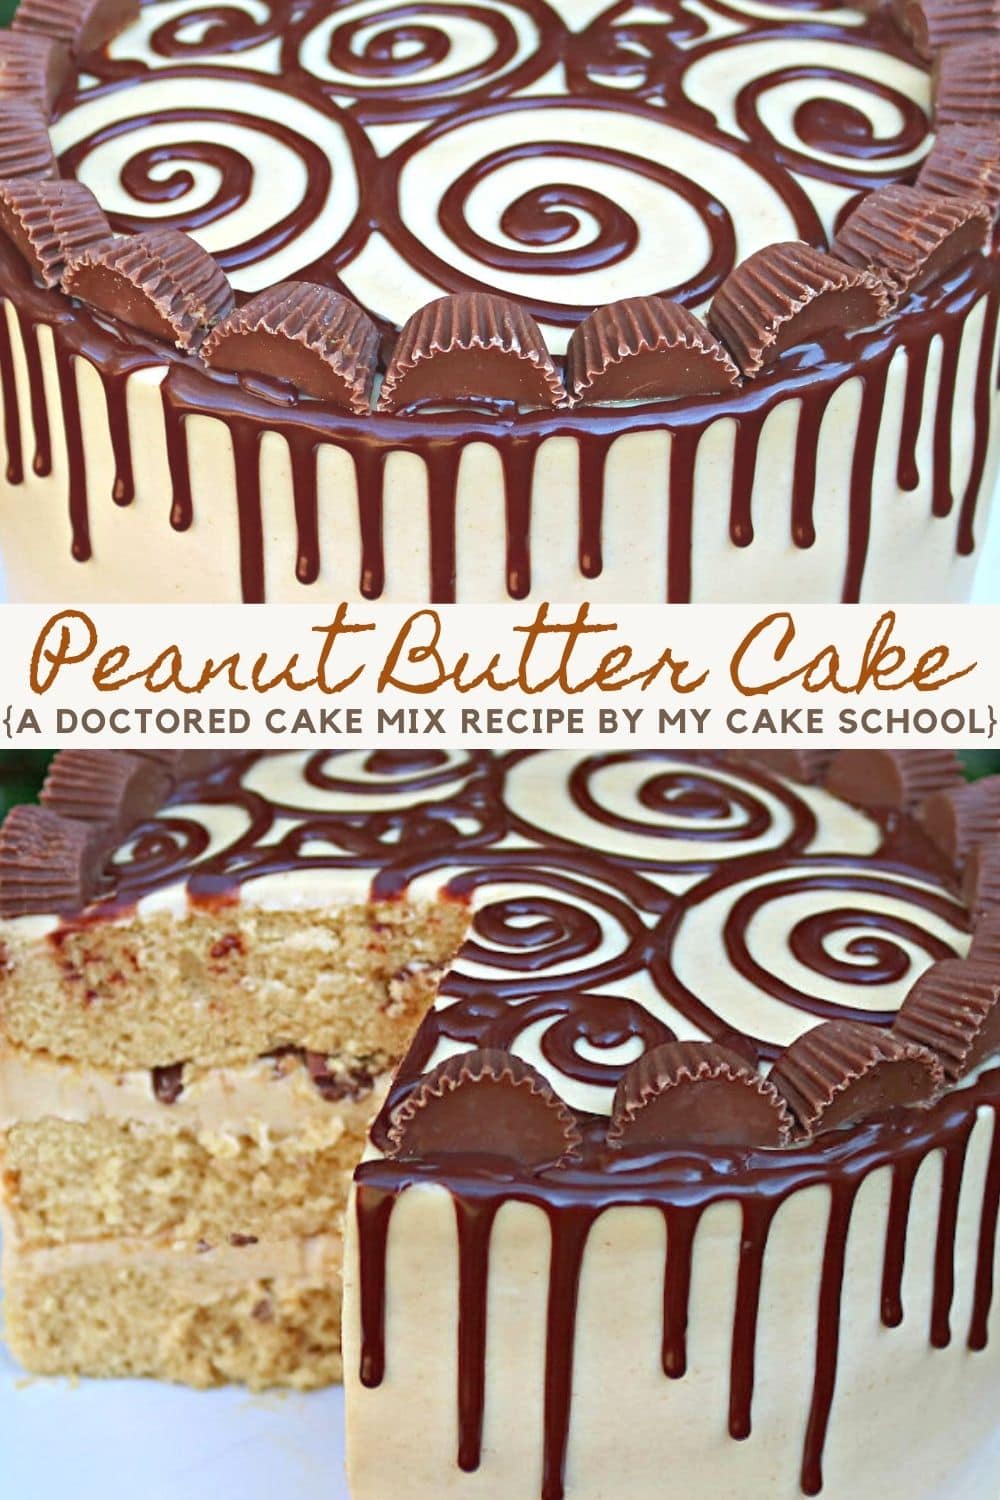
I just love the combination of peanut butter and chocolate, but unlike our chocolate cake with peanut butter frosting and chocolate peanut butter cupcakes, today's recipe puts the Peanut Butter flavor front and center!
Anyone who loves peanut butter is going to fall in love with this cake, and nobody would ever guess that it is a doctored cake mix recipe.
Table of Contents
How to Make Peanut Butter Cake from Cake Mix
Don't miss our full, printable Peanut Butter Cake recipe below, but here is a quick rundown of our steps!
- We started with a Duncan Hines yellow cake mix. Normally, one box would only yield two 8 inch cake layers- but with our special additions of flour, sugar, and peanut butter, there is plenty of batter for a nice sized three layer cake!
- Start off by combining the dry ingredients until well blended in the bowl of your mixer. In another bowl, combine the peanut butter, eggs, vanilla extract, vegetable oil, and water.
- While using your mixer, add the wet ingredients to the dry ingredients, starting on low speed and then increasing to medium speed- mix for one minute, scrape down the bowl, and mix for another minute on medium speed.
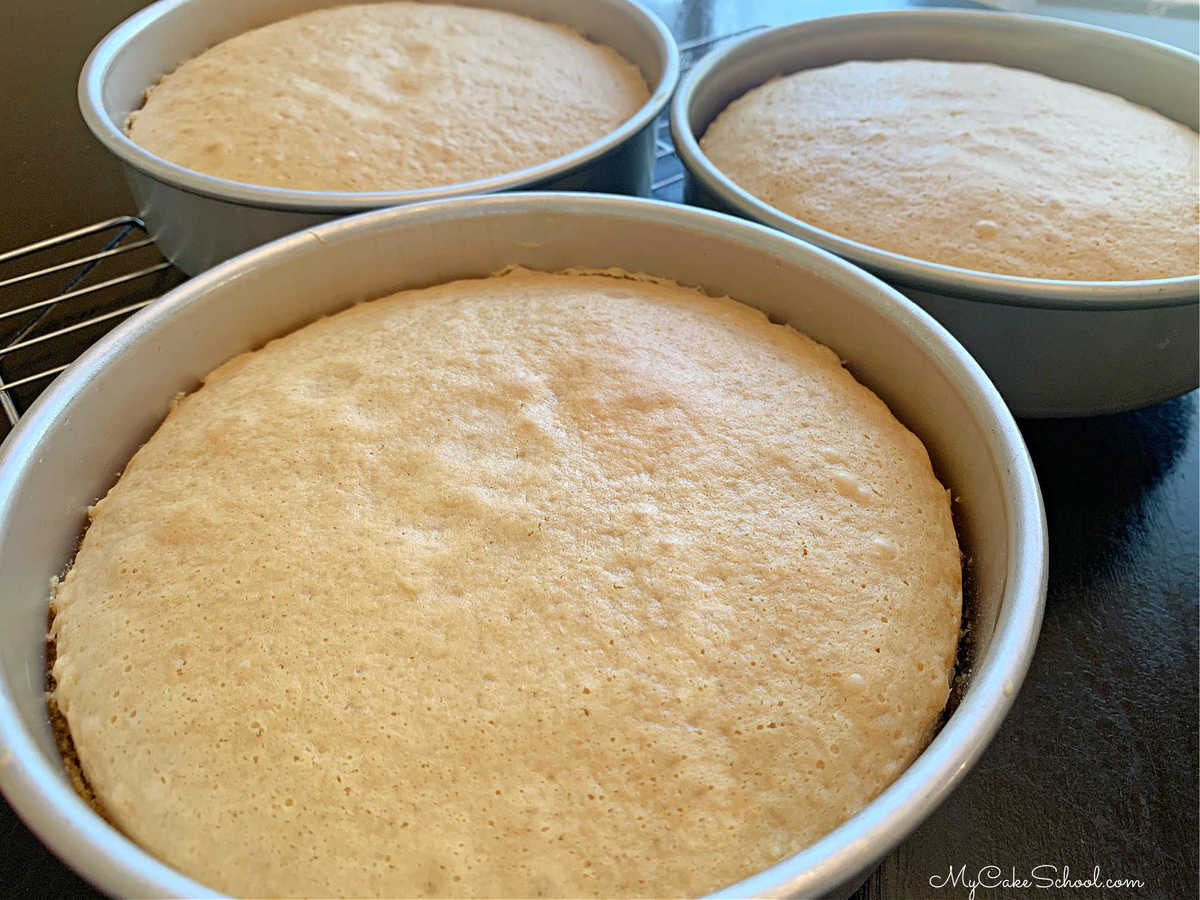
- This recipe makes about 6 cups of batter. I was afraid that 6 cups wouldn't be enough to give me three fluffy peanut butter cake layers but they rose beautifully- hooray!
**You can find the cupcake version of this recipe here: Peanut Butter Cupcakes (cake mix)
Peanut Butter Cream Cheese Frosting
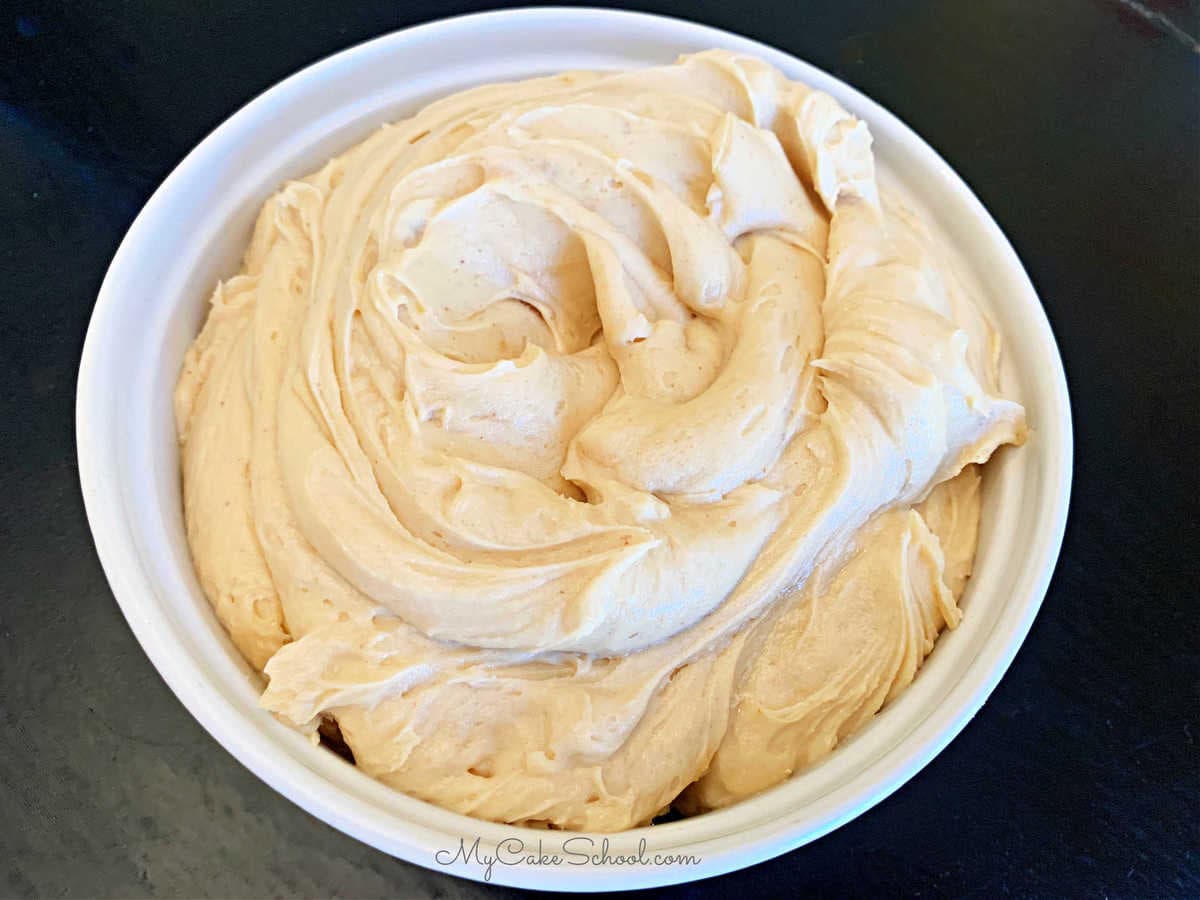
Although we have a completely addictive and delicious Peanut Butter Buttercream Frosting recipe, I've wanted to experiment with a Peanut Butter Cream Cheese Frosting recipe for a while now. Today was the day!
I LOVE this super easy peanut butter cream cheese frosting recipe and it tastes amazing--not too sweet, pipes great, and I was able to get a really smooth finish around the sides of the cake with a hot bench scraper.
Like many of our cream cheese frostings, this recipe is a combination of butter, cream cheese, and powdered sugar- and in today's case, 1 ¼ cups of creamy peanut butter. (yum!)
Does the Kind of Peanut Butter in the Cake or Frosting Recipe Matter?
**We have only used creamy peanut butter brands like JIF or Peter Pan in our peanut butter cake and frosting recipes.
While we haven't experimented with "all natural" brands in our cake recipes, we have tried using them in our frostings and the texture wasn't nearly as smooth.
We recommend the full-fat creamy versions of peanut butter for best results.
Easy Ganache Drip
We use ganache drips all the time - it's a great way to add a little drama to your cakes, not to mention a delicious boost of chocolate flavor!
I wanted to introduce a little bit of chocolate into our peanut butter cake recipe without making it overpowering- and a ganache drip is a great way to do that! (We also added a few Reese's Cups to the filling and on top)!
How to Make a Ganache Drip
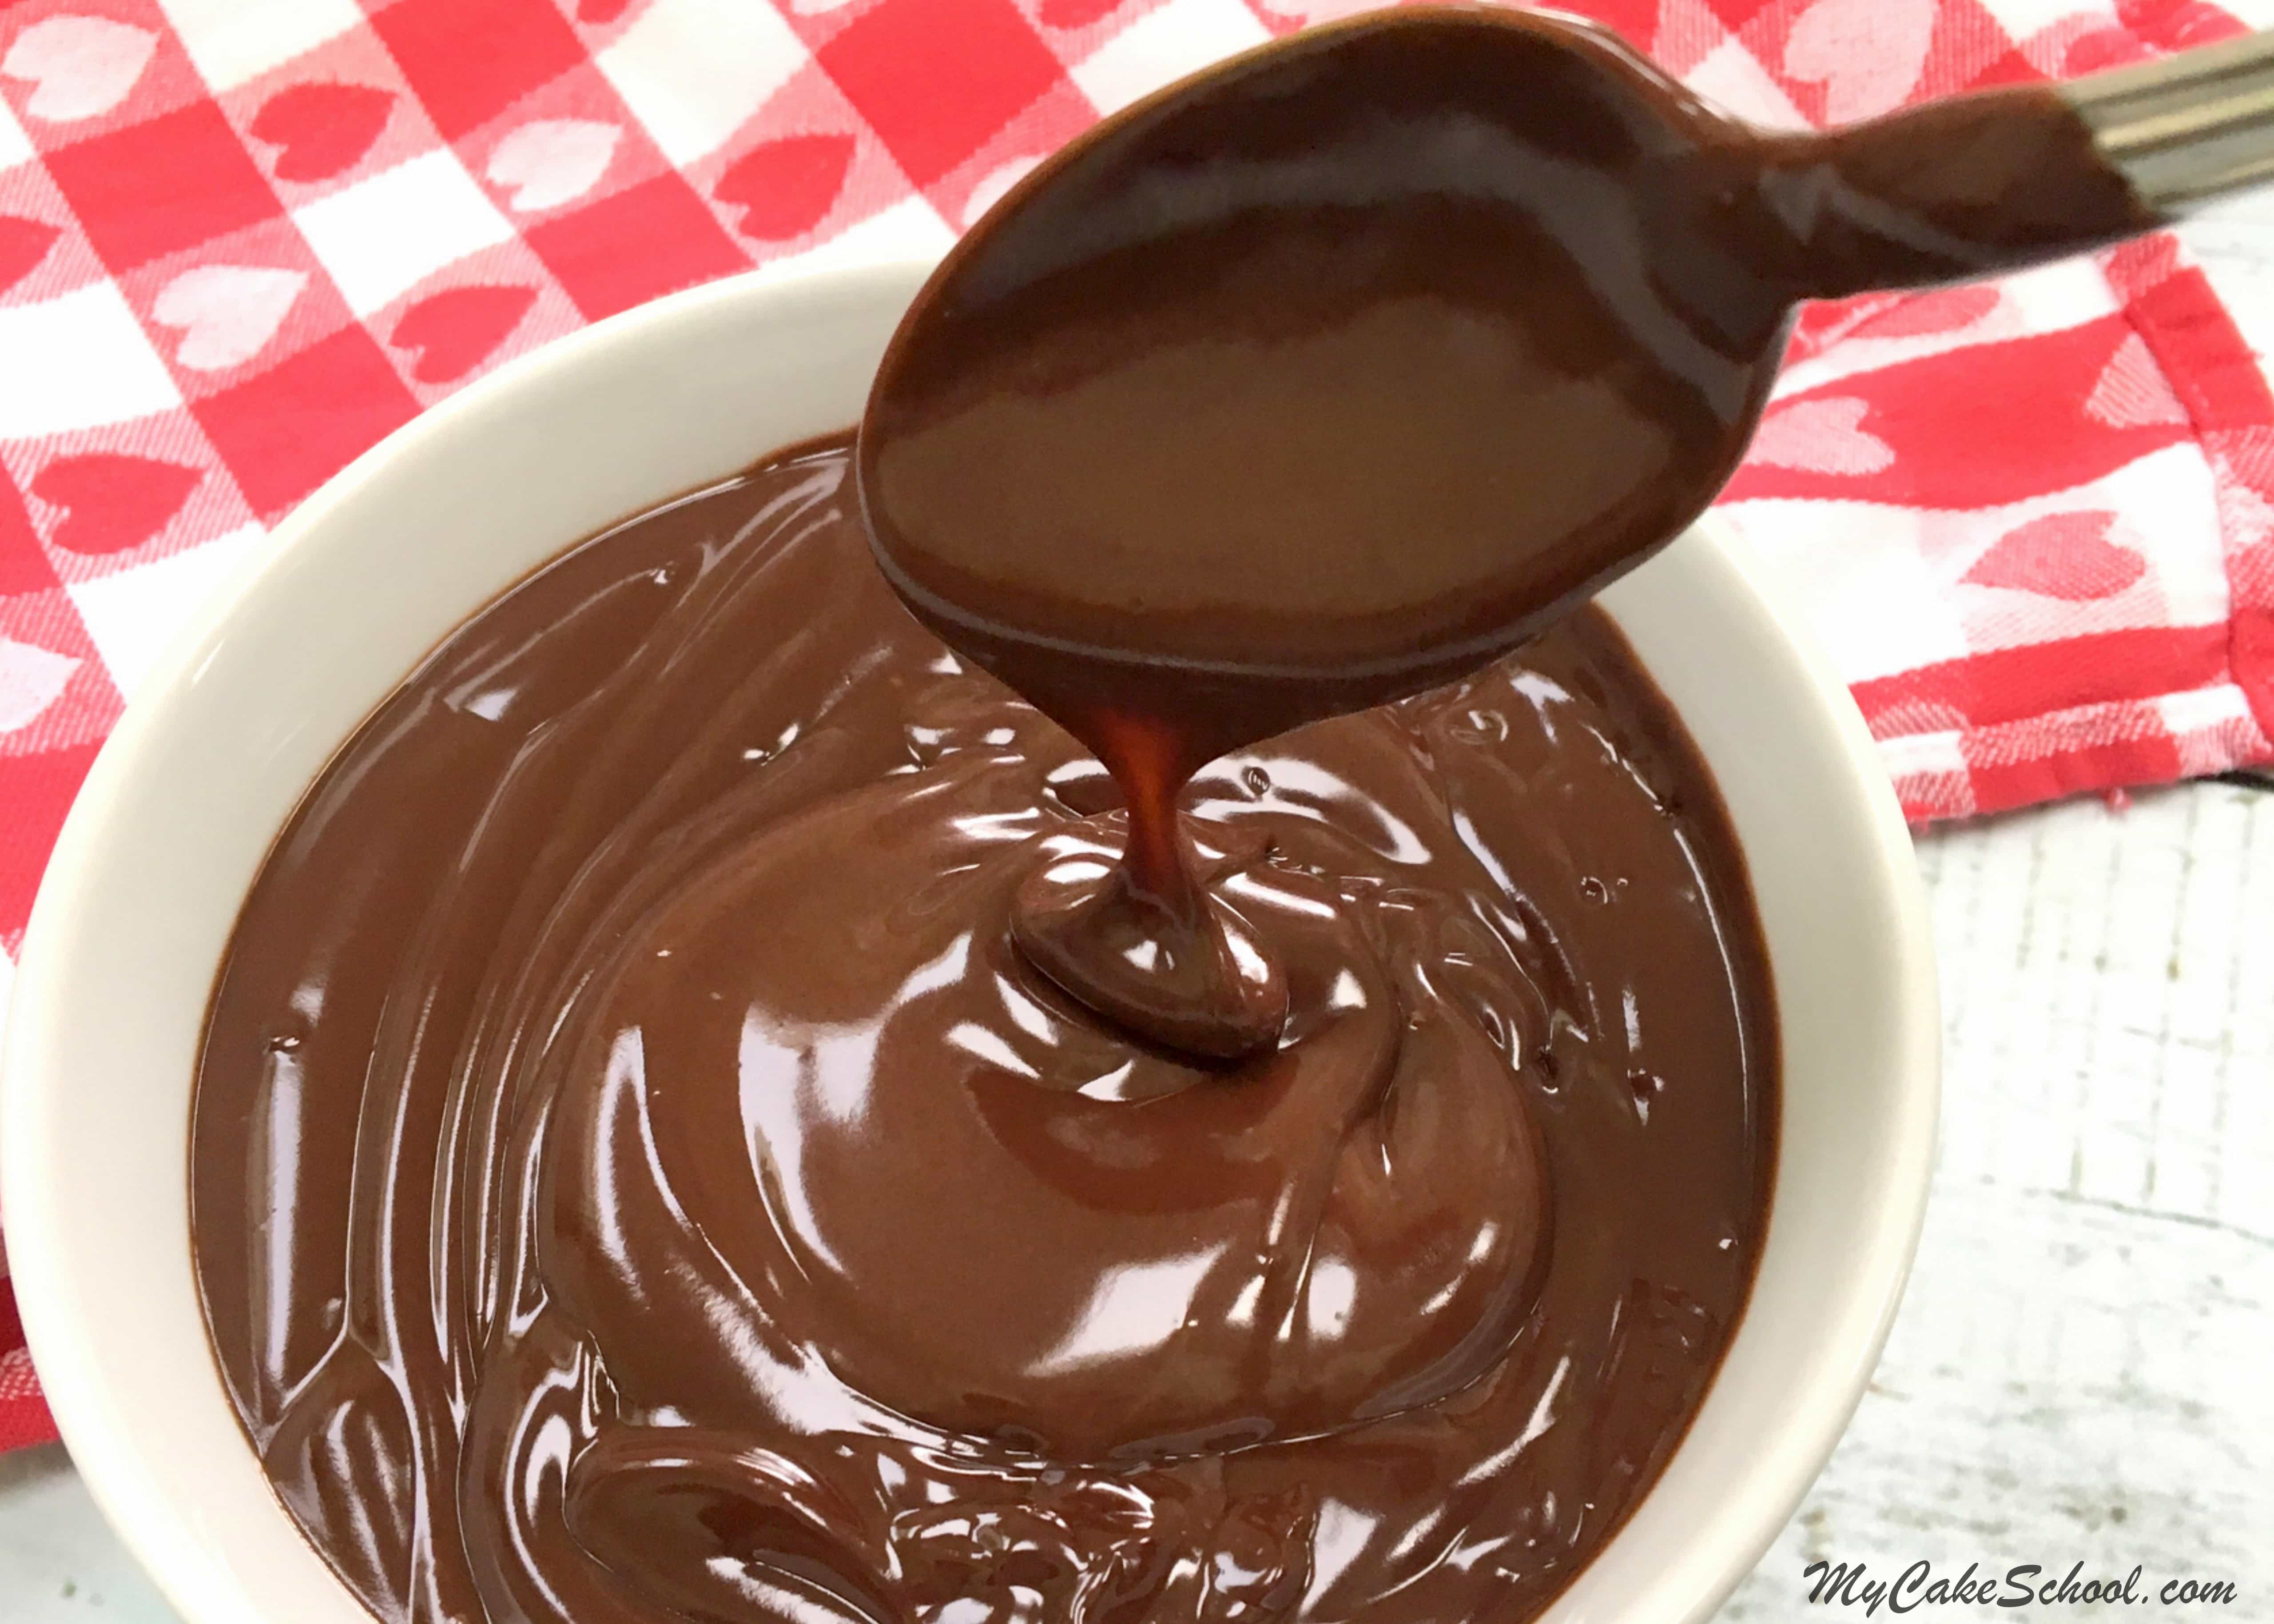
For today's ganache drip, I measured out equal parts (by weight) of semi-sweet chocolate chips and heavy cream.
I combined them in a microwave safe bowl and heated in small increments (30 seconds, then 15, then more if needed). I stirred each time after heating to get a feel for how many more seconds were needed.
Stop heating the chocolate once there are just a few remaining softened chips as they will continue to melt as they sit a few minutes. Give it one final stir and the contents of the bowl should combine, bringing the once light cream mixture to a rich and smooth ganache.
Cool the Drip
Allow the ganache to cool for several minutes until the chocolate reaches a good consistency for drips.
If it is too warm, it will be too runny and the drips will be very long and a little too transparent. You can test it by spooning a little ganache along the top inside edge of your bowl. This will give you a good idea of how your drips will behave.
Applying the Chocolate Drip
Once ready, load your ganache into a disposable piping bag and snip a small opening from the tip.
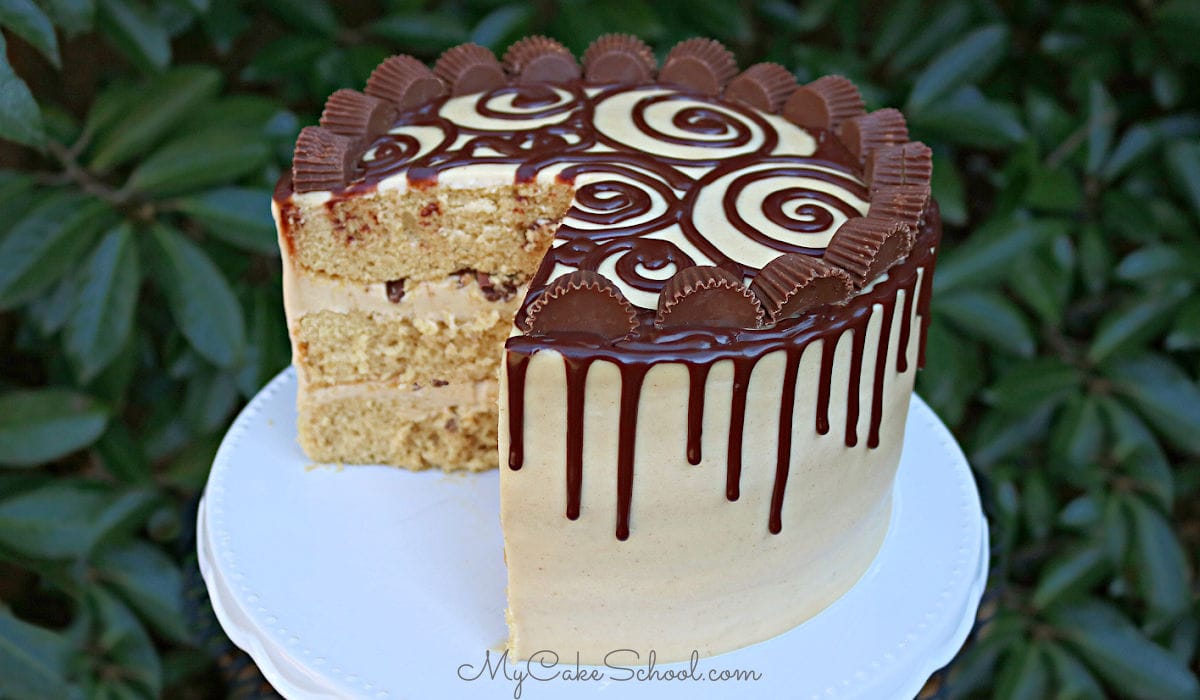
I applied my drip around the top edge of the *chilled* cake, and then piped spirals on top. I often spread ganache over the entire top of the cake for a different, more chocolate covered look. It's up to you!
If you'd like to watch me create ganache and apply a drip to a cake, check out our Easy Ganache Drip Video Tutorial!
Assembling the Peanut Butter Cake
I started by placing the first peanut butter cake layer onto the pedestal. I then spread it with peanut butter cream cheese frosting and sprinkled it with chopped Reese's Cups.
Adding peanut butter cups is optional but I really liked having the little bits of chocolate and peanut butter in the filling!
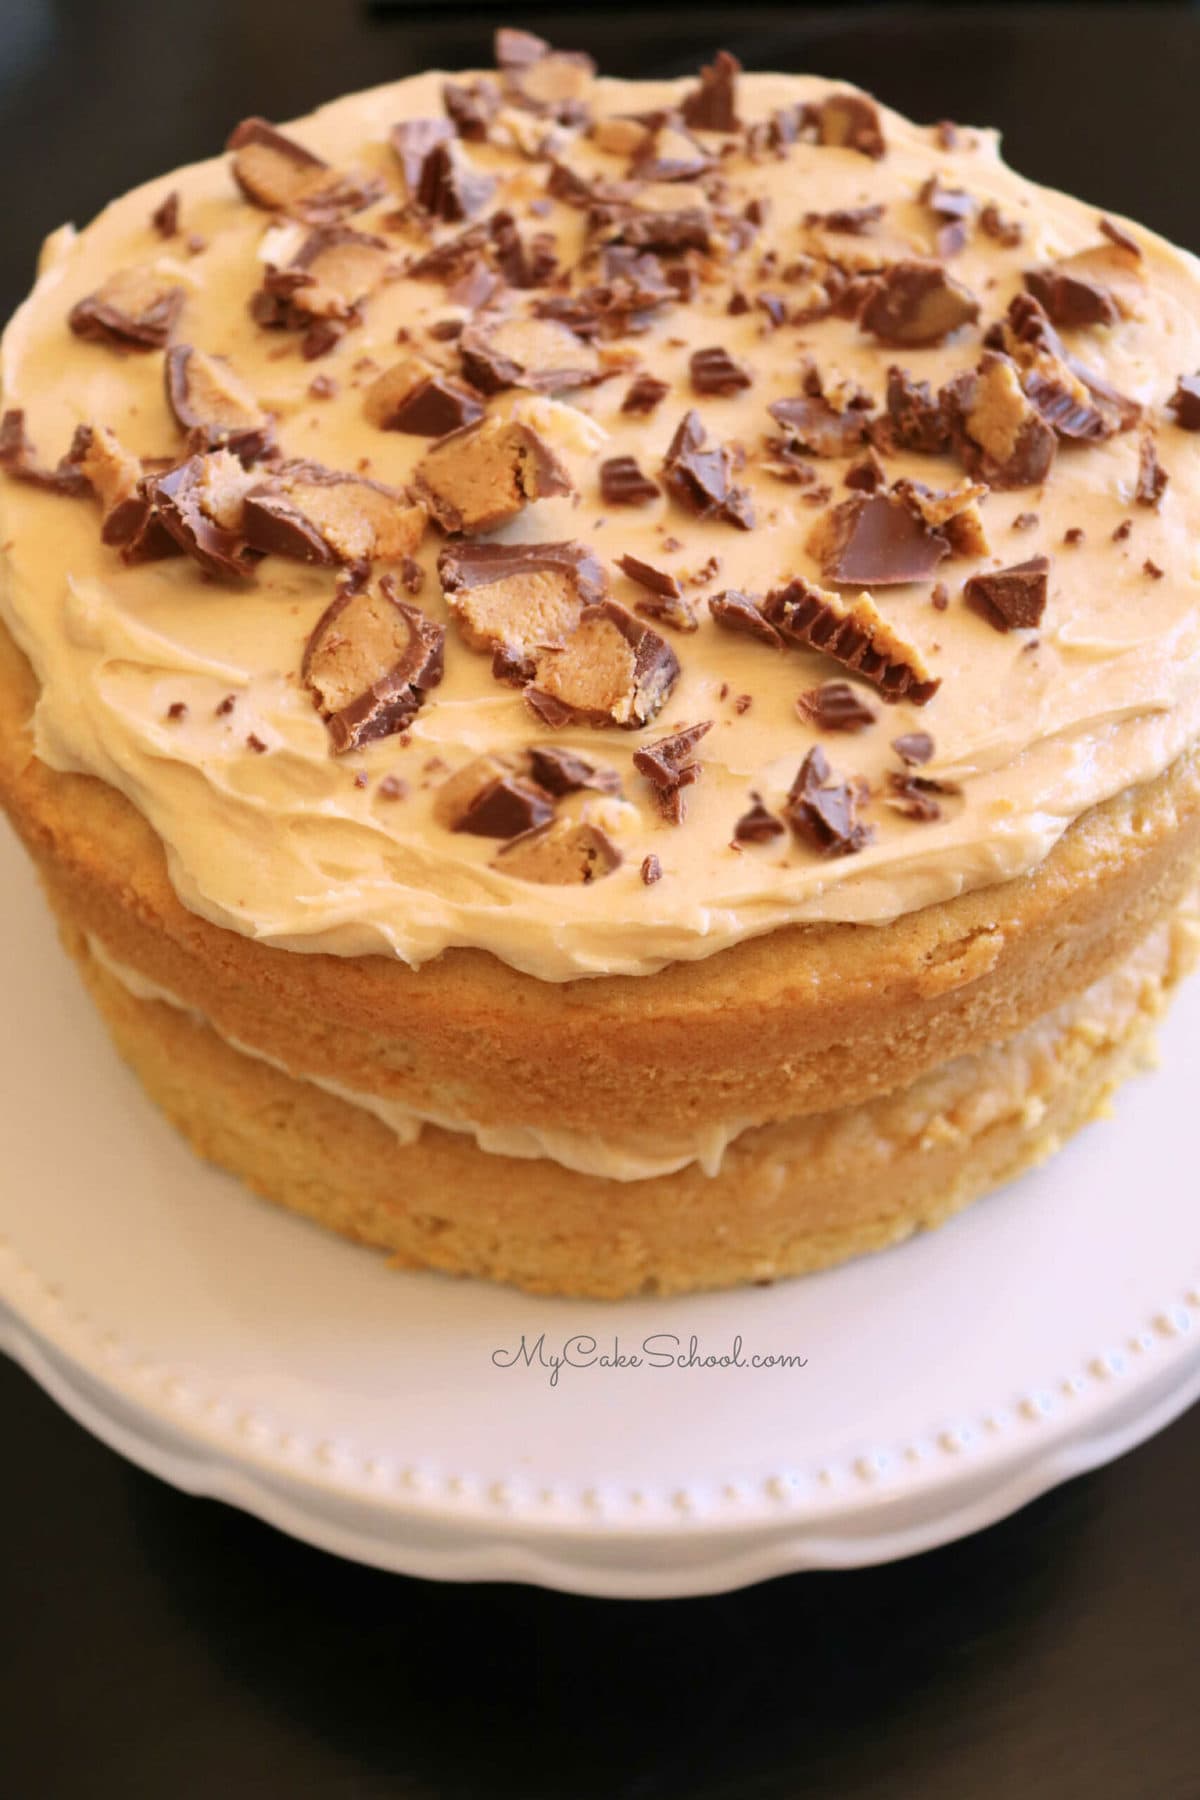
Add the second layer and repeat, topping with the third peanut butter cake layer. Frost the cake with peanut butter cream cheese frosting.
I crumb coated the cake, chilled it in the freezer for about 10-15 minutes, and then went back in with a final coat.
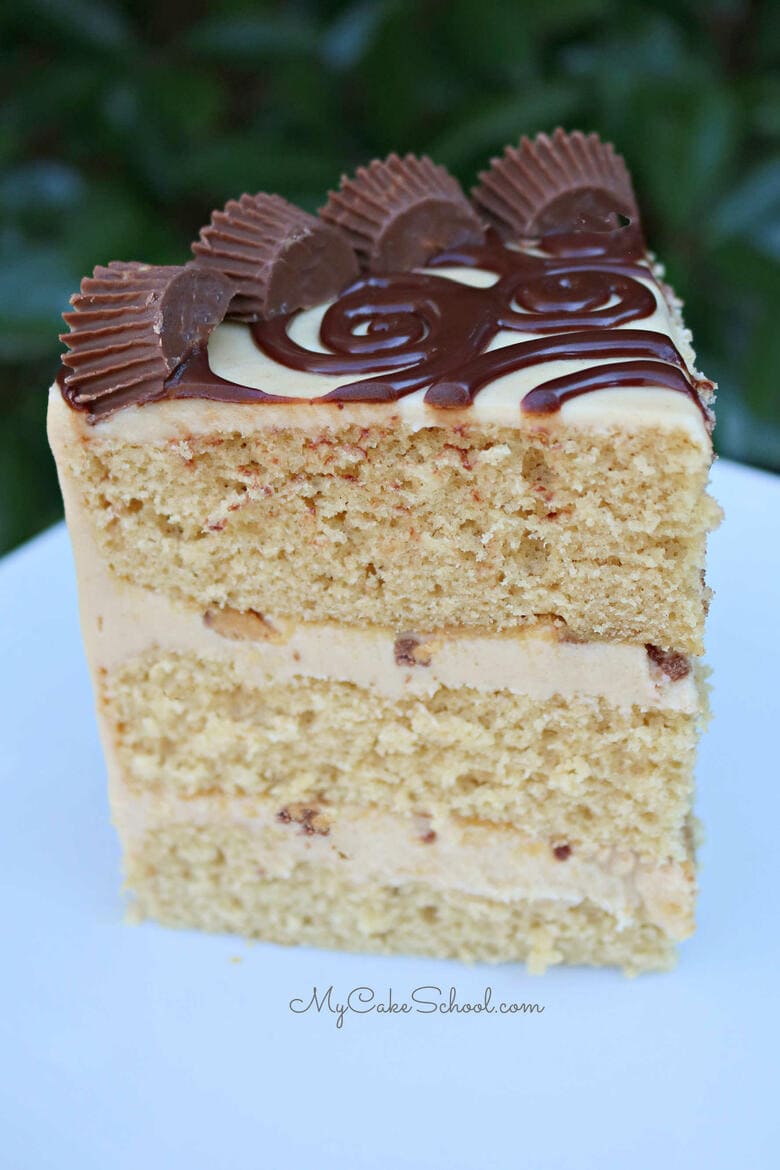
You can chill the cake the refrigerator until the ganache is ready, or you can pop it in the freezer for 10 minutes just before it's time.
Chilling the cake helps to slow down the drips and I just prefer working with chilled cakes in general.
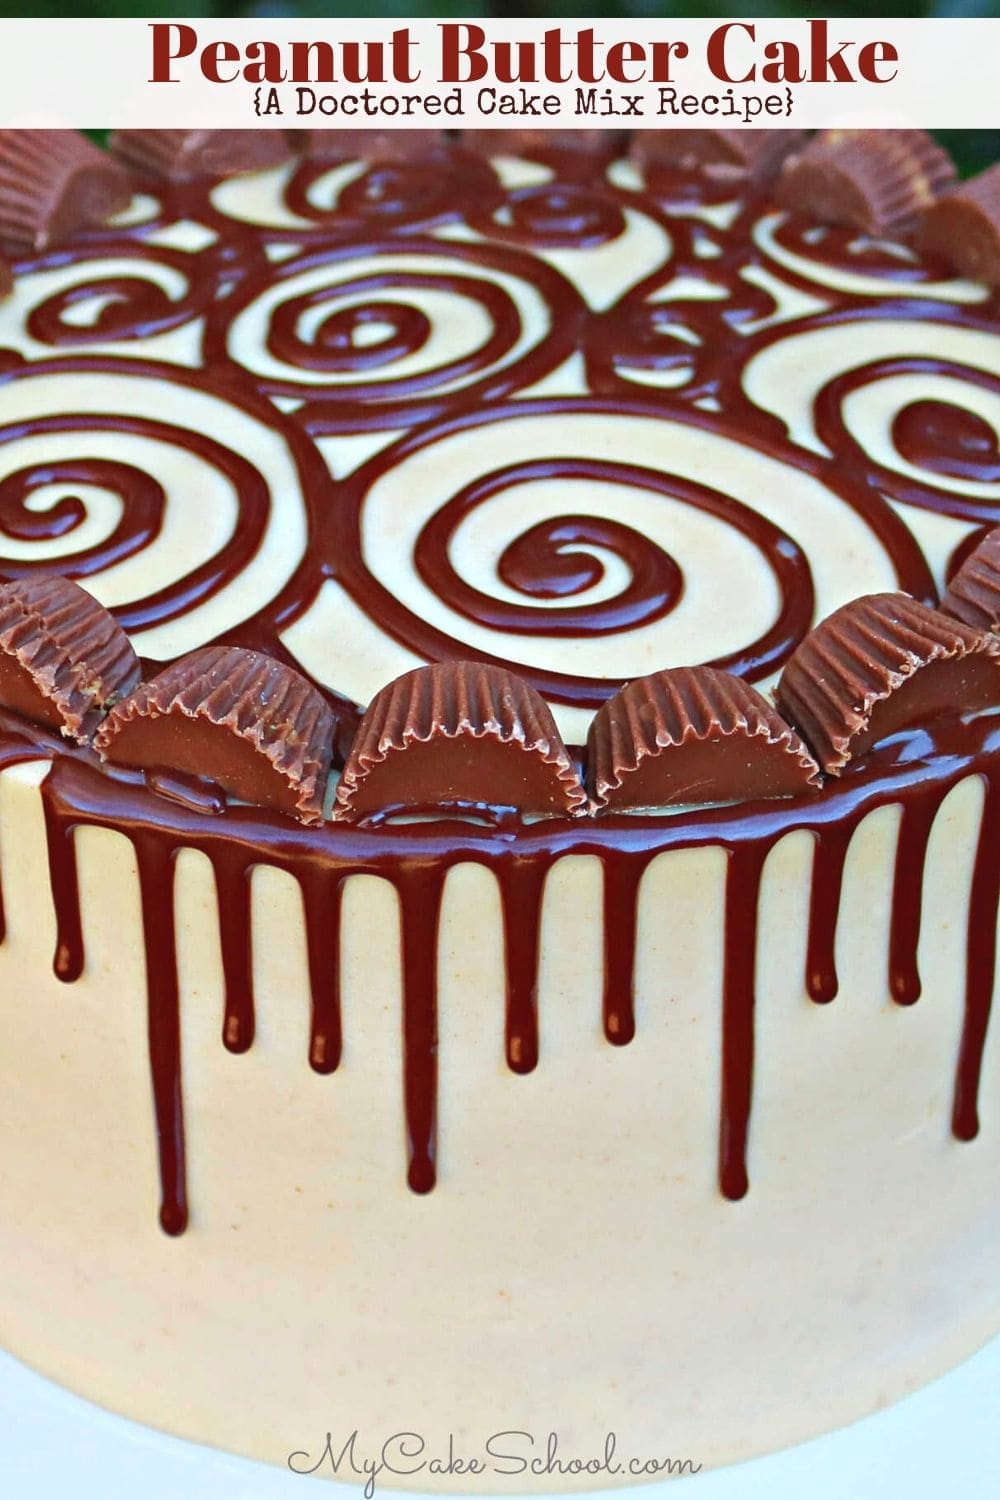
I added my ganache drips and spirals as mentioned above, and then added mini Reese's Cups (halved) around the top edge. (I set them slightly back so that there would be no worries of them sliding down the cake!).
I love how this cake turned out! We hope that you enjoy it too!
Looking for More Cake Mix Recipes?
- Pink Champagne Cake- Doctored Cake Mix
- Chocolate Chip Cake- Doctored Cake Mix
- White Almond Sour Cream Cake- Doctored Mix
- Chocolate Sour Cream Cake- Doctored Mix
- Strawberry Cake Mix Cake- Doctored Mix
- Lemon Doctored Cake Mix Recipe
- Margarita Cake- Doctored Cake Mix
Peanut Butter Chocolate Marble Variation of this Recipe
If you love peanut butter cakes but want a bit more chocolate in the recipe, make sure to check out our Peanut Butter Chocolate Marble Cake. It starts with a cake mix as well, but also incorporates cocoa into some of the batter to create a chocolate swirl effect.
Scratch Peanut Butter Cake Recipe
If you're in the mood for a Scratch Peanut Butter Layer Cake, we have a great one in our Recipes Section! You can simply substitute scratch cake layers for the doctored peanut butter cake layers in this recipe.
Enjoy the Recipe
Thanks so much for stopping by! We hope that you enjoy the recipe. If you give it a try, please leave a comment and photo below!
Don't miss our Recipes and Tutorials Section for hundreds more free cake decorating tutorials and favorite cake recipes!
Peanut Butter Cake {A Doctored Cake Mix Recipe}
This moist peanut butter cake starts with a cake mix! I love how easy it is to make, but even more, I love the wonderful peanut butter flavor!
Ingredients
For the Cake
- 1 box Yellow Cake Mix (We used Duncan Hines, Classic Yellow)
- 1 cup granulated sugar (200g)
- 1 cup All Purpose Flour (121g)
- 1 cup Creamy Peanut Butter- We used Jif brand, full-fat (255g)
- 1 ½ cups water (360g)
- 2 teaspoons vanilla (8g)
- ¼ Cup (54g) Canola Oil
- 3 whole eggs
For the Peanut Butter Cream Cheese Frosting
- 2 sticks unsalted butter (1 cup or 226g)
- 2 packages Cream Cheese (8 oz packages- total weight for both- 452g)
- 6 cups powdered sugar (690g)
- ½ teaspoon vanilla (2g)
- ½ teaspoon salt (3g)
- 1 ¼ cup Creamy Peanut Butter(319g)
For the Ganache Drip
- 5 oz. (141g) Chocolate (Semi-sweet or Dark) We used Ghirardelli chips
- 5 oz. (141g) Heavy Cream
Instructions
For the Peanut Butter Cake Layers
Preheat the oven to 325 degrees.
Grease and flour three 8x2 round cake pans. (I also line my pans with parchment or wax paper.)
In the bowl of your mixer, combine dry ingredients and mix for 30 seconds to blend.
In another bowl, combine water, eggs, oil & vanilla. Add the peanut butter and wet ingredients to the dry and mix on medium speed for 2 minutes. Stop after 1 minute to scrape the sides and bottom of bowl then continue to mix for the second minute.
Pour into prepared pans and bake at 325 degrees....check at 23 minutes to see if middle of cake springs back when touched, a toothpick inserted in the center of the cake come out clean or with just a few crumbs attached, and the cake will be slightly pulled away from the pan.
We bake at 325 degrees (rather than 350) to decrease the height of the dome on the cakes.
Makes about 6 cups of batter.
For the Peanut Butter Cream Cheese Frosting
Cut the butter into slices and add to the bowl of your mixer. Mix on low to medium speed until the butter is softened and smooth. Add in the peanut butter and mix until blended.
Cut the cold cream cheese into pieces and add to the butter and peanut butter mixture, beating at low to medium speed until incorporated. If you are using a hand mixer you may need to soften the cream cheese a bit more.
Add the vanilla. Gradually add the powdered sugar beating on low speed until blended.
Increase mixing speed to medium and mix until fluffy. Don't over beat or it will become too soft. If it becomes too soft, just refrigerate a short while to firm it up a bit.
This frosting will pipe best if used while still slightly chilled. You can make it in advance, refrigerate and when ready to use let it soften slightly (do not microwave) and remix.
For the Ganache Drip
**Since we did not use the ganache in between the cake layers, and only partially on top, we prepared less ganache than we often do. For this reason, we also reduced the heating time. Adjust as needed, using equal parts chocolate to heavy cream.
Place your chocolate into a microwave safe bowl.
Pour heavy cream over the chocolate and place in the microwave for 30 seconds.
Remove and stir. Microwave for 15 seconds more and stir. Repeat if necessary. When the chocolate has melted almost completely with just a few small soft pieces remaining, allow it to sit for a few minutes. The remaining pieces should melt away.
The ganache will cool as it thickens. Cool for about 15-20 minutes or until you can pipe drips along the inside of your bowl and get the look that you are going for. (If the ganache is too warm, the drips will run all the way down. If they only drip part of the way down the bowl, it is ready. Some of this comes down to personal preference.)
I loaded my ganache into a disposable piping bag and snipped the tip away (start with a small hole, you can always make it larger).
Assembling the Cake
Place first cake layer on pedestal or cake base. Spread with Peanut Butter Cream Cheese Frosting. Sprinkle peanut butter pieces over the top of the filling. Add second layer and repeat. Add third cake layer and frost as usual.
For a smooth finish, I crumb coated by cake, chilled in the freezer for about 10-15 minutes to firm it up, then added second coat of frosting and smoothed over it with a heated metal bench scraper. This cream cheese frosting smooths very easily- this is an optional step.
I chilled my cake in the refrigerator as I prepared my ganache. I applied the drip around the top edge of the cake (using a piping bag with the tip snipped away), and then filled in over the top of the cake with spiral designs.
I halved several mini peanut butter cups and applied them to the top of the cake (slightly set back from the edge). If they are too warm and hard to work with, you can chill them before halving.
Recommended Products
As an Amazon Associate and member of other affiliate programs, I earn from qualifying purchases.


Hi, I'm so happy you have so many box mix hacks, especially one for peanut butter!! I'm so excited to make this! I wonder why water instead of milk is being used in this recipe? Is it because there's already a lot of fat in the peanut butter? If I add milk or buttermilk, will the cake be too soft and/or collapse?
Hi Naomi! I don't remember, but I don't think that we've tried this with milk. It would probably be fine as these doctored recipes are usually pretty forgiving. Let us know what you think if you try it!
Hello, I want to make 3, 9" layers for my daughters birthday (since I have the pans). Do you recommend doubling the cake recipe or is this best with 3, 8" layers? Also, does this cake need to be stored in the refrigerator until served, or can it remain at room temperature?
Hi Teresa- Normally with this amount of cake batter we would either do three 8 inch cake layers or two 9 inch cake layers.
I don't think I've tried making three 9 inch cake layers with 6 cups of batter and so I can't say for sure, but they would likely be pretty thin. So, my vote would be either a two layer 9 inch cake or double the recipe for three 9 inch layers and have a bit leftover or cupcakes etc. ;0)
Here's a link to Wilton's batter chart in case you'd like to use it as a rough estimate (their chart is based on two layer, 4 inch tall cakes).
https://blog.wilton.com/cake-baking-serving-guide/
*Because of the cream cheese frosting, this cake should be refrigerated until within 2-3 hours of serving. It is good to give it time to warm and soften. We have a good peanut butter buttercream frosting also that can sit out longer (1-2 days).
Awesome! Thank you so much! I will look for the Peanut Butter Buttercream Frosting and try it on either the 3, 8" or 2, 9" cake layers. Wish me luck! :-)
Great! Hope you all enjoy it ;0)
https://www.mycakeschool.com/peanut-butter-buttercream/
Thank you, thank you, thank you. I just made this cake, and I absolutely LOVE it. I hesitated on the peanut butter frosting because previous recipes were a flop (too much peanut butter taste). I love using a cake mix as most of my scratch recipe tries are not as good as starting with a mix. I'm wondering what this would taste like with a caramel or white chocolate drip.
Thank you so much for your review, Helen! So glad to hear that you loved the recipe! I've never tried it with a caramel or white chocolate drip but they both sound good to me ;0)