Fondant Ruffle Rose Cake- Free Tutorial!
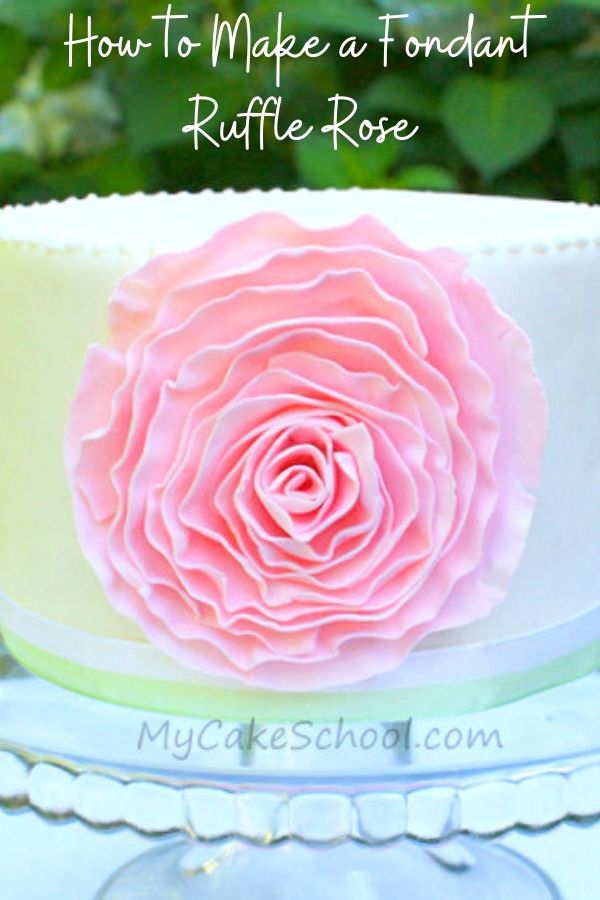
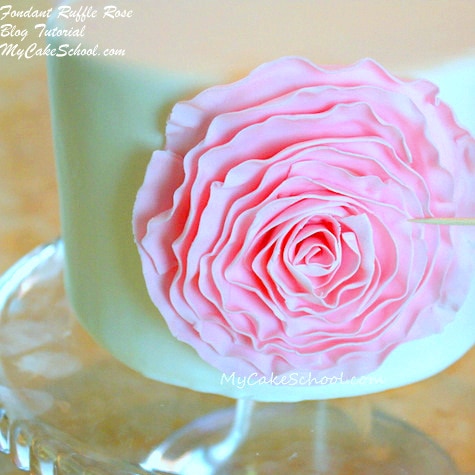
Today I'm going to show you how to make an elegant fondant ruffle rose! This is a beautiful fondant cake design, and the elegant fondant ruffle technique is much easier than it looks!
Keep this beautiful ruffled flower design in mind for all sorts of special occasions from birthdays and bridal showers to wedding cakes!
In this quick step by step cake tutorial, I'm going to demonstrate how to create these gorgeous fondant ruffle roses! Whether you are creating just one rose or several, the results are always impressive!
Table of Contents
How to Make a Fondant Ruffle Rose Cake
I started off by rolling out a 50/50 mix of fondant and gum paste to about ⅛" thickness....go even thinner if you can. I like thin ruffles!
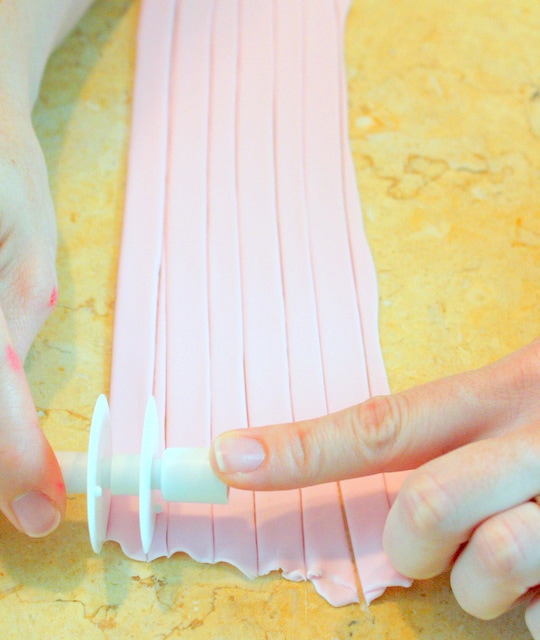
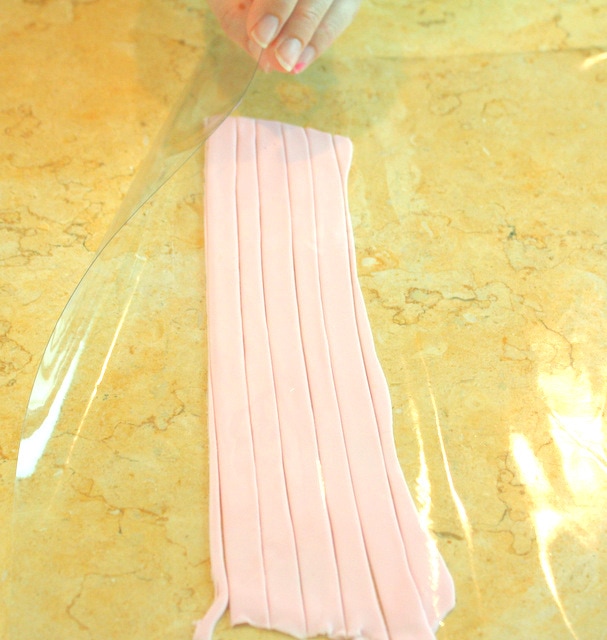
After rolling it out, I cut the fondant into strips. I used my trusty adjustable FMM Multi Ribbon Cutter (aff.) which sped things up a bit. I use this often for borders and ribbons.
Of course you can also just can use a sharp knife and measure out your strips of fondant or even just eyeball it!
I used about six, approx. 11 inch long fondant strips, which were about ½ inch wide.
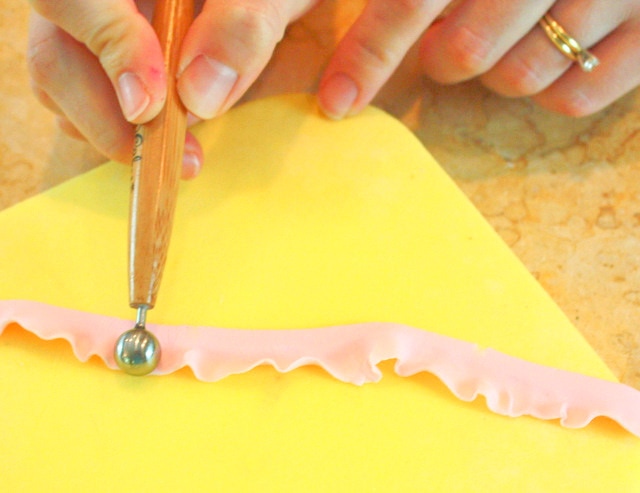
One at a time, I placed a strip on my cel pad , and using a ball tool, I applied pressure as I slid the ball along the edge of one side. This is going to naturally give a nice frilled effect as the fondant becomes thinner.
The other strips of fondant were waiting for their turn under a piece of vinyl that we bought from the fabric store. You can also keep them under a glass bowl or in an airtight container while they wait.
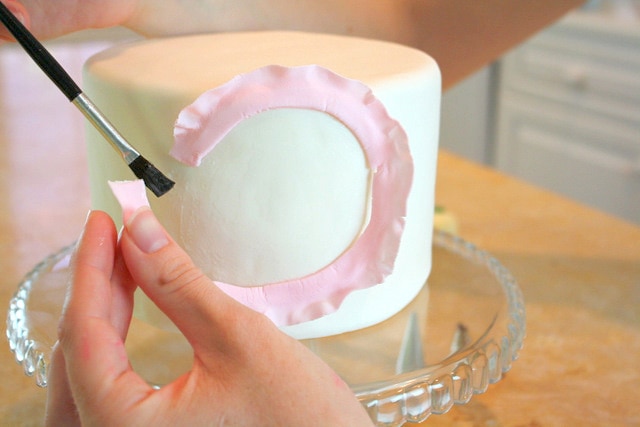
Now for the fun part--- Decide how big of a flower you want to make, and use a paint brush to brush on some piping gel where your first strip will be placed. The first strip of fondant determines how large of a flower you are going to have.
Then, start arranging your strip. You may have to add a little more piping gel here and there. (Sugar glue or tylose glue works well too.)
Don't press the frilly edge of the fondant into the glue--you'll need that fluffiness for dimension.
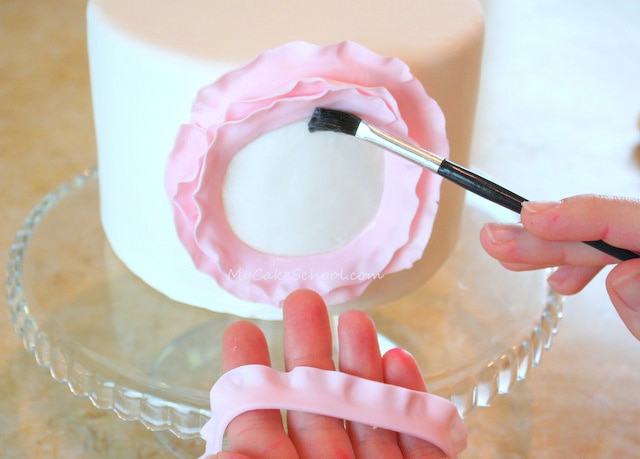
Continue with your circular pattern, brushing the area with piping gel and then wrapping around your fondant.
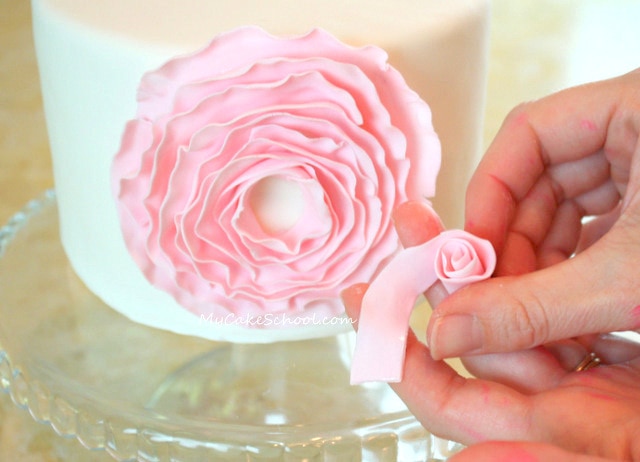
It only took about 5 strips before my flower was almost full. The last little space in the center of the flower I decided to fill with a rolled piece of fondant.
So pretty! Our fondant ruffle rose is really taking shape! You can use a toothpick or Q-tip to manipulate the petals however you like.
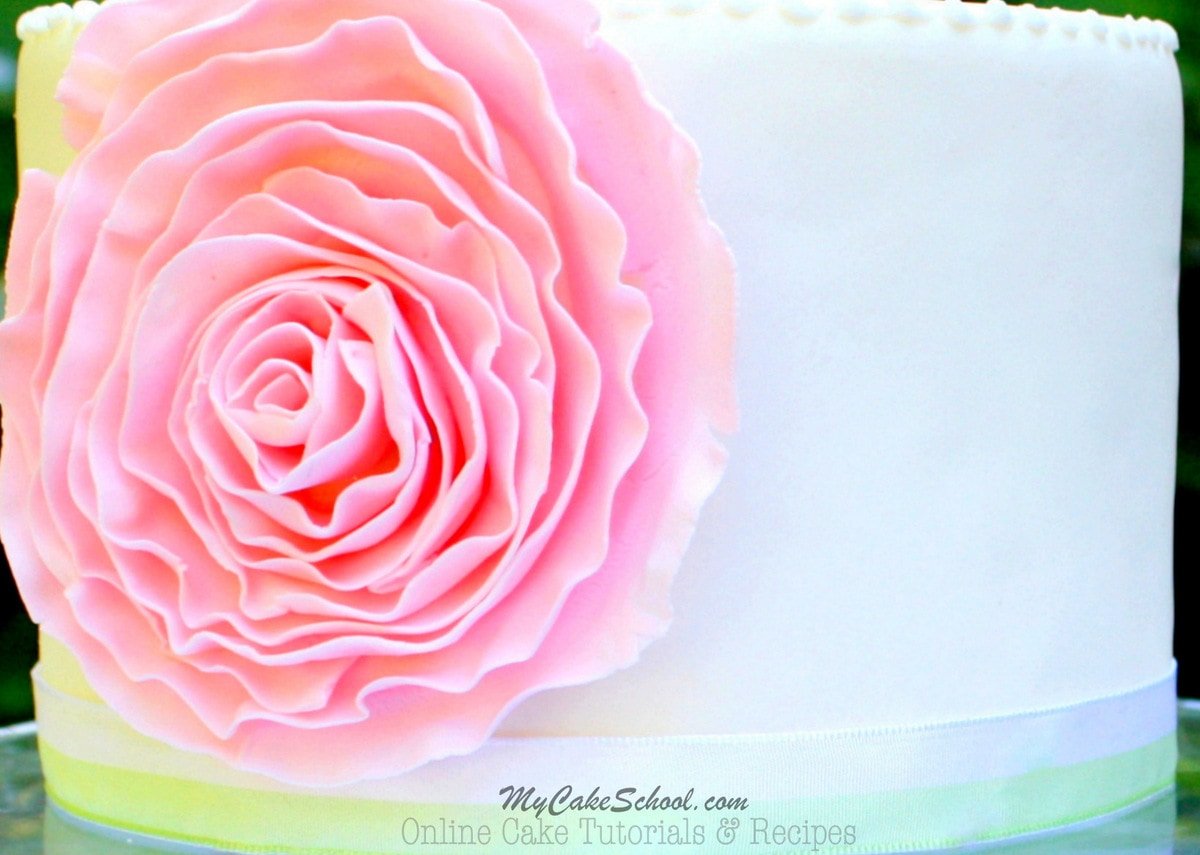
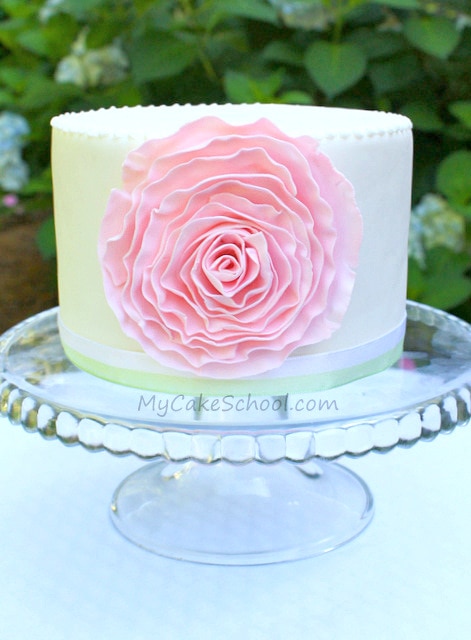
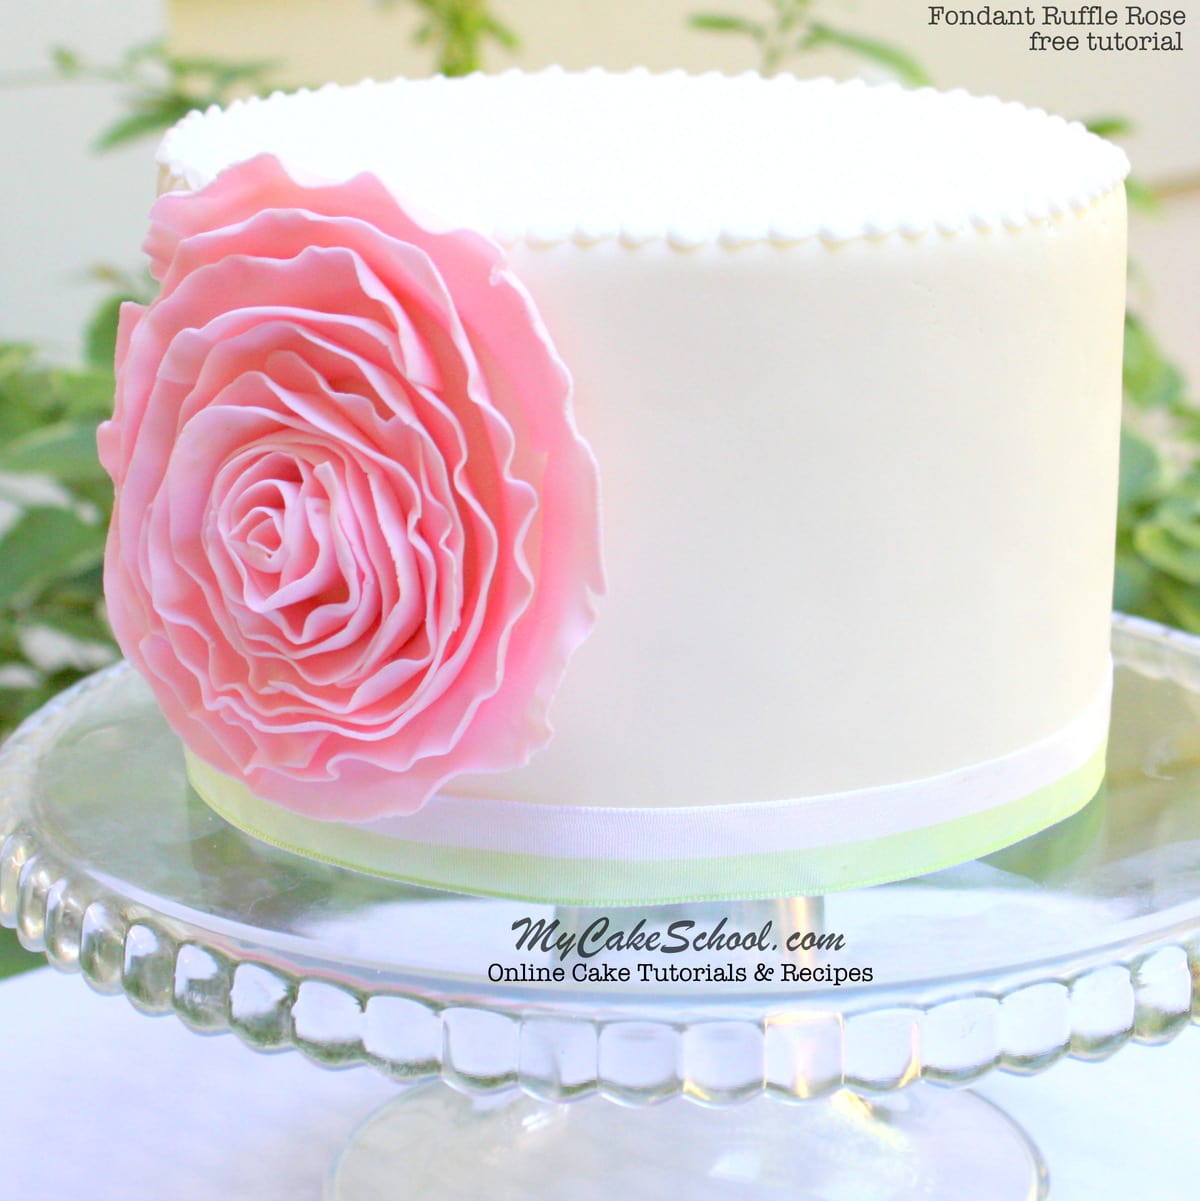
I finished it off with a tiny buttercream bead border around the top (using a tip 3) and a ribbon border around the bottom.
I couldn't decide if I liked the ruffle rose better front and center like this...
Or just off center like this.....
I think that I like it at both angles! My favorite part about this fondant ruffle rose is that once you have cut your fondant strips, the process goes very quickly! It's a great way to add the elegance of a fondant/gum paste flower without the wait!
I hope that you liked this technique--& I hope you'll consider adding a little frilliness to one of your creations very soon. Until next time, happy caking!

Thanks! Amanda, yes, you can often use piping gel for attaching lightweight fondant or gum paste decorations to fondant. You can even rub a little water onto your fondant decorations to make them stick if they are lightweight enough. Some people use pasteurized egg whites as a glue too. I usually stick to sugar glue (combo of tylose and water), piping gel, water, or even light corn syrup..depending on what I'm working on.
I absolutely loved this idea, makes such a statement yet its simple enough. Can't wait to try this out. I absolutely love your Cake School and have learned so many things from you Melissa, keep up the great work, you explain everything so well that its easy to try to do it myself. Thanks!
Could you create this flower and place it on a buttercream frosted cake also?
Oh, that's lovely. I'll have to try that. It might be fun to do that with a lot of little roses on a cake and also as one on a cupcake.
Gorgeous! So simple yet so stunning and elegant! I'm definitely going to try this.
Linda - you mentioned a puffy technique - love to see how thats done! Melissa is that something you could teach us?
Love all your work! :)
beautifull, and I love when you can do something without having to buy more supplies. I gotta try this one for sure.
You make some amazing cakes! I am so glad I found you on facebook. Thank you for tutorials!
would this work on buttercream?
Wow definitely trying this one
hi, i made this flower and everybody was in shockbecause it was so beautiful !!thanks so much for share your tutorials. your work is amazing.
i love it,,, thank you so much for all the great videos,
I sent you a pic of a ruffle cake that I loved,,, it was a light mint green cake,, you were going to try to figure out the technique,, i hope you do soon,,
Melissa, how would you attach this to a buttercream cake? Would you use some buttercream, or just press into the cake already frosted? I would love to use this for a birthday cake, but no one in my family likes fondant covered cakes.