Easy Puppy Cake- Blog Tutorial
Today we made the cutest EASY Puppy Cake tutorial for you! This is such a sweet cake idea for children's birthday parties, or dog lovers of any age, and perfect for decorators of all skill levels!
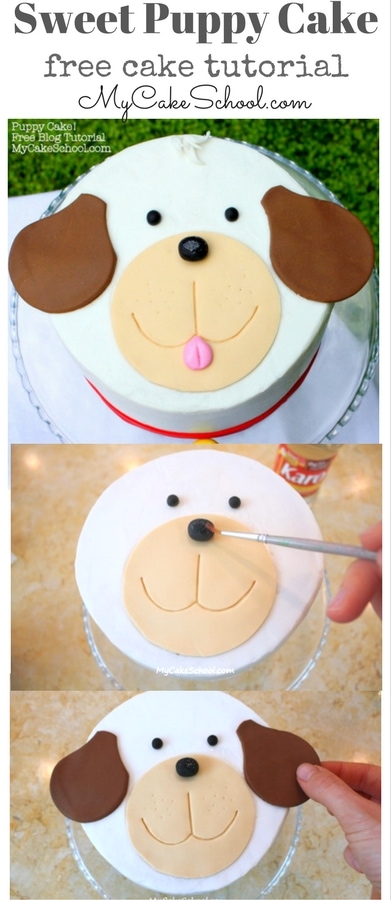
Table of Contents
How to Make a Cute and Easy Puppy Cake
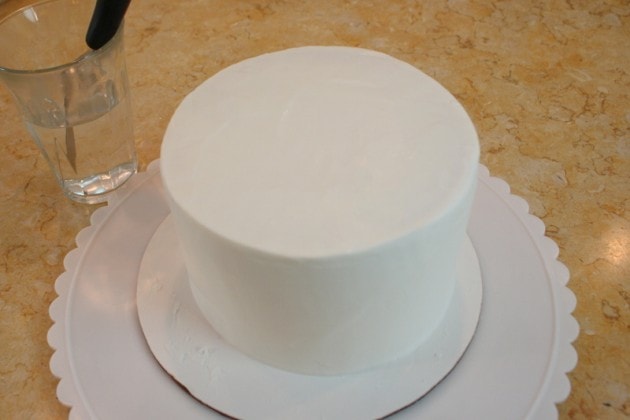
First, I frosted a 6", two layer cake with vanilla buttercream. (We used our Classic Vanilla Buttercream recipe.)
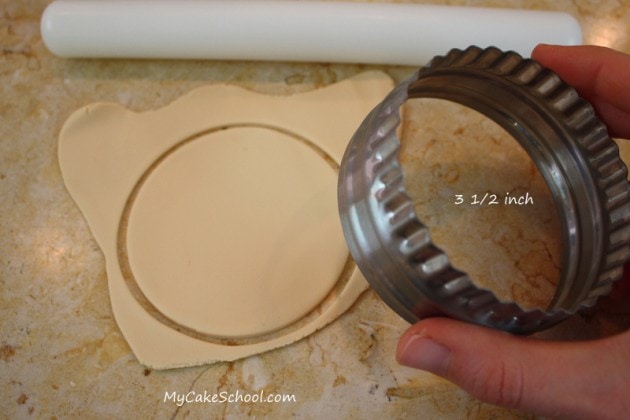
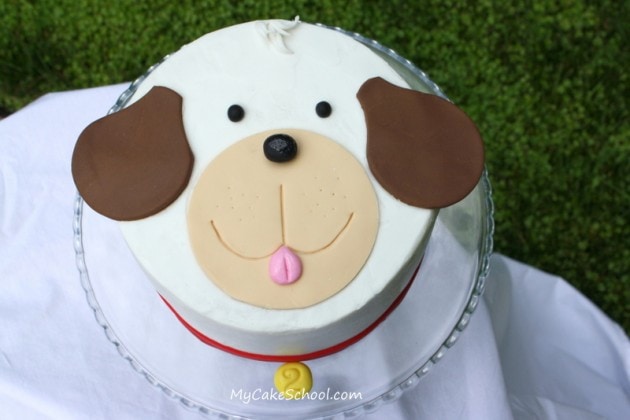
Next, I tinted some of my fondant with ivory coloring, rolled it out on a lightly greased countertop, and cut out a 3 ½ inch circle.
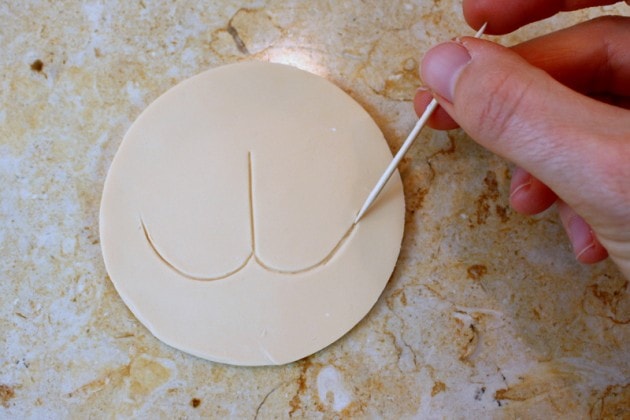
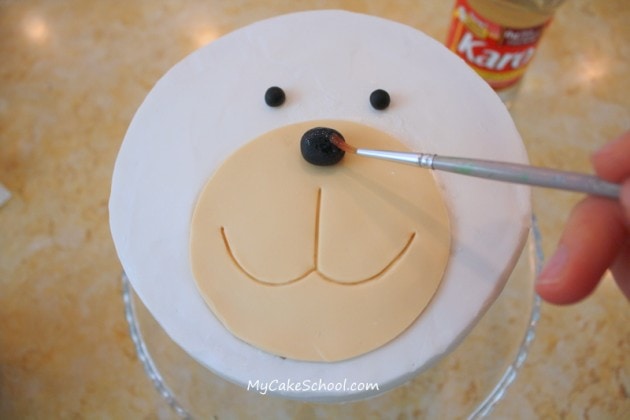
While my fondant was still soft, I used a toothpick to draw my puppy's mouth. You could also just pipe it on or use an edible marker. I also used the sharp point of the toothpick to give him "freckles".
I added small little black fondant eyes and a nose. You can improvise with buttercream, candy pieces, etc. if you'd rather not use fondant. I brushed the nose with a little stroke of light corn syrup for shine.
Next, puppy ears! I kneaded a little tylose into some chocolate fondant so that they would dry more quickly.
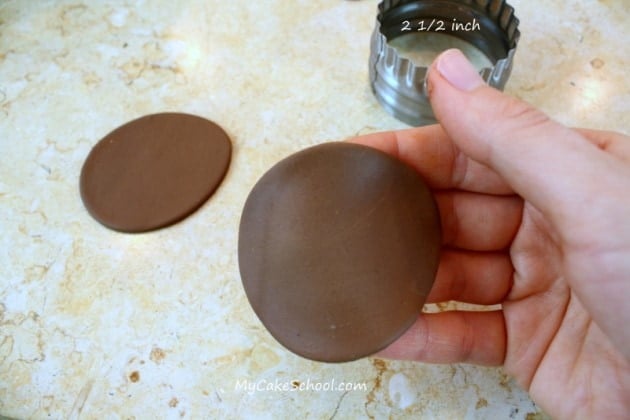
I rolled out the fondant, cut out 2 ½ inch circles and slightly elongated them. You could leave them floppy--or you could pipe chocolate candy melts/candy coating ear shapes onto parchment paper and chill until set. Our little guy is starting to come together!
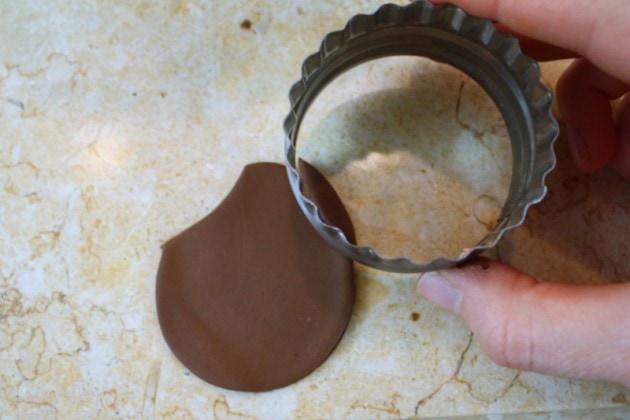
I used the edge of my cutter to snip away and slightly narrow the tops of the ears. (Optional)
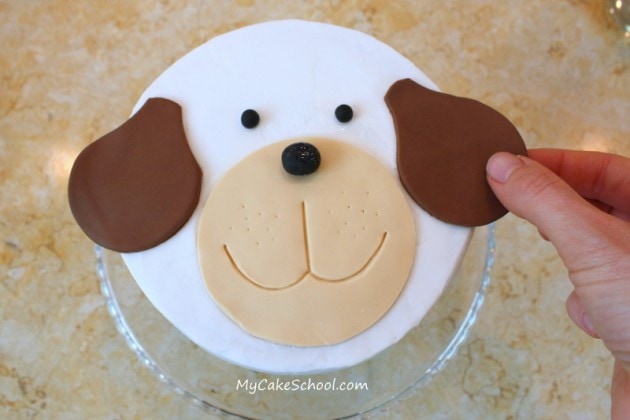
After the ears had dried enough to hold their shape, I placed them on.
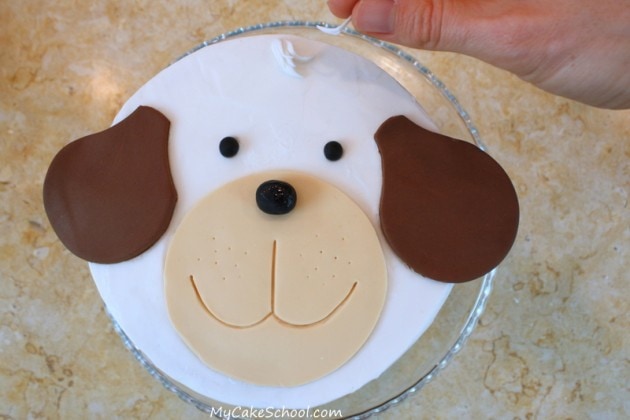
I gave him a little puppy hairdo with tiny little pieces of fondant. Piped buttercream would be sweet too!
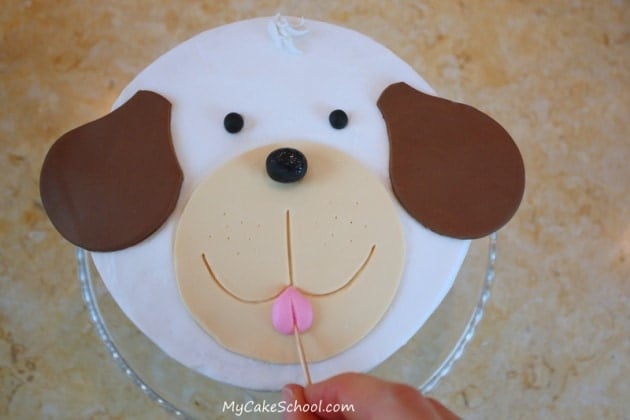
Next, a little pink fondant tongue (teardrop shaped)--
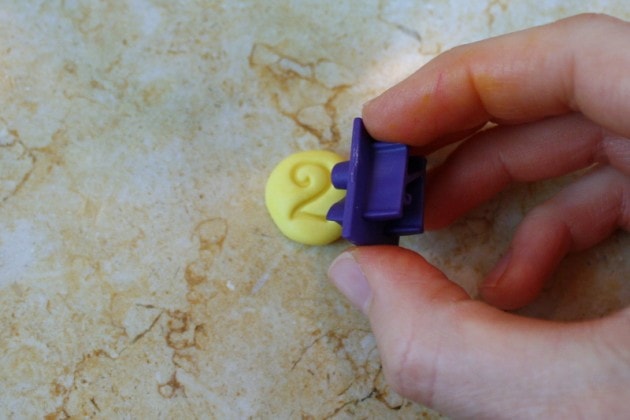
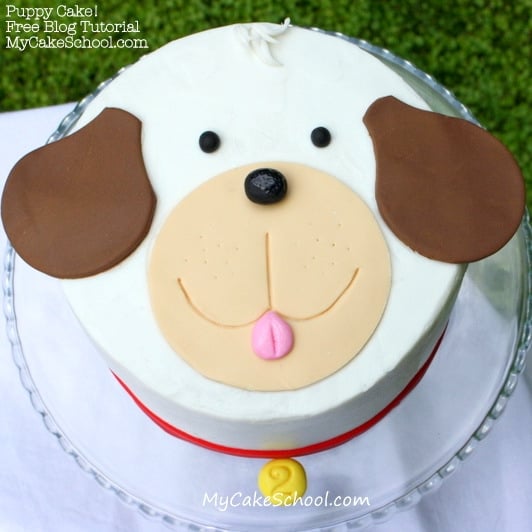
Almost done! I made a red fondant collar/bottom border & made a little yellow doggie tag. (I embossed with a little plastic "stone stamp" with the #2...sweet for a 2 year old!) -- This is a totally optional step as you can easily use a food writer or piped number for your fondant tag...but in case you're curious I used this Stone Stamp Set (aff.).
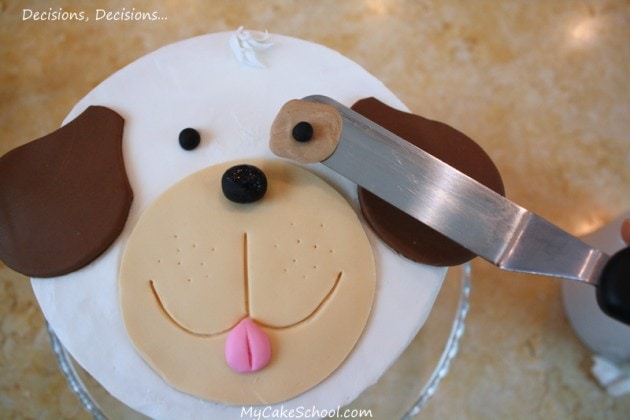
Around this time, I started wondering if Puppy should have a brown patch of fur around his eye...hmmmmm.....so this is what that would look like....
But in the end, I stuck to the original design :0) ...and we're DONE!! Woo hoo!!
Another Sweet Puppy Cake!
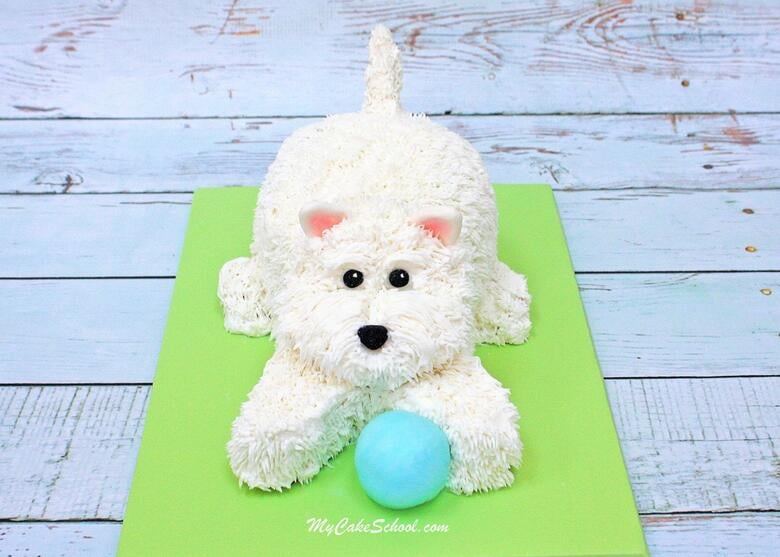
*You may also like our cute Fluffy Puppy Cake tutorial which is in the Member Section of our site. This cake design is surprisingly simple and so much fun to make .

Hi Liz! Yes, I almost always frost my cakes on a turntable. The cake is on it's own cardboard cake circle cut down to the size of the cake. After frosting the cake, I like to chill it in the freezer for about 10 minutes (or until the frosting is firm). Then, I carefully slide it off of the turntable with the help of a spatula and onto my hand. It's best if the frosting is firm because you don't have to worry about accidentally touching the frosting when you transfer it to the cake base or pedestal.
I use a 9" angled spatula (rounded) like this one most of the time:
https://www.amazon.com/Wilton-Angled-Spatula-Black-Handle/dp/B0000VM56G/ref=sr_1_2?ie=UTF8&qid=1467749734&sr=8-2&keywords=wilton+9%22+angled+spatula
Hope this helps!
What a nice puppy cake tutorial. Thanks for sharing it here. I must try this at new years party. Thanks for it.
Thanks for the tutorial. Turned out great!
Hi Breanna, Love seeing your puppy cake, cute as can be! Thanks so much for sharing a photo!