Fluffy Puppy Cake Tutorial
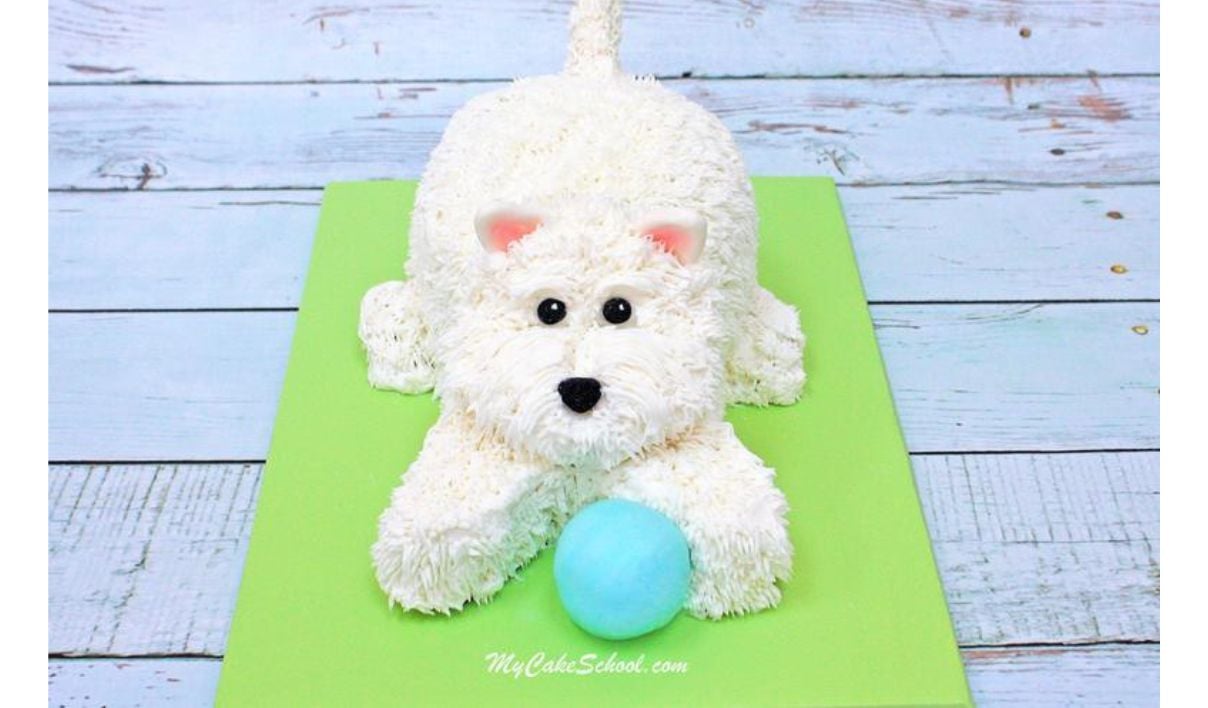
In this video tutorial, I'll show you how to make a CUTE buttercream puppy cake! This cake would be so cute for young birthdays or for the dog lovers in your life.
You can easily change up the dog fur or dog features to match all sorts of dog breeds!
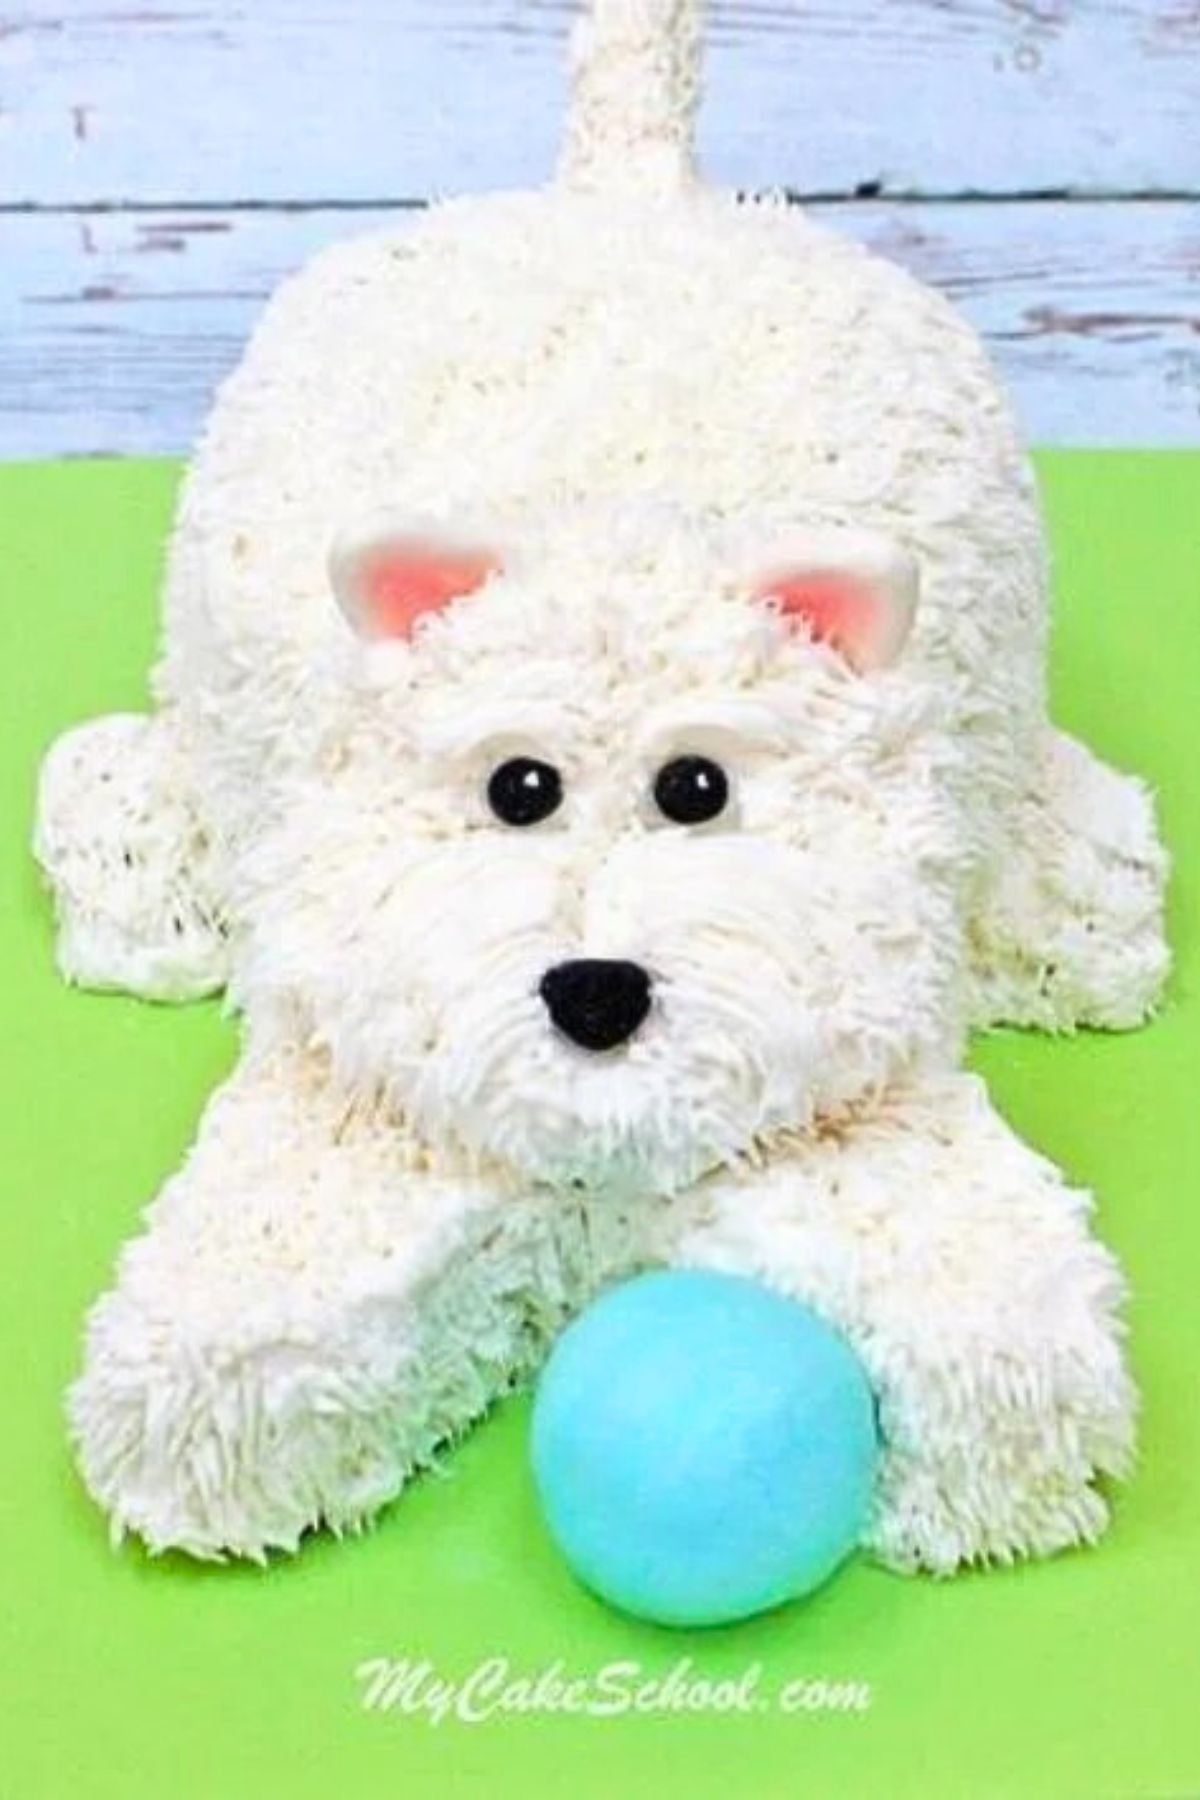
We're keeping things nice and simple in this tutorial. This sweet puppy is made from a few lightly carved cake layers. As an added bonus, this cake shape would work well for a number of animal cake designs.
*With simple changes to the ears and fur, this puppy cake could work for a number of dog breeds!
Table of Contents
How to Make a Puppy Cake
You can find the free puppy cake tutorial along with the full, printable instructions further down in this post. Here is a quick rundown of our steps in making this sweet buttercream puppy cake!
Our dog cake consists of two 6 inch cake layers, and a half ball cake.
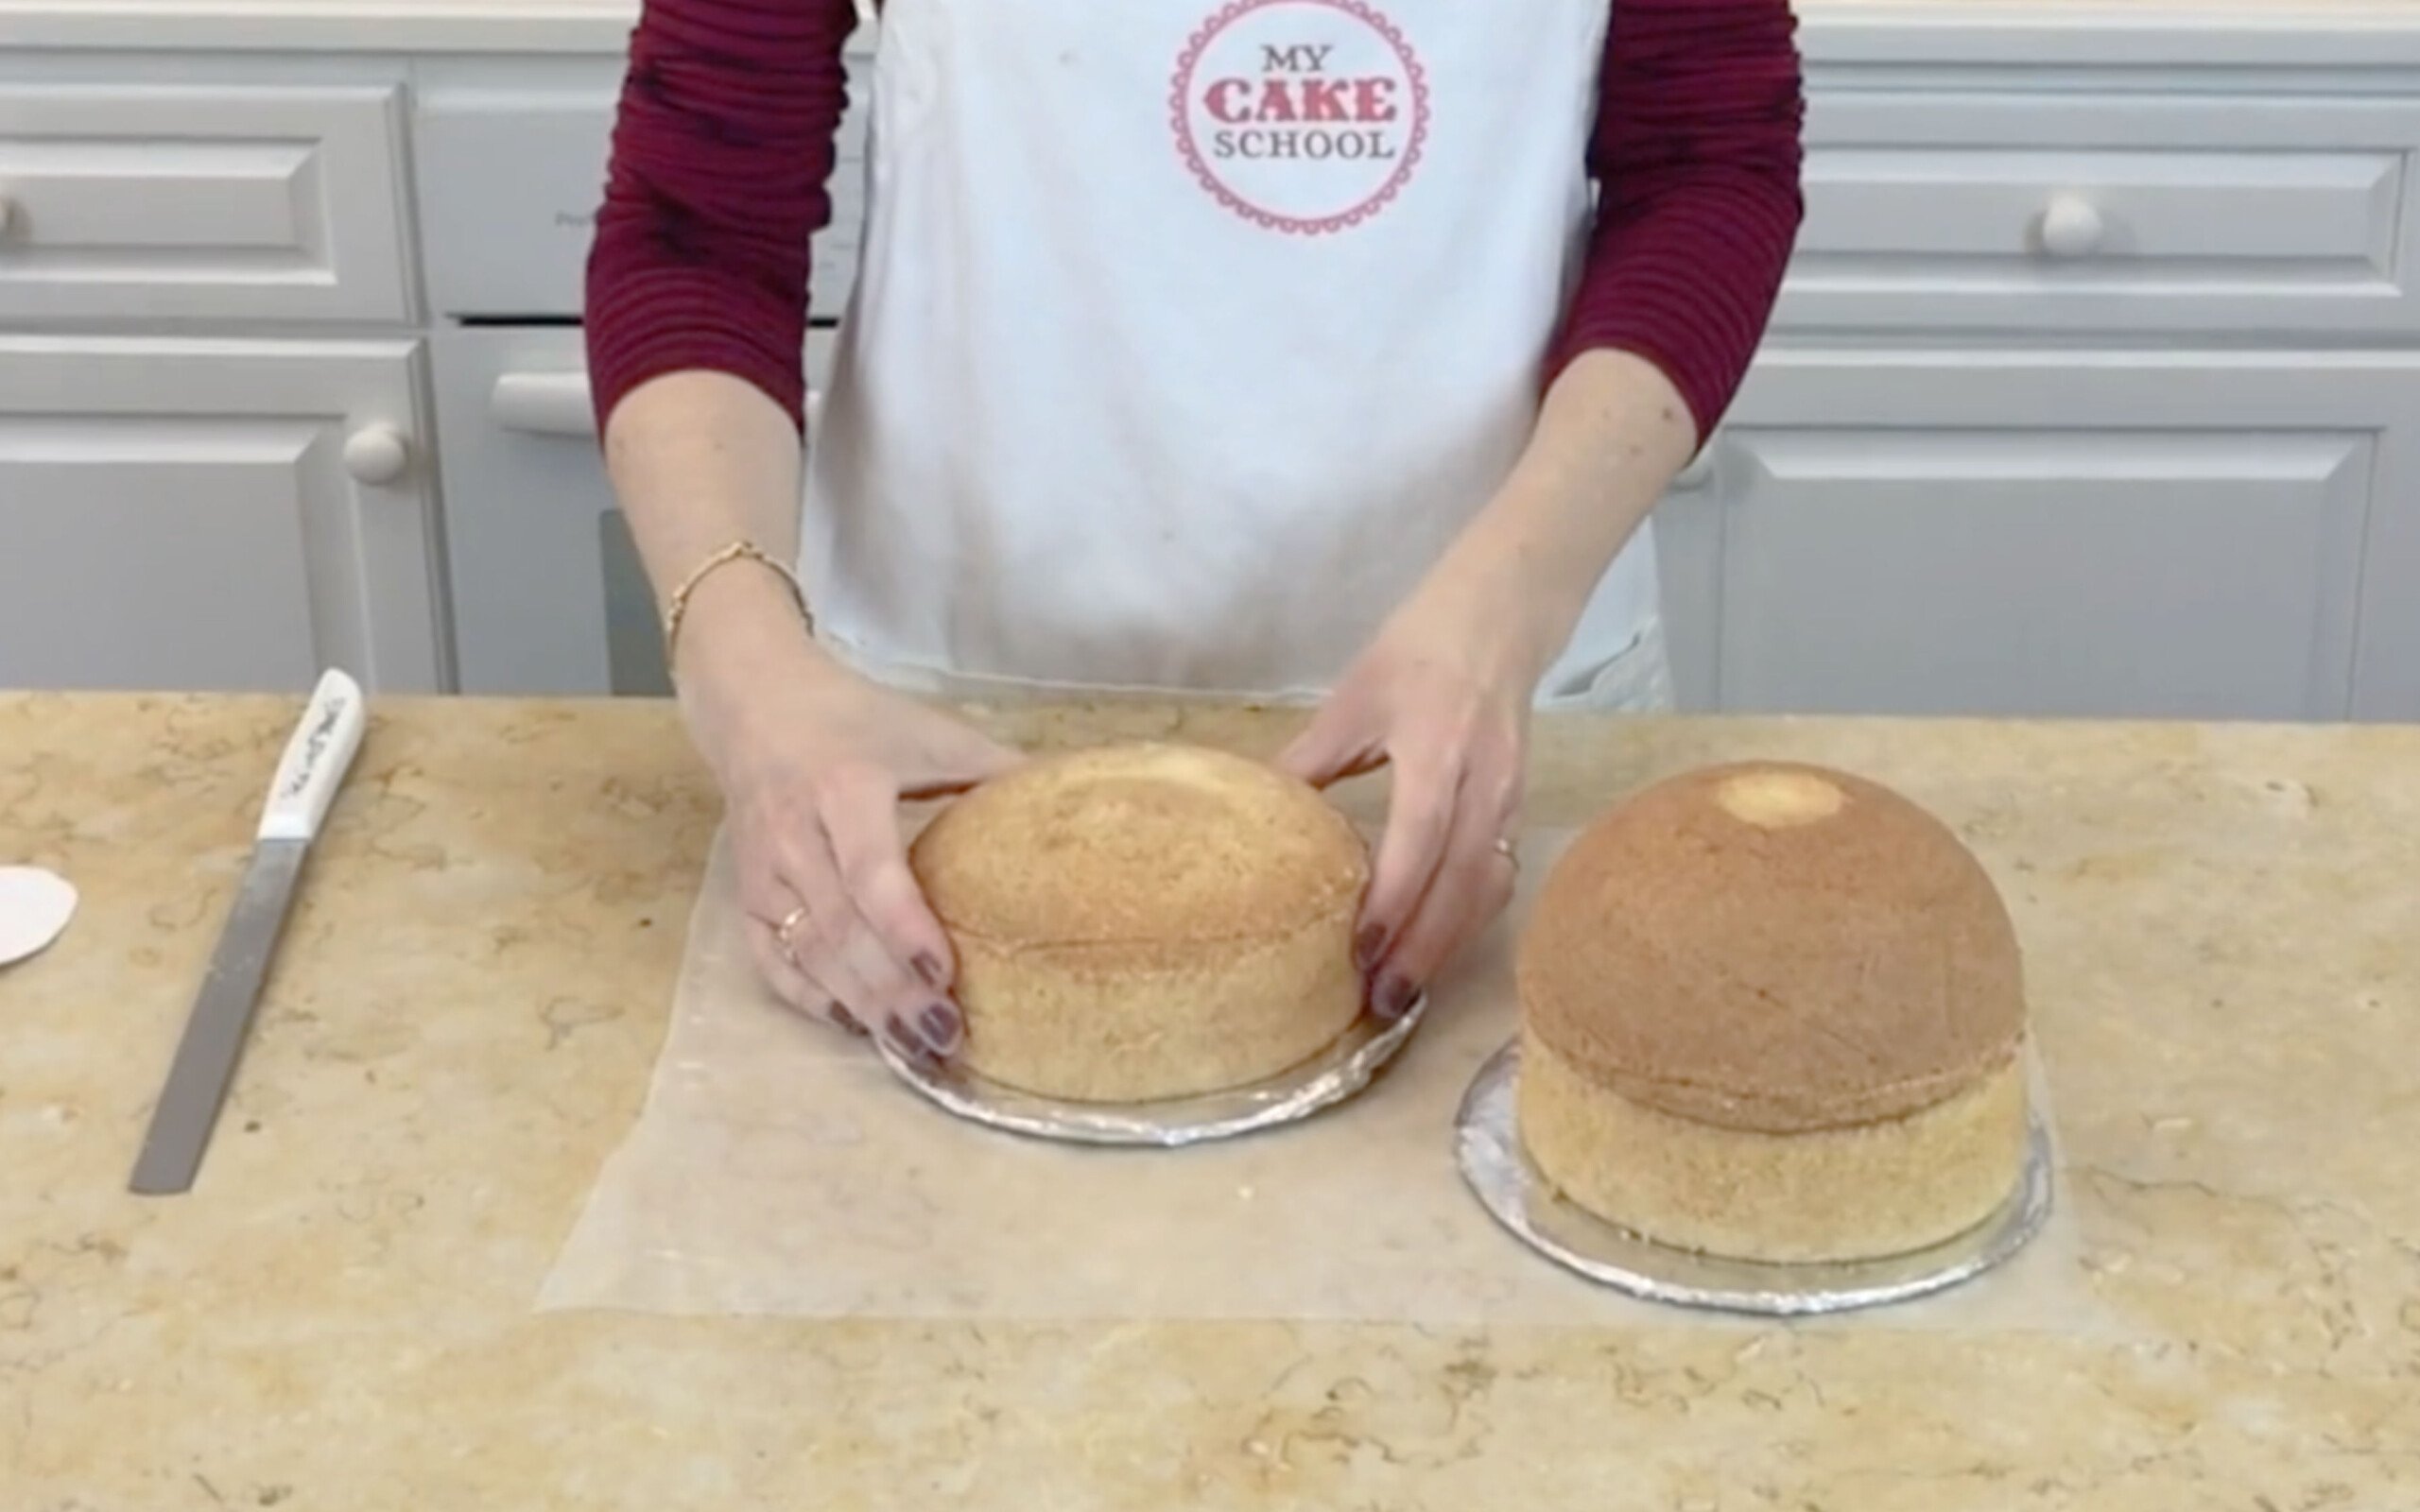
- Spread a 6 inch cake layer with buttercream, and stack half ball cake on top of it. This is the body of the dog. (Trim it down a bit if needed) so that it isn't so tall. This will be the back half of the dog.
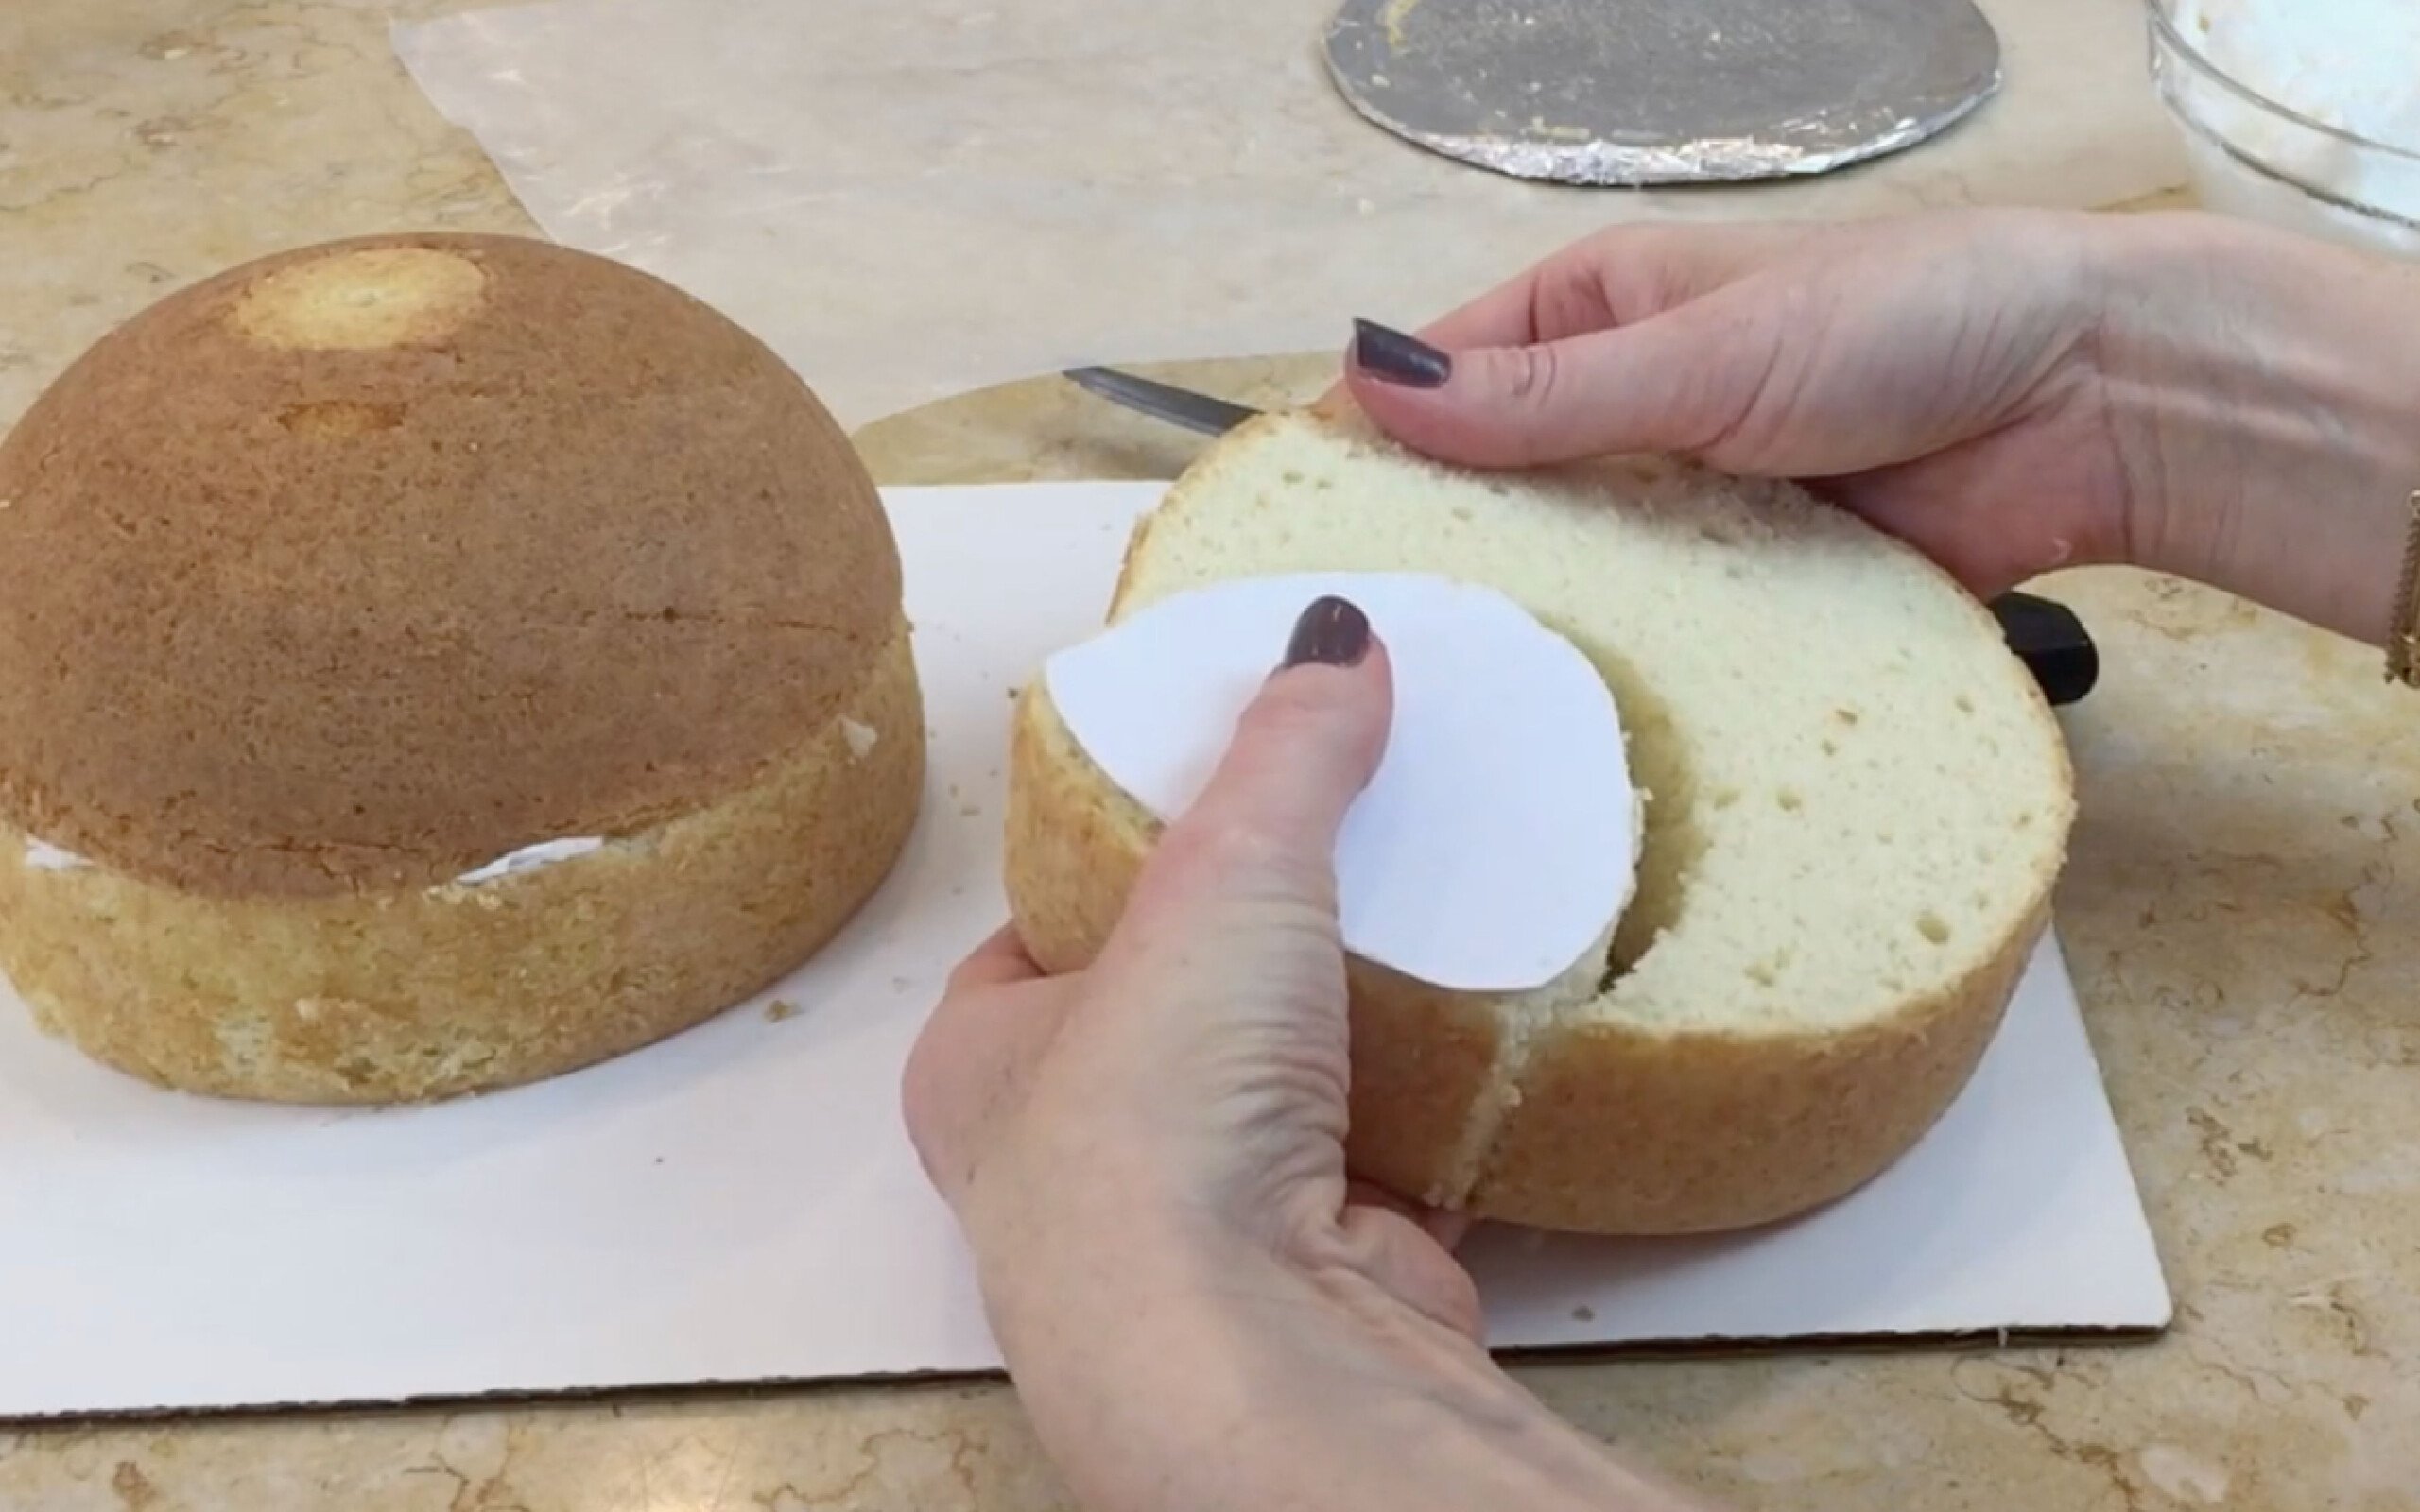
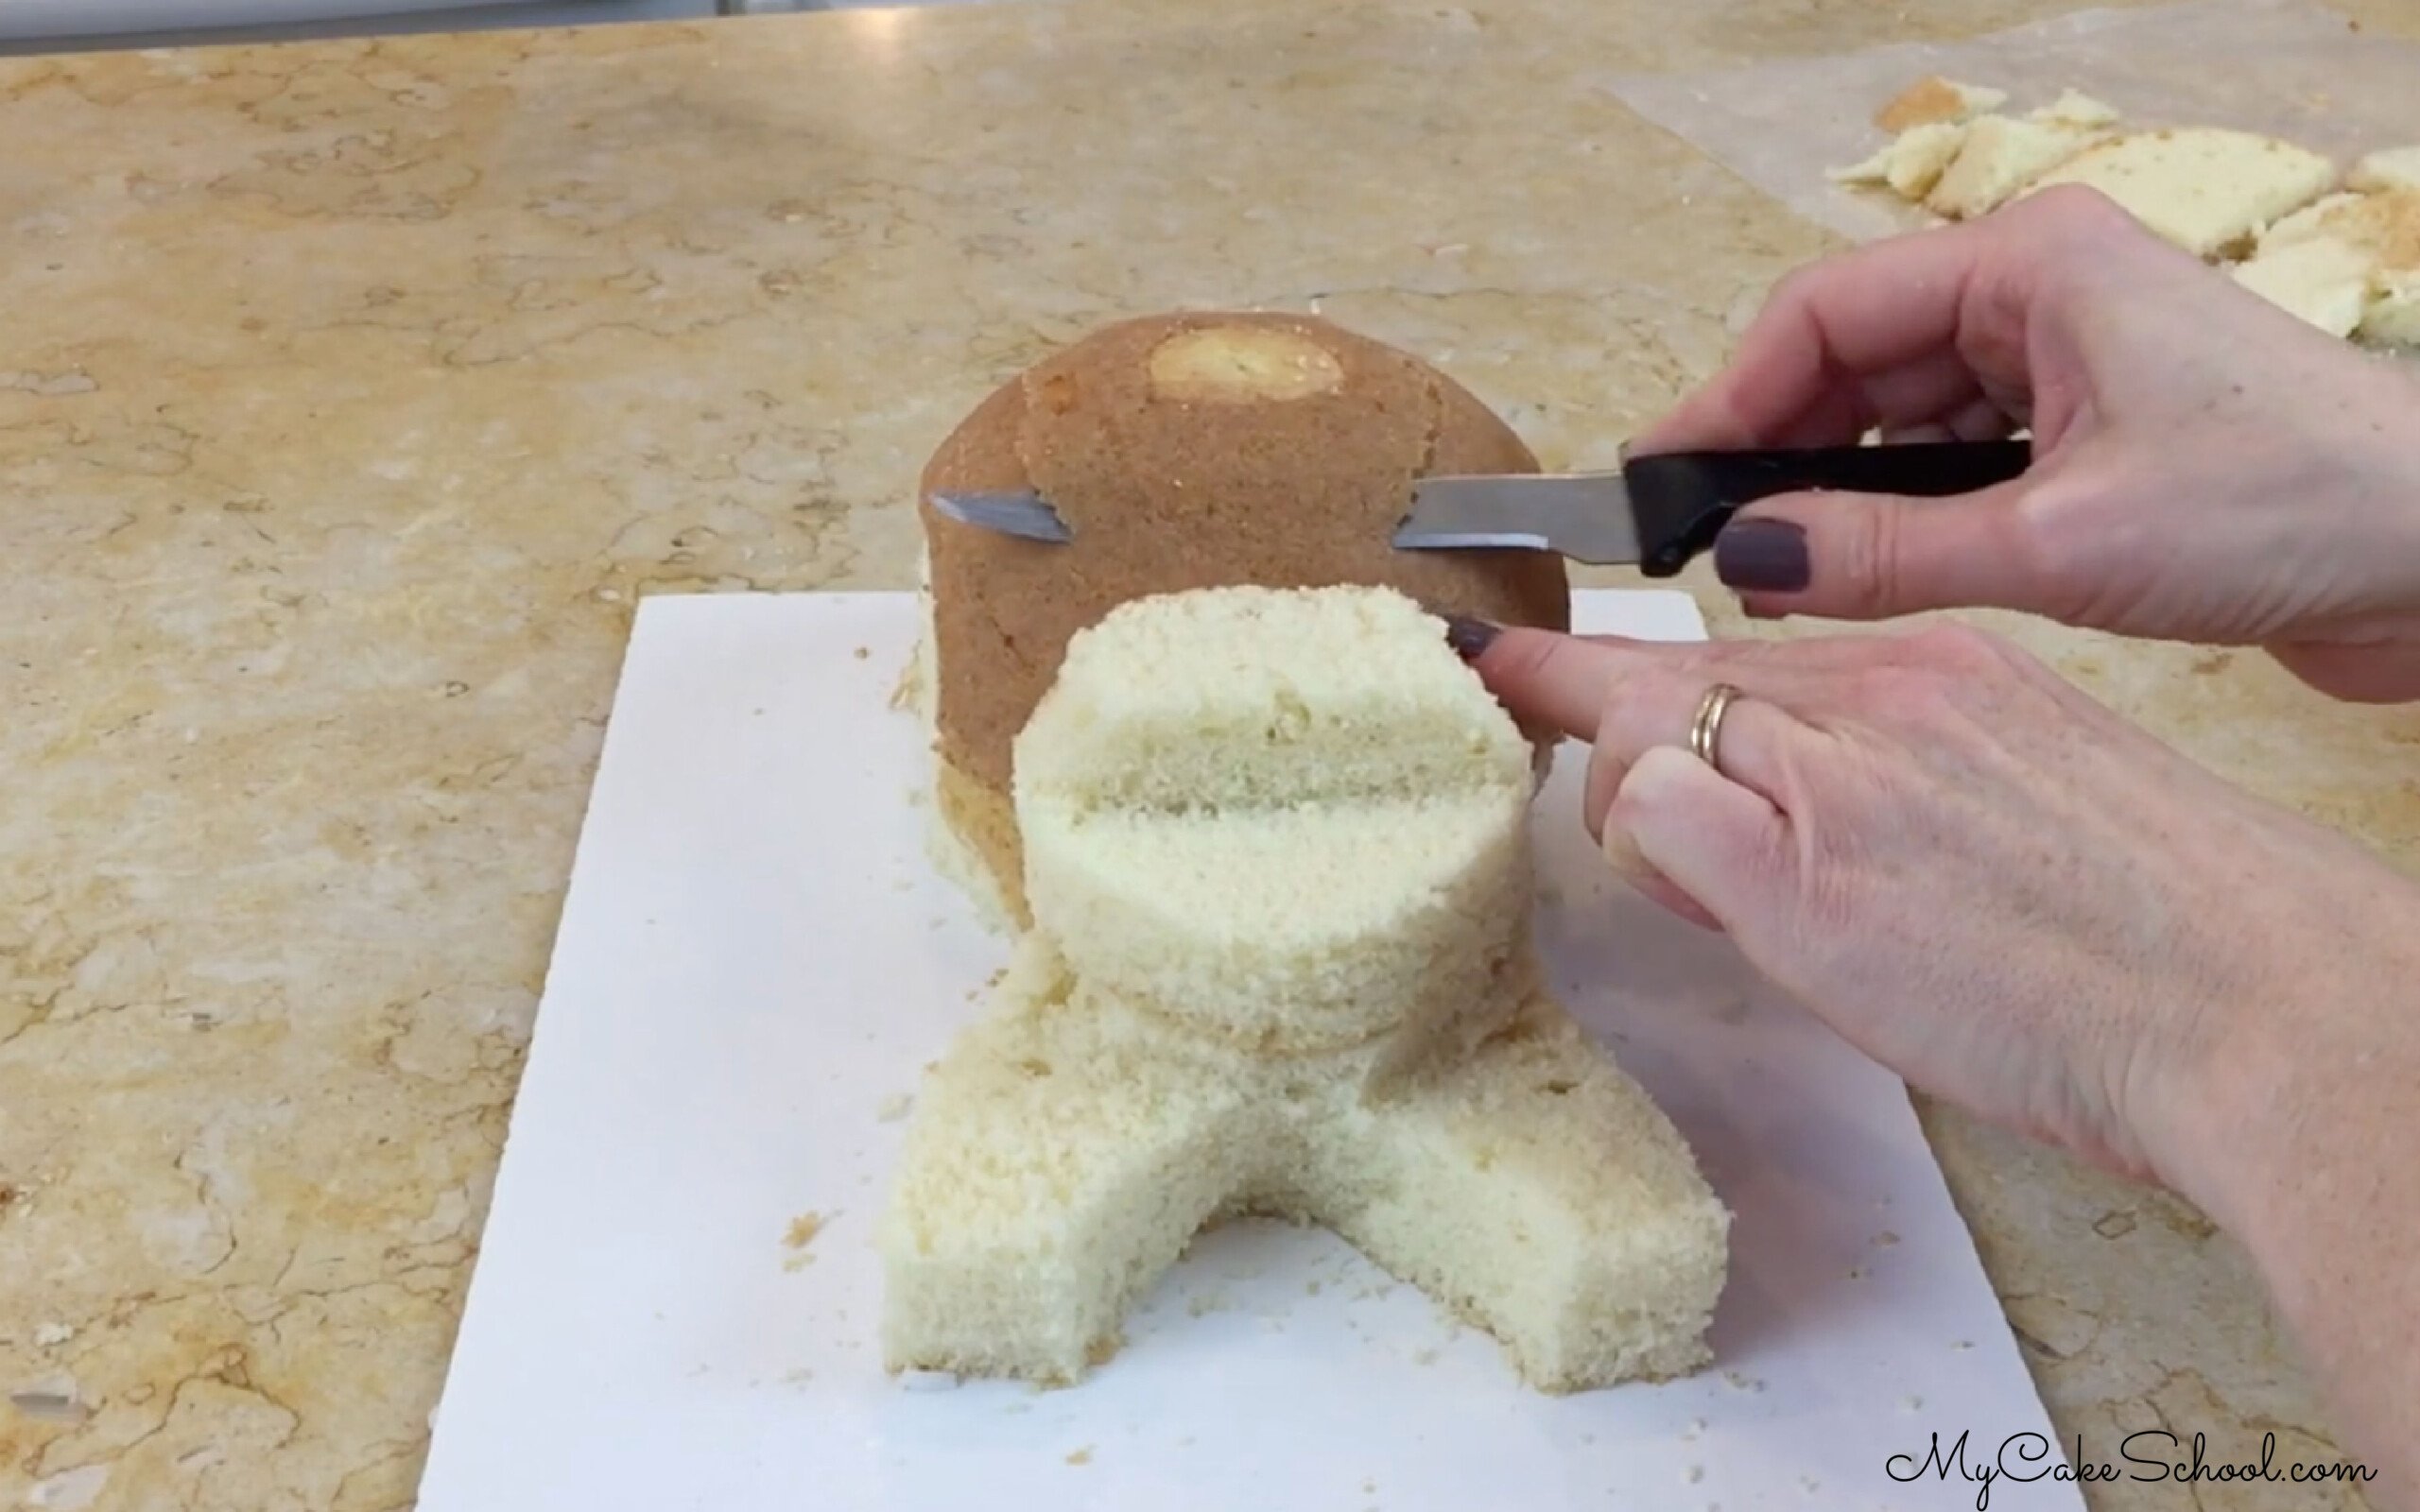
- Next, using the remaining 6 inch cake layer, use the head template to cut out your shape (as close to the edge of the cake layer as possible). This gives you the head shape as well as the front legs. Stack on top of each other.
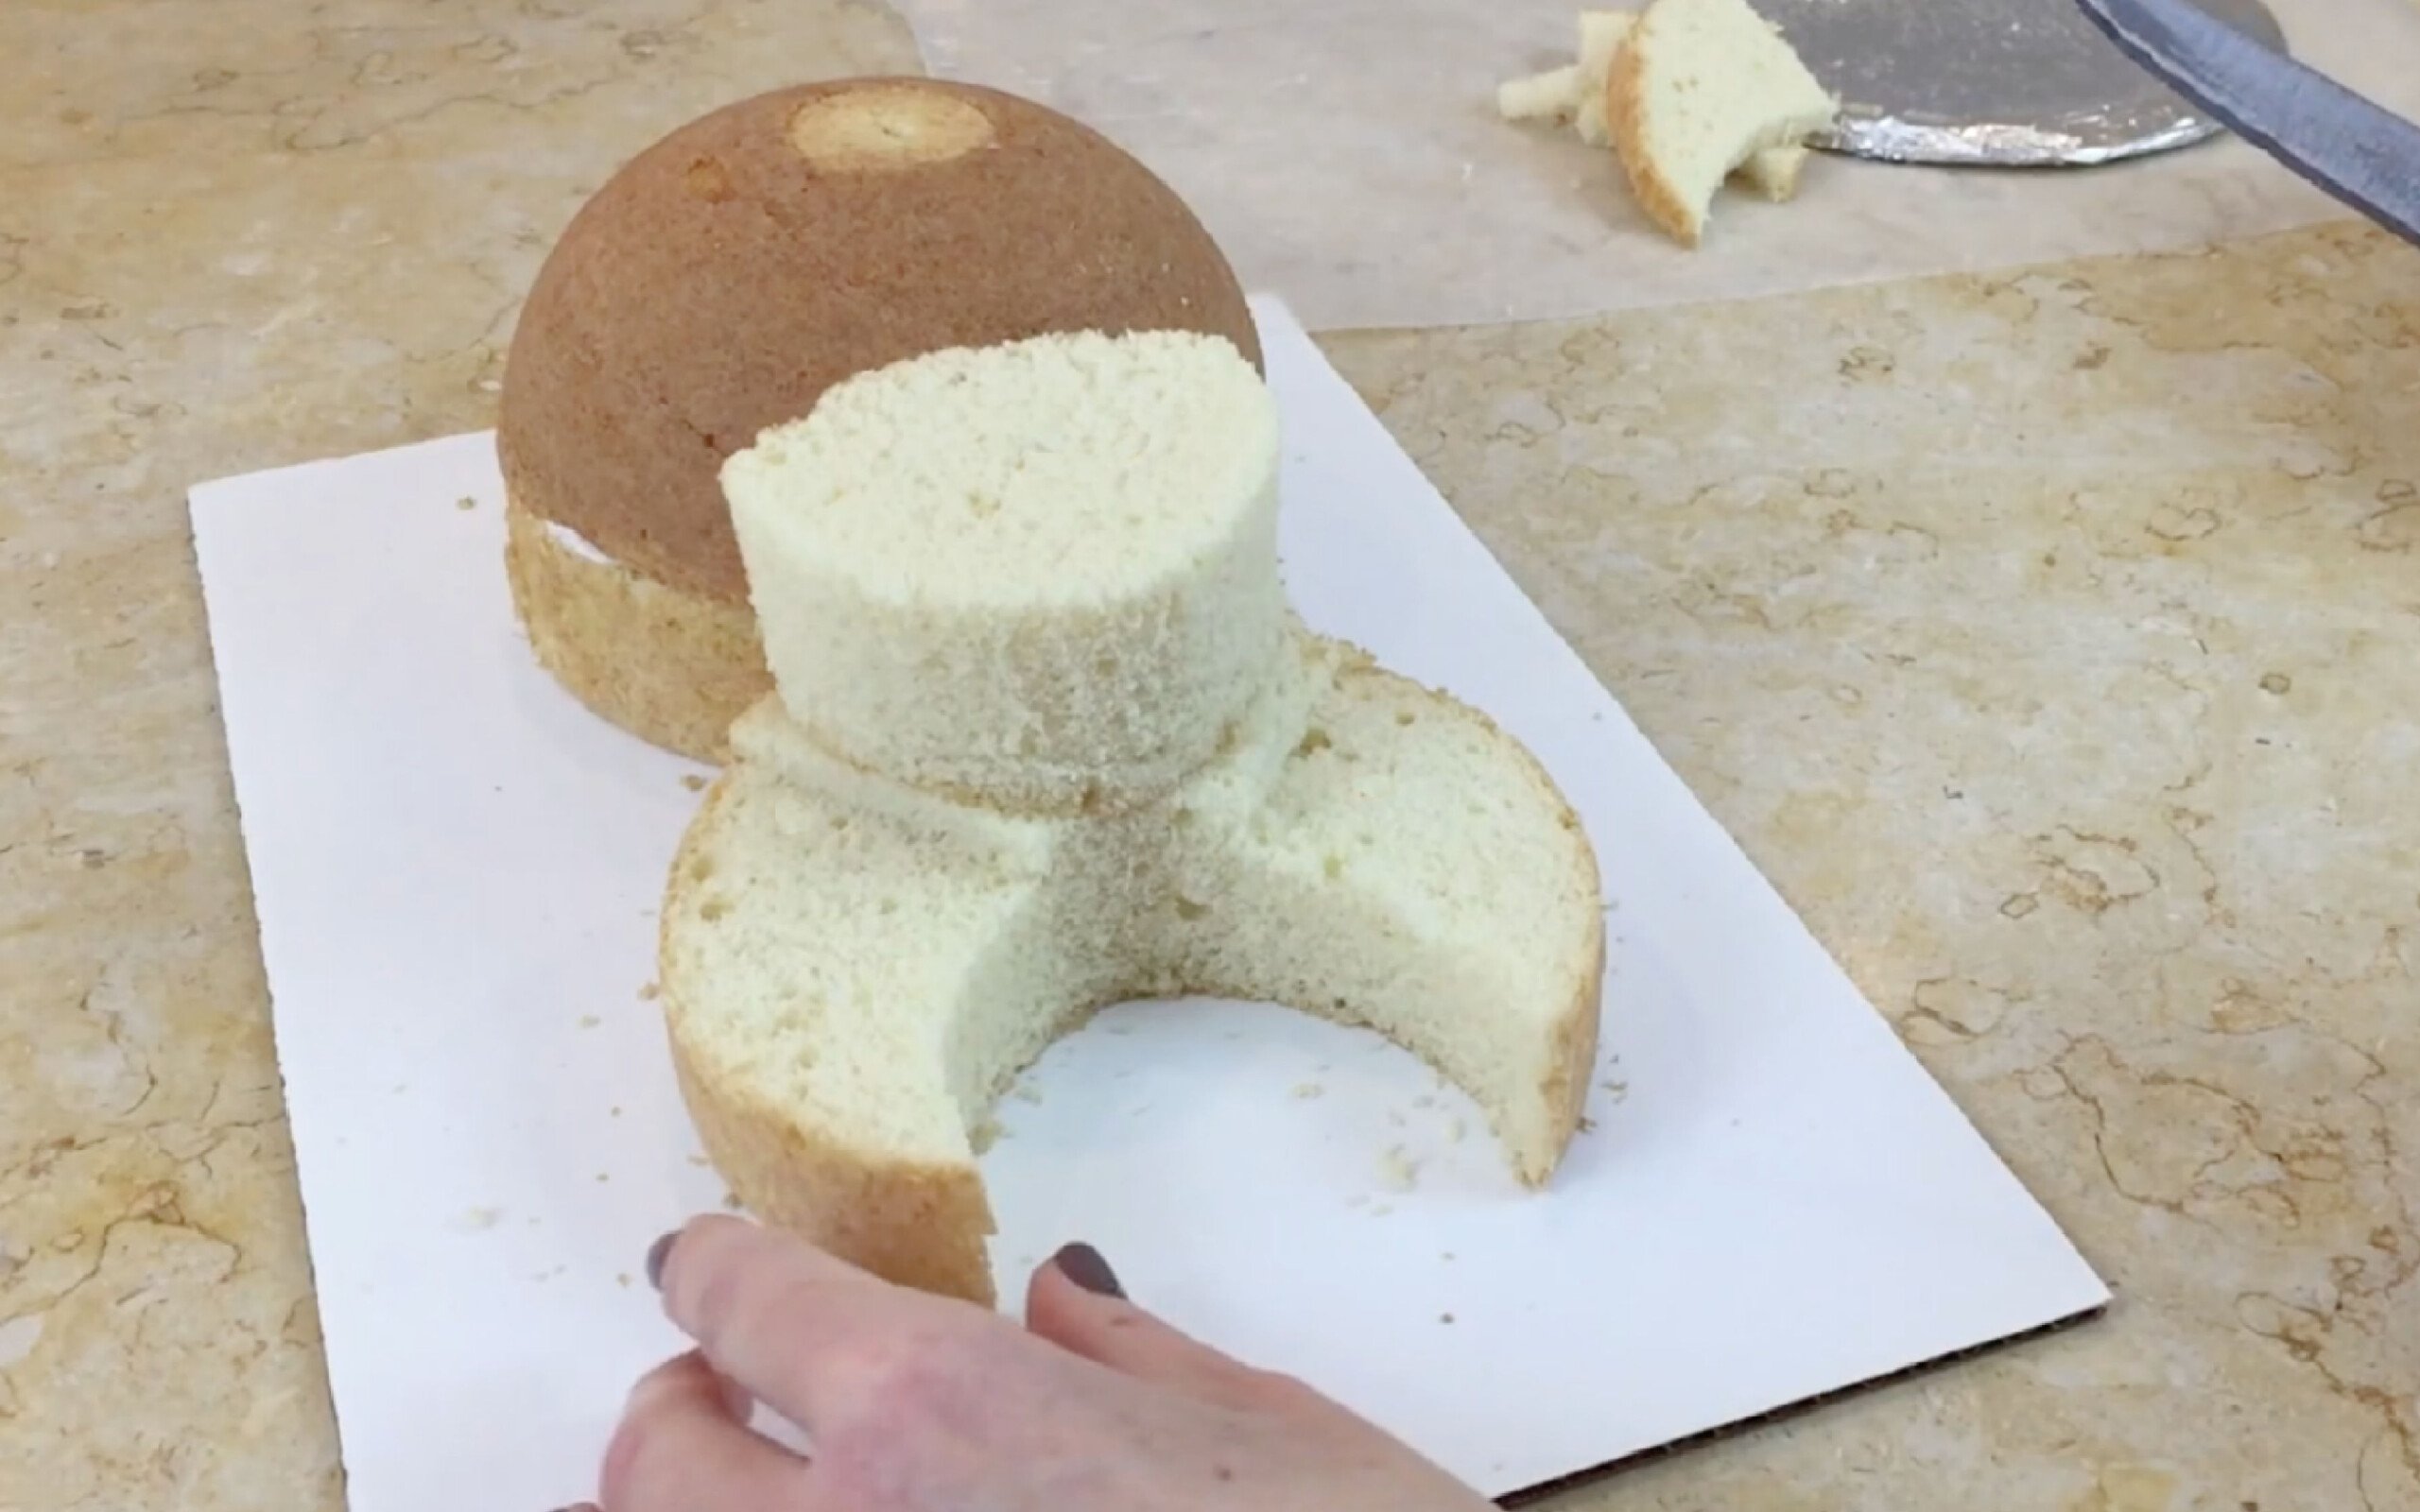
- Carve a little notch out of the top front of the head to form the nose. Trim and shape as needed.
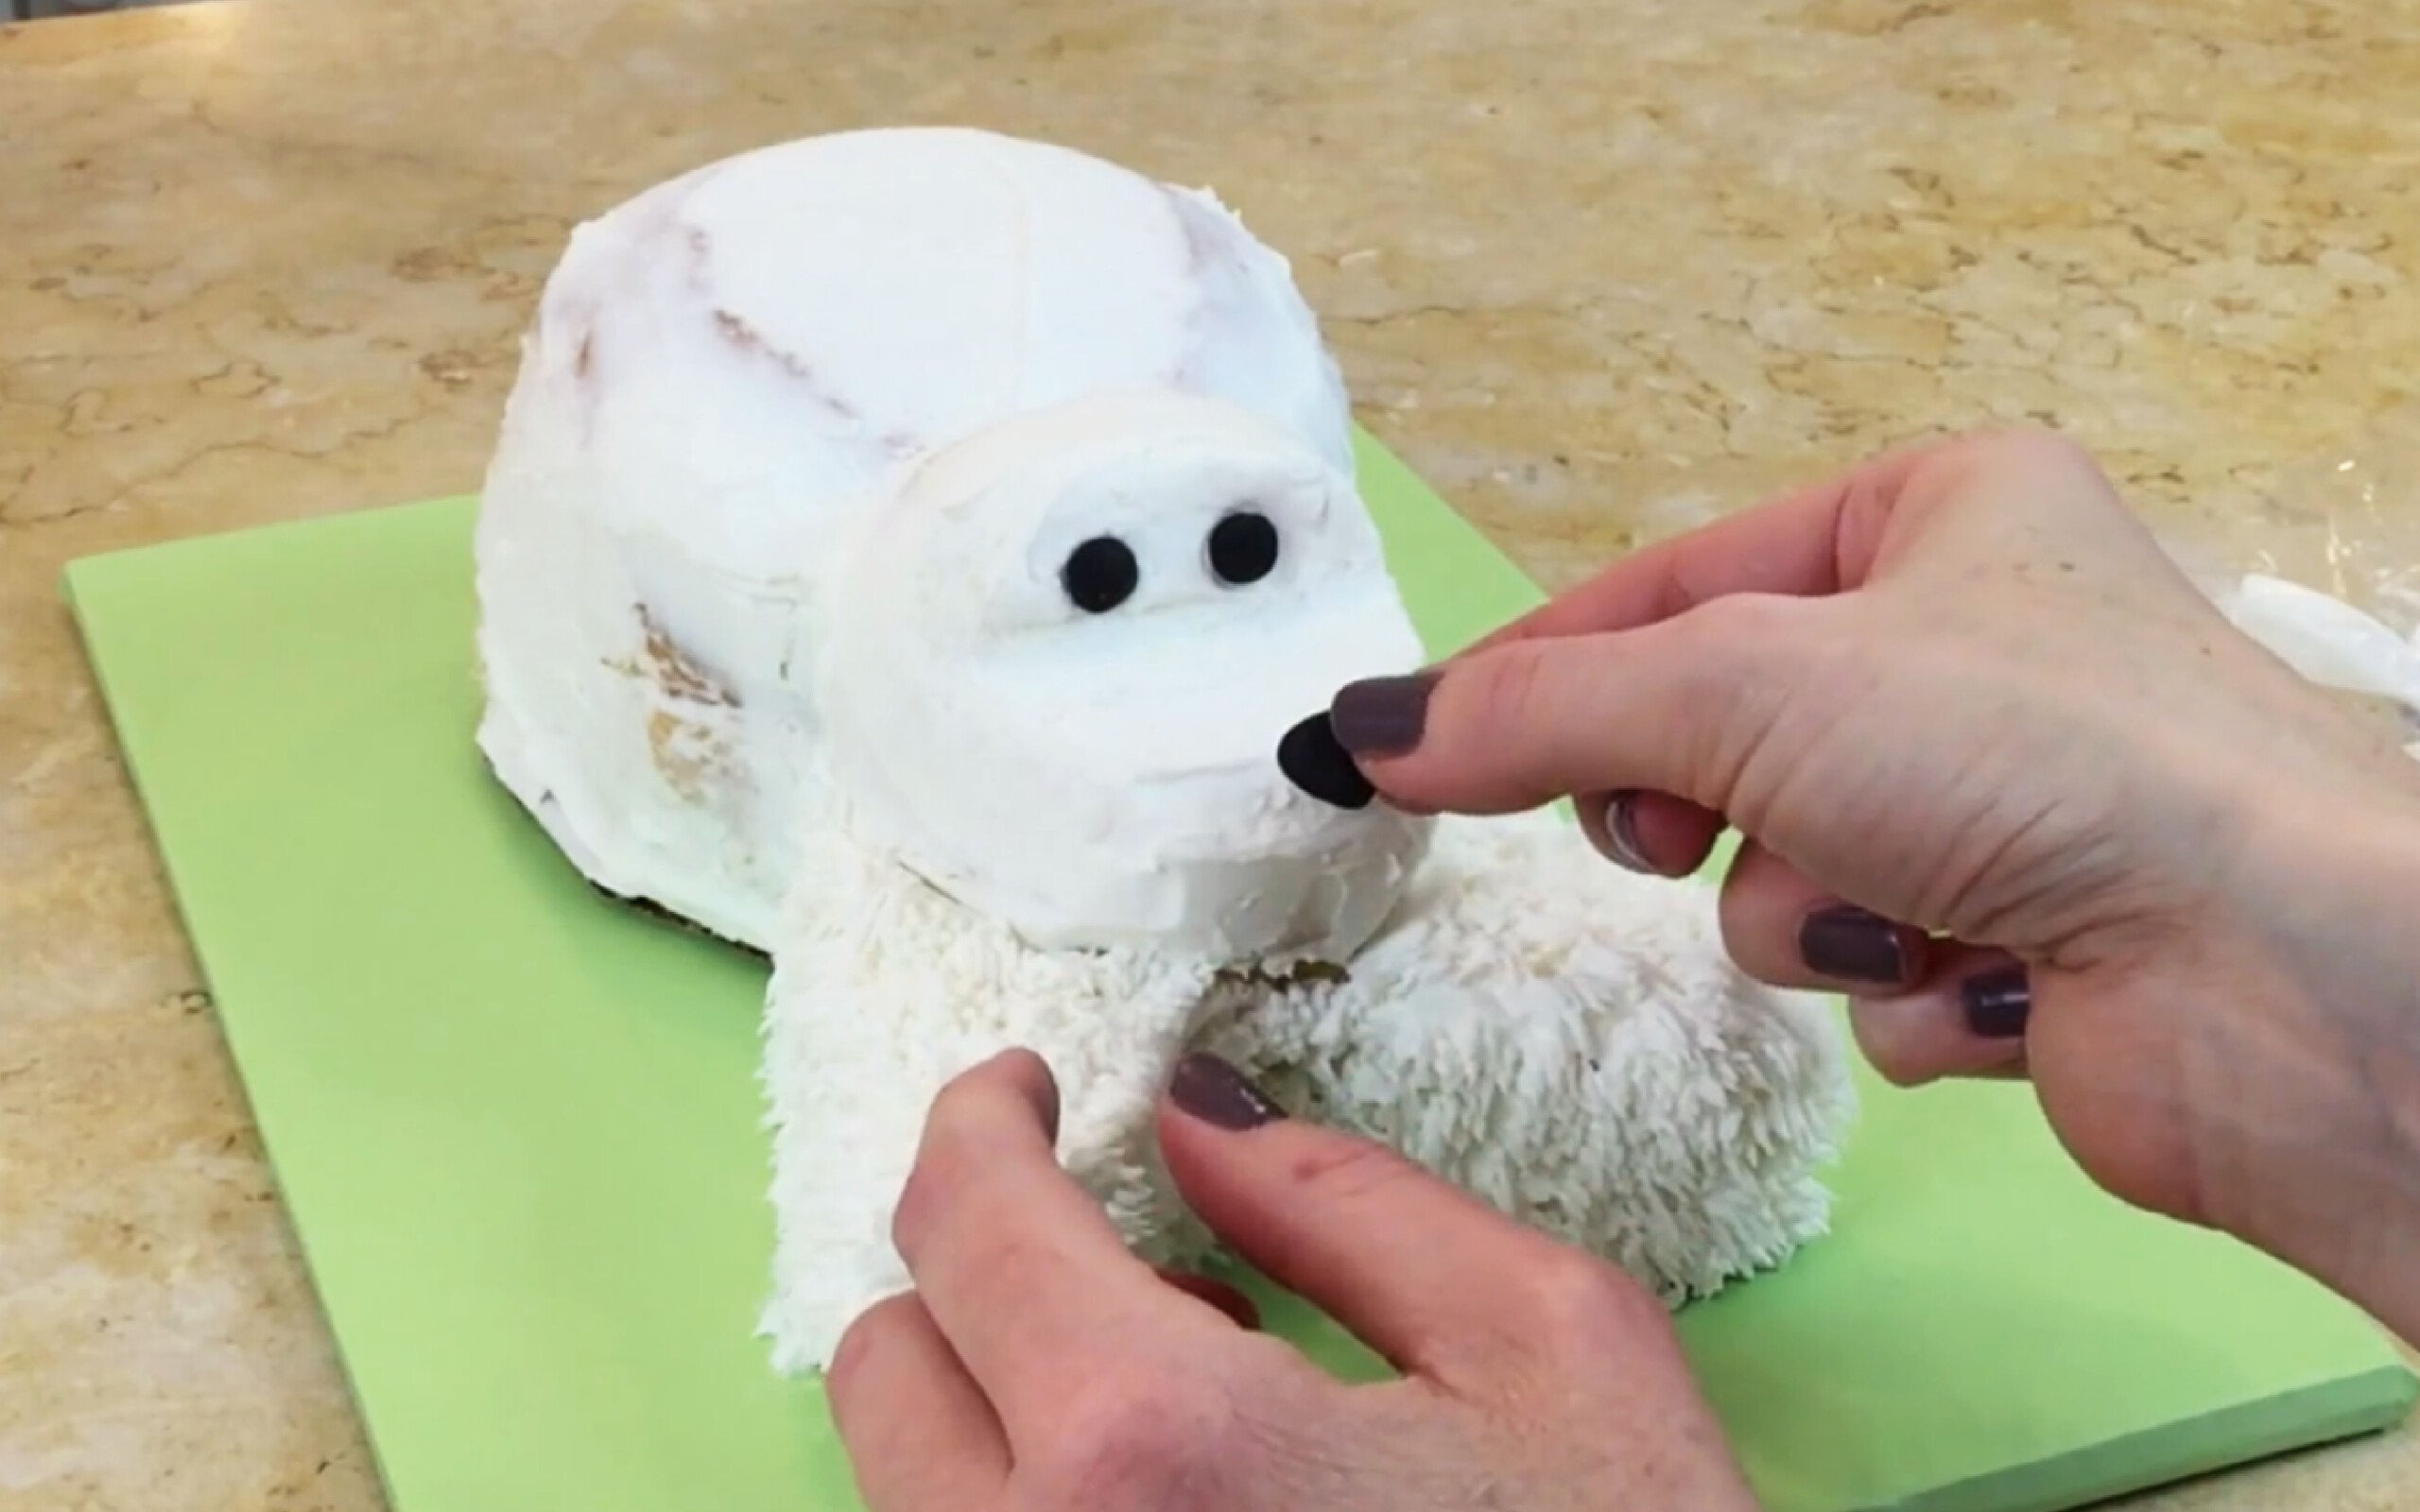
- Crumb coat the dog cake with a thin layer of buttercream.
- Trim down the cake board to the size of the dog cake and transfer to cake base.
- Now the fun part! Cover the cake with buttercream fur. Add black fondant eyes, nose, and fondant ears and tail anchored by lollipop stick.
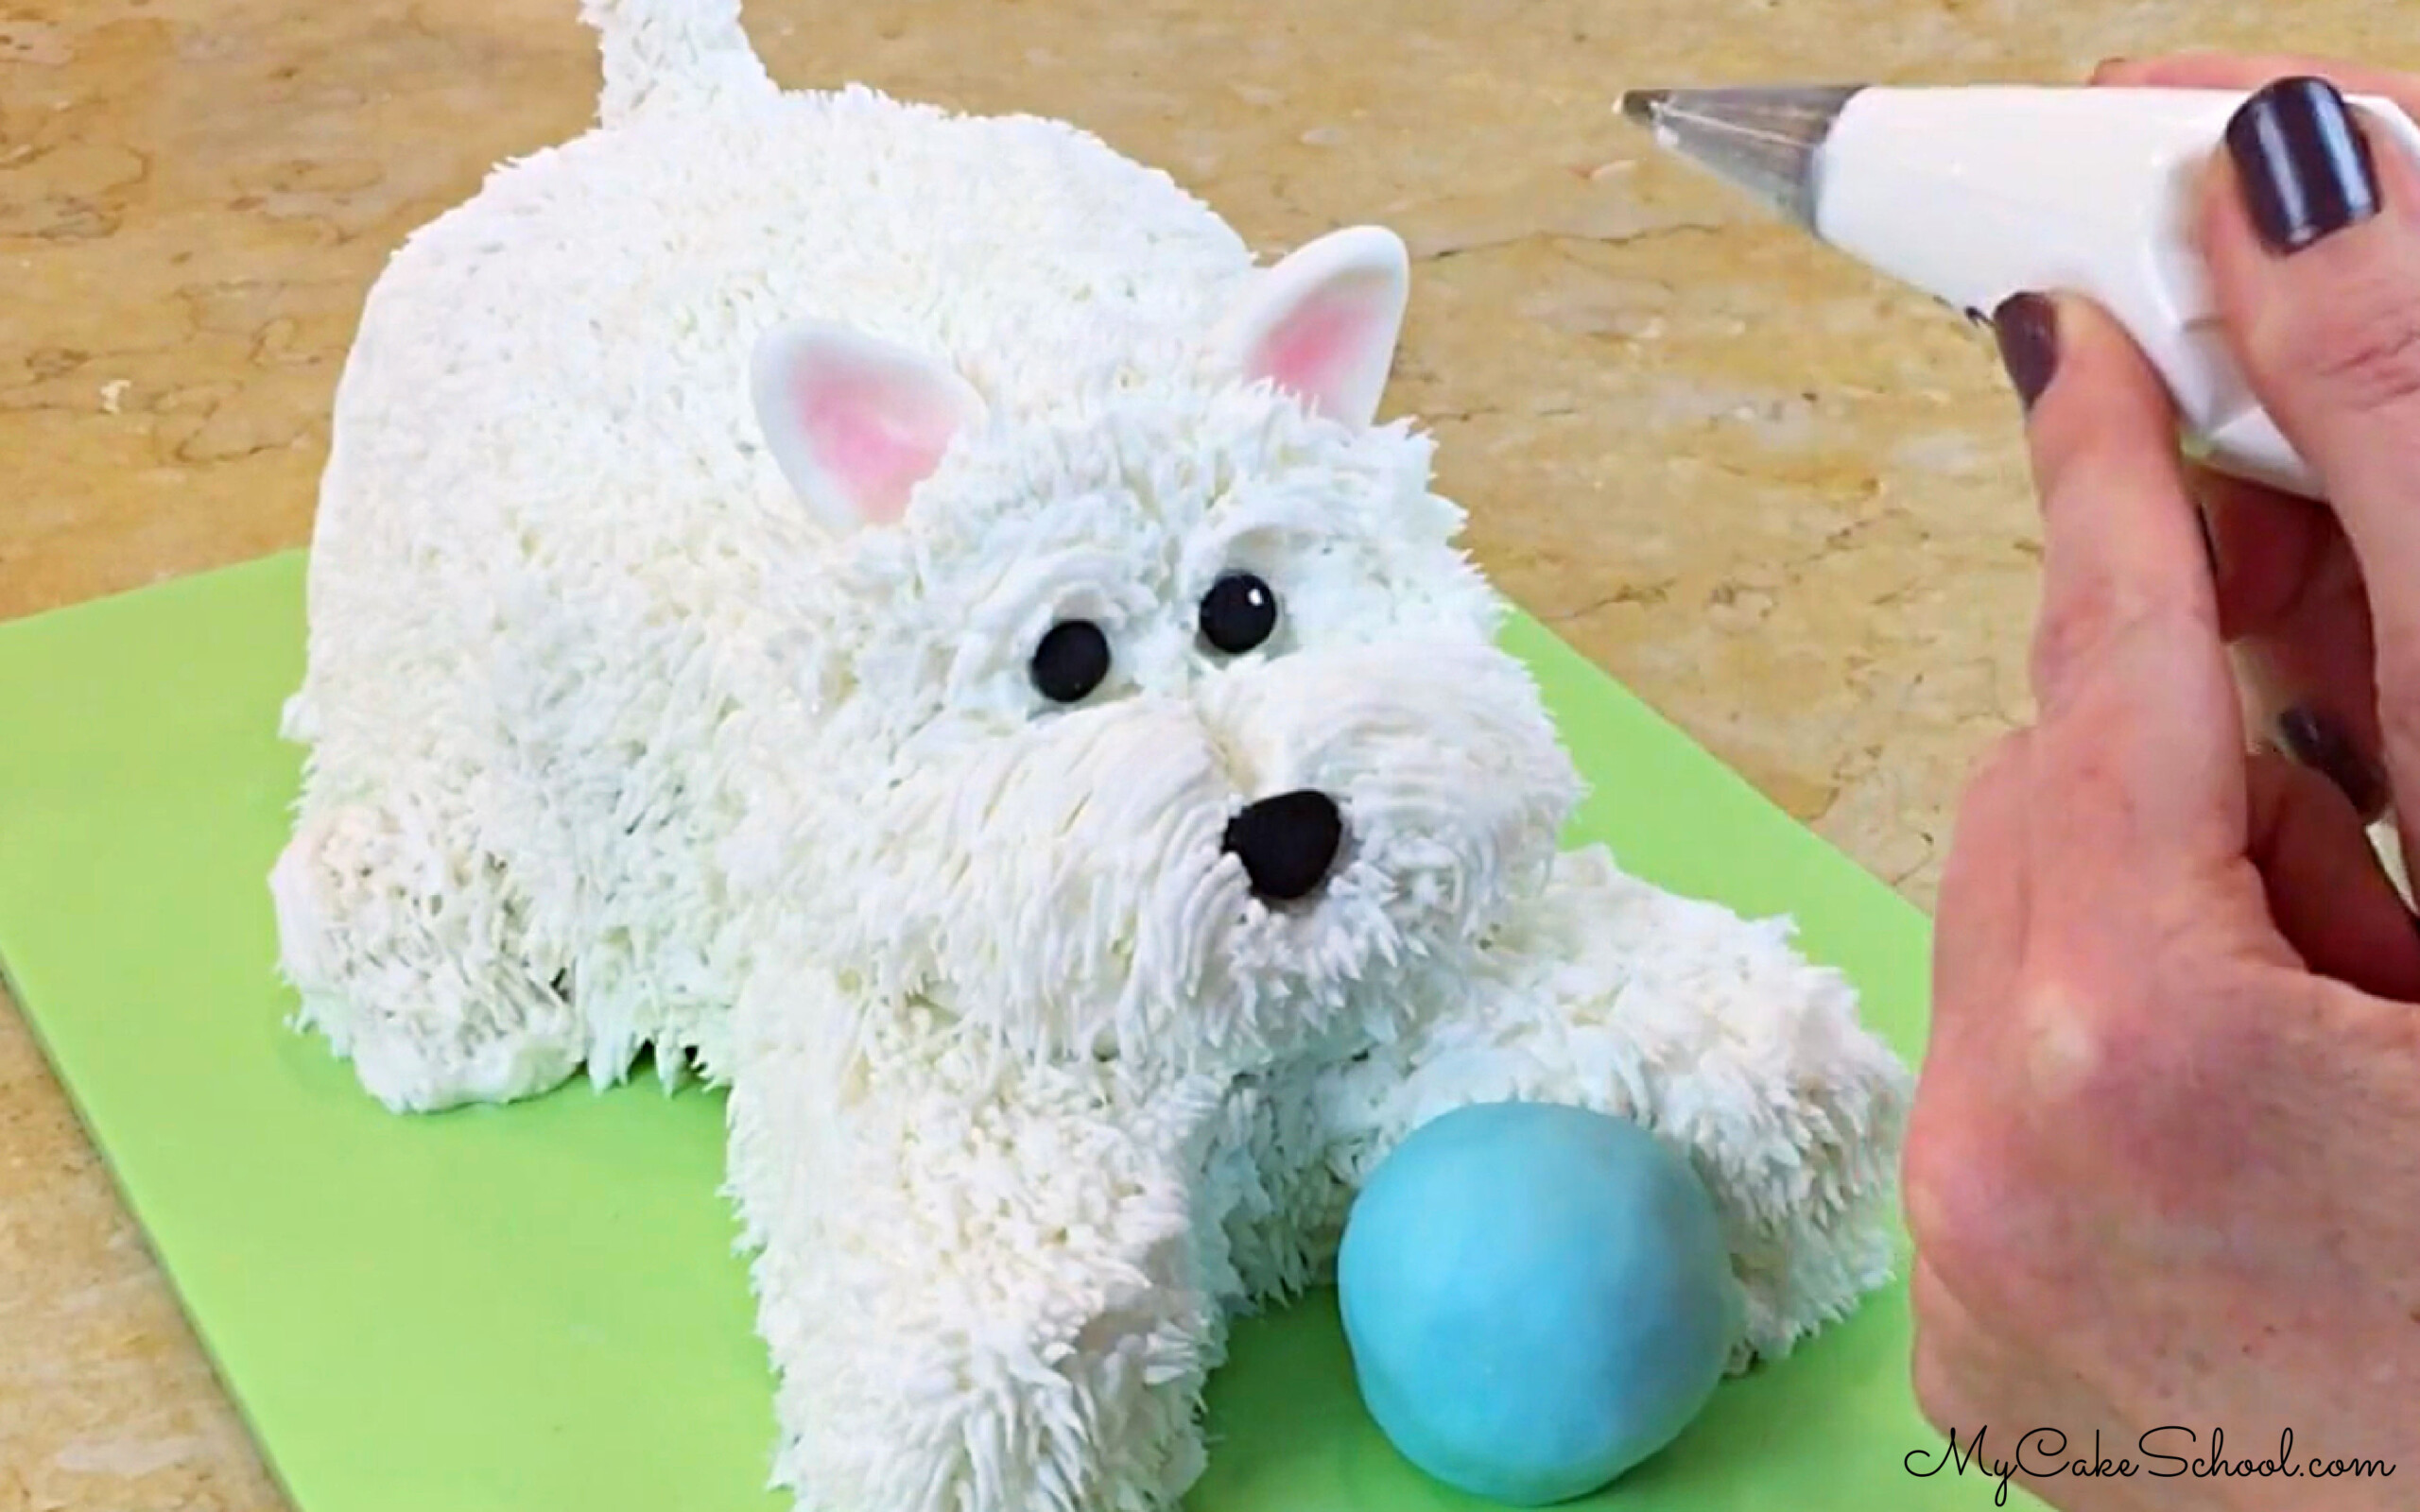
- The ball is a rice cereal treat coated with vegetable shortening and covered with a layer of blue fondant.
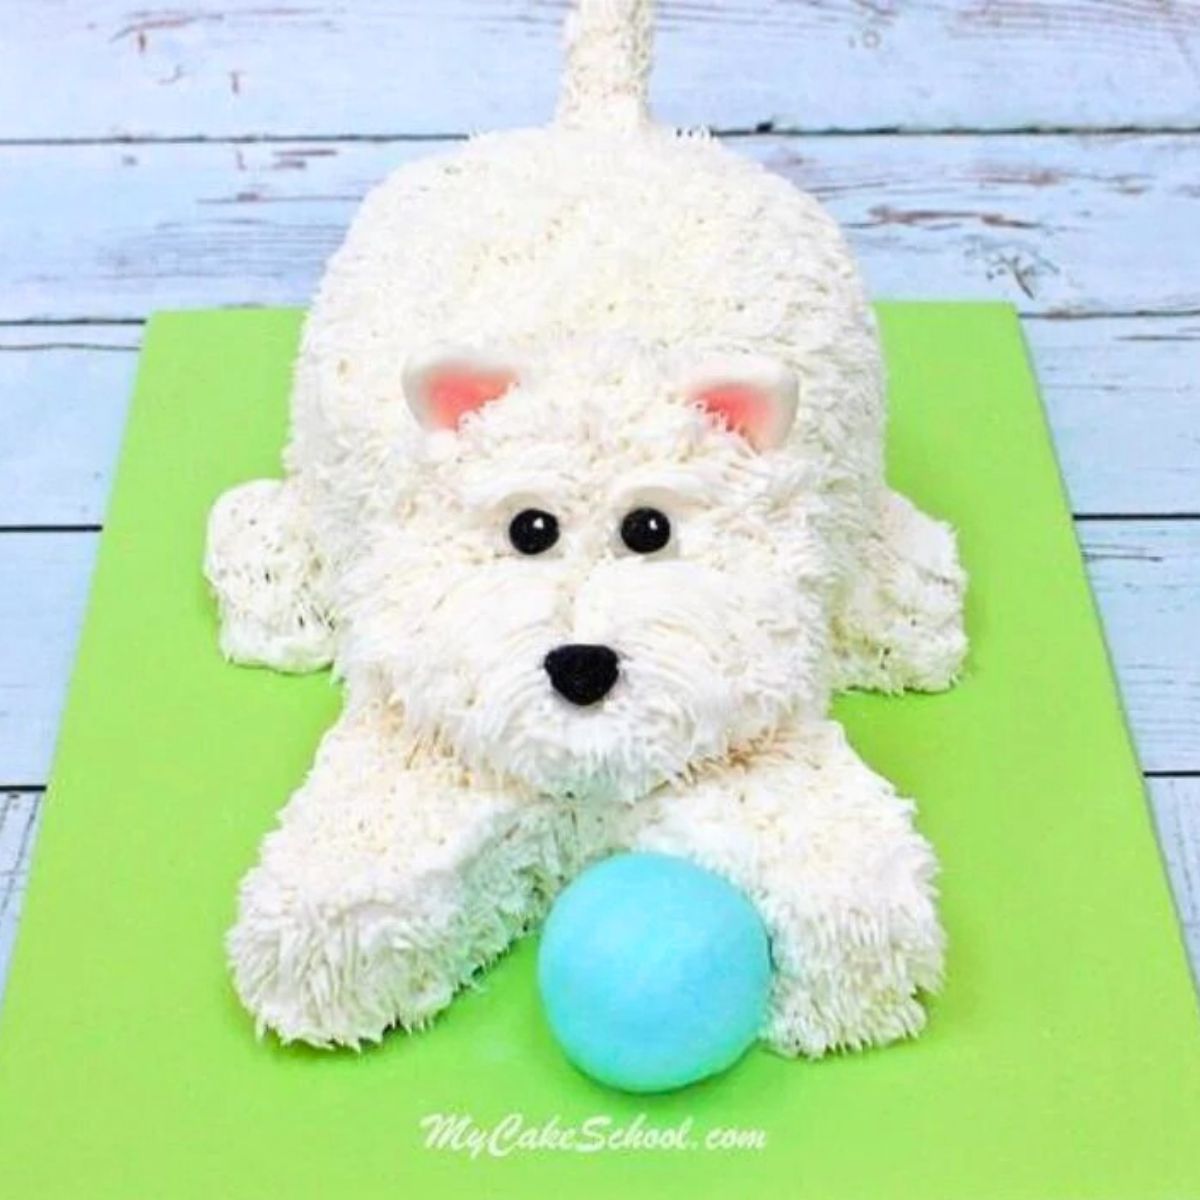
This is just about the easiest 3-D dog cake that you can make! We had so much fun with this cake. Don't miss our video tutorial below which goes into much more detail! We hope that you enjoy the video.
If you give our fluffy buttercream puppy cake a try, we would love for you to leave a comment below!
Another Puppy Cake Idea
Looking for an even easier puppy cake? We have a cute Puppy Cake tutorial that comes together in no time.
This sweet cake has been a favorite on our blog for years. You can find the step by step photo tutorial here!: Easy Puppy Cake Tutorial
Cake Recipes
There are many cake recipes that would be great for this puppy cake! Just a few examples are our Chocolate Cake from Scratch, Vanilla Velvet Cake, Almond Cream Cake, Strawberry Cake, and more!
More Animal Cakes
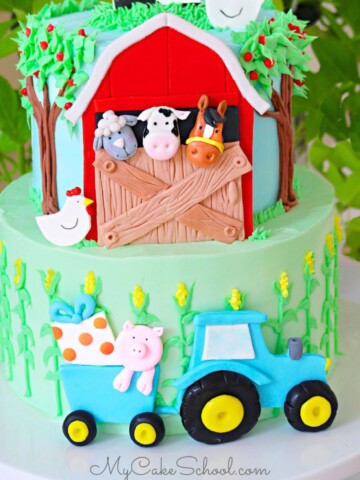
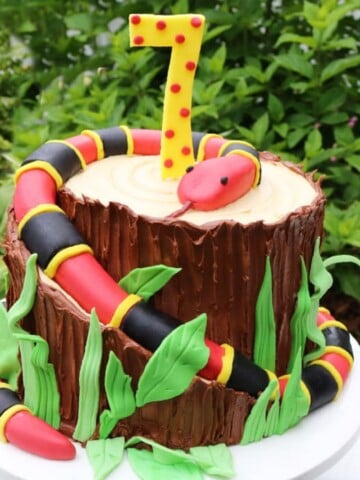
We have more animal birthday cakes to share with you! Here are just a few that would be perfect for all sorts of occasions. Some of our most popular are the Snake Cake (eek!), Farm Cake, and Jungle Theme Cake!
Enjoy the Tutorial!
Thanks so much for stopping by! We hope that you will give this sweet puppy cake a try. If you do, make sure to leave a comment and photo below!
For more super cute Kids cake ideas, don't miss our roundup of 100+ Birthday Cakes!
This collection includes favorite cake recipes as well as tons of creative cake decorating designs. Have fun scrolling through!
Have you made this? We would LOVE for you to leave a ⭐️ rating as well as a comment and photo below! We really appreciate your feedback!
Fluffy Puppy Cake
Equipment
Ingredients
- For this cake we used a half of a sports ball cake 6 inch diameter and two 6 inch rounds. We used the doctored cake mix White Almond Sour Cream Cake recipe for this project (1 recipe, 7 cups batter), but our scratch version would work well too. Choose a recipe that isn’t overly soft so that it will hold up well to light carving.
- Template for Dog’s Head See Notes
- Vanilla Buttercream we used our Fluffy Vanilla Buttercream recipe
- Black Fondant for eyes and nose
- White Fondant for ears I kneaded in a bit of tylose
- Pink Petal Dust – Optional. For the inside of ears
- 10 ×14 cake cardboards- We used three. Two for the base and one cut to the size of the cake.
- Piping Tips: Grass Tip 233 for fur Tip 3 (white dots on eyes)
- Miscellaneous Disposable piping bags scissors or xacto for trimming cake board, small paintbrush for pink petal dust, your cake base of choice (we wrapped two sheet cake boards in a green plastic tablecloth stretched around the boards and stapled beneath.)
- We were able to slice the dog into 16 slices– I would say 14-16 serving is a good estimate.
- Looking for something even simpler? We have a cute Puppy Cake tutorial that comes together in no time. This has been a popular free blog tutorial of ours for years. You can find it here!: Easy Puppy Cake Tutorial
Instructions
- Spread a 6 inch cake layer with buttercream, and stack half ball cake on top of it. This is the body of the dog. (Trim it down a bit if needed) so that it isn't so tall. This is the back half of the dog.
- Arrange the template for the head on top of the remaining 6 inch cake layer. Then stack it in a way that the head is resting on what's left of the 6 inch cake layer it was carved from. This makes up the dog's head and front legs. Trim and shape the arms as needed.
- Carve a little notch out of the top front of the head to form the nose. Trim and shape as needed. Trim away back/sides of the dog as needed now that the cake is taking shape so that the proportions look right.
- Crumb coat the dog cake with a thin layer of buttercream. If the cake is completely thawed, you may find it easier to pipe the buttercream onto the carved areas and then spread with a spatula.
- Trim down the cake board that the cake is resting on to fit the size of the cake, using an xacto knife. Transfer the crumb-coated dog cake to the cake base (two stacked cardboard sheet cake boards wrapped with a plastic tablecloth and secured with staples on the other side.)
- Pipe buttercream fur using a grass piping tip. Use small black balls of fondant, flattened, for eyes. For the nose, we used black fondant with a slight heart/triangular shape. Continue to pipe buttercream fur around these features. (The fur was piped a bit shorter around eyes)
- Small scraps of cake were used for back feet. Cover with piping.
- I made fondant triangle ears. We dusted with pink petal dust in the center. Press into buttercream-frosted head.
- Dog's tail is fondant wrapped around a lollipop stick and stick is inserted directly into the cake. Pipe short buttercream fur on tail.
- The ball is a rice cereal treat (pre-made), rolled into a round shape, covered with a thin coat of vegetable shortening and wrapped with blue fondant. Trim away the excess and place in front of dog.
Video
Notes
Loved This Recipe?!

Well now that's stinkin' cute! I love it! A really simple small cake - Awesome! 3D dog cakes are usually big - Love that this one is a smaller more reasonable size :-)
Fabulous as always! To make my dog I'd have to half the length of the legs and elongate the body with the scraps LOL!
Haha MsGF, you MUST make a "weenie dog" version- I'd love to see it! hahaa
So cute and so easy. Thanks M and B. U rock ??
So cute! I never do carved cakes but you make me want to do this one!
Thanks so much for your comments!! So glad that you like it! ;0)
Adorable!
This is my FAVORITE PUPPY !!! My job revolves around Dogs and Cats. This will be a project that I must try. Thank you!
Hi Ann, Thank you for your nice comment. Please post a picture when you complete your project, we would love to see your cake.
Love this cake. I attempted to make it too. I hope mine looks ok.
Awwww...love it Nelka! SO cute. You did a great job!
Hi - would the coconut cream cheese frosting work on this cake? Is it stiff enough?
Hi Mary, I would go with a regular buttercream on the outside. (You can add a little coconut extract to vanilla buttercream if you'd like.) I think that the cream cheese may be a little too soft to get the fur effect that you're looking for.