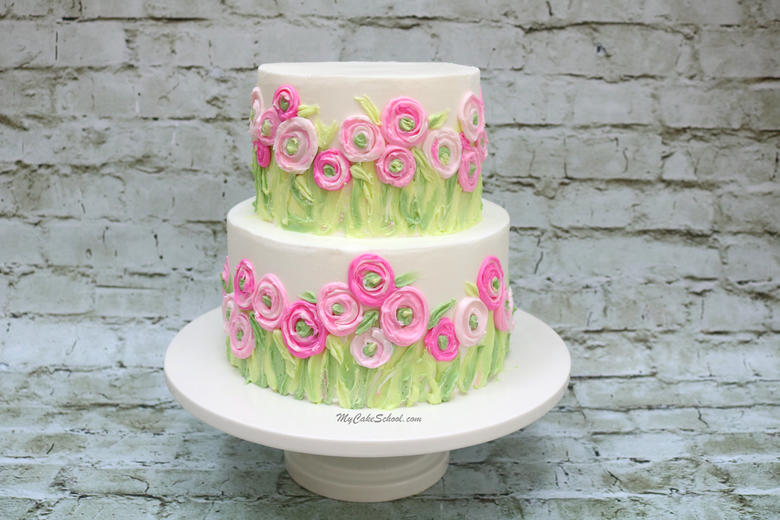
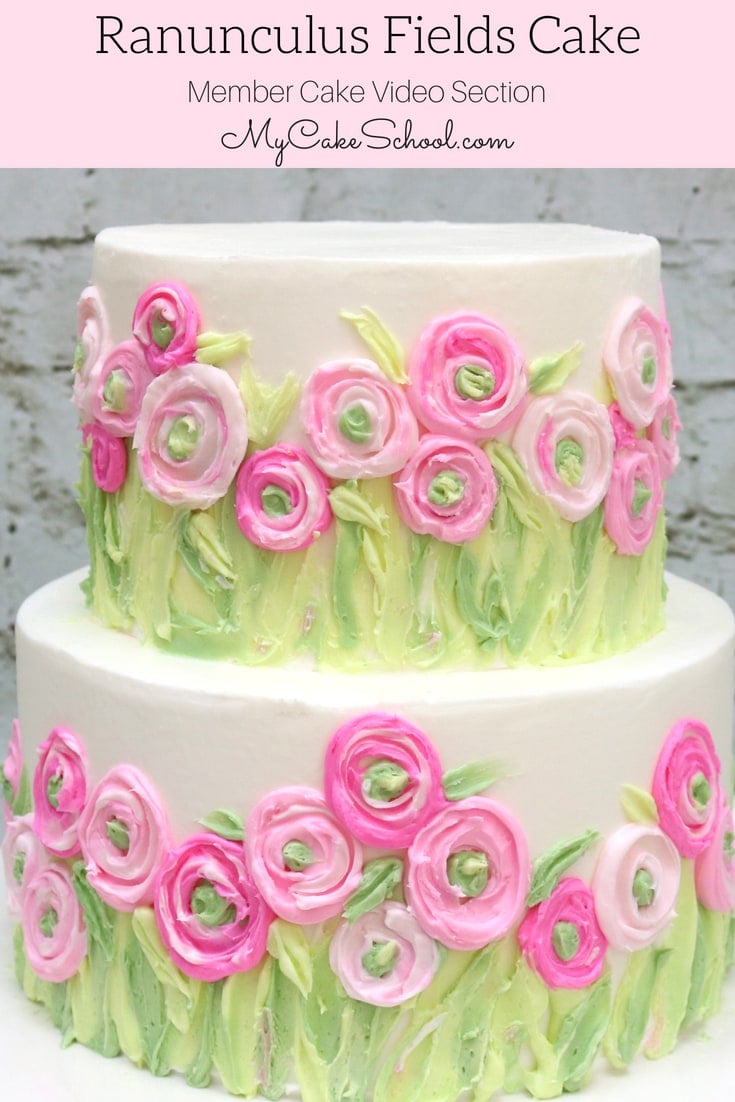
Raunculus Fields Cake- Painting with Buttercream Tutorial
We're excited to share today's easy Buttercream Ranunculus Cake tutorial which features painting with buttercream.
This brightly colored buttercream cake is not only uniquely beautiful, but surprisingly simple!
Painted cakes, and cakes with lots of buttercream texture are big in cake decorating right now, and this design is the perfect balance of both!
No matter what your skill level in cake decorating, we think that you will love this impressive painted buttercream effect- it is extremely forgiving, lots of fun to create, and the design possibilities are endless!

Table of Contents
Materials:
For this tutorial, I've used 8 inch and 6 inch stacked tiers frosted in fluffy vanilla buttercream frosting. As usual, each tier is on it's on cardboard cake circle cut down to size. The top tier is supported by four bubble tier straws cut to the height of the bottom tier.
Buttercream Frosting (of choice)- We used our Fluffy Vanilla Buttercream recipe
Coloring Gels: We used Americolor Deep Pink to make three shades of pink. Ameicolor Avocado Green + a touch of leaf green, and Americolor Electric Green
No Piping Tips required
Spatula: I used a small angled tapered spatula - use your spatula of choice
Paint brushes- Choose one or two small paint brushes that you can use to add texture to your flowers- mine were small, flat brushes.. Of course, you'll want to use brushes that have never been used with paint ;0)
Miscellaneous: I like to frost my cakes with a spatula followed by a bench scraper while spinning the tier on a turntable.
Enjoy the Video!
Thanks so much for stopping by! We hope that you enjoy this easy, elegant Buttercream Ranunculus cake!
If you give it a try, please leave a photo below! We would love to see!


That is really beautiful! I love the colours and the texture! Adding that to my To Do List :-)
This looked fairly easy,but you make everything look that way! I liked it a lot. Pinks always get me. I am doing my 60th wedding anniversary cake in August. Maybe try this? Thanks for your talent!
I love this cake!
Thanks so much for your comments!! xoxo
This is a cute idea but I think u should just 2-tone your icing in the piping bags to save an extra step.
Super pretty and creative!!
Thanks for your comments!!
@Steph, that's definitely a good option-- in this case for me, I wanted to have a little more control over where I placed the contrasting colors, but really, anything goes! Have fun experimenting! ;0)
Beautiful color combination!!
Pretty ❤️
I just love this cake!! I can't wait to try it :)
Thank you Kathy! xo
I attempted to try this technique. I like how it cams out. Thanks for all your videos!