White Chocolate Velvet Cake
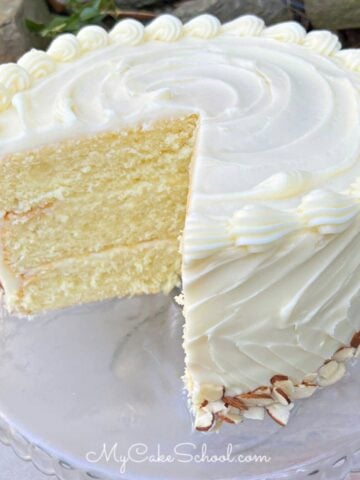
This White Chocolate Velvet Cake is moist, rich, and has wonderful flavor! Named for its velvety texture, this white chocolate cake is sure to become a favorite.
The texture of this cake is similar to our other "velvet cakes", including our Lemon Velvet Cake, Homemade Strawberry Cake, and Vanilla Velvet Cake.
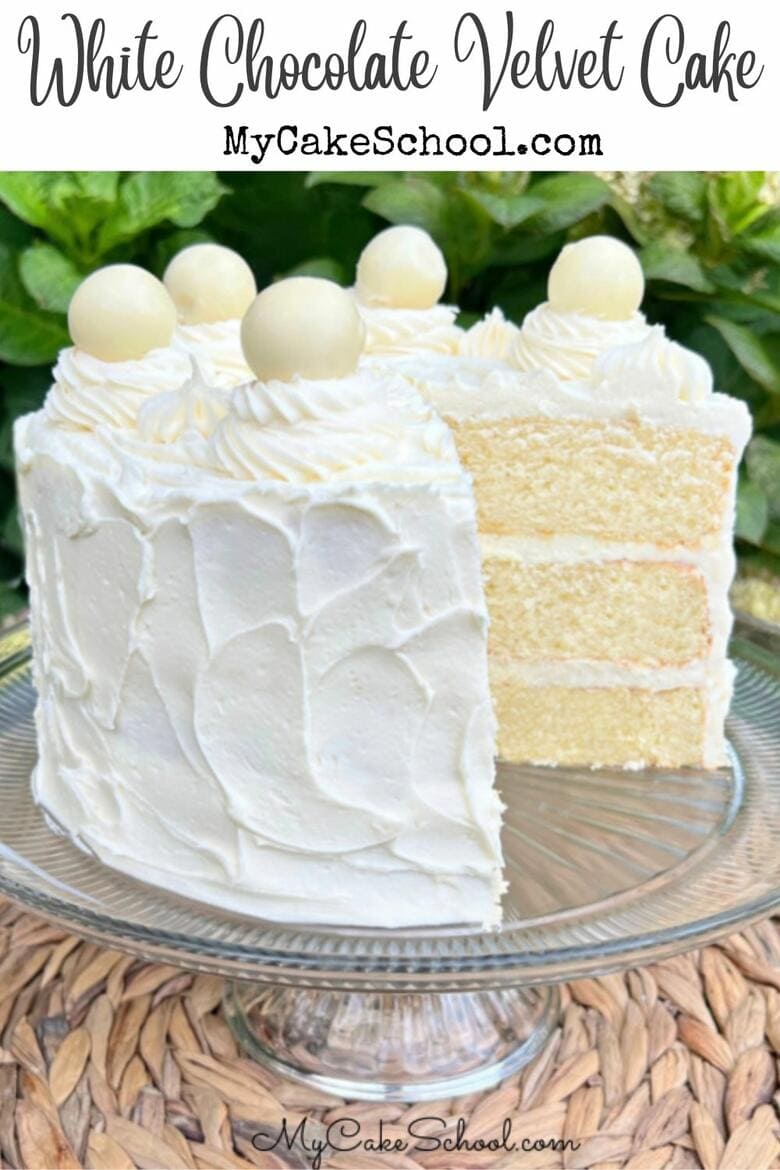
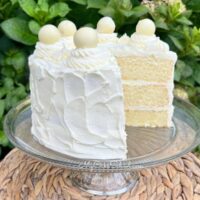
This White Chocolate Velvet Cake would taste amazing with all sorts of frostings and fillings, but for today's recipe, we are using a whipped white chocolate ganache filling and white chocolate buttercream frosting.
Table of Contents
Is this a White Cake?
No, this is a vanilla cake that is flavored with white chocolate. It still has the slight yellow color that a vanilla cake has, thanks to the egg yolks in the recipe. (If you are looking for a white cake version of this recipe, see our delicious White Velvet Cake!)
Why is this called a Velvet Cake?
We call this recipe a velvet cake because of its soft, velvety texture. The secret ingredient is the softened cream cheese in the cake batter!
What does Cream Cheese do for a Cake?
Cream cheese not only adds a boost of acidity (which softens gluten strands), it also lends a richness and creaminess to the dessert. In addition, our cake today incorporates white chocolate, adding even more richness of flavor.
The "velvet" cakes that we have made so far which include cream cheese in the cake batter can all be found in our Cake Recipes section.
Some of our favorites are White Velvet Cake, Chocolate Velvet Cake, Strawberry Cake, Yellow Velvet Cake, and Almond Cream Cake. Make sure to add these to your must-bake list!
We've also made pound cakes with cream cheese as well, including Lemon Cream Cheese Pound Cake and a classic Cream Cheese Pound Cake!
How to Make White Chocolate Velvet Cake
This White Chocolate Velvet Cake is sure to please a crowd! We have another White Chocolate Cake in our Recipes section, and are excited now to have a second version!
Today's recipe makes more batter and is a bit fluffier, but they are both delicious.
You can find our full, printable recipe card further down in this post, but here is a quick rundown of our steps:
- Prepare Pans & Preheat Oven: Preheat the oven to 325 degrees F. Grease and flour three 8 or 9 inch pans. We like to add a circle of parchment or wax paper to the bottom of each pan.
- Milk/Chocolate Mixture: Add the milk and chocolate to a microwave safe bowl. Melt in the microwave for 40 seconds, then in smaller increments until the chocolate has *almost melted completely. Stir until remaining chocolate has melted. Once melted, the mixture is very thin and should have no chocolate pieces.
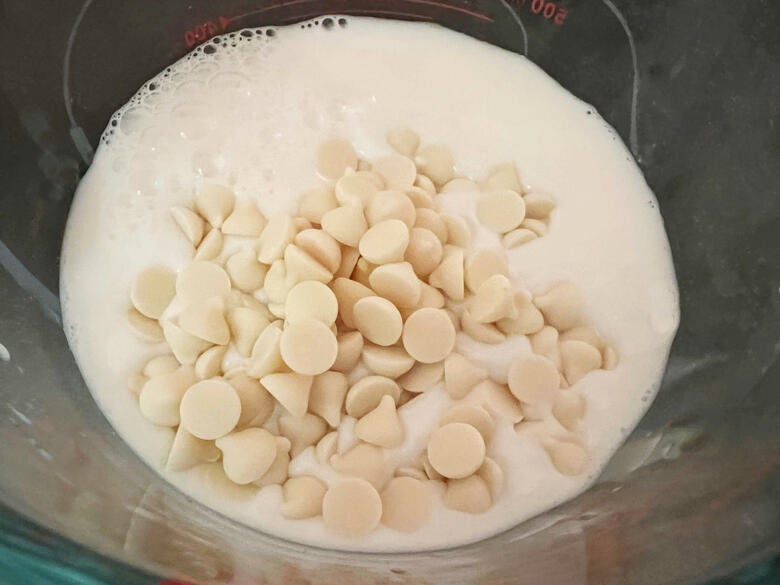
- Oil & Vanilla: Add vegetable oil, and vanilla extract to the melted chocolate and milk mixture. Set aside.
- Flour, Salt, Leavening: In a medium bowl, whisk the cake flour, baking powder, baking soda, and salt for 30 seconds and set aside.
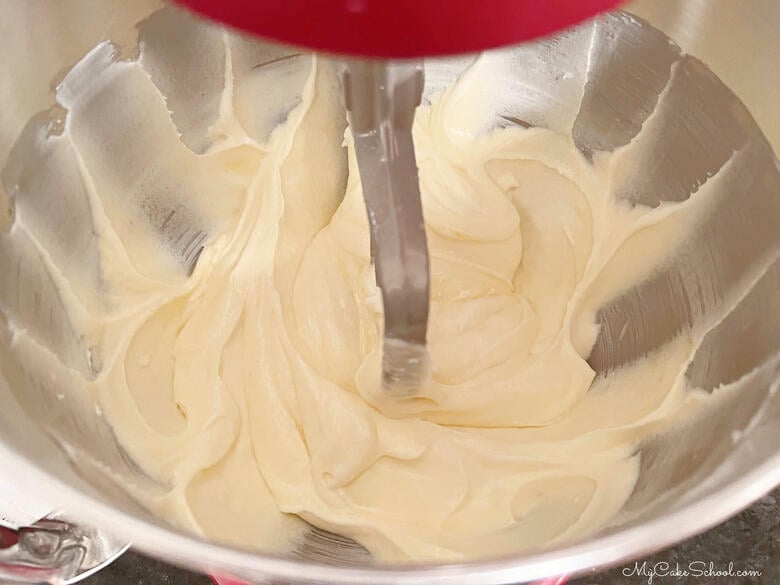
- Butter & Cream Cheese: In the bowl of your mixer, add the butter and cream cheese and mix at medium speed until smooth.
- Add Sugar: Gradually add the granulated sugar and mix at medium speed for 2-3 minutes.
- Eggs: Add the room temperature eggs one at a time, mixing after each one until the yellow of the yolk is blended.
- Alternating Dry and Wet Ingredients: With the mixer on low speed, alternately add the flour mixture and the milk/chocolate mixture, beginning and ending with the flour mixture (We did 3 additions of the dry mixture, 2 additions of wet). Mix the batter just until well combined.
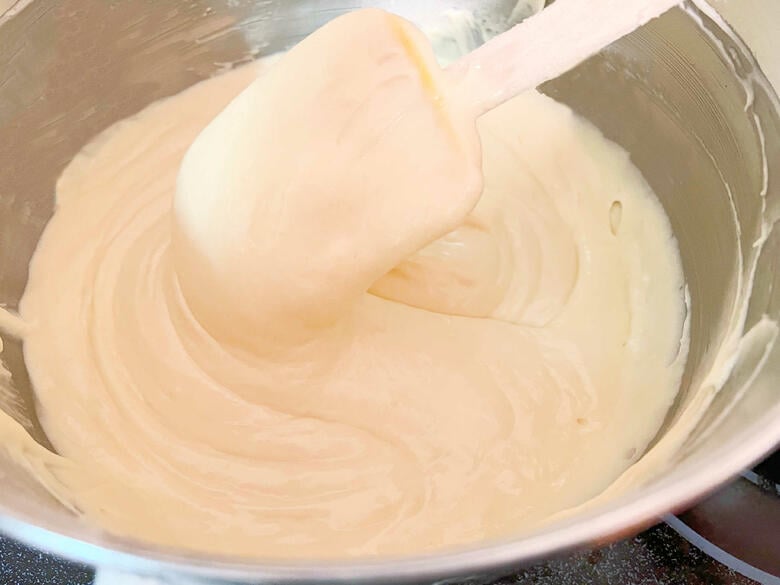
- Fill the Pans: Divide the batter between the three pans. (If filling three 8 inch pans, you will have enough batter to make a test cupcake or two if you'd like)
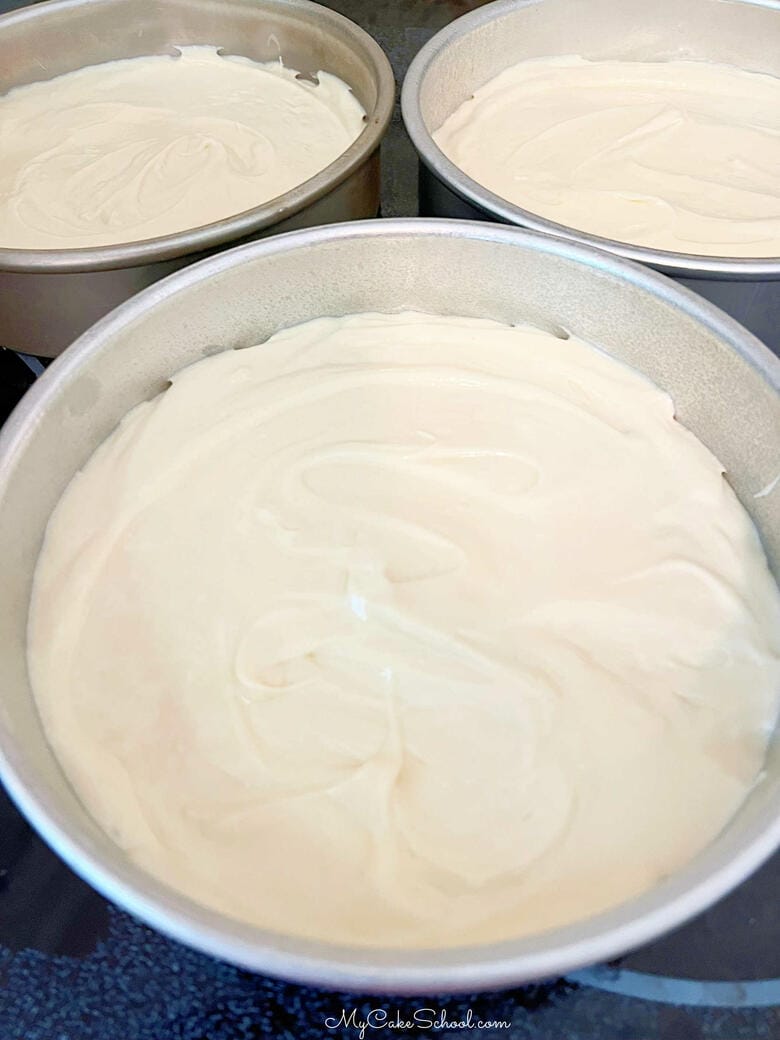
- Time to Bake: Bake at 325 degrees F for 33-35 minutes (peek in at the 30 minute mark) or until a toothpick inserted into the center comes out clean or with just a few crumbs attached. Let cool for 5-10 minutes in the pans on a wire rack before turning out.
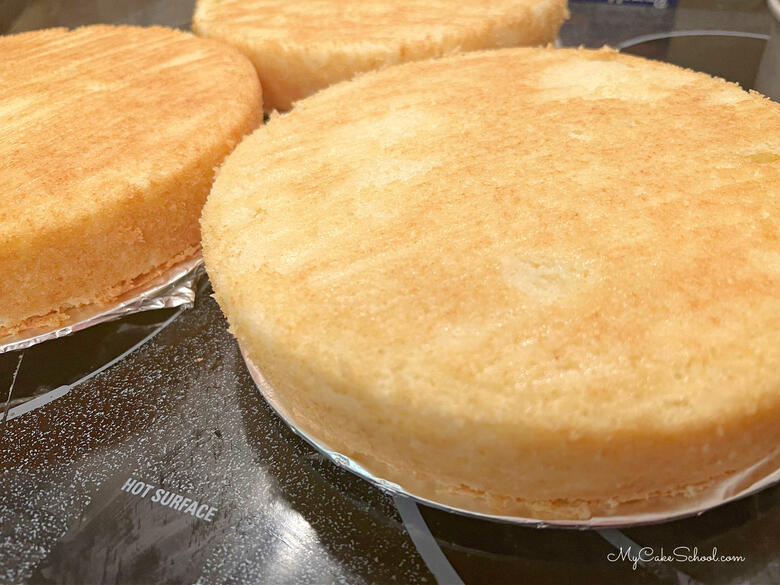
- This recipe makes just under 9 cups of batter- this is more than most of our recipes. You could make a couple of cupcakes for taste testing and still have plenty of batter for three 8 inch cake layers.
White Chocolate Filling
This white chocolate filling is so delicious and easy to make! We recently used it in our White Chocolate Mocha cake recipe as well.
This luscious filling is a combination of white chocolate and heavy cream or whipping cream. We used white chocolate chips but you could use white chocolate baking bars as well.
If you use a white chocolate bar rather than chips, you will need to break it into small pieces so that it will melt more easily.
Melting the White Chocolate and Cream: Combine the white chocolate and heavy cream in a microwave safe bowl and heat in the microwave in small increments until the chocolate is almost melted.
Then, stir the white chocolate mixture (ganache) until completely smooth.
Cool and Thicken: Next, allow the ganache to cool and thicken. (It won't be firm, just thickened). You can chill the ganache in the refrigerator as needed to speed along the process!
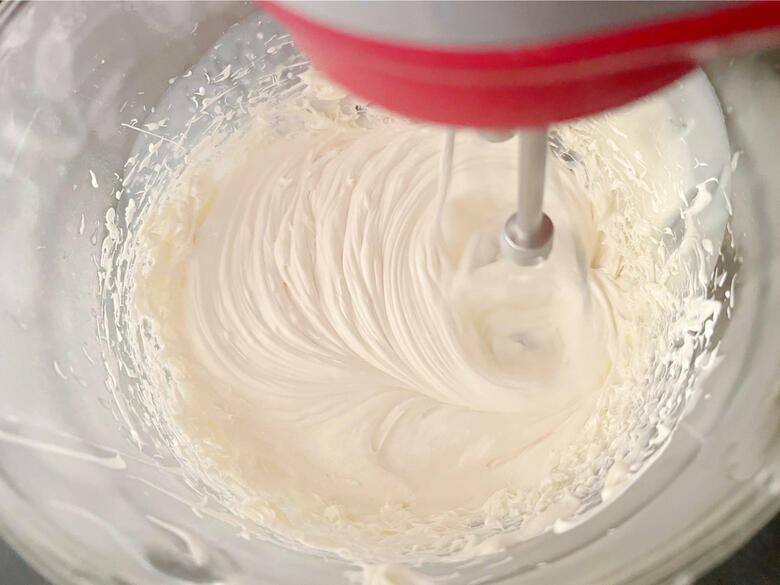
Chill your beaters for 10 minutes in the freezer if using a hand mixer, or your whisk attachment if using a stand mixer.
Mix at medium-high speed until the ganache is fluffy .
White Chocolate Buttercream Frosting
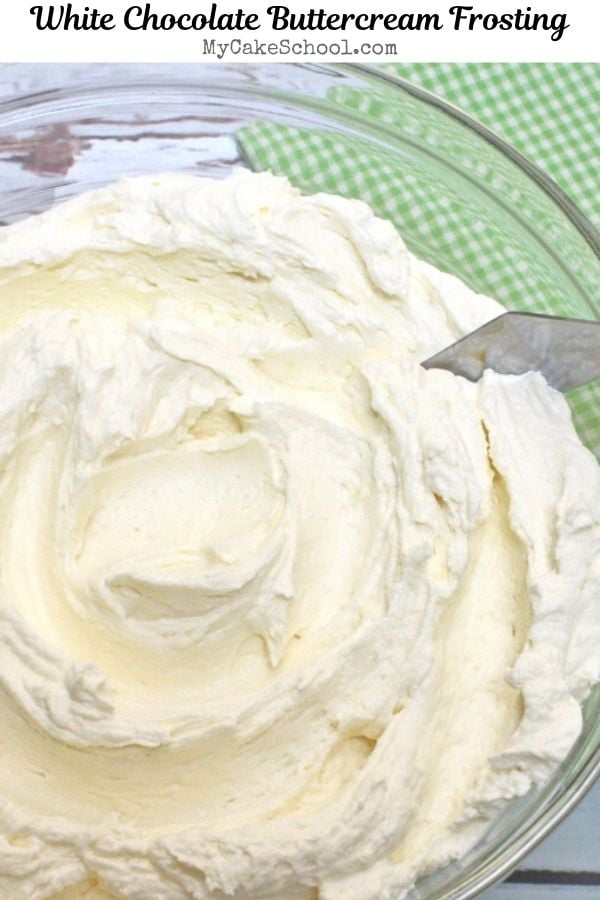
Next, up, a heavenly White Chocolate Buttercream! This frosting has wonderful white chocolate flavor, and is super creamy. It pipes perfectly too!
It consists of butter, confectioners sugar, a pinch of salt, and white chocolate (which is combined with a splash of milk and melted).
You will love this white chocolate frosting! We've used it on several of our white chocolate recipes (including our white chocolate cherry cake, white chocolate cranberry cake, and white chocolate peppermint cake.
Assembling the White Chocolate Velvet Cake
Now it's time to put it all together!
- Place the first white chocolate cake layer on the cake plate or pedestal.
- Piping the Dam: Since we are working with a soft whipped white chocolate filling, I piped a dam of buttercream around the edge (about ¼-1/2 inch from the edge) and filled it with the whipped ganache filling. The dam helps to keep soft fillings from escaping!
- After that, I frosted the top of the cake and around the sides with a thin layer of white chocolate buttercream. (This is the crumb coat)
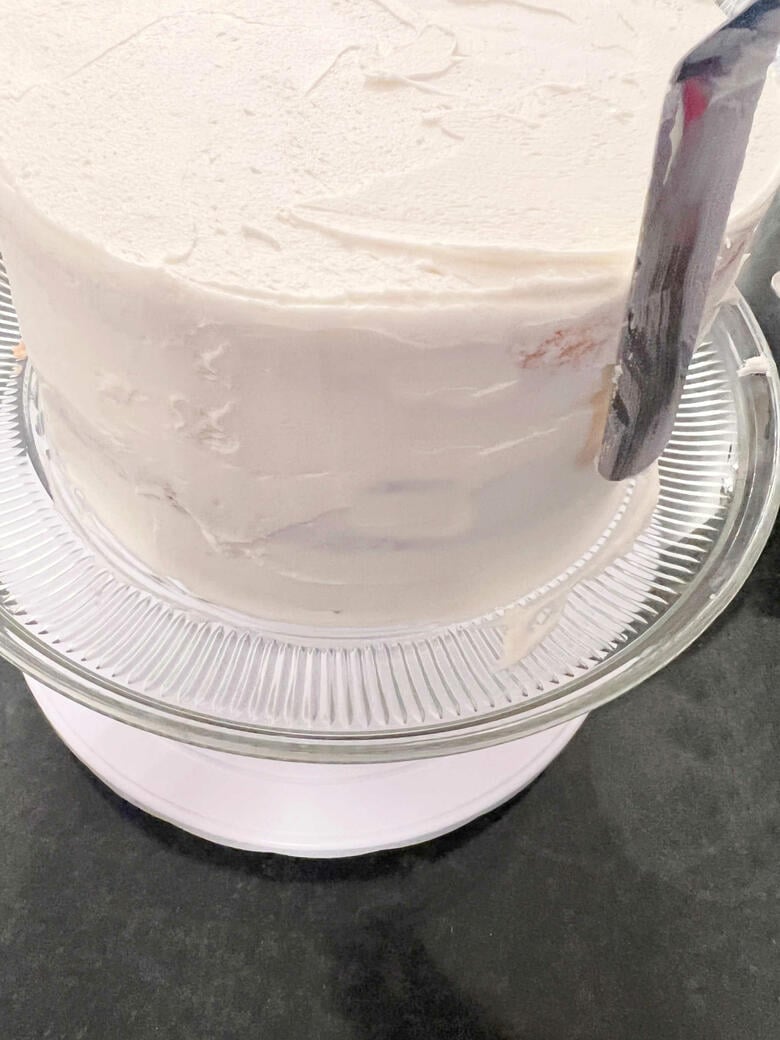
- After crumb coating cakes, I always chill them in the freezer for about 15 minutes to firm everything up before applying the second layer of frosting. It's an optional step but helpful!
- I applied the final layer of white chocolate buttercream with a small offset spatula, creating lots of texture.
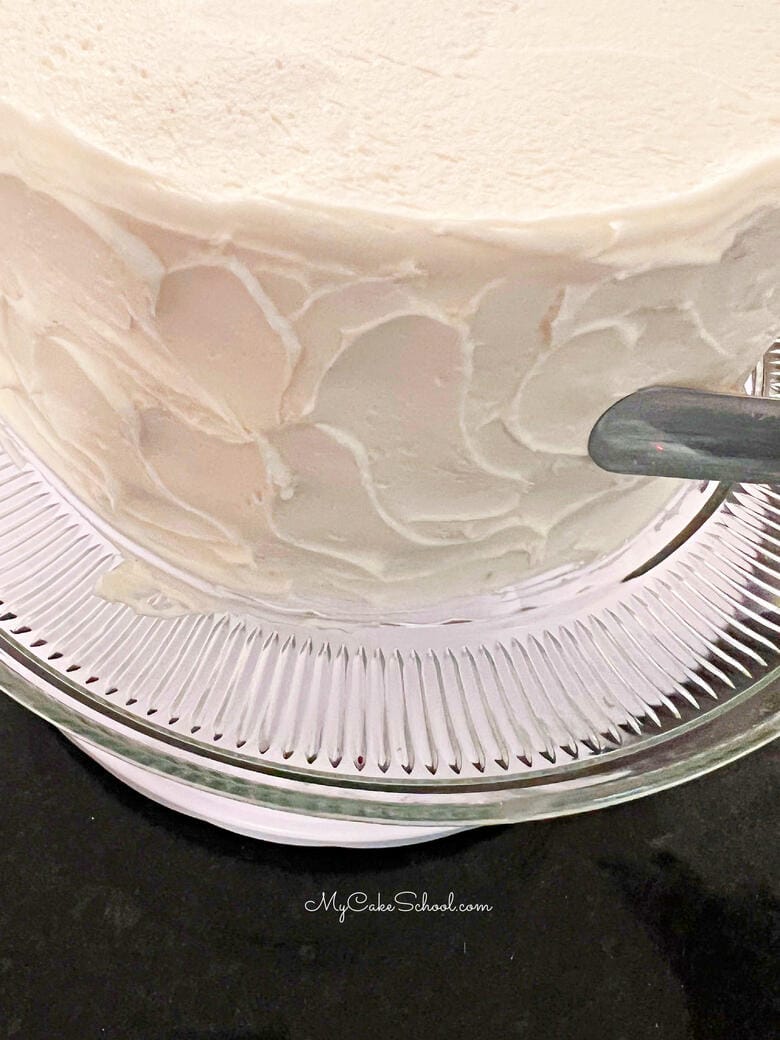
- I had some leftover whipped white chocolate ganache so I added that to the top and swirled it with my spatula.
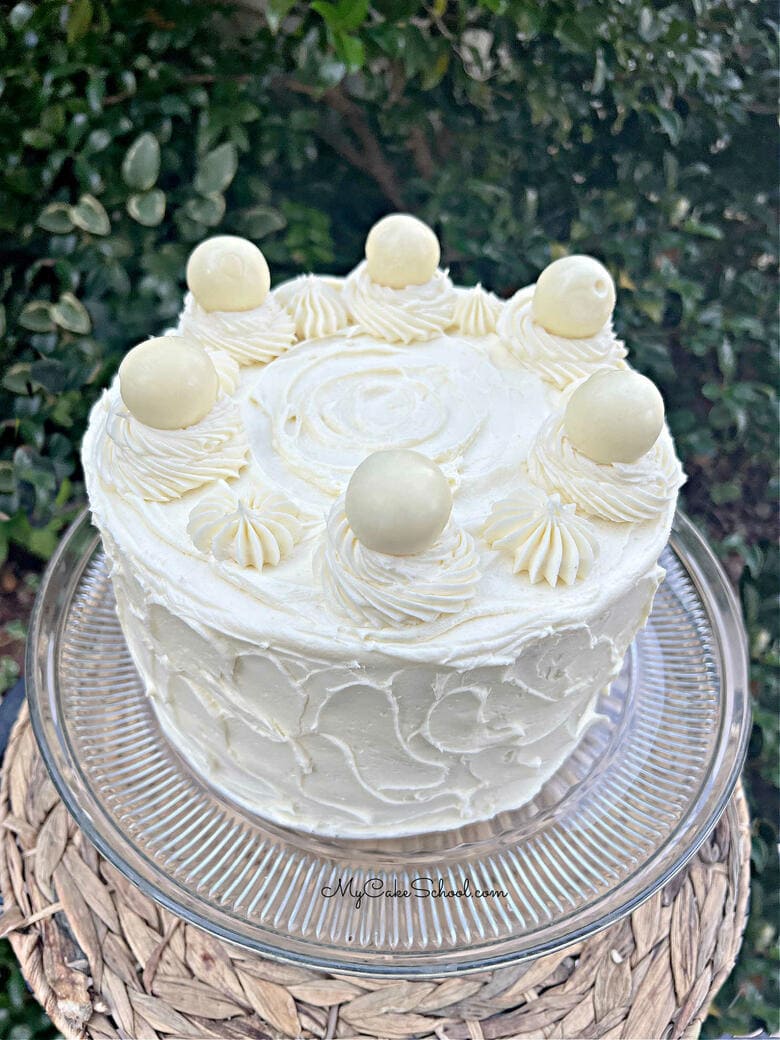
- I used a Wilton 6B piping tip (any large star tip works) to create a border, and then added some white chocolate truffles for extra decoration.
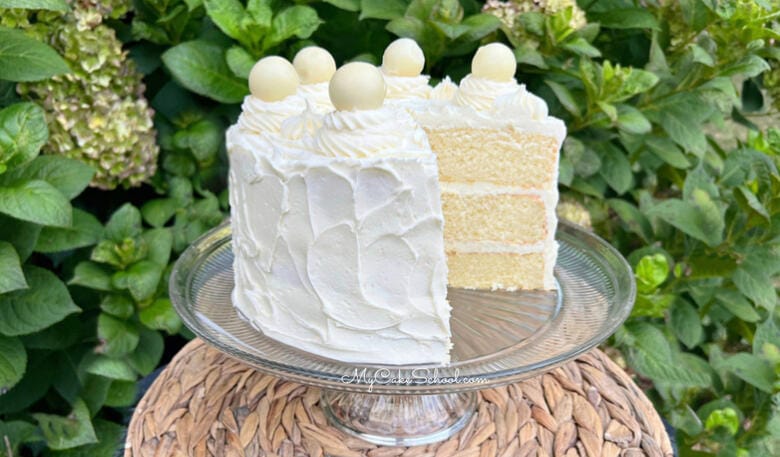
Can White Chocolate Cake Layers be Frozen?
Baking and freezing your cake layers in advance will make your planning so much easier.
These cake layers can be baked, wrapped, and frozen for up to three months and they will taste as fresh as the day that they were baked.
We find that freezing cake layers can make them even more moist, especially when they are wrapped tightly while the layers are still slightly warm.
We freeze our cake layers whenever we can, even if just for a few hours. Not only does is save time, but assembling cakes when the layers are partially frozen makes them easier to handle as they are firm and less fragile.
Baking in Advance: When baking in advance, we like to allow the freshly baked layers to cool in the cake pans for about 10 minutes before flipping out onto foil-wrapped cake cardboards.
Wrap and Freeze: We allow the cakes to cool a bit more, and then wrap each layer in plastic wrap while the layers are still slightly warm. We then wrap the layers in aluminum foil and pop them in the freezer.
Thawing the Layers: When it's time to thaw, remove the wrapped cake layers from the freezer and keep them wrapped.
After about 30-45 minutes, once the condensation has formed on the foil, you can remove the wrapping, thaw to desired amount, and assemble your cake!
Enjoy the Cake!
Thanks so much for stopping by. We hope that you love this white chocolate layer cake as much as we do! Make sure to check out our other cake recipes from scratch for more delicious ideas!
Have you made this? We would LOVE for you to leave a ⭐️ rating as well as a comment and photo below! We really appreciate your feedback!
White Chocolate Velvet Cake
Ingredients
- 8 oz (226g) cream cheese, softened (We used one 8 oz package, full fat)
- 1 ½ sticks (168g) unsalted butter, softened.
- 2 cups (400g) sugar
- 4 large eggs, room temperature (If in a hurry, place in a bowl of warm water for 5 minutes.)
- 3 cups (342g) cake flour (See notes for substitution)
- 2 teaspoons (8g) baking powder
- ½ teaspoon (3g) baking soda
- ½ teaspoon (3g) salt
- 1 cup (242g) milk (I used 2%)
- 5 oz white chocolate (we used Ghirardelli chips- If using white chocolate bars, break into small pieces for easier melting)
- ¼ cup (54g) vegetable oil (we used canola oil)
- 2 teaspoons (8g) vanilla extract
Whipped White Chocolate Ganache Filling
- 12 oz. White Chocolate We actually used an 11 oz bag of Ghirardelli White Chocolate Chips
- 6 oz Heavy Cream
White Chocolate Buttercream
- 3 sticks (339g) unsalted butter, softened.
- 8 ounces (227g) white chocolate chips or baking bars (We used Ghirardelli brand chips)
- 5 cups (575g) powdered sugar
- 1 teaspoon (4g) vanilla extract
- 4 tablespoons (42 g) milk or cream
- ½ teaspoon (3g) salt
Decoration
- We used a large star tip 6B and store-bought truffles for decoration (Lindt brand)
Instructions
- Preheat the oven to 325 degrees F. Grease and flour three 8 or 9 inch pans, adding a circle of parchment or wax paper to the bottom of each pan.
- In a microwave safe bowl, add the milk, and white chocolate. Melt in the microwave for 40 seconds, then in smaller increments until the chocolate has almost melted completely. Stir until remaining chocolate has melted.
- Add vegetable oil, and vanilla extract to the milk & chocolate mixture. Set aside.
- In a medium bowl, whisk the flour, baking powder, baking soda, and salt for 30 seconds and set aside.
- In the bowl of your mixer, add the butter and cream cheese and mix at medium speed until smooth.
- Gradually add the sugar and mix at medium speed for 2-3 minutes.
- Add the room temperature eggs one at a time, mixing after each one until the yellow of the yolk is blended.
- With the mixer on low speed, alternately add the flour mixture and the milk/chocolate mixture, beginning and ending with the flour mixture (We did 3 additions of the dry mixture, 2 additions of wet)
- Mix the batter just until well combined- be careful not to over-mix. Divide the batter between the three pans. (If filling three 8 inch pans, you will have enough batter to make a test cupcake or two if you'd like)
- Bake at 325 degrees F for 33-35 minutes (peek in at the 30 minute mark) or until a toothpick inserted into the center comes out clean or with just a few crumbs attached. Let cool for 5-10 minutes in the pans on a wire rack before turning out.
- This recipe makes just under 9 cups of batter. Works for cupcakes also (although there will be little to no dome).
White Chocolate Ganache Filling
- In a microwave safe bowl, combine the white chocolate chips (or grated white chocolate) with the heavy cream and microwave in small increments until the chocolate is almost melted. (We started with 30 seconds, stirred, and heated in 15 second increments or less as needed). Once chocolate has almost completely melted, stir until smooth.
- Allow to cool and thicken- it shouldn't be firm, just thickened. We refrigerated our ganache to speed up the process, and also transferred it to a small casserole dish so that the ganache would be more shallow and chill for quickly. Also chill the beaters if using a hand mixer, or whisk attachment for stand mixer.
- Whip the chilled ganache until it fluffs up and stiff peaks form (maybe 20 seconds or so).
For the White Chocolate Buttercream
- Combine white chocolate chips with 4 Tablespoons milk and put into a microwave safe bowl. (If using white chocolate bars, chop into small pieces).
- Microwave for 15 seconds let sit for a minute or two, stir and microwave again 15 seconds letting it sit a minute to soften further, stir. Be careful not to over heat the chocolate. The chocolate will continue to melt as it is stirred. Let the chocolate cool down before using.
- Beat the butter until softened and smooth, add the powdered sugar 1 cup at a time. Add the white chocolate and milk mixture. Add vanilla. Add another Tablespoon milk if needed. Beat on medium speed for 3 to 4 minutes and it will become smooth and creamy.
- Makes 5 cups frosting. Makes enough to frost a 2 or 3 layer eight inch cake. If you will be doing a lot of decorative piping, you will need additional frosting.

This cake is sooooo good!
I'm so glad that you enjoyed it, Valerie! Your cake is beautiful!