Ridged Buttercream Technique-Video
In this quick tutorial, I'm going to show one of the easiest ways to frost your cakes, using a ridged buttercream technique!
This style of textured buttercream is perfect for any skill level of cake decorating, and has a lovely rustic feel.

Whether you are frosting cakes for a birthday cake, wedding cake, baby shower, or just because- keep this quick and easy method in mind!
Today's short video is an updated tutorial that we first created in 2012- and we still use it all the time!
Frost a Cake with Textured Buttercream Ridges
This quick and easy frosting method can be completed in minutes! It has a professional, elegant feel yet is so easy. We hope that you enjoy it!
- First, fill and crumb coat the cake as usual, with a thin layer of frosting. You can use any frosting that you like for this method.
- Next, chill the cake in the freezer for 10-15 minutes (or longer in the refrigerator) to firm up the crumb coated layer of frosting. This is an optional step, but I find it helpful to firm everything up before moving to the next step.
- Next, frost the cake with the second (final layer of frosting). Smooth over the frosting with an offset spatula or bench scraper to even out the frosting. We will be texturing it and so it doesn't have to be perfectly smooth.
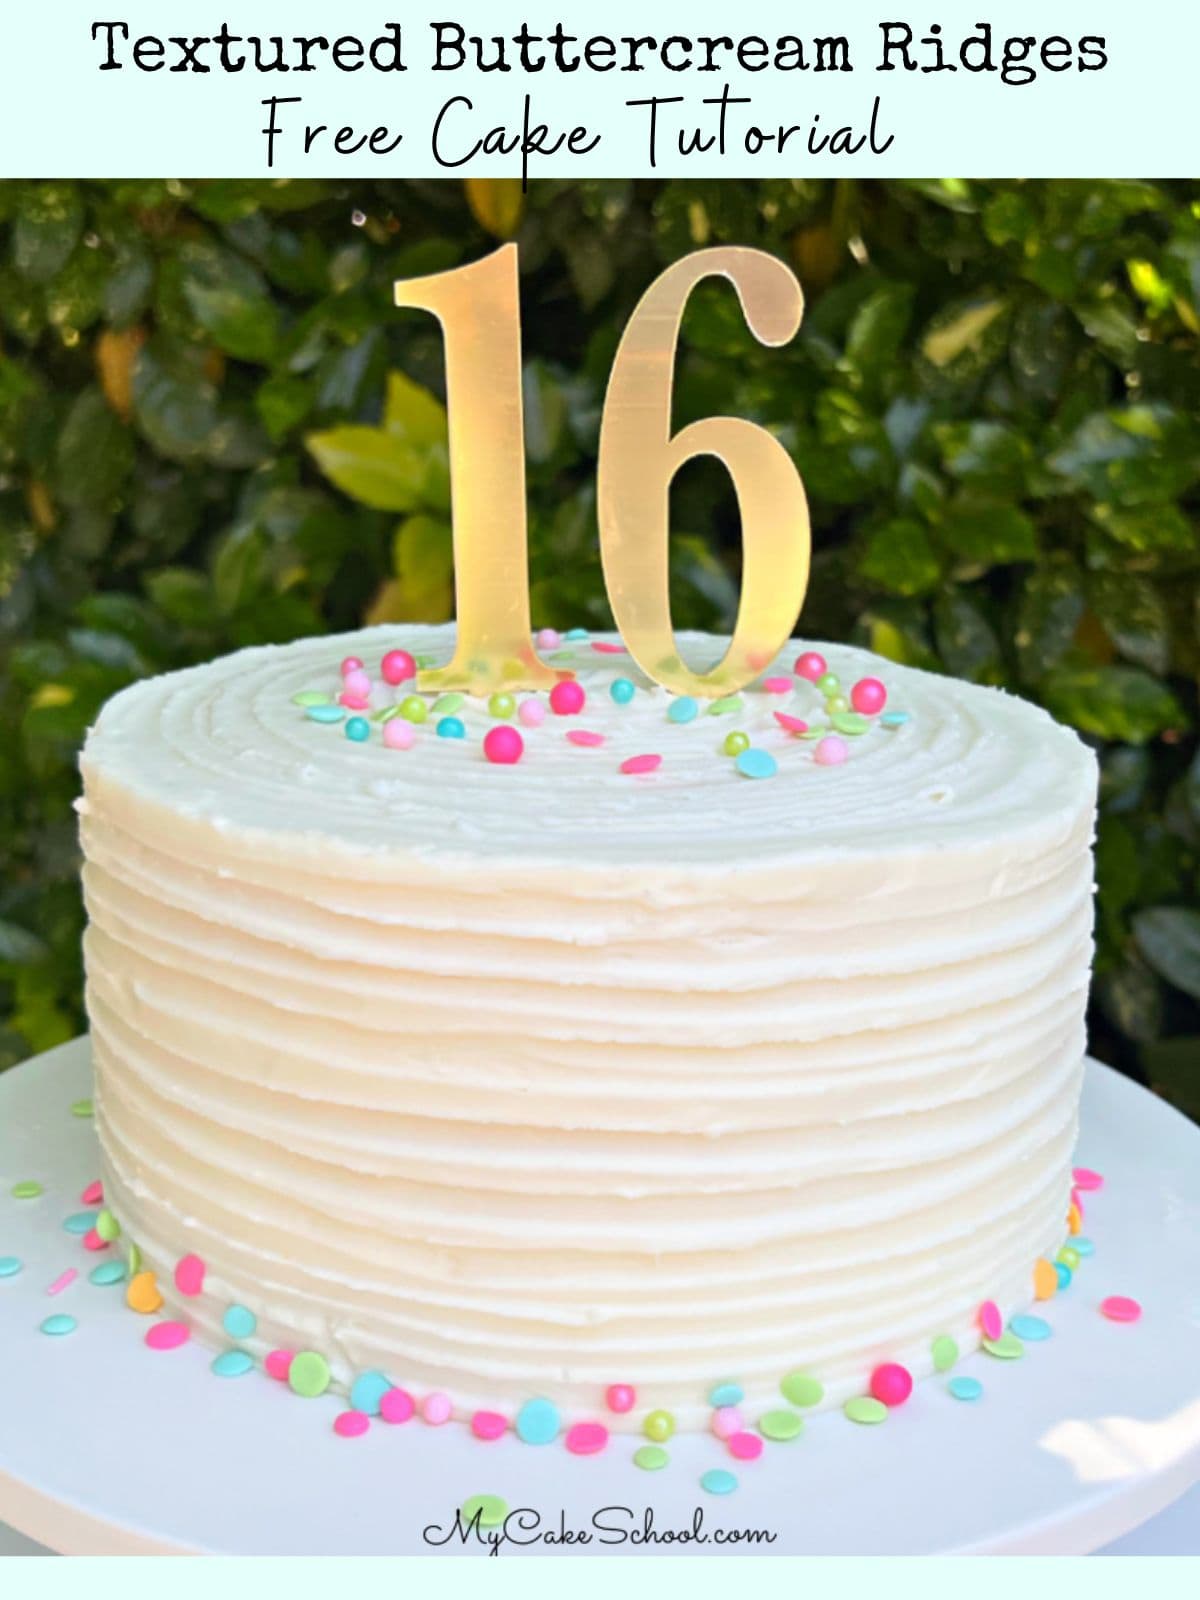
- Place the cake on a turntable. Using the tip of an offset spatula, apply pressure into the frosting while rotating the cake. With each rotation, move the spatula slightly higher, until you have reached the top edge of the cake.
- Decorate the top of the cake however you like! We created a spiral design, starting in the top center and spiraling out with an offset spatula while rotating on the turntable.
- We finished things off with a number cake topper and colorful sprinkles!

Love this technique! Getting lots of brides that want the "vintage" ruffle look and this is perfect.
i sooooo love this technique, its simple and yet elegant/shabby chic...i think i'll do this one instead of the ruffle for my niece's bridal shower...and maybe i should work on the peony...i also have some flowers that are a year old...and still look great. thanks again for another great Vid...
I just love how simple this is! So sweet and elegant! I can't wait to try it.
This was the first video I watched after registering...love it and can't wait to try this out on my next cake.....I bet it would look great with chocolate too!
what size cake pans did you use for these? is the bride and groom tutorial up yet? =)
Hi Andrea, we used 8" and 5" pans. Yes, the bride and groom tutorials are up. Melissa sent out a mass email. Are you receiving her emails? Could they be going into your spam file?
I am so glad to have found your website! I have learned so much in the short time I've been a member. Your ideas are clever & within reach for someone like me. Thanks for being so willing to share your talent!
Thank you Mary!! :0) That means a lot.
This is awesome. When I saw the email. I could not wait to look at . But I saw this one online I like the deep effect also, do you know what tool they might be using to get a thicker ridged?
Thanks!
The cake in the photo looks like overlapping ribbons of fondant to me –much like the cake from this tutorial~ (the middle tier)
thanks bebe! of course i saw after i sent the message.. hehhe =) i love the tutorials! my bride came out so beautiful!!
Thats right melissa.. I realized you did have a tutorial on it after I post my comment. Sorry :)