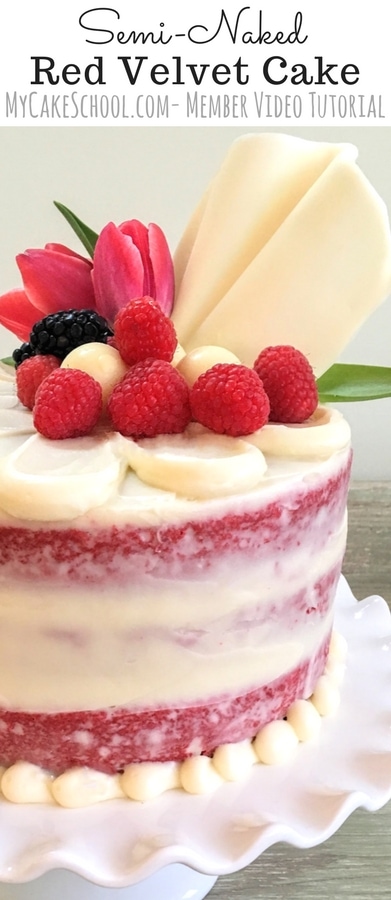
Semi-Naked Red Velvet Cake- Video Tutorial
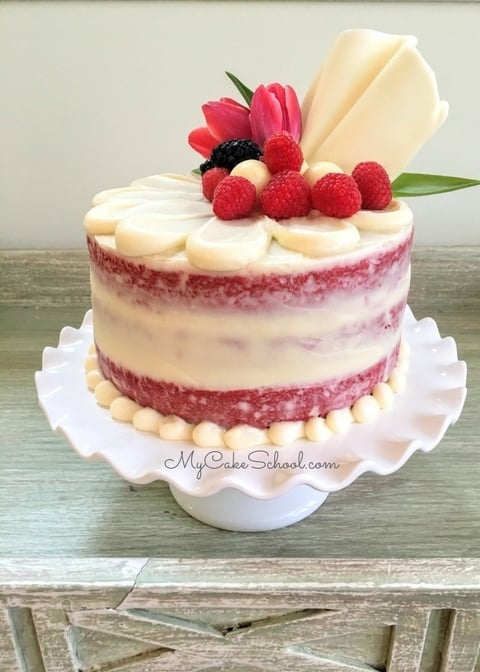
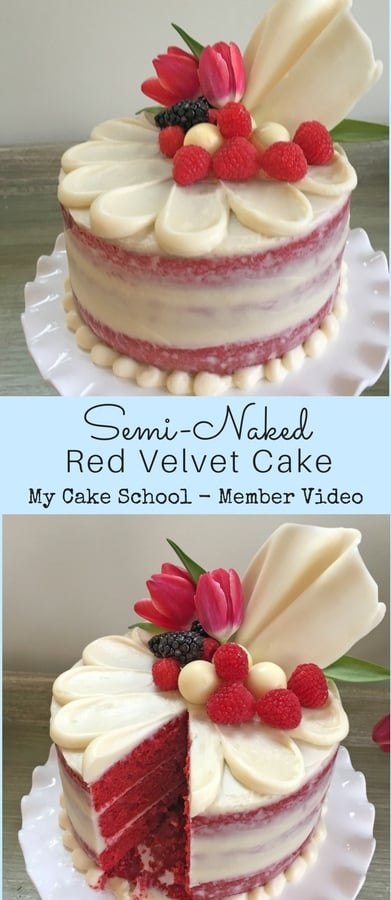
Today, I'm going to show you how to make a beautiful semi-naked red velvet cake design as well as how to create a chocolate sail for the top of the cake.
This is such a beautiful cake and we love the added height that the chocolate sail adds!
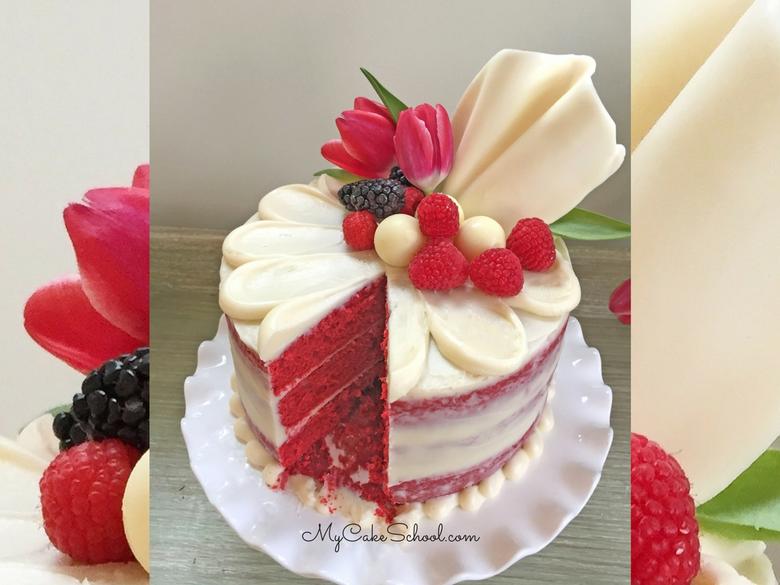
Elegant cakes with a rustic feel are still very popular for all sorts of occasions from birthdays to weddings!
Not only are these cakes gorgeous, often decorated with fruit and flowers, but they are really very simple to create!
Table of Contents
What is a Semi-Naked Cake?
A semi-naked cake is just what it sounds like-- it has just enough frosting to keep the layers moist and fresh, but it is applied so thin that you can still see the cake layers beneath.
It is probably the simplest and most forgiving cake design of all, but the final result is every bit as impressive.
Semi-Naked Red Velvet Cake
In today's tutorial, we decided to use our homemade Red Velvet Cake Recipe for an added pop of color! For me, red velvet cake isn't red velvet cake without a generous coat of cream cheese frosting. (Our Doctored Red Velvet Cake is a great option also!)
Since we skimped on the outer frosting for the sake of our semi-naked design, I made up for it with the filling as well as thick decorative piping on top of the cake.
We couldn't wait to dive in after the final photos were taken ;0) -
We hope that you enjoy the video! This would have made a gorgeous tiered cake too. Fingers crossed that semi-naked cakes remain popular for years and years, it was SO easy!
Materials:
We used three 8 inch cake layers of our scratch Red Velvet Cake recipe, and frosted and filling the cake with this Cream Cheese Frosting recipe (one batch was just enough).
Ateo 806 or your piping tip of choice for the top of the cake
Tip 12 for bottom bead border
White Candy Coating of choice (we used CandiQuik).
Parchment paper
I used a long rounded spatula for creating "petals" of frosting on top.
Cake cardboard cut down to just smaller than the size of the cake will help with transferring to your cake pedestal or cake base.
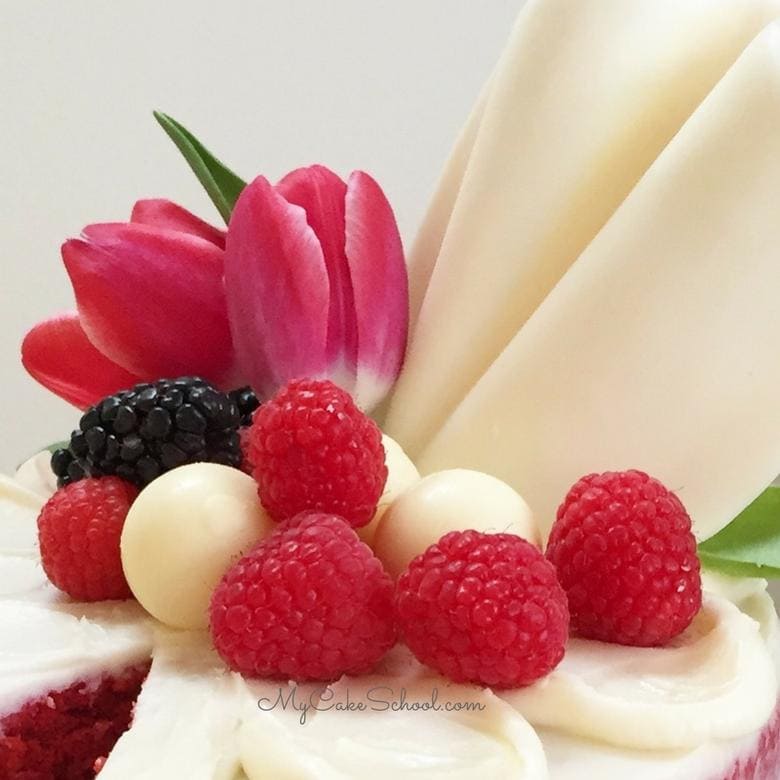
Fruit/Flowers/Chocolate of choice: We used strawberries, blackberries, white chocolate truffles (Lindor), and a couple of tulips. *You can google the toxicity of the flowers that you would like to use on your cake. If it should not come into contact with the cake, you can let it rest on the other decorations to be removed later, place a small barrier like waxed paper beneath, or simply go with another flower or silk/gum paste version.
**The tulips on our cake still looked good the next day, probably because the cake was refrigerated!
Notes:
You'll want to make sure that your cake layers are coated with at least a thin layer frosting so that the layers will not dry out. We have a semi-dressed naked cake from a few years ago where the layers were exposed, but we coated them with a clear edible glaze so that they would be sealed.
I didn't have any trouble with pushing in and securing my decorative chocolate accent to the cake (Mine was about 5 inches tall).
For larger chocolate accents, I think a lollipop stick anchor could be easily incorporated as the chocolate-coated parchment is being gathered and clipped before freezing.
Or, if you realize afterwards that an anchor is needed, just flip over the chilled chocolate piece, attach a lollipop stick with melted chocolate, and chill until firm.
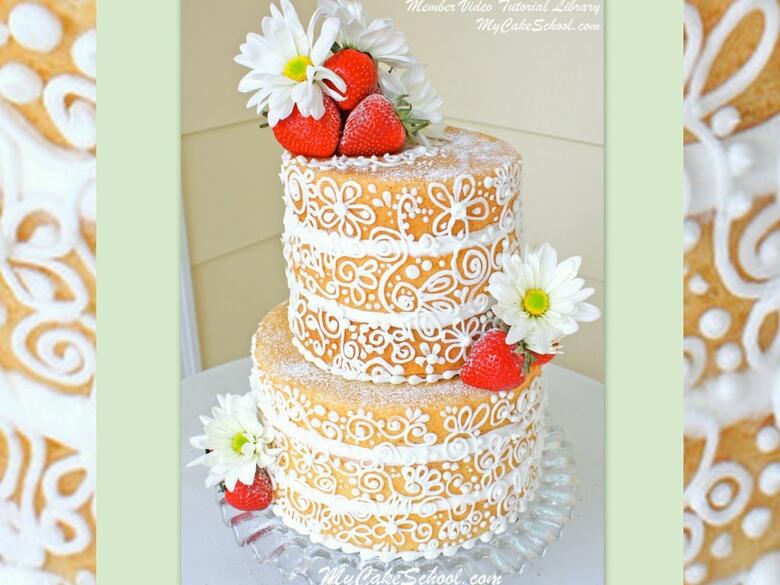
If you're interested in another version of naked cake, check out our Semi-Dressed Naked Cake that is covered in scrollwork!
Thanks for stopping by!

Beautiful Cake! Love it! :-) I like the way you say naked ;-) made me smile.
The top looks like a big daisy, before you added the chocolate, flowers and fruit.
Awesome as always! :-)
Love it! May I ask why you put plastic wrap on the bowl holding the candy melts?
@MsGF haha yes, I cannot say anything but "nekkid" ;0) xo
@Dora, if you have microwave safe plastic wrap, you can line your bowls with it before melting your candy coating---makes the cleanup a lot faster! ;0)
That's genius! Thanks Melissa
I'm glad that you noticed it in the video! I forgot to mention that little tip ;0)
Gorgeous!
Absolutely beautiful Melissa. Would you need to keep the cake refrigerated because of the cream cheese frosting?
Thank you!!
@Diane Puddester- Yes, if using cream cheese frosting you will want to keep it refrigerated until closer to the time of serving.
Another fabulous cake and red velvet is my favorite! Not overly decorated, just simple, but elegant.
Beautiful. Making for my daughter’s birthday. Did you double your red velvet recipe or did you put less batter in 3 pans. Wondering since the recipe says for two 8” pans. Thanks! I have learned so much from you!
Hi Nancy, Thank you for your nice comment. I did not double the recipe, I put less batter into three 8 inch pans. The recipe makes 7 cups batter, so a bit over 2 cups in each pan. The baking may be a bit shorter for 3 pans. As Melissa mentioned, she had just enough cream cheese frosting with the recipe. If you were planning to do more decorative piping or cover the entire cake with frosting, rather than making it semi naked, you would need to make 1 1/2 times or double the cream cheese frosting recipe. Hope you enjoy the cake.
What brand food coloring? I made the cake and I think the red food coloring gave it an aftertaste. The cake itself looked beautiful and the cream cheese frosting was great. I do love My cake school and have learned so much that I use for my family’s cakes and get rave reviews thanks to you!