The Basics of Tier Stacking~Video
In this tutorial, I will show you how to easily stack frosted cake tiers.
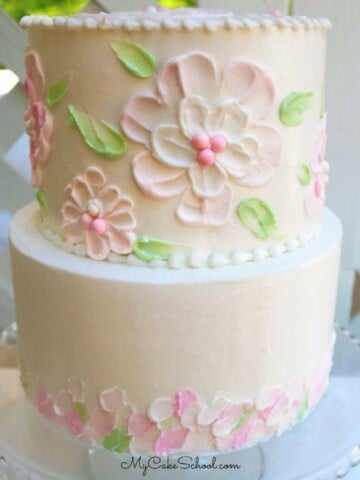
This popular, simple stacked construction is perfect for everything from birthday cake designs to baby shower cakes, bridal shower cakes, and more!
Whether you are going to adorn your cake with sweet accents for a child's party or add elegant sugar flowers for a wedding, you need to start with a foundation that is secure.
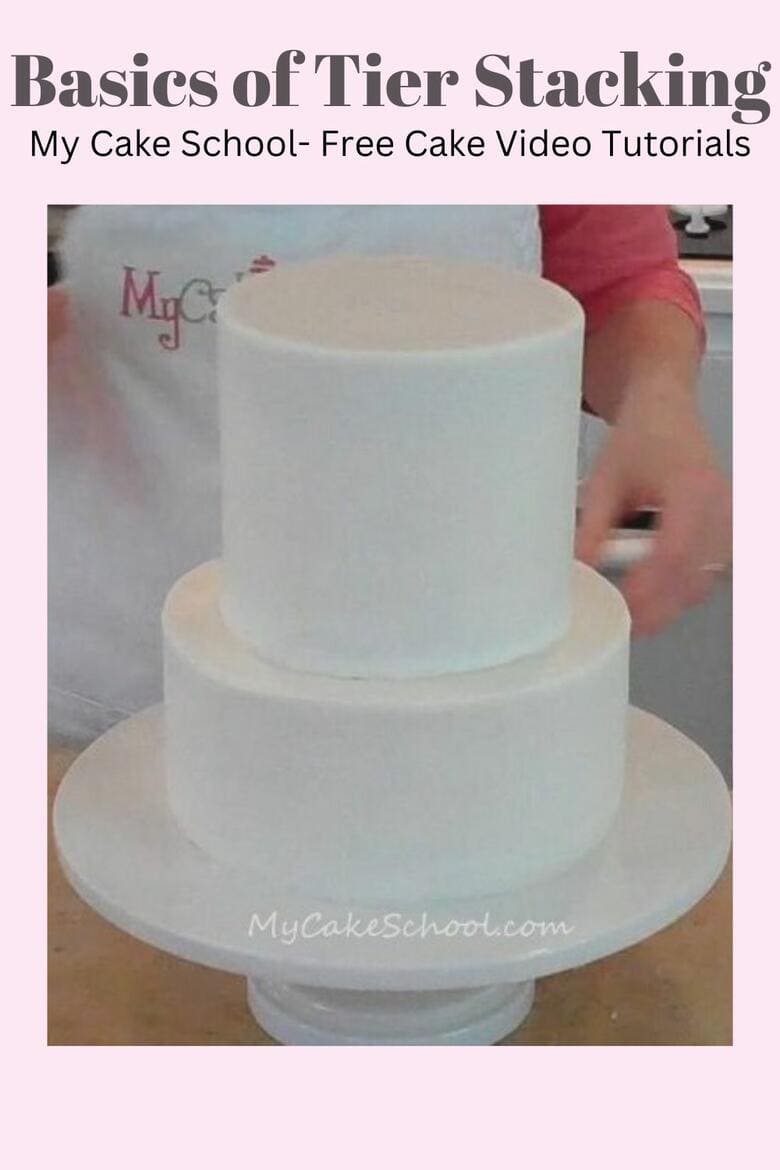
Stacking cake tiers can be a little intimidating at first, but it is not as difficult as you think. In this tutorial, I am going to demonstrate stacking two tiers (8 and 6 inch), and how to stabilize the structure with dowels/supports and cardboard cake circles.
*There are many ways to stack tiers, and there are all sorts of stacking structures available online. This is the simplest way for me!
Table of Contents
Materials for Stacking Cake Tiers
I'm using a three layer 8 inch tier and a 3 layer 6" tier. (The layers of the 6" tier are thicker and therefore this is a taller tier.) These layers happen to be White Almond Sour Cream (doctored mix from our Recipes section)
Buttercream Frosting- I'm using our High Ratio recipe
2 Cardboard Cake Circles (or foam core cake circles) for support
4 bubble tea straws (or your supports of choice)
Spatula(s) of choice.
Sharp knife (used to run beneath the cake and the turntable)
Turntable (Not essential for stacking tiers but very helpful for frosting and decorating)
Long (thin) wooden skewer or lollipop stick, etc.- Used to measure the height of our bottom tier
Food coloring Pen- (Mine was americolor) to mark the height of our tier onto the wooden skewer and also onto our straws
Wilton Tip 3 or other small round tip of choice for filling in and correcting any imperfections in the icing
Viva paper towel (for smoothing over any rough spots--optional) --Hot knife method works well for this also.
Cake base or pedestal
Notes for Tier Stacking
The 8 inch tier used in this video is the same tier that you can watch me trim, fill, and crumb coat in our Crumb Coating video tutorial.
It is also the cake from our Viva Paper Towel Method of Smoothing video, if you'd like to see how we frosted it & smoothed with nice, sharp corners.
*Make sure to chill your buttercream-frosted tiers before stacking. I tend to pop mine in the freezer for about 15 minutes (or until frosting is just firm). Just don't forget to remove from the freezer or your cake will develop condensation.
Chilling the tiers before stacking will allow you to more easily move the top tier onto the bottom, and to reposition if necessary.
*As I mentioned in the tutorial, the bubble tea straws are great for stacking 2 tiered cakes. I've only used bubble tea straws with 3 tiered cakes a few times, as I prefer to use something more substantial for heavy cakes.
Decorating Stacked Tiered Cakes
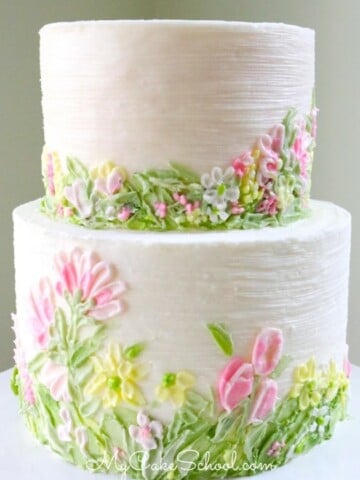
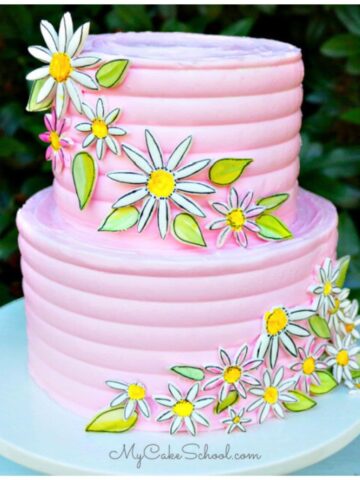
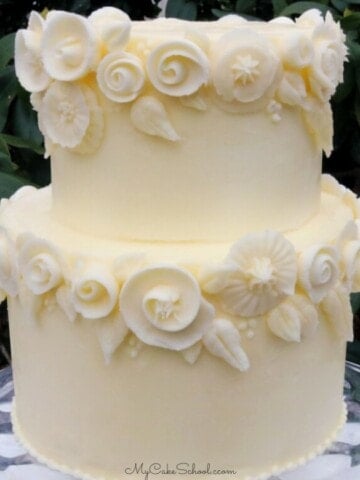
We've decorated many tiered cakes over the years in our free cake videos. Here are just a few examples!

This is a great video Melissa. For someone like me who is new at stacking cakes, your presentation of basics is very understandable. I know that I, and others, asked the same questions about stacking...I was never sure if I was to leave my cake on the cakeboard and usually had to pry it off the turntable..:-/. It was also very helpful to see and hear you explain the bubble tea straws, their placement on the lower tier, and the whys. I am not afraid to stack a cake now!! OK, here is a question..when the lower cake is sliced, how/who takes the straw out? Thanks Melissa..your site and you are brilliant!
Hi Paula, thanks--I'm glad that you liked it! That is a really good question and one that we should have included. Maybe once we're finished with this cake (I think we're going to decorate it for another video today), we can add a tutorial on disassembling.
Whoever is in charge of cutting the cake or disassembling the tiers can pull out the straws. I usually remove the tiers and then just pull the straws straight out. You could do this by hand or even a little set of tweezers (reserved for cake use) to grab onto the edge of the straw and pull straight out. This is how I usually do it but you could also just slice the cake and remove the straws as you get close enough to them. You can easily see them and so there are no worries of accidentally cutting into one.
Hi, Melissa, thanks for another great video. I do have a question, would the bubble tea straws in the bottom tier provide enough support or will I have to drive a wooden dowel through the whole cake? Will the top tier stay in place? I really like the way you have left the top tier. On previous cakes I put a wooden dowel in and I really don't like how I have to touch up the top tier or put a decoration on top to cover where the wooden dowel was inserted. Thank you again, Melissa.
Hi Latrell-- I only drive a wooden dowel through the center and into the cake base when I either need to transport the cake or when it is a carved/3-D or topsy turvy construction that may be a little less stable for one reason or another (top heavy, etc.). In my tutorial, you see that I placed the 4 straws into the cake but left the center "empty". If it would give you more peace of mind, you could also include a straw (or support) in the center--but there's no need to drive the sharpened dowel all the way through everything unless you are traveling with it or have concerns about the stability of an unusually shaped cake. Hope this helps!
Great video Melissa and Bebe!
It's funny how the simple things can elude us. It just never occurred to me to use the cake pan as a marker!! Wonderful tip!!
Chilling is an incredibly helpful tip as well...makes tons of difference when it comes to the icing not getting messed up from placement of the top layer. Before your videos, I made lots of mistakes. I can't believe how much faster my cake decorating is becoming thanks to your invaluable instructions!
So glad I found you :o)
Thanks so much, Holly!! I'm so happy that you found the tips to be helpful! I am a big fan of chilling cakes ;0)
Where do u purchase the bubble tea straws I had ordered some.initially but got the wrong ones IDK if I searched it wrong.
Hi Janet--We bought ours years ago (we ordered in bulk!) from bobateadirect.com. They are 1/2 inch wide and approximately 8 1/4 inches long. They were cheap, but because there were so many, the shipping was expensive. You can find them in smaller quantites on ebay--just search bubble tea straws (or boba tea straws) and look for the ones that are 1/2 inches wide.
I so love this site. I actually found my bubble tea straws at my local Asian food and produce market.
Yes! Great advice, Kimberly--and thank you!! xo
Bed bath and beyond carries bubble tea straws, (the package says milkshake straws), there are 50 in a package for 1.99.
Hi Dina, that's great to know. Thanks for posting.