The Basics of Tier Stacking~Video
In this tutorial, I will show you how to easily stack frosted cake tiers.
This popular, simple stacked construction is perfect for everything from birthday cake designs to baby shower cakes, bridal shower cakes, and more!
Whether you are going to adorn your cake with sweet accents for a child's party or add elegant sugar flowers for a wedding, you need to start with a foundation that is secure.
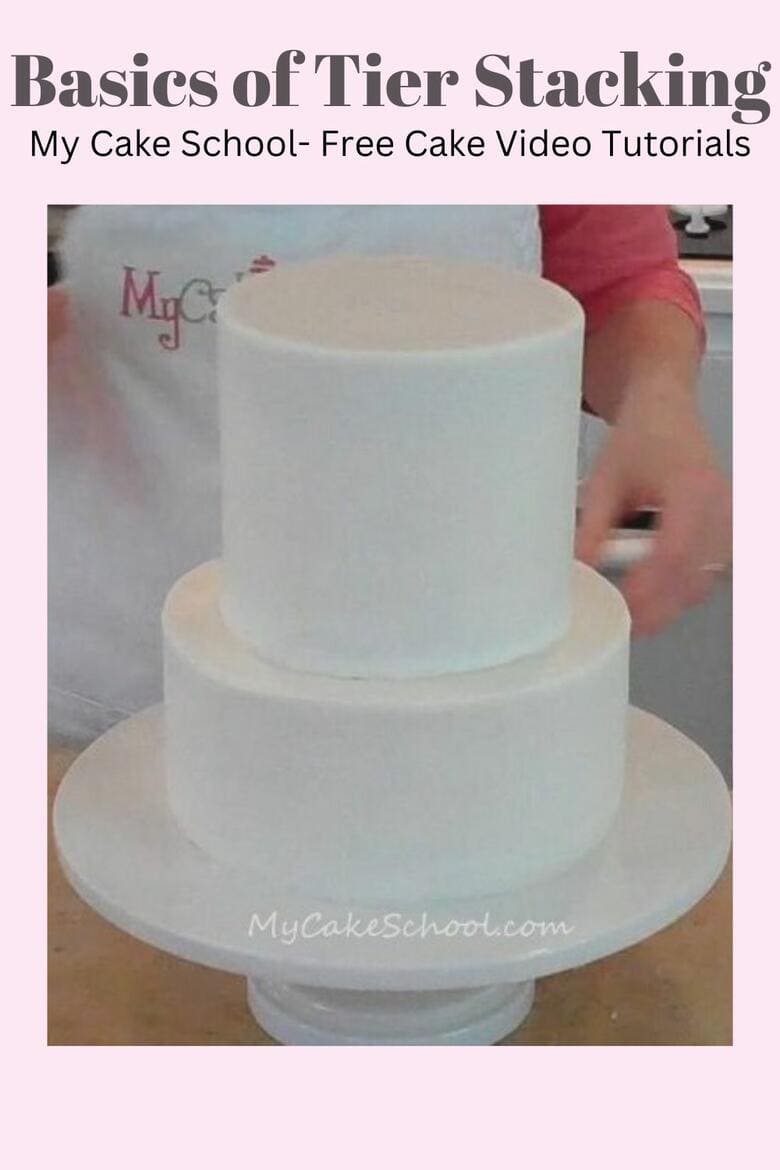
Stacking cake tiers can be a little intimidating at first, but it is not as difficult as you think. In this tutorial, I am going to demonstrate stacking two tiers (8 and 6 inch), and how to stabilize the structure with dowels/supports and cardboard cake circles.
*There are many ways to stack tiers, and there are all sorts of stacking structures available online. This is the simplest way for me!
Table of Contents
Materials for Stacking Cake Tiers
I'm using a three layer 8 inch tier and a 3 layer 6" tier. (The layers of the 6" tier are thicker and therefore this is a taller tier.) These layers happen to be White Almond Sour Cream (doctored mix from our Recipes section)
Buttercream Frosting- I'm using our High Ratio recipe
2 Cardboard Cake Circles (or foam core cake circles) for support
4 bubble tea straws (or your supports of choice)
Spatula(s) of choice.
Sharp knife (used to run beneath the cake and the turntable)
Turntable (Not essential for stacking tiers but very helpful for frosting and decorating)
Long (thin) wooden skewer or lollipop stick, etc.- Used to measure the height of our bottom tier
Food coloring Pen- (Mine was americolor) to mark the height of our tier onto the wooden skewer and also onto our straws
Wilton Tip 3 or other small round tip of choice for filling in and correcting any imperfections in the icing
Viva paper towel (for smoothing over any rough spots--optional) --Hot knife method works well for this also.
Cake base or pedestal
Notes for Tier Stacking
The 8 inch tier used in this video is the same tier that you can watch me trim, fill, and crumb coat in our Crumb Coating video tutorial.
It is also the cake from our Viva Paper Towel Method of Smoothing video, if you'd like to see how we frosted it & smoothed with nice, sharp corners.
*Make sure to chill your buttercream-frosted tiers before stacking. I tend to pop mine in the freezer for about 15 minutes (or until frosting is just firm). Just don't forget to remove from the freezer or your cake will develop condensation.
Chilling the tiers before stacking will allow you to more easily move the top tier onto the bottom, and to reposition if necessary.
*As I mentioned in the tutorial, the bubble tea straws are great for stacking 2 tiered cakes. I've only used bubble tea straws with 3 tiered cakes a few times, as I prefer to use something more substantial for heavy cakes.
Decorating Stacked Tiered Cakes
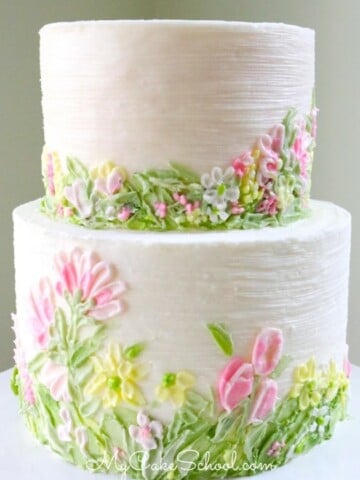
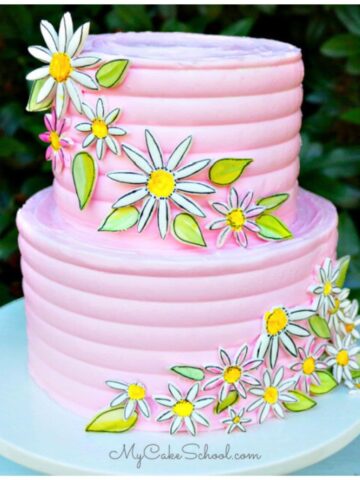
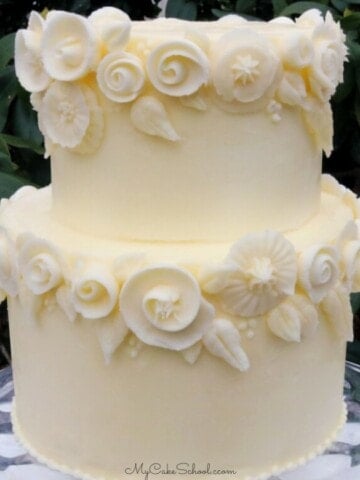
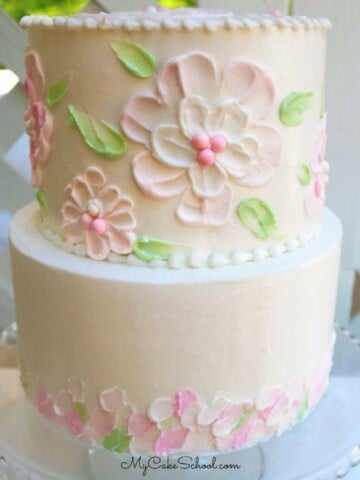
We've decorated many tiered cakes over the years in our free cake videos. Here are just a few examples!

how do make dora the explorer cake animated?
Sorry is my first visit
I am sorry but I don't understand how the straws support the top tier?? Or are they only to give the bottom more strength? I feel like the top tier could move and I always used a dowel through all tiers... am I foolish? I always thought I needed something to go through all the tiers together.... to keep everything in place. I rather do it your way!!! Less fuss!
Please help me to understand, thank you and love your site!!
Jeanne Davidson
Hi Jeanne-- The purpose of the bubble tea straws or dowels, etc. is to support the weight of the tier on top of it. If there were no dowels beneath the top tier, it would gradually sink down into the lower tier, and also cause the sides of the bottom tier to bulge (or worse) as it buckles under the weight.
If you are assembling a stacked cake at the site of an event, there is really no need to hammer a long sharpened center dowel through all of your tiers and into the cake base, assuming that your tiers are level and your dowels/supports in each tier are all cut to the same size, etc. However, if this gives you peace of mind, there is nothing wrong with doing this. I actually prefer to use an internal support system (I use SPS) for my stacked cakes that are 3 tiers or more anyway.
If you are traveling with a stacked cake, then it is common to hammer the long sharpened center dowel through the tiers and into the cake base. (If it isn't hammered into the base, it's not going to help).
I have traveled without the long central dowel many times with a *chilled, stacked cake--but only for two tiers. Anything more, I recommend assembling on site or using the SPS system.
Finally, sculpted or 3-D cakes, or cakes with an unusual design that may be top heavy or tapered at the bottom, or cakes that are taller than they are wide, etc. do often call for the extra support of a central dowel hammered or secured into the cake base.
I hope this helps! Let me know if you have any more questions!
I too love the tip of using your pan to mark where your straws need to go.Would you sugguest traveling with your layer put together /
Hi Anita--This is a judgement call---some travel with fully assembled cakes while others do not want to take any risks and would rather assemble on site. I personally am okay with traveling with two stacked tiers...but 3 would be a little scary for me. When I do travel with assembled tiers, I chill them first so that the icing can firm up. You also always want to make sure that the surface in your car where the cake is resting is completely flat. Like, the back of an SUV for instance or in the floor board of your car. The passenger seat is not a good place for a cake. ;0)
I always put some non slip rubber matting in the boot (trunk?) of my car, so I know the cake box isn't going to move. I also pop a square actually in the cake box underneath the cake drum too. It is very inexpensive and I can usually buy it here in the UK at the £ shop ( as the name suggests, everything is £1, lol) for a roll of it.
Thanks Mrs. Bonbon--Great point about the non slip! You can find inexpensive rubber shelf liner here also and it is great for helping to keep things in place (and for extra peace of mind!)
Hi Melissa..I made the stacked silhouette cake and had fun doing it. I did have some stacking issues though. As I just re-watched your video, the only step that I didn't do was to insert a stick to test the depth of the lower tier. I placed my bubble tea straw next to the cake for height & went from there...I think that was my downfall. The lower tier had been settled & I cut and placed 5 bubble tea straws (all cut to the same height) in spots similar to how you placed yours in the video. I added 1 more in the middle. Well....I then placed my 3 layer 6" on top and it "teetered"a little. Didn't become flush w/the lower tier like yours did. Next day..removed top tier from bottom to find all 5 bubble tea straws sticking up through the top of the lower tier..so I wonder, did my top tier sink into the lower; did the lower tier settle more...I just don't know. I appreciate your feedback & back to the drawing board.:-)
Hi Paula-- I saw your silhouette cake in the gallery and was so happy that you made it!
Let's see.. did you settle your tiers before frosting? The straws were sticking up as a result of the bottom tier settling more. I like to settle my tiers several hours or overnight beneath a weight (thin book or thick magazine) which will add a steady but not crushing pressure. I go over this in my crumb coating video. This gets all of the settling out of the way. I also cut my supports ever so slightly lower than my tier to account for any further settling that happens.
The reason for using the skewer or something to measure the height of your cake in different spots before marking where to cut your supports is that your cake may not be quite as level as you think across the top of your cake. So, you can make any necessary adjustments at this time before stacking...or if it is just the slightest difference in height from point to point on your cake, go with the shortest measurement. The fact that you cake teetered a little when you placed it makes it seem like maybe it wasn't level to begin with. (I demonstrate in my crumb coating cake video also the use of a bubble level if you want to be sure that things are straight!--Really helpful tool to have on hand!)
You will get it next time! It takes a little trial and error at first. You should be proud of your cake though, I thought that it looked really nice. Hope this helps!
Thanks very much Melissa for all of your helpful instruction and support. I watch and re-watch your videos and you are very clear and detailed in your instructions...I agree that my lower tier settled even more. I did settle it, but only for a few hours. As I continue baking/decorating and trying to be successful at stacking, I think I will get a bubble level. I can definately see it's value. Thanks again for your compliments and encouragement. I'm glad that I tried and I do want to make more silhouettes..they look really neat!!
Hi, Melissa. I'm not sure what happened, but my comment and question disappeared! When making a tiered cake, and the client wants the top tier to be on pillars that show, maybe 4 inches or so, is there anything different that should be done to stabilize the top tier? I assume the procedure is the same, you just leave the pillars longer in length . . . right?
Thank you.