Springtime Flowers in Chocolate!~ A Cake Decorating Blog Tutorial
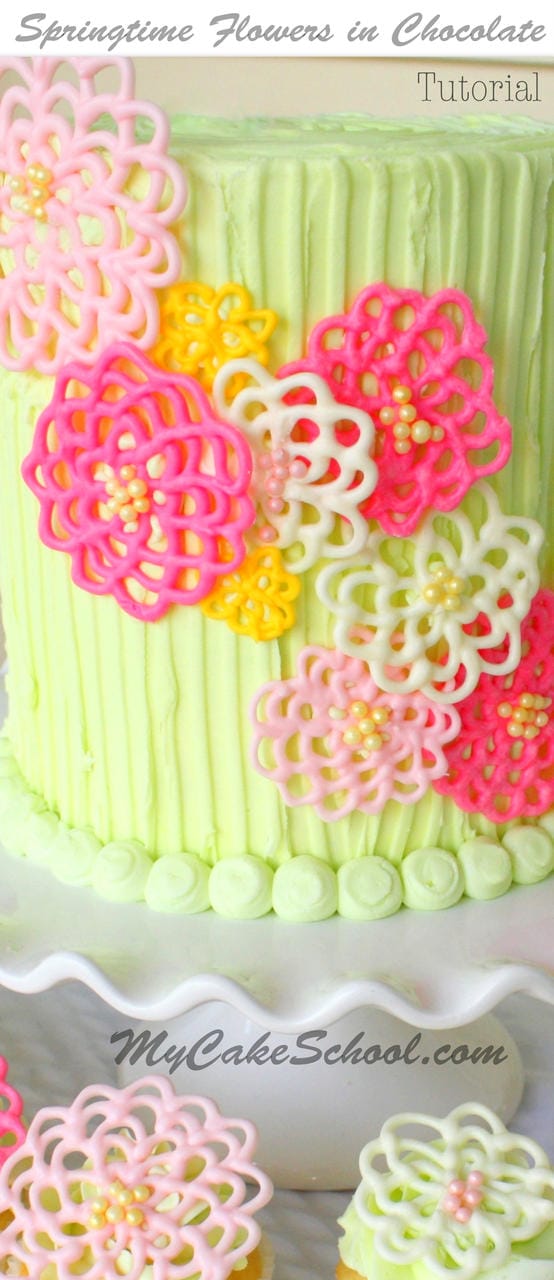
Candy coating is one of my absolute favorite mediums to work with for all sorts of decorative cake accents.
The best part of working with candy coating (aka chocolate bark, confectioner's coating, compound chocolate, candy melts, etc.) - is that you can create your chocolate accents, chill for them just a few minutes to set, and they are ready to place on your cake or cupcakes!
Pink, Green, Yellow & White are the colors of the day~ and bright, cheerful flowers!
Are you ready?
We started with our melted candy coating, tinted with Wilton Pink candy coloring, which was in a piping bag fitted with a Wilton tip 3.
I began by piping a small daisy shape, and continued around and around, adding more "loopy petals" until we reached the size that we liked. I usually pipe each flower from start to finish with very few (if any) breaks...but I made an exception in my photos below so that you could get a better look at the process. Here's a quick step-by-step ~
(***I am piping my chocolate onto a wax paper lined cookie sheet)
Here's a closeup of one of our flowers...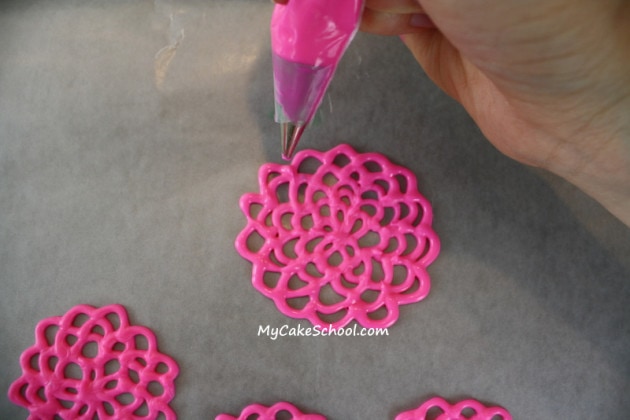
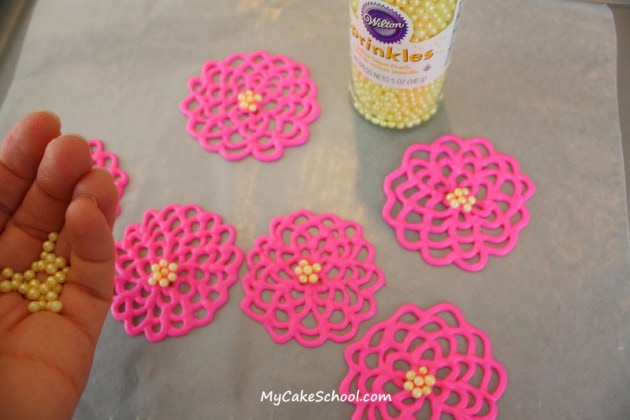
I decided to add some Wilton Yellow Sugar Pearls to the center. If the chocolate has already set, just pipe a little fresh chocolate in the center so that the pearls will stay in place.
Here are some more flowers tinted with the same Wilton Pink Candy Color--I just used less for a lighter shade.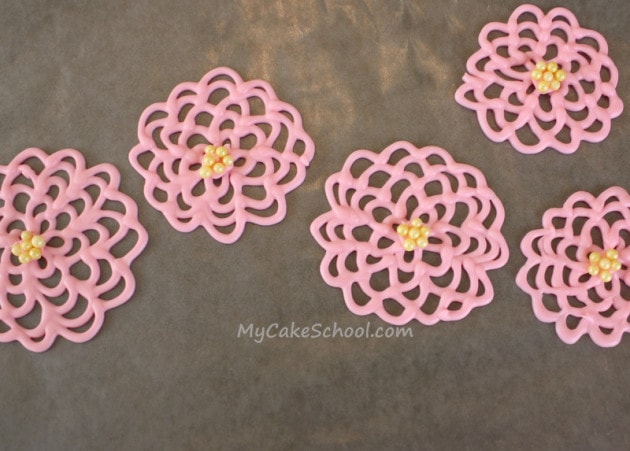
Now for the fun part! --After chilling the flowers in the refrigerator until firm, I pressed the flowers onto our cupcakes and cake. Run your hand beneath the waxed paper to release each flower. I used buttercream, tinted with Americolor Electric Green, to frost my cakes and cupcakes.
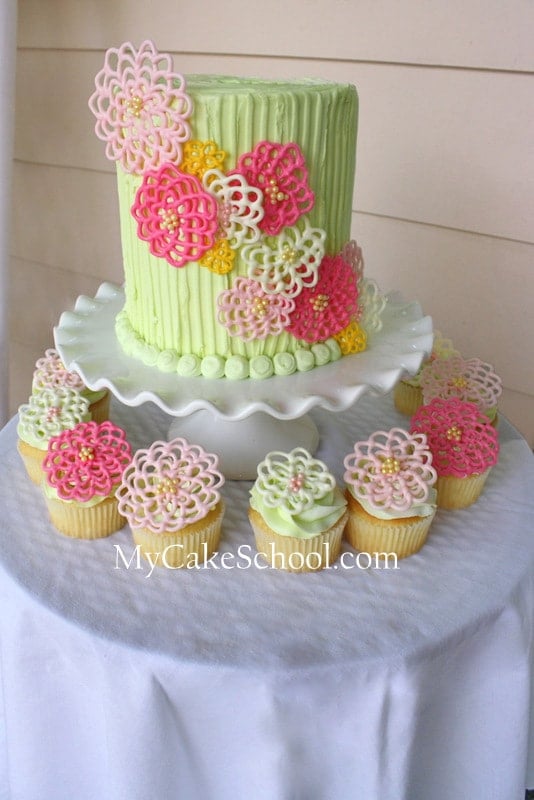
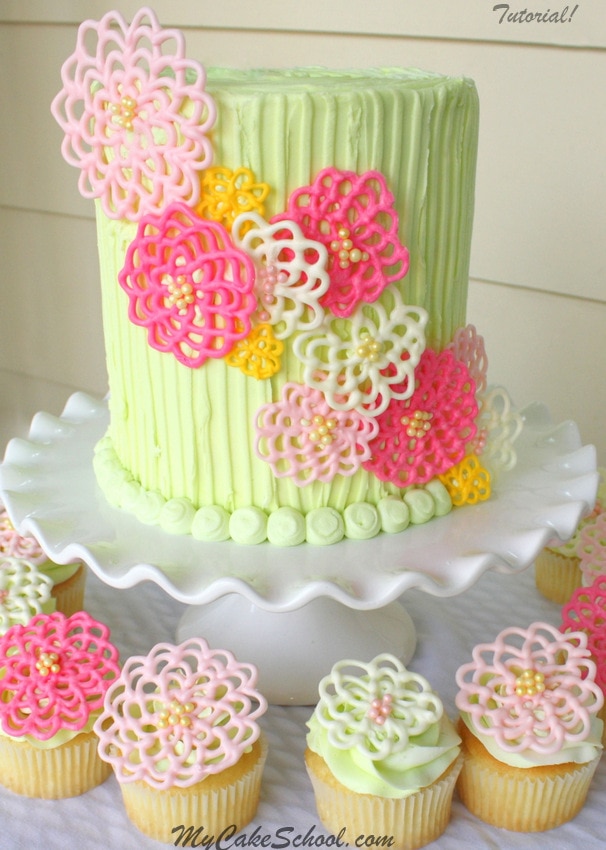
For the frosted cake, which was combed with an Ateco comb, I used a little smear of buttercream to glue the flowers to the cake. My buttercream border is piped with a Wilton medium round tip 12.
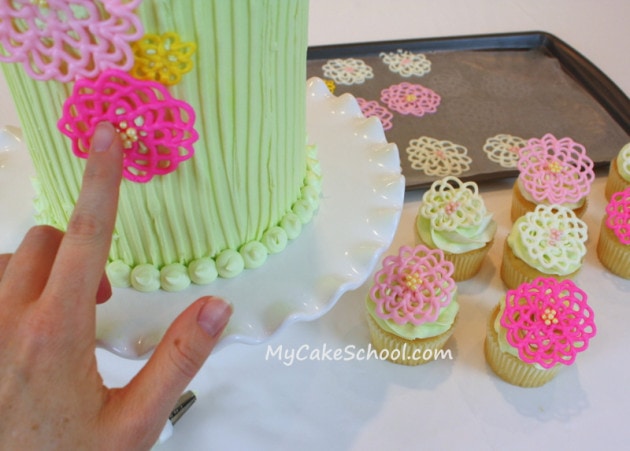
I love this loose and cheerful style for flowers, and you can see lots of similar variations of this style in everything from fashion and fabrics to sweets! I also love that without the sugar pearl centers, these accents resemble crocheted lace appliqués.--
Here we are!
A Few Notes for you to Keep in Mind:
You can buy pre-colored candy coating (Candy Melts, etc.). However, if you are tinting your own as I did, you'll want to tint your chocolate with candy coloring (which is oil based) or coloring powder. The usual coloring gels for frosting & fondant will cause your chocolate to seize. Water causes the melted candy coating to seize also.
Another option in a pinch is that you can paint your white chocolate pieces using petal dust mixed with a little vodka or lemon extract. (Coloring gel mixed with vodka/extract doesn't cover well.)
*I like to keep my pieces in the fridge and pull them out a few at a time as needed. It makes them less fragile when handling. However, once on the cake or cupcakes, they should hold up just fine at room temperature.
* My cake is a 6 inch round and is approximately 7 inches tall. There is a cake board about halfway up with bubble tea straw supports beneath. This keeps such a tall cake nice and sturdy, and keeps the serving sizes manageable. The look would be beautiful on shorter cakes as well.

Thanx for lovely tutorial
I have a question
How do you get your chocolate to work with the metal tips? everytime I try to do that, it just hardens as soon as it hits the tip. Is there a trick to this? Do I just need to wait till summer when it's a lot hotter? :)
Hi Deniece-- I don't have that problem but if your piping tips are cold, then it will firm the chocolate up in a hurry. You can skip the metal piping tip altogether & just snip the tip off of your piping bag! ;0) -
Very pretty and yet so simple! Thanks for the great ideas & inspiration!
~ marie
So fun. Using similar and previous design on a carrot cake
Thank you for demystifying what looks to be vey complicated. The amount of detail is very much appreciated. I might even be able to create those cute little flowers!
Just love these cakes,can't wait to make them ,Thanks for your lovely tutorials Melissa.
Wow Melissa that is gorgeous. Thanks for a great spring idea
Hola, buen dia!!!
Es maravilloso despertar y encontrarse con este hermoso tutorial q has compartido, es una belleza, muy facil y practica.
Ahora solo falta ponerlas en practica :-D
Saludos
Love the flowers! I will have to try this on some cupcakes! Thanks for sharing!
What a great idea, and so easy to follow.
a tip to jamimess - use squeeze bottle to pipe , that way u can pop it in microwave to heat if it gets hard.