Sweet Stick Figure Couple-Cake Tutorial
Today, we're going to show you how to create an easy and adorable cake featuring a sweet stick figure couple!
This is such a cute cake design for anniversaries, Valentine's Day, engagement party, or any occasion celebrating a happy couple.
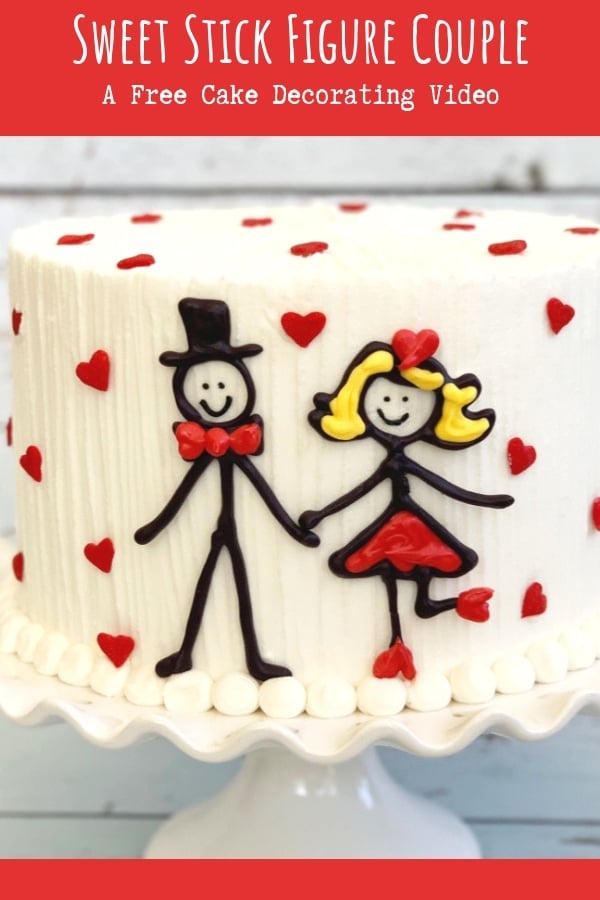
Table of Contents
How to Make a Stick Figure Cake Design
There's just something so cheerful about stick figure drawings, isn't there? Years ago, we made a cute Stick Figure Family Cake Tutorial for Father's Day.
We had so much fun with it that we decided to revisit stick figures again this year!
In today's cake tutorial, our stick figure couple is created using a template that is placed beneath waxed paper on a cookie sheet. We then traced the design in candy coating (tinted with black, red, and yellow candy colors).our
Then we chilled them and placed onto the cake!
If you would prefer, you could also do your figures in buttercream if you are comfortable with free handing the design right onto the cake.
However, what I like about the chocolate candy coating is that it gives our people a little dimension, and we could use a template.
More Cute Valentine's Day Cake Ideas!
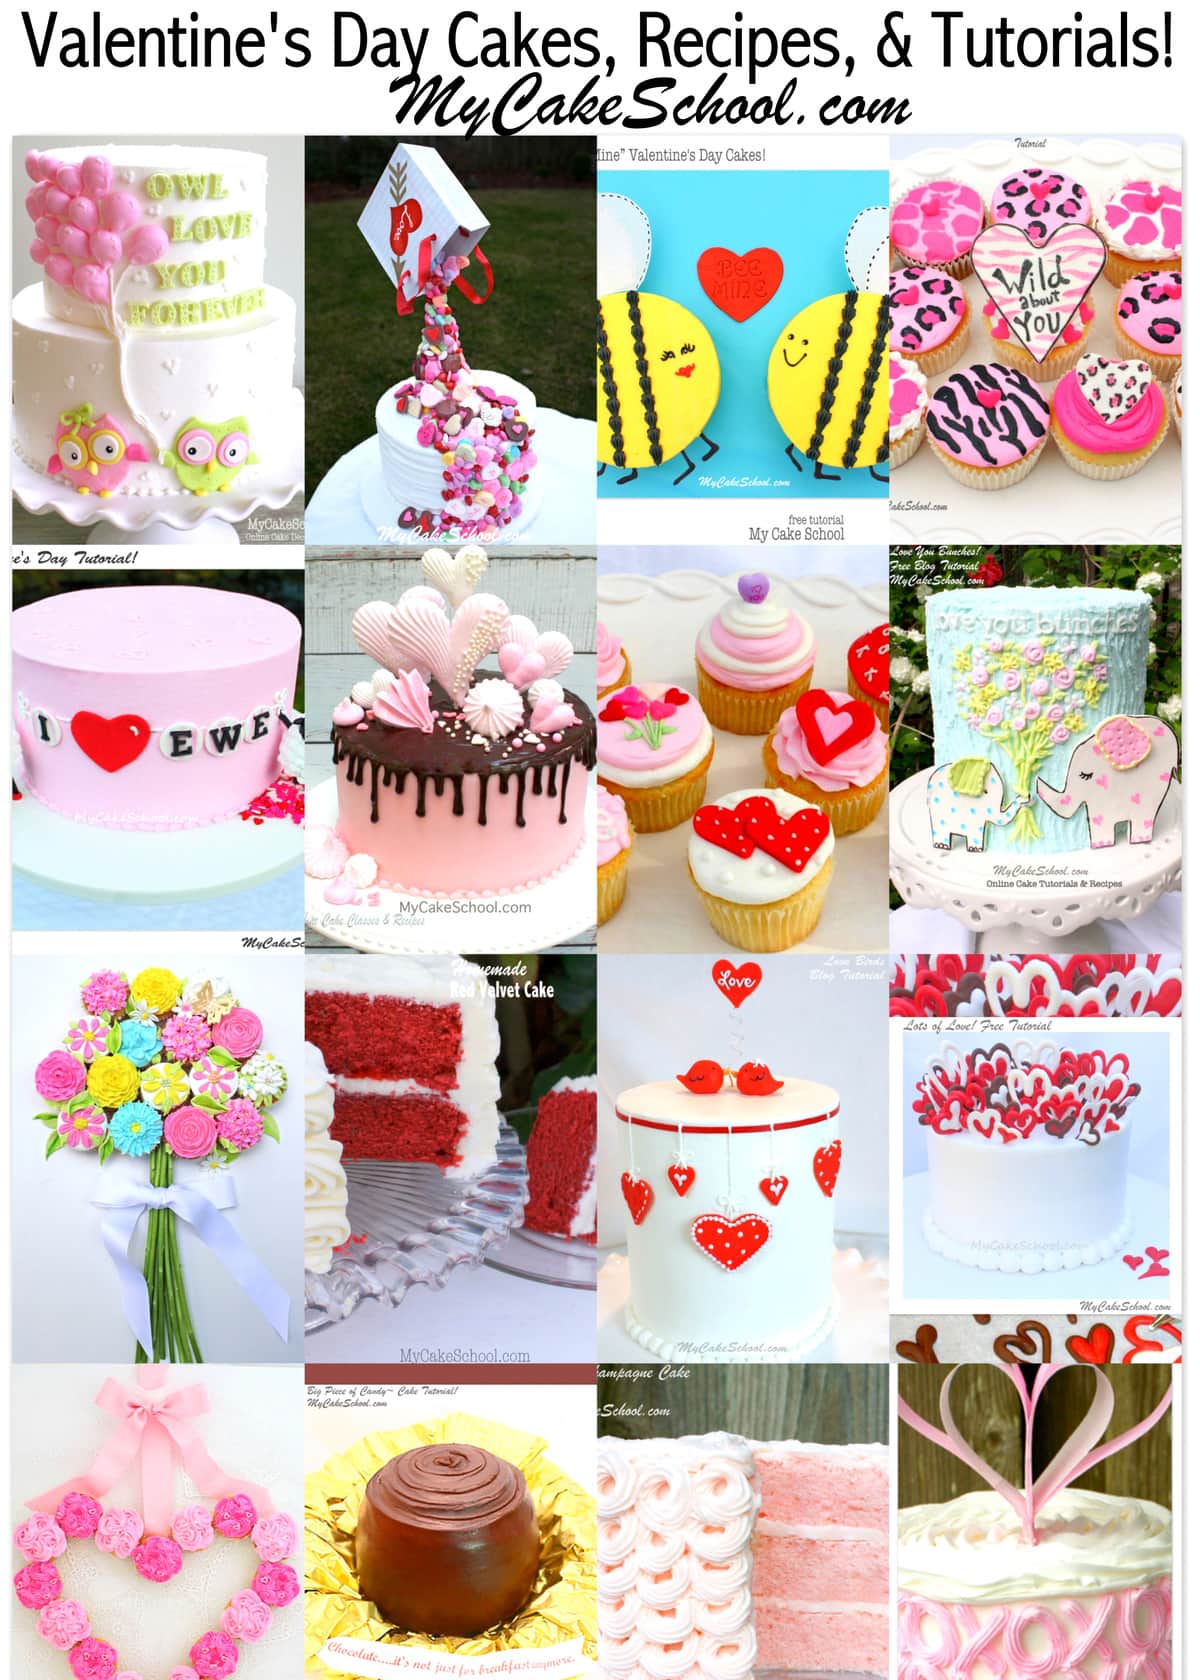
We've made lots of fun Valentine's Day cakes and tutorials over the years! Don't miss our full roundup of favorite Valentine's Day Cakes here: Favorite Valentine's Day Cakes from My Cake School
Valentine's Day Cake Recipes
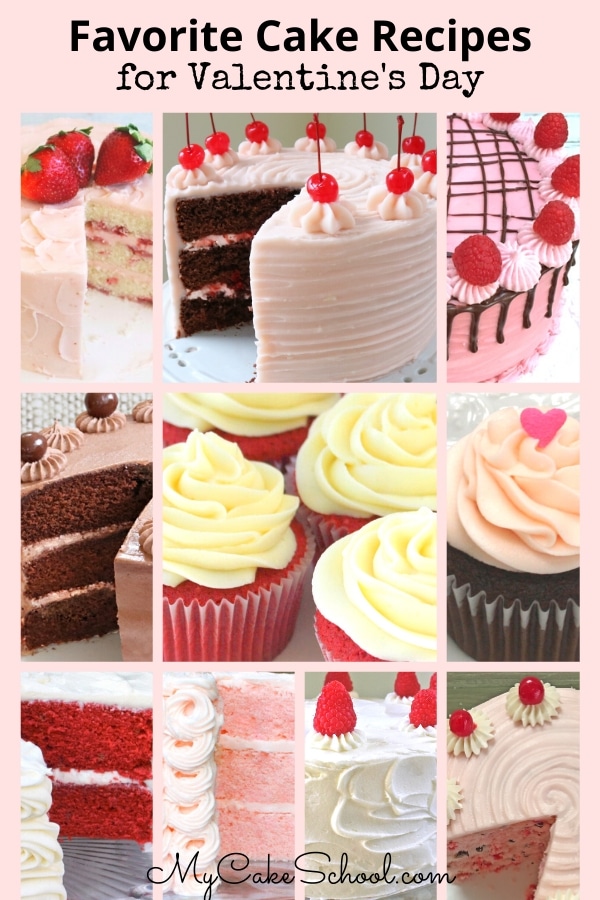
As long as you are planning fun Valentine's Day Cake designs, you should also check out our favorite Valentine's Day Cake recipes!
Whether you are interested in red velvet cakes, decadent chocolate cakes, champagne cakes, Black Forest Cake, and more, you are sure to find something delicious to try in our collection of favorites! The Best Valentine's Day Cake Recipes
Tips for Working with Candy Coating:
I like to use candy coating blocks that aren't pre-colored (like Candiquik for example) because I find that they melt much more easily than Candy Melts.
However, you'll need to tint your candy coating using coloring gels that are special for chocolate/candy coating- these are called candy colors and are oil based. (Wilton and Americolor are popular brands for this but there are others.)
If using pre-colored Wilton candy melts, you may need to mix in a little melted vegetable shortening if the consistency after melting is too thick.
As you saw in the video, I like to make two of everything when making chocolate decorations like this as they are so thin and can be fragile.
To prevent breakage, it's a good idea to trace over your template twice so that the figures aren't quite so thin. Also, chill your figures before handling them. Just a few minutes in the freezer should be enough to firm them up!
Enjoy the Video!
Thanks so much for stopping by. We hope that you enjoy the video! Here is a link to the template for the stick figures.
Sweet Stick Figure Couple- Cake Tutorial
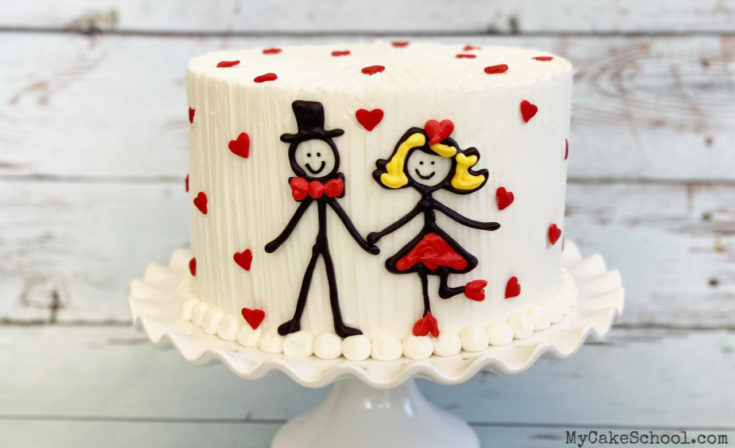
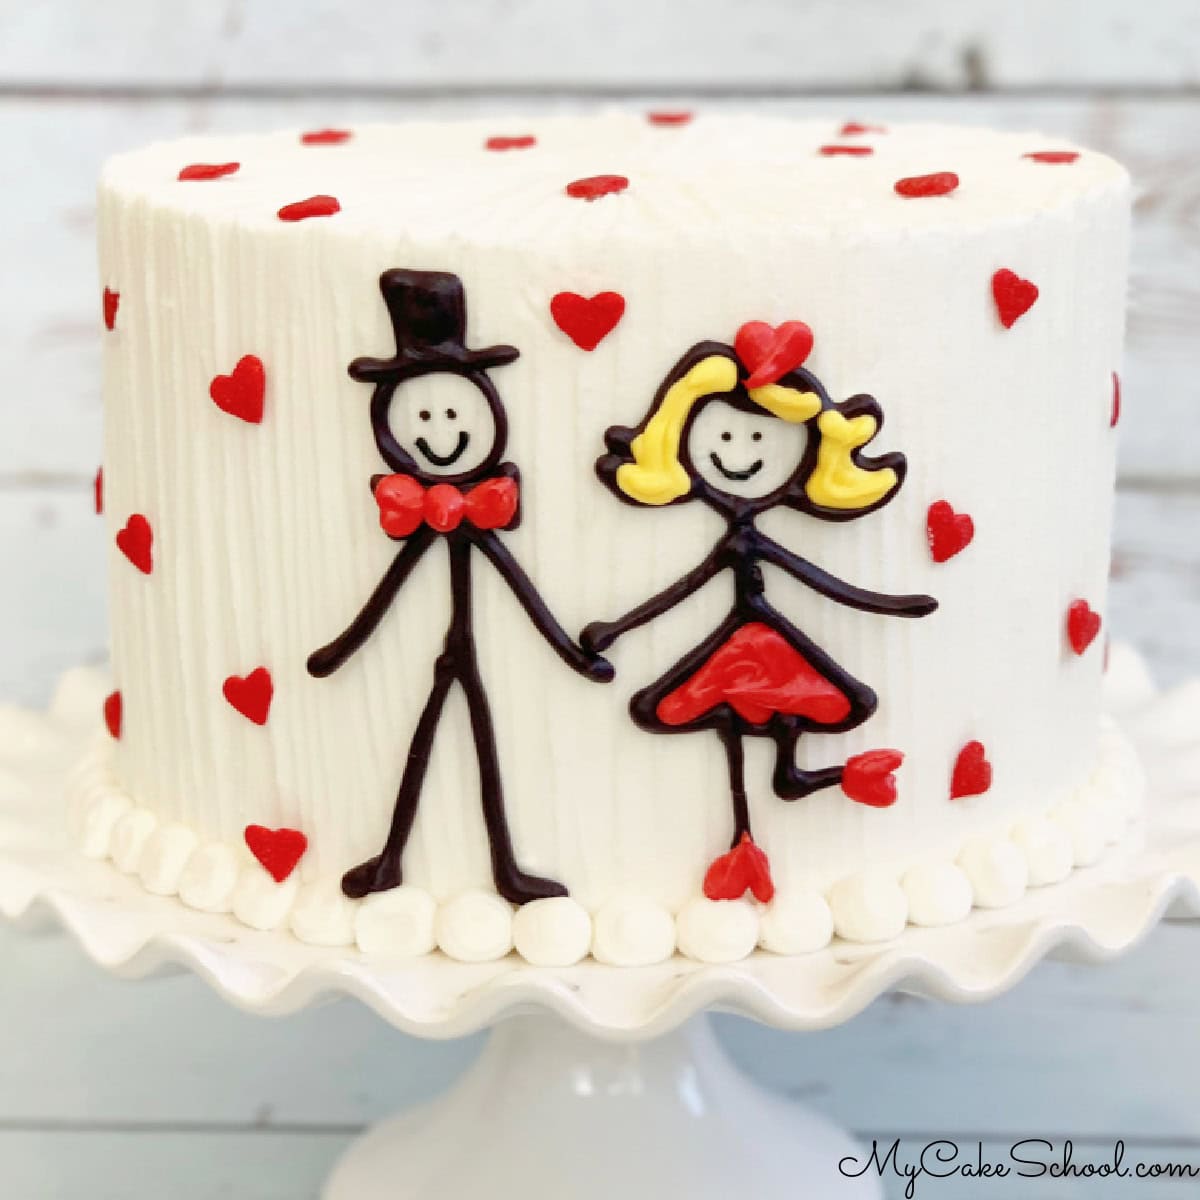
This sweet Stick Figure Couple cake is perfect for celebrating anniversaries and Valentine's Day! This design consists of a buttercream-frosted cake with candy coating decorations and heart sprinkles!
Materials
- This design would be great for cakes of all sizes. Our cake was an 8 inch tier which stands 5 inches tall. We frosted our cake in our Fluffy Vanilla Buttercream, and textured it with a small tapered offset spatula. The cake is resting on it's own cake cardboard cut down to the size of the cake.
- Template (See Notes section)
- White Candy Coating (we used Candiquik)
- Candy Colors: We used black, red, and yellow. (If you prefer to use pre-colored candy coating, that is fine also)
- Red Heart Sprinkles
- Piping Tips: I used a tip 12 for the ball border, and a tip 2 for piping the chocolate figures.
- Waxed or Parchment paper
- Miscellaneous: Helpful items for frosting the cake are: turntable, bench scraper, offset spatula(s), disposable piping bags
Instructions
- Frost the cake.
- Tint the melted candy melts with oil based candy coloring in black, yellow, and red (or you can use pre-colored candy melts).
- If you're using our template, print out and place on a cookie sheet beneath a sheet of waxed paper.
- Fill a piping bag fitted with a Tip 2 with melted black candy coating/candy melts.
- Trace the stick figures with black. (I moved the template after piping the first two so that I could pipe two more just in case I needed a spare due to breakage).
- Tint small amount of candy coating yellow and load into disposable piping bag, snip the tip away and fill in the hair.
- Tint candy coating red, load into disposable piping bag and snip the tip away. Fill in the girl's dress, pipe shows, bow, and necktie.
- Chill the stick figures in the freezer for about 5 minutes or until firm (you can also do this in the refrigerator for slightly longer).
- Carefully arrange on the cake, using a little buttercream as your glue.
- I also decorated the cake with red sprinkle hearts.
Thanks so much for stopping by. If you give our stick figure couple cake a try, we would love to see! Make sure to leave a photo in the comments below!

Super cute and fun! Love it! Watched it on YouTube :-)
How sweet?
Too sweet. Thank you.
Very cute!
Thank you so much for this informative, interesting tutorial. And thank you even more for not editing out the breakage. I recall one wise decorator saying to once not to take things like breakages and blocked piping nozzles personally - it happens to everyone!
The cake is gorgeous.
Susan
So adorable
Hi Melissa and BeBe!
I've been using your website for well over 10 years and I just love it!! I just finished watching the video for the sweet stick figure couple cake and would love to make it soon. Do you have a template that I can download of the stick figures? I downloaded a few templates for Halloween cakes but I can find one for this stick figure cake.
Thanks for your help.
Denise Post
Hi Denise! Thank you so much for your sweet comments. I'm so glad that you plan to make the cake. The template was easy to miss- I've just added the link to the Notes section of the recipe card. (Or you can find it below!)
https://www.mycakeschool.com/images/2019/01/Stick-Figure-Couple-Template.jpg