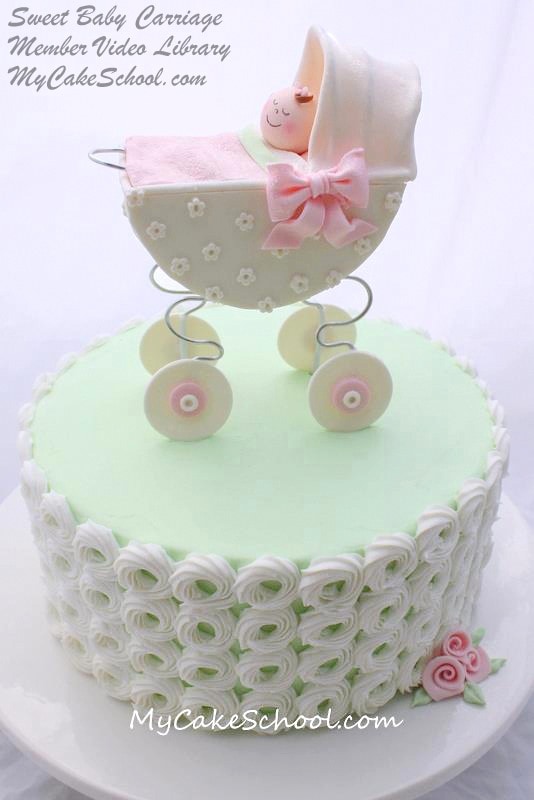
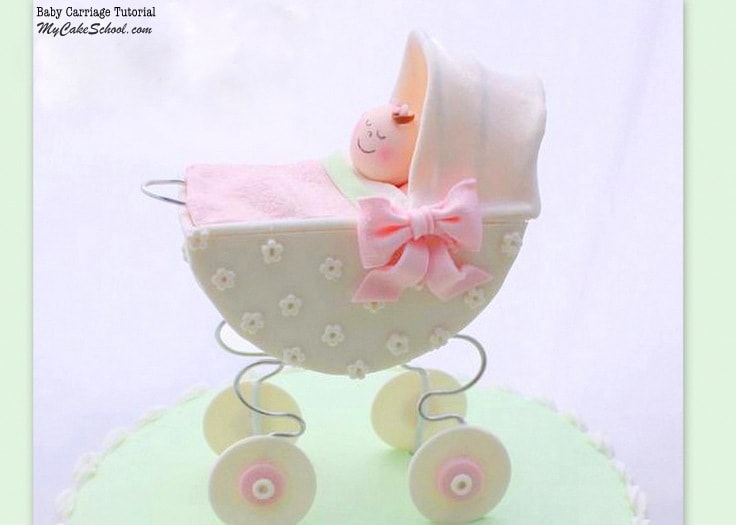
Baby Carriage Cake Topper Tutorial
Today, I'm going to show you how to make a beautiful baby carriage cake topper for your baby shower cakes!
This is one of those times when the cake topper MAKES the cake! I hope that you love this sweet baby carriage cake as much as I do, and I think that you'll find the steps to be really easy to follow.
I have made a baby carriage cake topper video before, only my other one is a cute, flat cut-out of gum paste. I love that tutorial also, but this 3-D version will give you a fun & impressive alternative! It's nice to have choices :0) --
I was really surprised after editing that this video is over 30 minutes. It really goes by very quickly and so don't let that scare you away.
Part of the length comes from showing the piping technique that I use to decorate my cake. You'll see that in Part 2 of the video. See below our video window for materials used and a few notes----I hope that you enjoy it!
Table of Contents
Materials
This was an 8" round cake (white almond sour cream with Fluffy vanilla buttercream frosting)
Gum Paste- I used Satin Ice brand. You could also use fondant with a little Tylose kneaded into it.
Round styrofoam circle (Mine was approx 4" across and 2" thick) --Don't feel that you have to use exactly the size that I used. This was my only choice at the craft shop & so I used this size rather than cutting it smaller.
Aluminum wire- I bought mine at our local craft shop (Michael's) it was with the floral wire (Legs of the carriage. I've also used lollipop stick legs if you like that option.)
22 gauge floral wire- This was to help with the canopy of the carriage.
FMM Multi Ribbon Cutter- Optional. I used for cutting my gum paste strips.
Circle Cutter- 4" diameter. Optional--Used to cut the panels of my carriage
PME Brand small blossom plunger cutter-Optional. I used for decorating my carriage
Chocolate/Candy Coating- I used as "glue" to help secure the legs into the carriage. A bit of dampened gum paste or fondant would work just as well.
"Sugar Glue/Tylose Glue"-- My glue of choice in this video. This is just tylose mixed with a little water. Recipe in Recipes section.
Shortening- I always have some on hand when working with gum paste & fondant. I also rubbed it over the styrofoam to help the fondant adhere. Light corn syrup or sugar glue would work also.
Diso Dust- I sprinkled everything with a little disco dust (White Disco Dust)
Americolor Soft Pink- Color of pink accents
Americolor Mint Green - Color of cake frosting
Piping Tips- Wilton 21 or similar open star tip for piping onto the cake. Wilton tip 12 for cutting out round circles for the wheels.
Misc Supplies- Small paint brush, parchment paper, styrofoam block to anchor my topper while it dried, Q-tips, x-acto knife
Viva paper towels (I smoothed the green frosting with these before piping on the white design).
Notes for Baby Carriage Cake Topper:
*I wanted to mention that I have used (compressed) rice cereal treats in place of styrofoam in the past to make this baby carriage.
While it worked just fine, I was nervous the whole time that the 4 holes created by the legs and the 6 holes created by the canopy wires would weaken the carriage and cause it to split.
Some of you may want to experiment with this option too--but just wanted to give you that little warning :0)
Another really cute way to do this with rice cereal treats would be to eliminate the legs and just press on the wheels. This would be similar to our other baby carriage topper video, only in 3-D form! Thanks for watching!
Part One
Part Two


Thanks for that Bebe. You're ever so helpful. :)
Love how this turned out, yet again ! More involved than the baby carriage but love it. Handle a little challenge since gumpaste carriage was already dried - improvised . Treated myself to a new extruder- same as yours with crank handle instead of push handle - wow- what a time saver- so easy. Ribbon roses and leaves so easy and pretty. Thank you. Pictures posted. Can't wait for the circus cake!
Is this the aluminum wire I need?