Sweet Mother's Day Cake- {Free Cake Video}
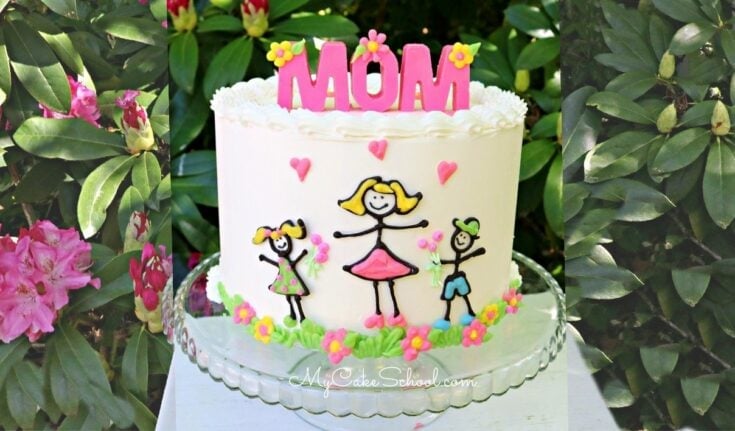
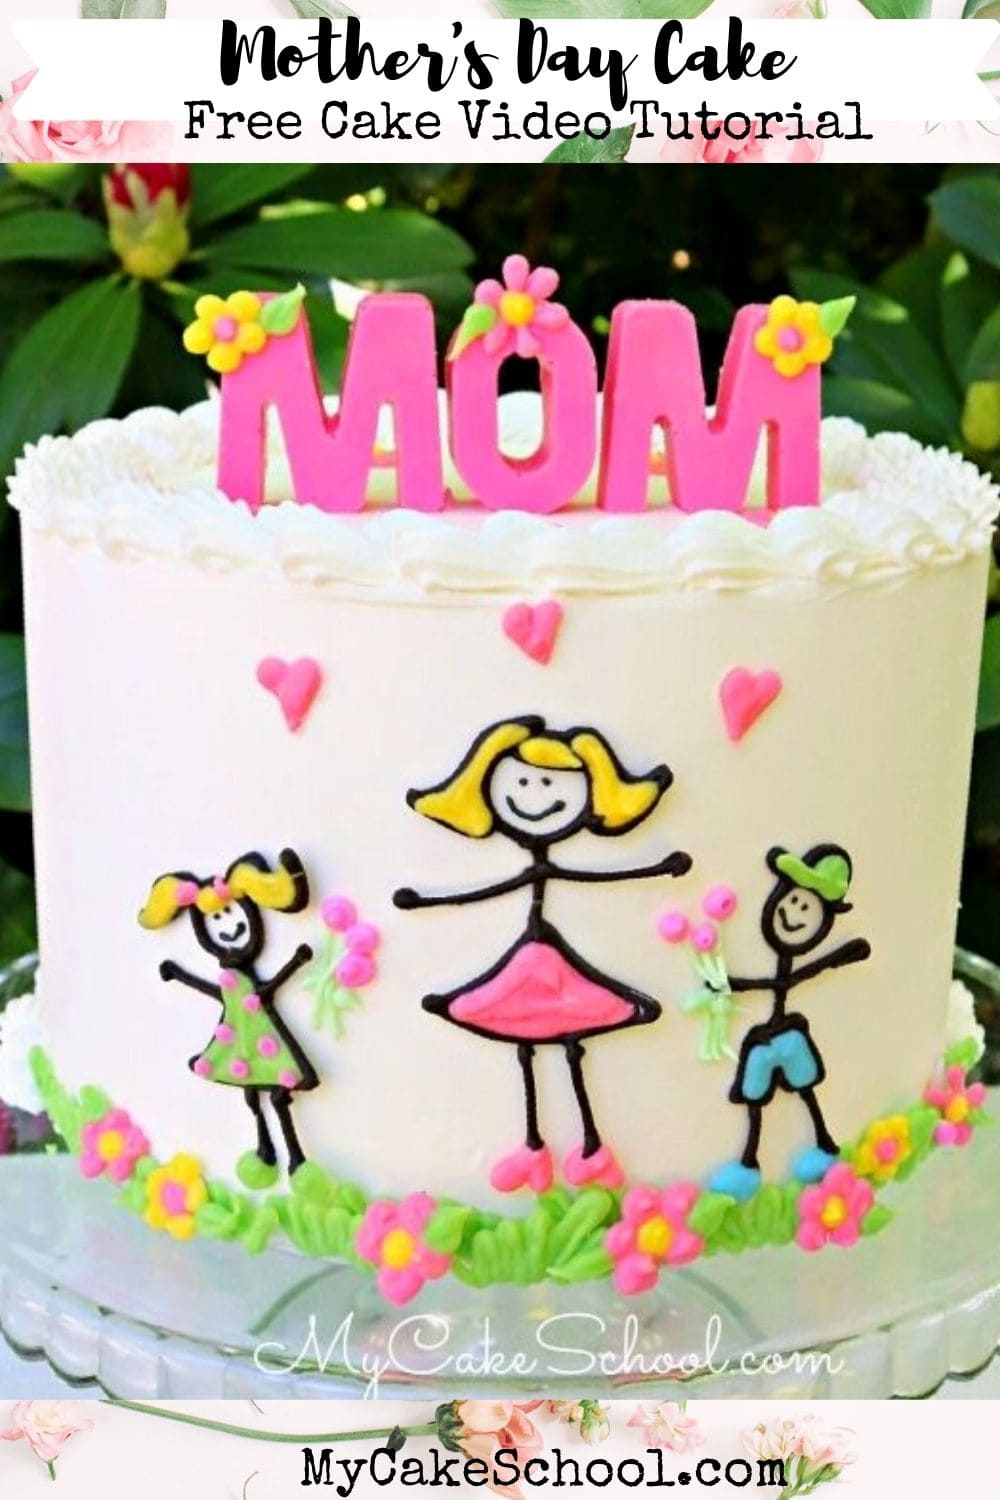
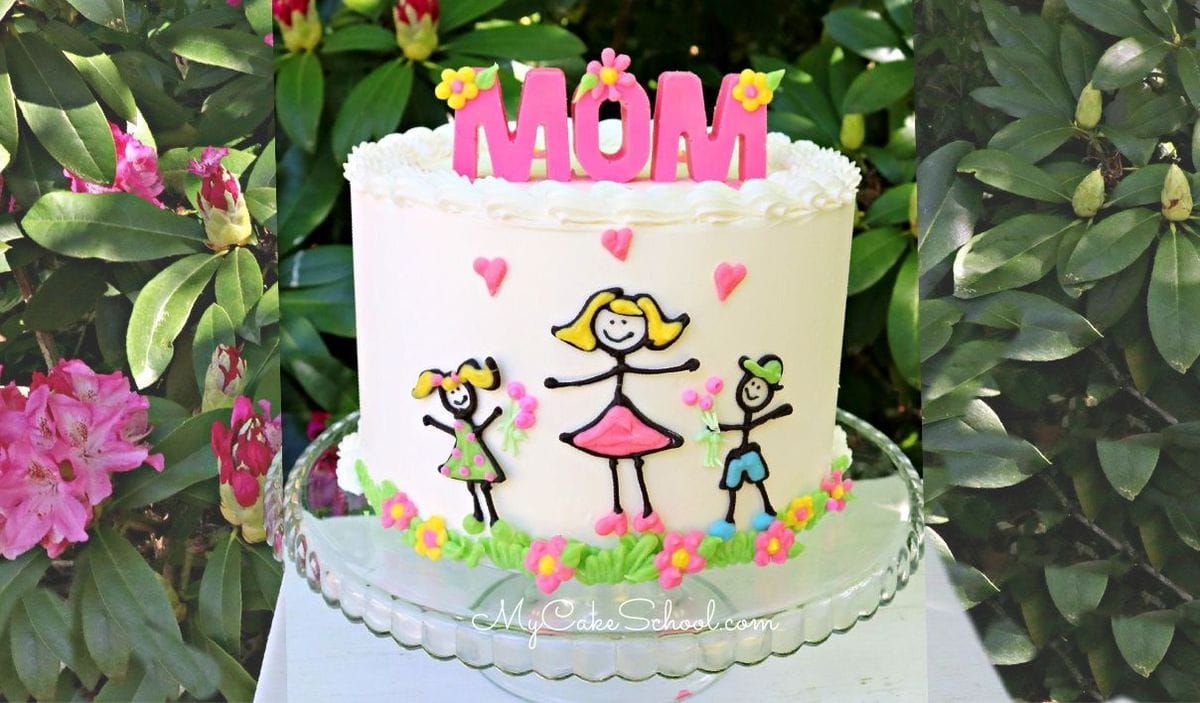
Mother's Day is just around the corner and this sweet stick figure cake is such a cute and fun way to celebrate! I just love the sweetness of stick figure cake designs- we've done a couple of others over the years- one for Father's Day, and another for Valentine's Day (or anniversaries).
Our stick figures for this design are made from melted candy coating. You can use pre-colored candy coating (like Sweet Tooth Fairy brand for instance), or you can tint white candy coating/bark coating with oil based coloring gels.
Table of Contents
How to Make a Stick Figure Cake
*Make sure to scroll down for the full, printable instructions for this project! Here is a quick rundown of our steps:
- Melt candy coating. I used approximately ¼ cup candy melts/bark coating for each color.
- Melt the coating in small increments in a microwave safe bowl. Heat in small increments, starting at around 30 seconds and then shorter increments from there as needed- be careful not to overheat. If you aren't using pre-colored candy melts, you'll need to tint your melted white candy coating with oil based candy coloring gels.
- Place the stick figure template (if using one) on a cookie sheet beneath a sheet of wax paper.
- Trace the stick figure outlines with black candy coating onto the waxed paper using a piping bag fitted with a small round piping tip.
- Next, fill in the lines clothing and hair for the figures with colored melted candy coating. (For the fill-in details, I used a piping bag with the tip snipped away.)
- Pipe additional details like flowers, hearts, grass, etc.
- The candy coating stick figures will firm up as they sit. Chill them for about 5-10 minutes in the freezer just before applying to the cake so that they will be less fragile.
- Apply the candy coating details to the chilled, frosted cake with small dots of buttercream.
With simple stick figures, you may like to draw your own template, but here is ours if you'd like to use it as a basic guide! Mothers-Day-Cake-Template
Alternative Ideas for this Mother's Day Cake Design
This cute and easy cake design would also work great on top of a sheet cake, or if you prefer piping in buttercream, that would be cute too!
Another fun twist on this idea for kids' birthdays or class parties is to fill the top of a sheet cake or all the way around the sides of a cake with stick figures to represent all of the children. If you give this cake design a try, we would love for you to leave a comment and photo below!
More Mother's Day Cake Ideas
Looking for even more cake design and recipe ideas for Mother's Day? Don't miss our full roundup of favorites! You'll find everything from buttercream flowers to light and fruity cake recipes and more. Hop over to see:
Roundup of our Favorite Mother's Day Cake Designs and Recipes
We also have a great collection of cake recipes for Mother's Day!
Sweet Stick Figure Cake for Mother's Day- Free Cake Video Tutorial

This sweet and simple stick figure cake is a perfect design for Mother's Day!
Materials
- We decorated an 8 inch cake tier frosted with vanilla buttercream (Our Fluffy Vanilla Buttercream or Classic Buttercream Recipes would work well for this).
- Candy Coating/Bark Coating: You can use pre-colored or you can tint your own. If you are tinting white candy bark coating, make sure to use oil based candy colors rather than coloring that you would use for frosting or fondant.
- Piping Tips: We used a star tip 21 for the borders, and tip 3 for the black candy coating outlines and tip 2 for the stick figure's faces. (And similar size of small round tips are fine)
- Miscellaneous: Disposable piping bags, spatula/bench scraper for frosting the cake, cookie sheet, waxed paper
- Template- Make your own or use ours & adapt as needed
- Optional: We used a Wilton Letter Mold for our Topper
Instructions
- Melt candy coating (and tint as needed). I used approximately ¼ cup candy melts/bark coating for each color.
- Melt the coating in small increments in a microwave safe bowl. Heat in small increments maybe starting at 30 seconds and then shorter increments from there as needed- be careful not to overheat. If you aren't using pre-colored candy melts, you'll need to tint your melted white candy coating with oil based candy coloring gels.
- Place the stick figure template on a cookie sheet beneath a sheet of wax paper.
- Trace the stick figure outlines with black candy coating using a piping bag fitted with a small round piping tip (we used a tip 3).
- Next, fill in with colored candy coating.
- Pipe additional details like flowers, hearts, grass, etc.
- The candy coating stick figures will firm up as they sit. Chill them for about 5-10 minutes in the freezer just before applying to the cake so that they will be less fragile.
- Apply the candy coating details to the cake with small dots of buttercream.
- Add little faces to the figures (optional) using a black buttercream piped with a small round tip (1 or 2). It's easiest to apply your figures and to do piping on a cake that has been chilled (until frosting is firm) so that mistakes can more easily be corrected.
- For our "Mom" Cake topper, we added melted candy coating to the Wilton Chocolate Letter Molds. Chill until firm and then push out of the molds. I added the small chocolate flowers to the letters with a little buttercream. You could also use dots of candy coating.
Notes
Make sure to chill the candy coating details just before adding to the cake so that they will be less fragile.
The stick figures are fragile but you can pipe over them twice if you'd like to strengthen.
To be on the safe side, you can make two of each figure in case of breakage- However, as you saw in the video, I did break one of my figures when applying to the cake and was able to easily piece it together ;0)


So cute! I love it! Perfect design for a young family! Keep making the stick figures - they're adorable! ;-)
Amei o bolo dia das mães obrigada por compartilhar gratidão ❤️
Adorable!!!
Such a cute cake, as always!