Sweet Turtle Cake Topper- Free Cake Tutorial
We thought it would be fun to celebrate the weekend with a Sweet Turtle Cake Topper Tutorial! I've been wanting to make this little guy for a while now...and I just needed to get him out of my system! He is so much fun!
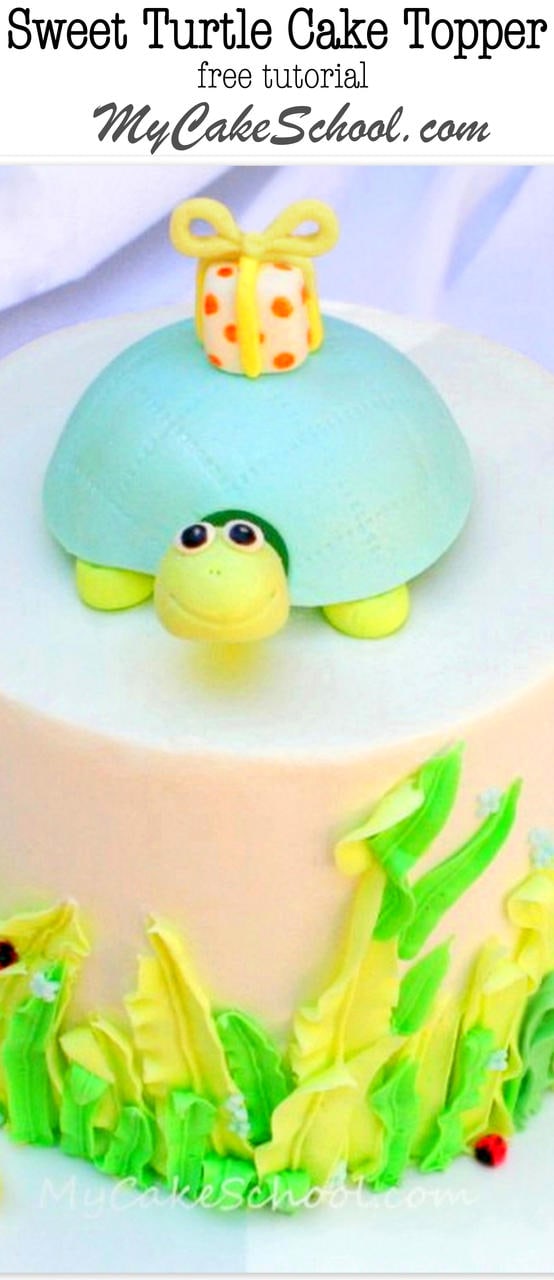
This adorable turtle cake topper would be sweet for both a child's birthday or even a baby shower! I just love him, and I love that he is so simple to make. The best designs are sometimes the simplest, don't you think?
Table of Contents
How to Make a Turtle Cake Topper
First, you will need some gum paste (or fondant with tylose powder kneaded into it for quick drying and added strength).
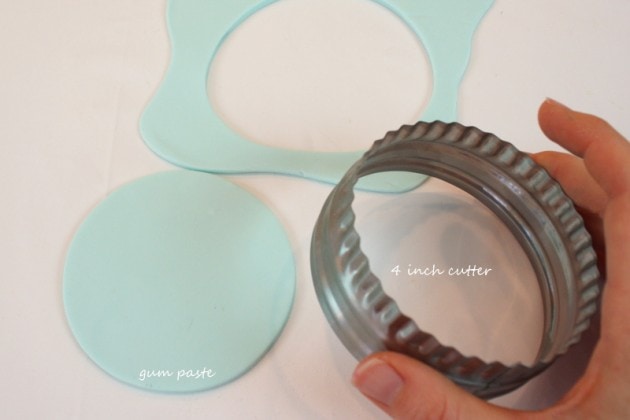
I rolled out my gum paste, which is tinted Americolor Sky Blue, to approx ¼ inch thickness and then cut out a circle with a 4 inch circle cutter. You can vary the size of your circle of course, depending on how large you'd like your turtle to be.
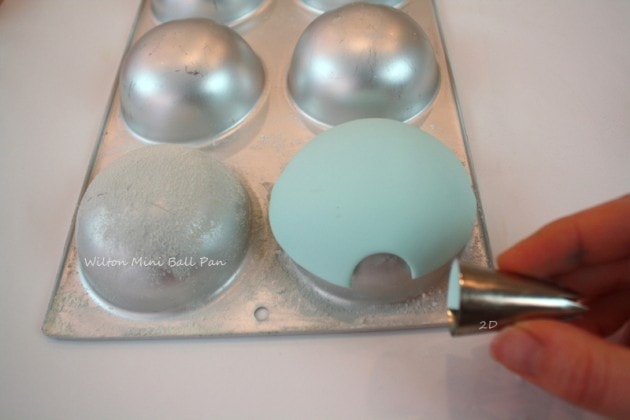
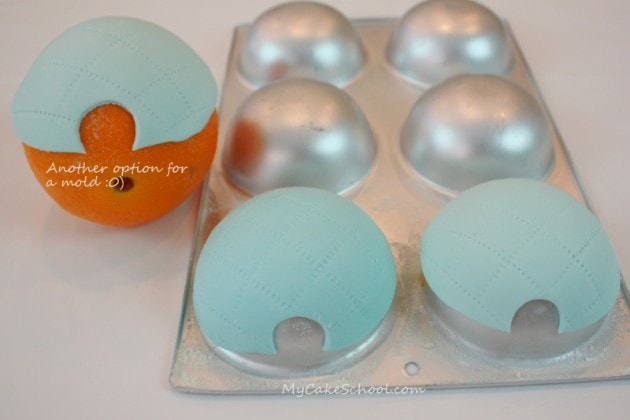
Next, I needed a rounded form of some sort to dry my circle/turtle shell over. I used a Wilton Mini Ball pan which I flipped over, rubbed lightly with a little shortening, and dusted with tylose powder.
**I normally dust my molds & forms with corn starch, but I was down to the wire on this blog entry last night and was afraid it wouldn't dry quickly enough. I think that the substitution of tylose helped to speed things up!
I used a 2D Wilton piping tip (but any smallish cutter will do) to cut a half circle from the front of the shell.
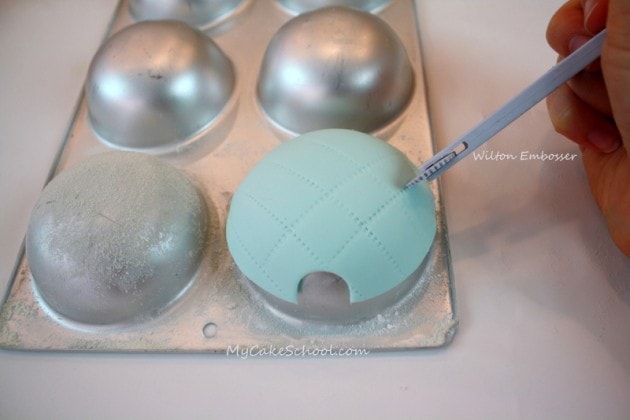
Next, I used Wilton's embossing tool (stitching wheel) to give the shell a little character ;0) .
I then allowed my shells to dry. Do you like the orange "mold"? Just wanted to show you that just about anything will work, as long as it is rounded & lightly greased & dusted to prevent sticking.
Dry Times for Gum Paste
I would allow the shells at least 2 days to dry. Mine dried overnight and luckily everything turned out just fine-- but dry times can vary greatly depending on humidity levels, brand of gum paste, etc. Better to play it safe! --
Although I'm only making one turtle shell...I always recommend making at least one extra whenever you have a gum paste piece that is the focal point of the cake, just in case it decides to jump out of your hands and break into three pieces!
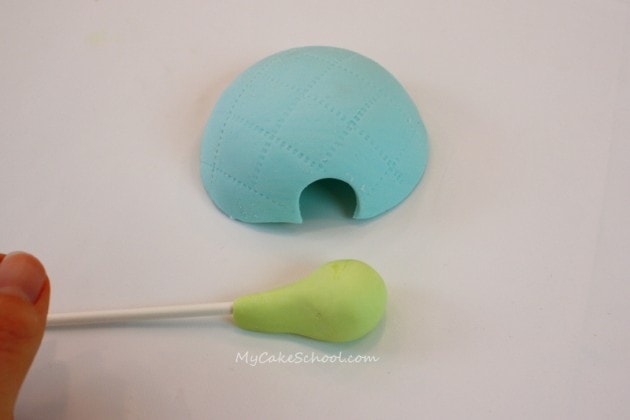
After my turtle shell was nice and firm, I started working on the other parts of the turtle.
Here, I've shaped a round ball of lime green gum paste (Americolor Electric Green) around the end of a lollipop stick anchor.
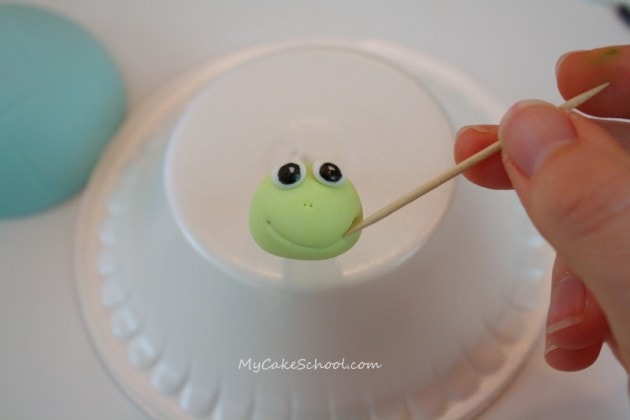
I added little nostrils and a mouth with a toothpick, and the eyes are little round circles of gum paste with drawn on pupils (Americolor Black coloring pen). You won't need the styrofoam bowl...I just used it to free up my left hand so I could take the "action shot"!
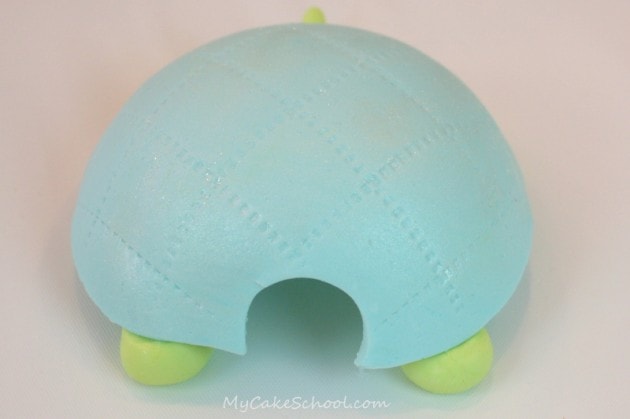
 Four balls of gum paste make our turtle legs. I let them firm up for about an hour while I frosted my cake.
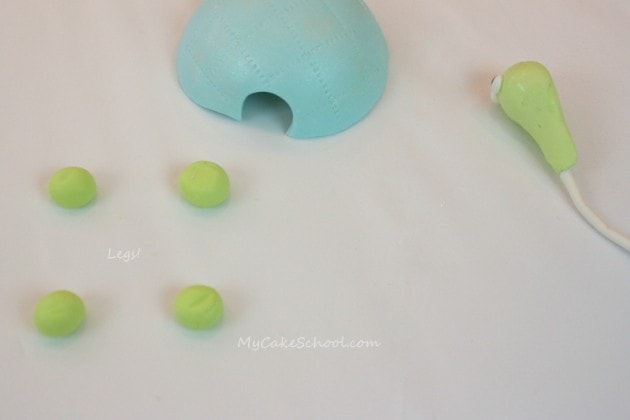
Dampen the tops of the legs with a tiny bit of water or sugar glue and then lay on the turtle shell. (I also added a little turtle tail--just a teardrop shape piece of gum paste).
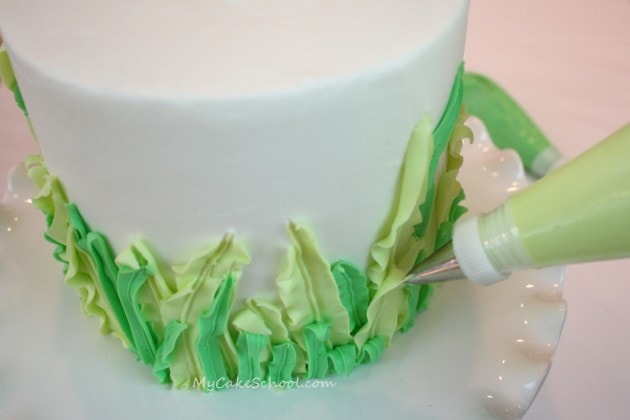
As the shell and legs took a few minutes to bond together and dry, I decided to go ahead and pipe on some grass. I used a Wilton tip 70 for the light green grass and a tip 66 for the darker green. (These are both considered leaf tips.)
Next, I just slightly bent/curved my lollipop stick anchor for the head and pushed it into the cake. Getting closer......
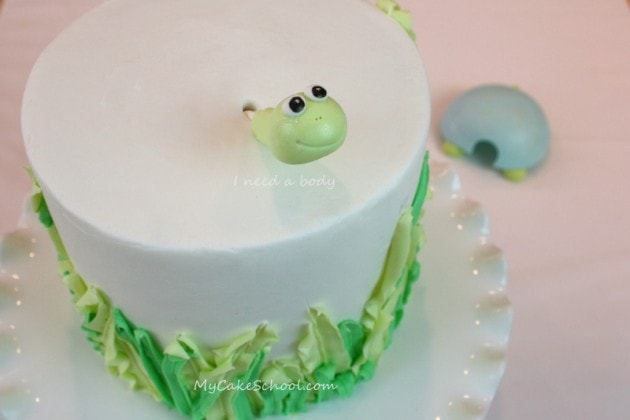
Is the suspense building? Will the turtle head ever get his body?
Let me show you really quickly a couple of finishing touches...
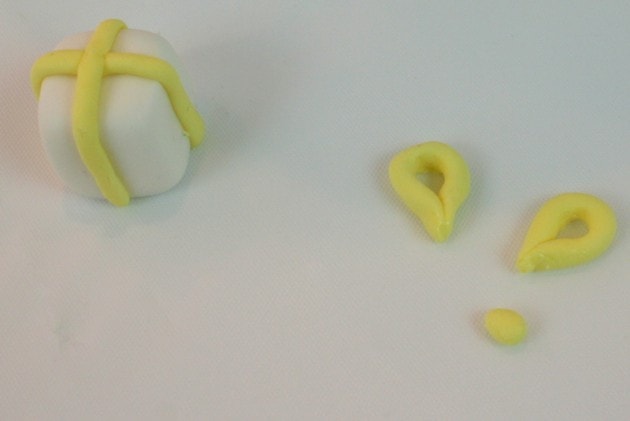
A turtle cannot show up empty handed to a birthday party, so here is a little fondant present that I made for him to carry on his back. It's just a cube of gum paste with gum paste bow. (The loops only took a few minutes to set up and hold their shape.)
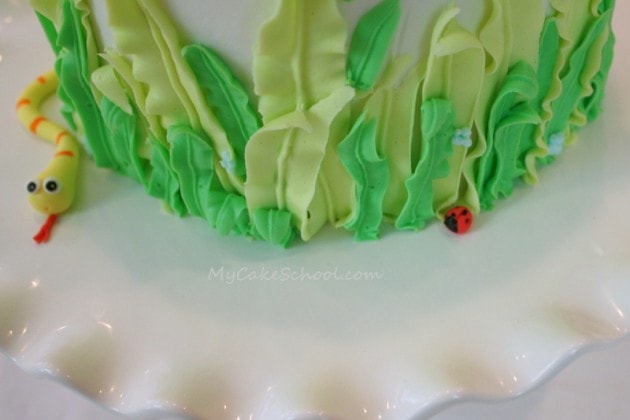
I also wanted to add a little interest to the tall grass piped around the sides of the cake. You can see that I added touches of blue here and there with a tip 3, and I added fondant ladybugs (accented with an Americolor Black pen) and a snake (Americolor Lemon Yellow)! -- The stripes are drawn on with an Americolor orange coloring pen.
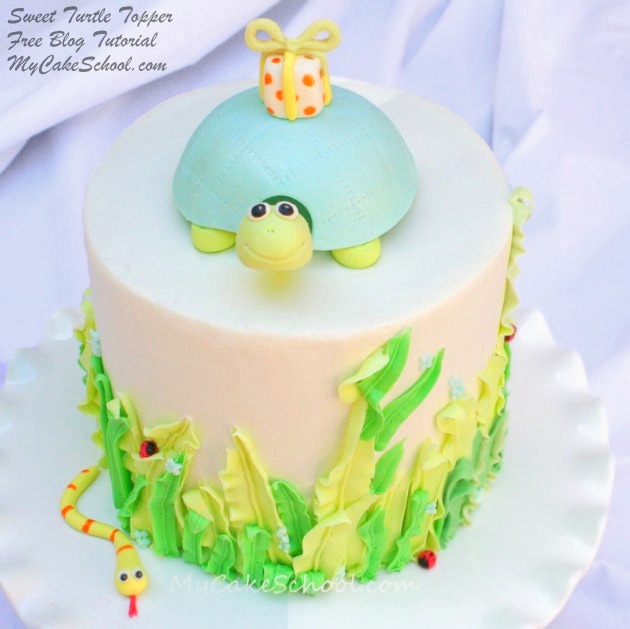
The cake is finally finished--are you ready for some sweetness?
Hooray! That's all there is to it. I hope that you'll give our little turtle a try---and maybe you could even invite the sweet frogs from our Frog Cake Topper Tutorial over to join him!
*The cake that we used in this tutorial is a 6 inch cake although any sized cake would work well! You could even create a fun version of this design on a sheet cake. We frosted our cake with our Classic Vanilla Buttercream. Make sure to check out our other Free Cake Tutorials as well as our FAVORITE cake and frosting recipes in our Recipes section!
Thanks for stopping by!

Oh..Its so cute!!..really wonderful..Just love to watch all ur videos...
He is so cute just adorable and such a cleaver idear how to make it !! The instuctions are as always perfect
The turtle's face is so darn cute!
Thank you so much everybody!!
@Zina--Once you join, you'll see a list of supplies that I often use in the "Member Resources" section. I stick pretty much to a basic list of piping tips--and of course piping bags, couplers, coloring gels, and a spatula or two for frosting. Beyond that, you can scroll through our tutorials and decide which route you'd like to start with. If you're interested in fondant and gum paste, then there are tools that I recommend for those--gum paste flowers, a different group of helpful tools, and so on.
Just send me an e-mail once you join if you have any questions!
OMG this is the cutest thing ever.....love it! Thank you very much for sharing. :)
YOU have the knack to make the CUTEST features on your toppers...the eyes and expressions are always so darn sweet and innocent! LOVE THIS
How adorable, can't wait to try it!
Seriously adorable! I just want to make it for myself...darn it!! :) Thanks!
This is absolutely adorable--I love to bake and have plenty of grandkids who will love to have a cake decorated like this! Thank you so much for sharing.
Melissa, & Bebe, Ya'll just never run out of ideas!! Thanks for all your thoughtful hard work. Love people who pay attention to detail.
Melissa this looks cute and simple, can't wait to try it out. God bless u fr sharing this.
Absolutely adorable! Just can't wait for an opportunity to try this sweet little guy out!